- Print
- PDF
Lasernet Professional is intended to be fast and easy for users to install, configure, and use.
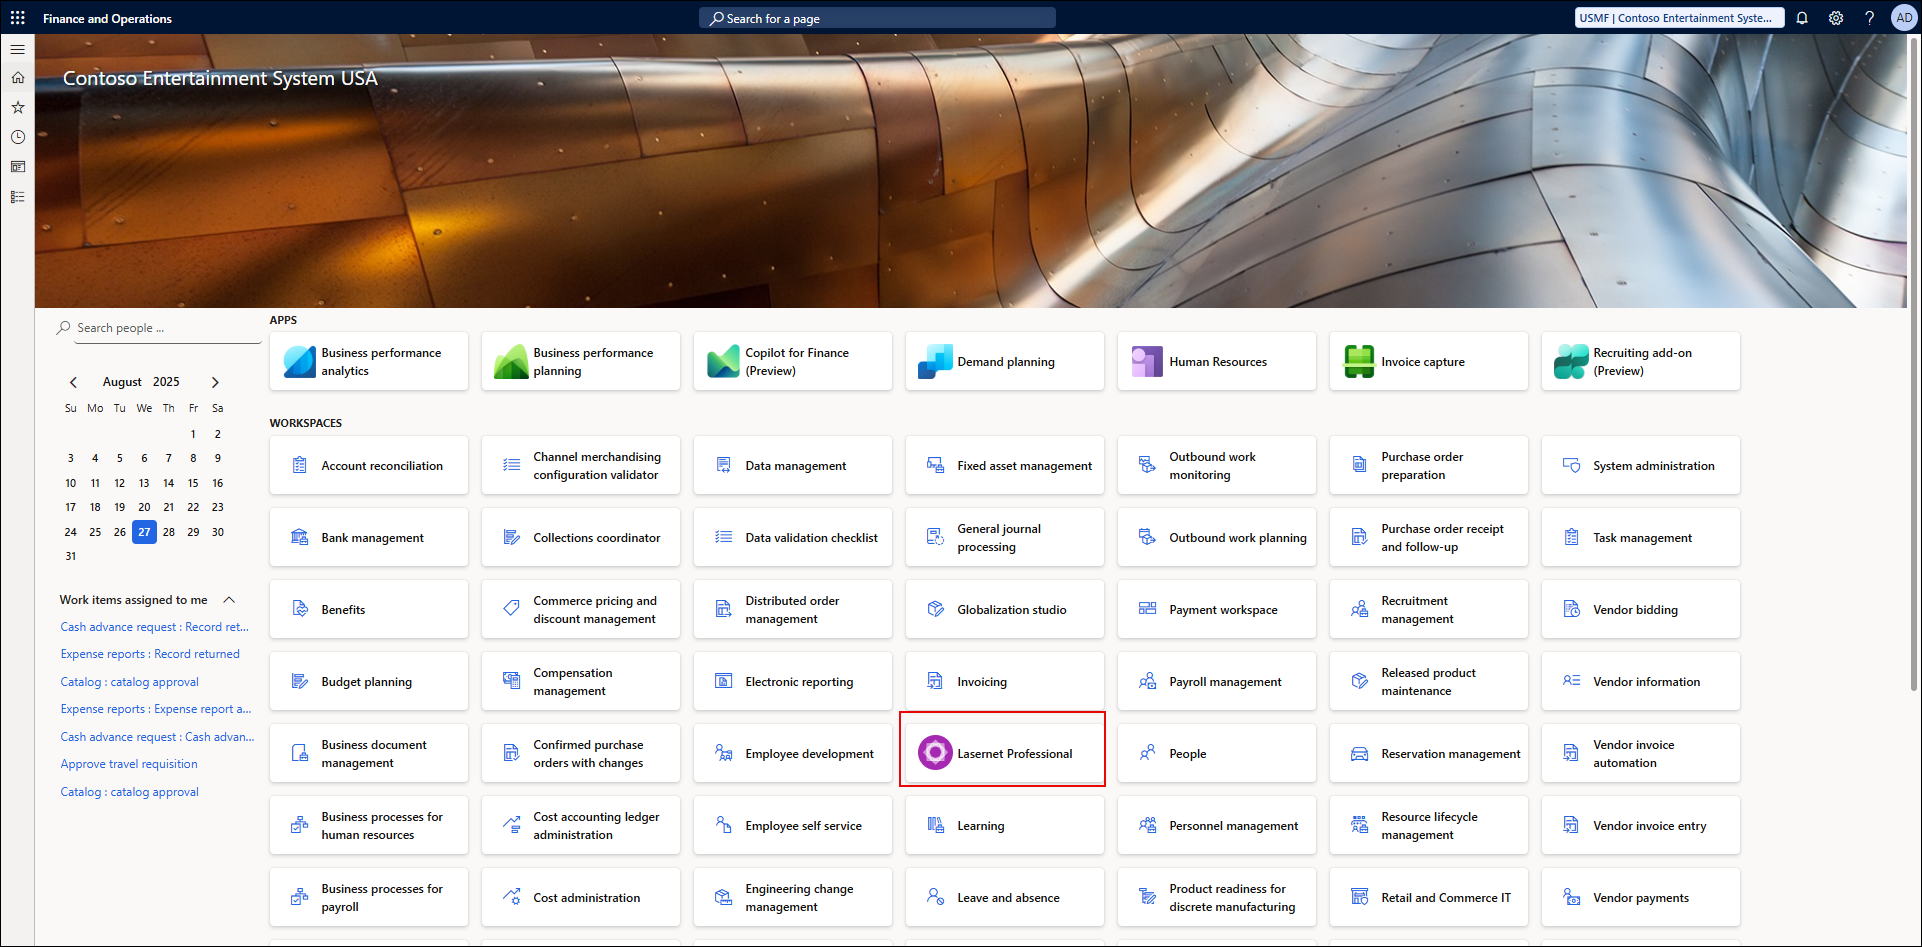
Open the Lasernet Professional workspace.
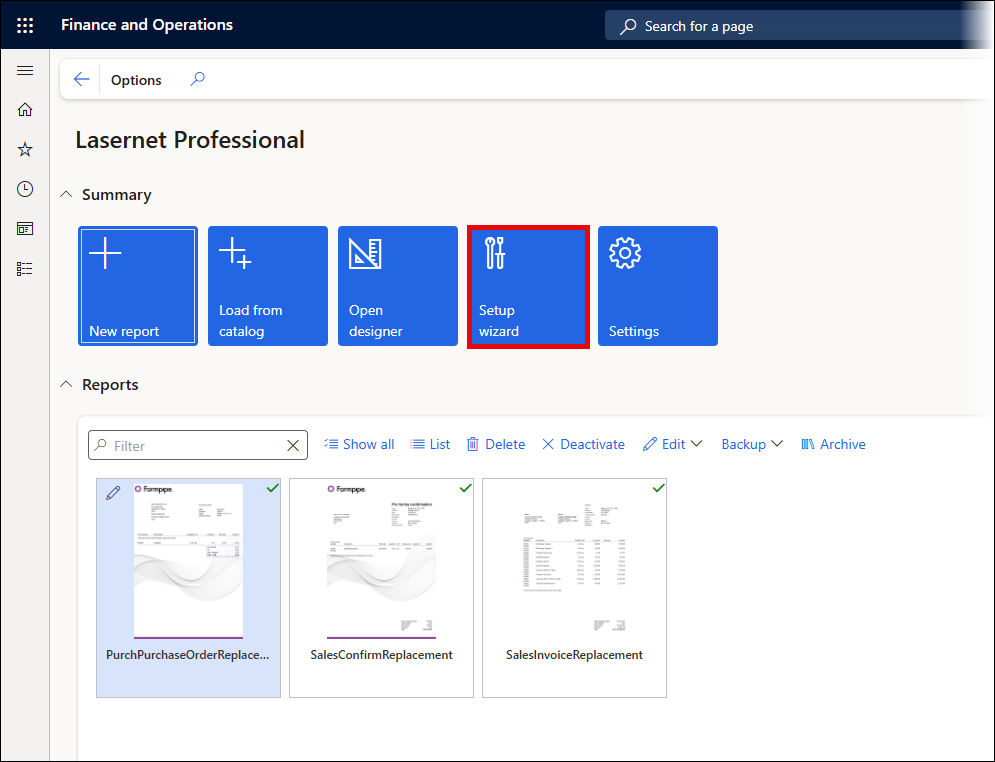
By following the steps in the Setup wizard, you can be ready to use the solution in less than five minutes.
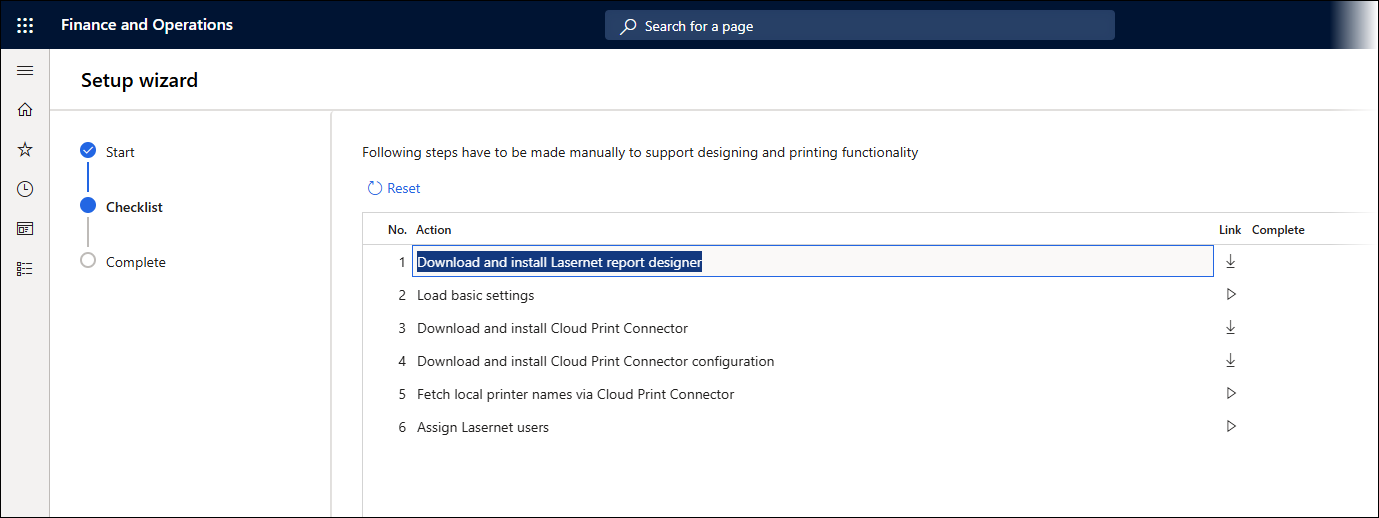
Download and install Lasernet report designer: Required - This step contains a link to the Lasernet Form Editor installation package, which will enable you to design the report layout. Download the package and install the software.
Load basic settings: Required – This step will load default basic settings from Formpipe Azure Storage. These basic settings include parameters, connections to Formpipe Azure Storage, and configuration settings enabling report execution and printout.
Download and install Cloud Print Connector: Optional but encouraged – This step contains a link to the Cloud Print Connector installation package. Cloud Print Connector is installed on a local computer and waits for print jobs from Dynamics 365. When a report is printed from Dynamics 365, the printout file will be sent to your local computer, and Cloud Print Connector will redirect it to the chosen printer on your network. Once the Cloud Print Connector installer has been downloaded, navigate to your print server/machine that acts as a print server and install the client. Remember to run it as a System (not User) account.
Note
In Lasernet Professional, the Cloud Print Connector runs as a server service so that, even if a user logs out, the service does not stop.
To learn more about the Lasernet Cloud Print Connector, refer to this guide.
Download and install Cloud Print Connector configuration: Optional but encouraged – The Cloud Print Connector configuration is a configuration file for Cloud Print Connector. It contains the necessary information to keep the connection with Dynamics 365 active. Ensure you have installed the Cloud Print Connector. Then, pick this option from the same machine running your Cloud Print Connector. It will automatically update its configuration.
Fetch local printer names via Cloud Print Connector: Optional, dependent on steps 3 and 4 – Fetching printers will instruct the previously configured Cloud Print Connector to prepare the list of your available printers and load this list to Dynamics 365.
Assign Lasernet users: Optional but encouraged - Assign users to the Lasernet User security role. This role only provides access to the Lasernet destinations within the printer dialog. If the reports are not configured for Lasernet, a user of this role has access to the standard destinations (SSRS). If a user is a System Administrator and you do not need any more testing, you do not need to complete this step.
Note
For information on how to use Lasernet Cloud Print Connector with External Azure Storage connection strings, consult this article.
The following prompt appears if basic settings are already in place:
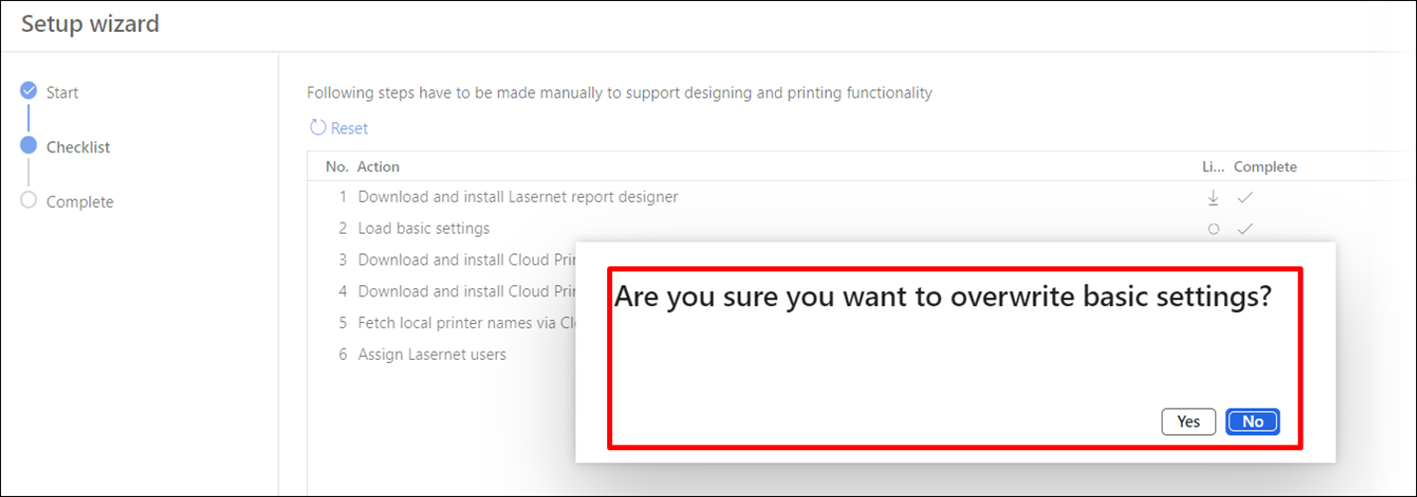
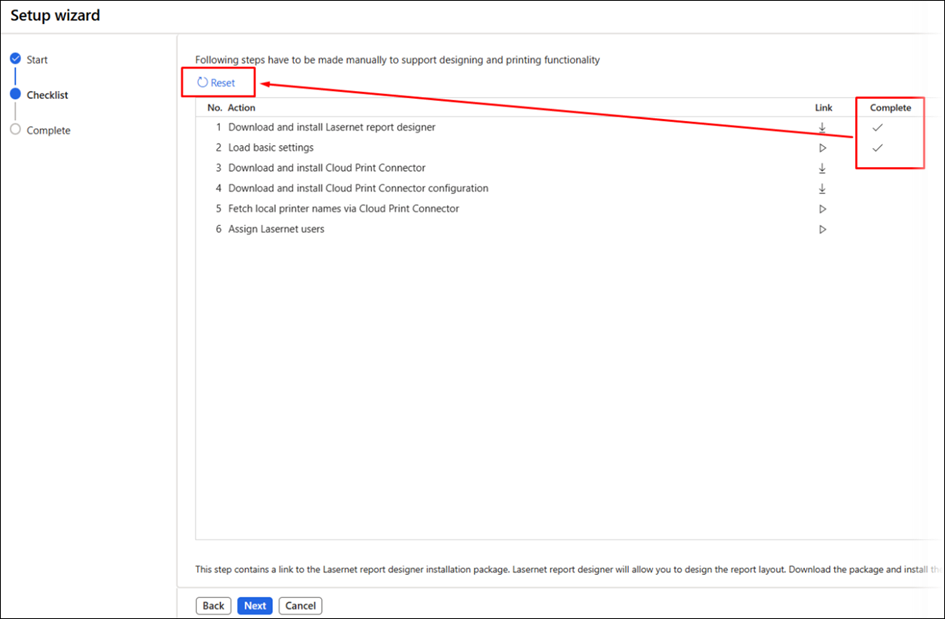
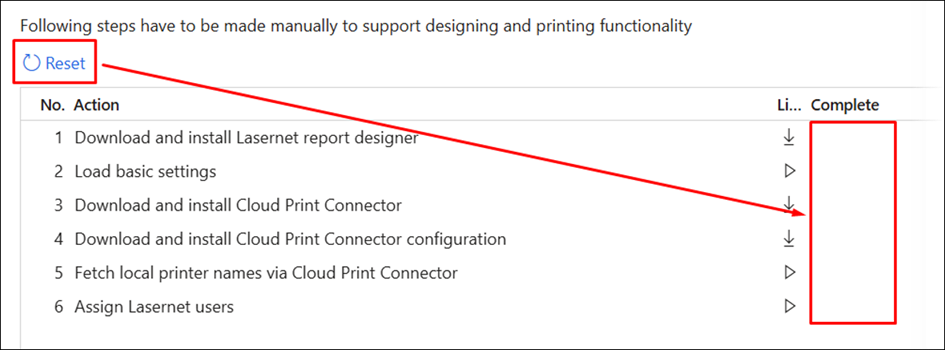
A checkmark in the Complete column indicates that a step has been completed. However, you can use the Reset button to remove all checkmarks and start over.
