Remove a User's Access to Lasernet Keep
- 22 May 2026
- 4 Minutes to read
- Contributors


- Print
- PDF
Remove a User's Access to Lasernet Keep
- Updated on 22 May 2026
- 4 Minutes to read
- Contributors
- Print
- PDF
Article summary
Did you find this summary helpful?
Thank you for your feedback
To prevent a current user from logging in, remove their access to Keep. They will no longer be able to proceed past the Keep log-in page.
You can remove a user's access in two different ways:
Disable their user account: The corresponding user account remains present on the All Users page, but its Disable login checkbox is selected. So, the user cannot log in to Keep. The main advantage of this method is that the account can be easily re-enabled by clearing the checkbox. For instructions, see Disable and Re-Enable a User Account.
Delete their user account: The user account is removed from the All Users page. However, Keep does not actually delete the user account, because it is linked to data about the past actions that the user performed in Keep. So, you cannot create a new user that has the same username as the "deleted" user. A deleted user can be reinstated, but doing so involves following a process that is relatively complex (compared to re-enabling a disabled user). For instructions, see Delete and Reinstate a User Account.
Tip
If your objective is solely to prevent a particular user from logging in, disable their account rather than deleting it.
Disable and Re-Enable a User Account
You can disable and re-enable a user account through the user administration area of Keep.
Disable a User Account
To disable a user account, follow these steps:
Click User Management in the admin menu, then select Users.
.png)
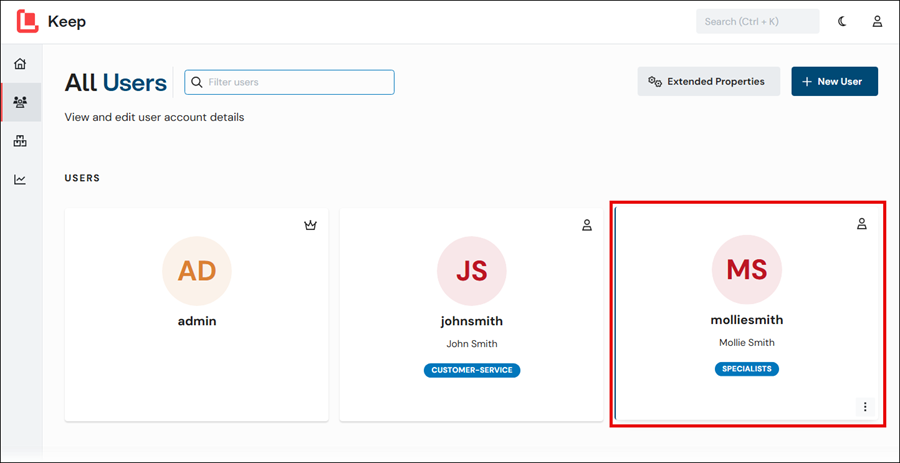
On the All Users page, click the user that you want to disable.
On the Basic Details page, select Disable login.
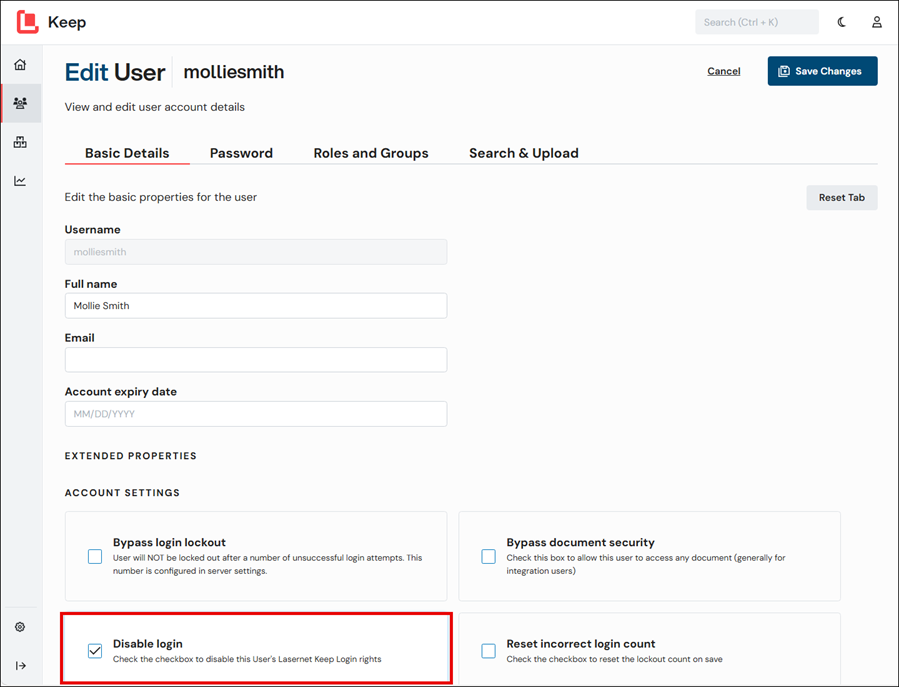
Click Save Changes.
Re-Enable a User Account
To re-enable a disabled user account, follow these steps:
Follow the instructions above to navigate to the user’s administration page.
Clear the user's Disable login checkbox.
Click Save Changes.
Delete and Reinstate a User Account
You can delete a user account through the user administration area of Keep.
Note
You cannot subsequently create a new user that has the same username as the deleted user.
To reinstate a deleted user account, you must use the Keep REST API.
Delete a User Account
To delete a user account, follow these steps:
Click User Management in the admin menu, then select Users.
.png)
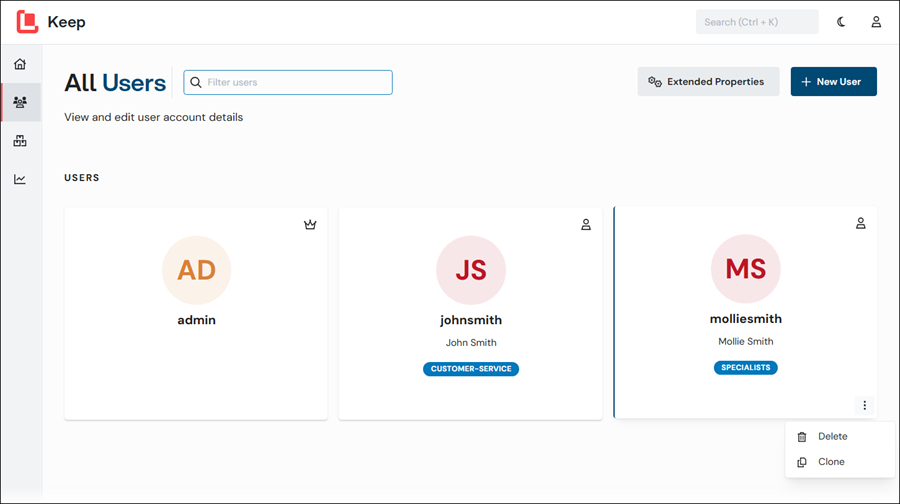
Hover the mouse pointer over the user that you want to delete, click the menu button (three vertical dots), and then select Delete from the menu.
In the Delete User window, click Confirm.
Result: Keep returns to the All Users page and the user account is no longer present.
Reinstate a Deleted User Account
The information in this section enables you to return a "deleted" user account to All Users page of Keep. To do this, you must use the Keep REST API.
Note
In summary, the process is as follows. If you already have experience of controlling Keep through its REST API, this process summary might provide enough information to enable you to reinstate the account:
Use the
GETmethod of the/users/{username}endpoint to return data about the deleted user.Copy that JSON data (for example, to a text editor).
Within the data, change
statusfromDELETEDtoSTANDARD.Use the
PUTmethod of the/users/{username}endpoint to update the user. The body of the request is the modified JSON data.In the user administration area of Keep, the user is now reinstated. Click the user’s tile and then add them to the appropriate groups and roles.
However, if you require full instructions or additional information, follow the steps below.
Note
The following steps reinstate only the basic details of the user account. The group and role memberships that the user had before they were deleted are not preserved.
As a result, to make the account usable after you reinstate it, you must go to the All Users page of Keep, click the user’s tile, and then add them to the appropriate groups and roles.
To reinstate a deleted user account, follow these steps:
Log in to Keep.
Click the Account (person) icon, and then click View REST API documentation. This action opens the Keep server's REST API documentation page in a new tab. As well as providing documentation for REST API endpoints and methods, this page enables you to make REST API requests.
.png)
Scroll down the page, click users (see “a” in the image below), then click GET /users/{username} (see b).

In the
GET /users/{username}area, click Try it out.
Enter the username of the user that you want to reinstate (see “a” in the image below), then click Execute (see “b”). Next, scroll down to the Response body box (in the Responses area — see “c”), then copy the JSON content of the box (including the opening and closing curly brackets).

Note
If you do not know the user's username, use the
GET /usersmethod to return data about all Keep users.In that data, find the user that you want to reinstate (the value of their
statusproperty will beDELETED), and then copy the value of theirusernameproperty.Scroll down the page, then click PUT /users/{username} (see “a” in the image below).

Click Try it out.
Enter the name of the user that you want to reinstate (see “b” above).
Delete the content of the Model box in the Request body area (see “c”), then paste the JSON content that you copied earlier (from the response to your API request to
GET /users/{username}).Note
If the button below the box (see “d”) is labeled Edit instead of Cancel (so you cannot delete the content of the Model box), click Edit, then try this step again.
In the pasted JSON code, change
"status": "DELETED",to"status": "STANDARD",(see “e”).Click Execute (see “f”).
Check the Server response area below the Execute button. If it indicates a code 200 response, the request succeeded.

Return to the web browser tab that contains the Keep web application, then navigate to the All Users page. The reinstated user will be present on that page.
Click the reinstated user, then configure them appropriately. Because deleted users' group and role memberships are not preserved, you must add the reinstated user to the appropriate groups and roles. Also, check all the other properties of the reinstated user to ensure that they are appropriate.