Overview of the Lasernet Printer Service
- 08 May 2026
- 2 Minutes to read
- Contributors


- Print
- PDF
Overview of the Lasernet Printer Service
- Updated on 08 May 2026
- 2 Minutes to read
- Contributors
- Print
- PDF
Article summary
Did you find this summary helpful?
Thank you for your feedback
Applies to: Lasernet Core 11
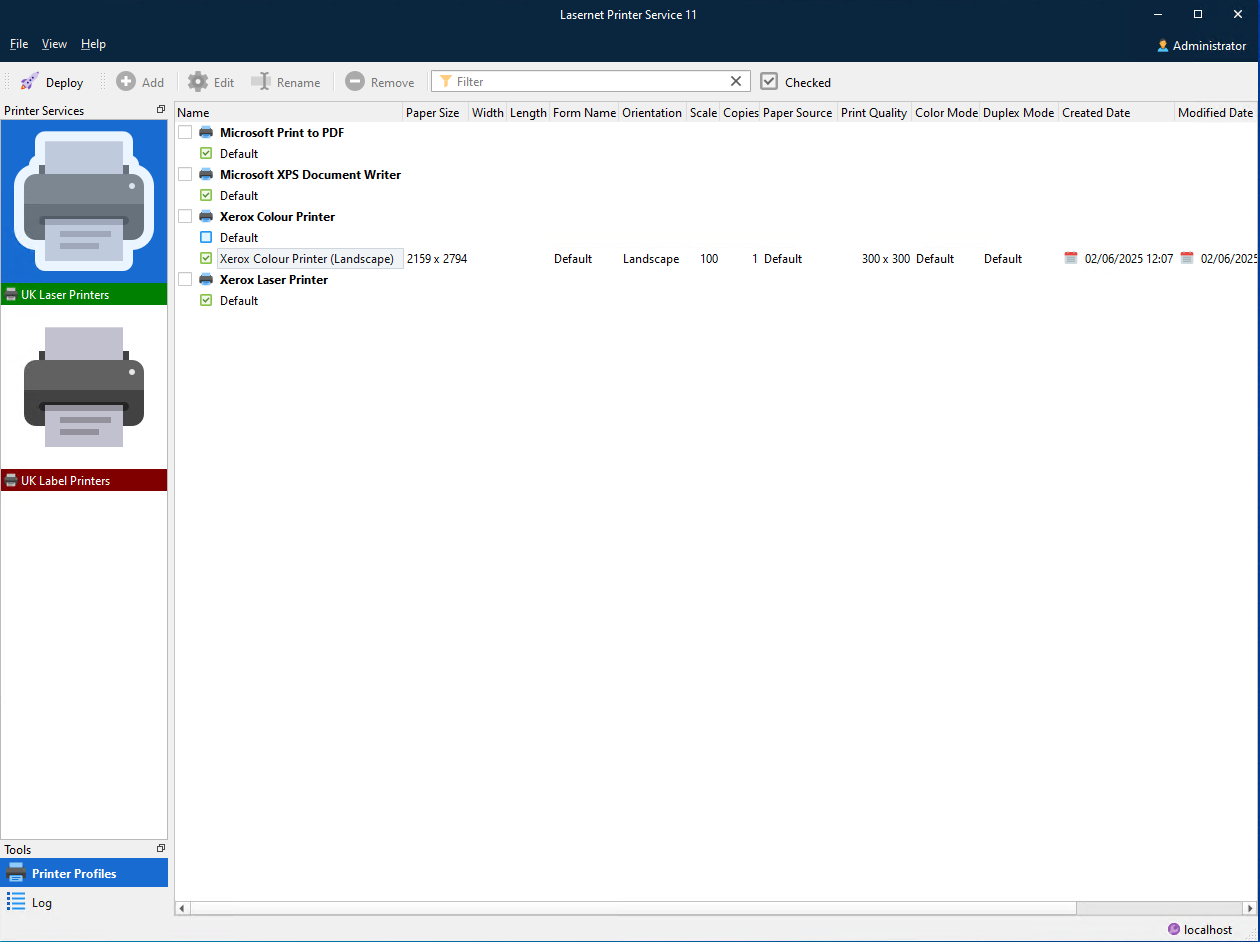
Lasernet Printer Service is an application that can be used to maintain your custom printer settings and deploy these to local printers, or anywhere globally using Microsoft Azure services. You can configure specific printer driver settings and save them as profiles which in turn can be selected for profile settings to be used by Lasernet Core.
To configure and run the printer service, you must complete steps in a particular order. The following sections describe the process for cloud-based printing and for on-premises printing.
Cloud
Follow this process:
Configure Microsoft Azure.
Both an Azure Storage subscription and an Azure Service Bus are required.
For the Service Bus, a connection string is required when you set up Config Server.
For the Azure storage account, either a connection string, Shared Access Signature (SAS) token, or app registration details (including client ID and client secret) are required.
For instructions, see Configure Microsoft Azure for Lasernet Core Cloud Printing.
In Manage (or the Lasernet Config web app), set up print servers and (optionally) relevant user groups and security.
For instructions, see Configure Lasernet Core Print Servers and User Access.
Install the Lasernet Printer Service application.
Use the Printer Service MSI installer.
For instructions, see Install the Printer Service Application.
Create printer profiles, deploy printers, and view the log in the Lasernet Printer Service application.
Add printer profiles and deploy printers.
When you use the Printer Service application, you can refer to the printer service log, which lists transactions and print jobs similarly to Lasernet Monitor but exclusively for this module.
For instructions, see Create Printer Profiles, Deploy Printers, and View the Log in the Lasernet Printer Service Application.
Configure Lasernet Core workflows to use the printer service and modify form settings in Lasernet Developer.
Add a Printer Service output to Lasernet Core configurations.
Select print destinations in the Printer Service output module.
Optionally, specify which printer profile to use for particular form pages.
For instructions, see Modify the Lasernet Core Workflow and Form Settings in Lasernet Developer.
Next steps: Configure Microsoft Azure for Lasernet Core Cloud Printing
On-Premises
Follow this process:
In Manage (or the Lasernet Config web app), set up print servers and (optionally) relevant user groups and security.
For instructions, see Configure Lasernet Core Print Servers and User Access.
Install the Lasernet Printer Service application.
Use the Printer Service MSI installer.
For instructions, see Install the Printer Service Application.
Create printer profiles, deploy printers, and view the log in the Lasernet Printer Service application.
Add printer profiles and deploy printers.
When you use the Printer Service application, you can refer to the printer service log, which lists transactions and print jobs similarly to Lasernet Monitor but exclusively for this module.
For instructions, see Create Printer Profiles, Deploy Printers, and View the Log in the Lasernet Printer Service Application.
Configure Lasernet Core workflows to use the printer service and modify form settings in Lasernet Developer.
Add a Printer Service output to Lasernet Core configurations.
Select print destinations in the Printer Service output module.
Optionally, specify which printer profile to use for particular form pages.
For instructions, see Modify the Lasernet Core Workflow and Form Settings in Lasernet Developer.
Next steps: Configure Lasernet Core Print Servers and User Access
Note
This method of adding on-premises printers does not replace the previous method where printers and printer profiles are maintained in the Lasernet Developer. This is an additional method that is more consistent with the cloud printing method.