Install Lasernet 11 Software on Servers
- 02 Mar 2026
- 8 Minutes to read
- Contributors


- Print
- PDF
Install Lasernet 11 Software on Servers
- Updated on 02 Mar 2026
- 8 Minutes to read
- Contributors
- Print
- PDF
Article summary
Did you find this summary helpful?
Thank you for your feedback
The first part of the Lasernet 11 installation process is to install Lasernet software on servers.
About Lasernet Environments, Lasernet Config Server, and the Lasernet Server Installer
Lasernet Environments
Lasernet environments run on servers. Each environment is configured to run a Lasernet workflow (that could include data transformation and document generation, management, and distribution elements). These workflows are known as Lasernet configurations. Each environment can run a different configuration from the others.
Depending on the design of the Lasernet system, there could be multiple distinct environments, each hosted by a dedicated server. For example, there could be separate Development, Test, and Production environments. Each Lasernet environment is a running Lasernet 11 Windows service.
Quick Start
If you follow the quick start installation process, the single server that runs the Lasernet system hosts one environment (which you create at a later stage of the process).
Lasernet Config Server
Lasernet Config Server runs on one of the servers that is a part of the Lasernet system. Lasernet Config Server is the central communication point for all the components of the Lasernet system and manages the Lasernet configurations that the environments run. Aspects of system configuration (such as user access to the Lasernet system) are managed by Lasernet Config Server.
Lasernet Config Server includes the following Lasernet administration tools:
Manage. This is a new, modern, streamlined, and intuitive user experience for Lasernet administrators. All aspects of Lasernet administration (including environment management, user management, and licensing) are available, in addition to the ability to view Lasernet logs and manage paused and scheduled jobs.
The Lasernet Config web app. This is the legacy web app for Lasernet administrators. The Lasernet Config web app will be deprecated in a future version of Lasernet Core.
Quick Start
If you follow the quick start installation process, the single server that runs the Lasernet system hosts Lasernet Config Server.
Note
Manage is installed as part of Lasernet Config Server. In addition to enabling administrators to complete Lasernet configuration and administration tasks, Manage enables users to view job queues and perform basic job management tasks such as editing JobInfos, rescheduling, viewing, and removing jobs, and releasing paused jobs.
This capability replaces Lasernet Web Client (which was included in earlier Lasernet versions).
The Lasernet Server Installer
Use the Lasernet Server installer to install the Lasernet service and Lasernet Config Server.
Server Software Installation Process
Follow the quick start installation process or the full installation and setup process on this page.
Note
About the quick start process: The quick start process is a simpler route to an operational Lasernet system and it requires only basic IT knowledge. However, it results in a system that is suitable only for demonstration or trial purposes. For more information about the quick start process (and its inherent compromises), see the main Lasernet 11 Installation and Setup Guide page.
About the full installation and setup process: The full installation and setup process describes all available installation and setup options and is suitable for setting up production Lasernet systems. However, parts of it require some IT and database administration knowledge.
Quick Start Installation Process
Important
You must be signed in to the server as an administrator.
Follow these steps to install Lasernet server software and create the Lasernet Config Server database:
Ensure that the server satisfies all hardware and software system requirements.
Create a Microsoft SQL Server database for Lasernet Config Server to use:
Download the installer for a compatible version of SQL Server from Microsoft.
Show me how
Install SQL Server. To do this, follow the video or instructions:
Video
Show me how
Instructions
Run the installer that you downloaded.
In the installer window, click Custom.
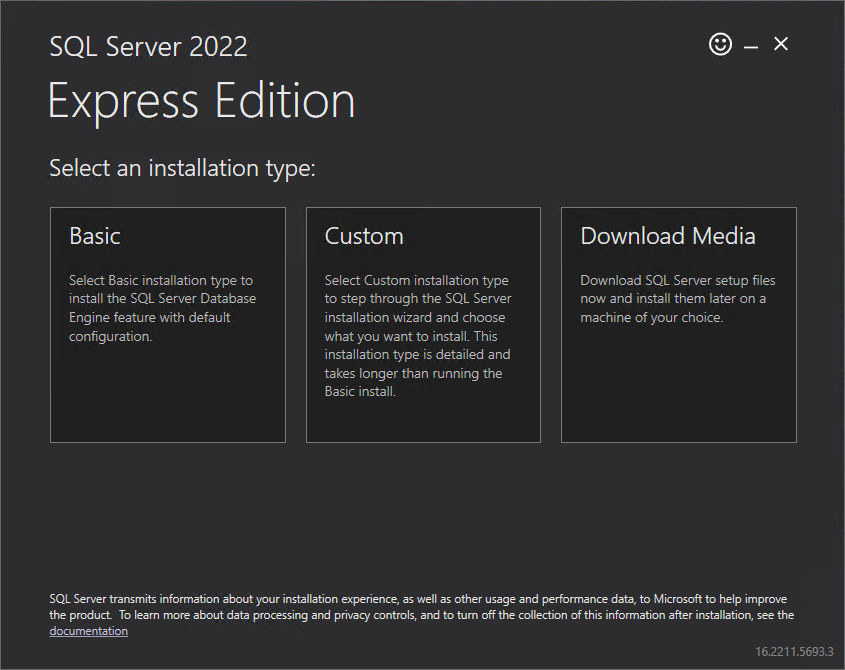
On the next page, click Install.
After the software is installed, the SQL Server Installation Center window opens.
Create a new SQL Server instance (which will host the Lasernet Config Server database). To do this, follow the video or instructions:
Video
Show me how
Instructions
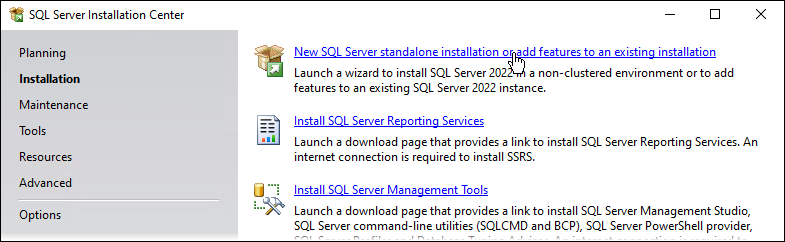
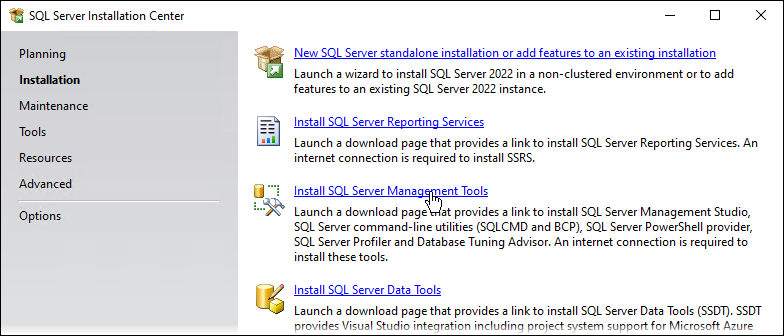
In the SQL Server Installation Center window, click Installation in the left panel, then click New SQL Server standalone installation or add features to an existing installation in the main area.
Follow Microsoft’s instructions for creating a SQL Server instance. Use the default settings and click Next on every page of the installation wizard, except for the following pages:
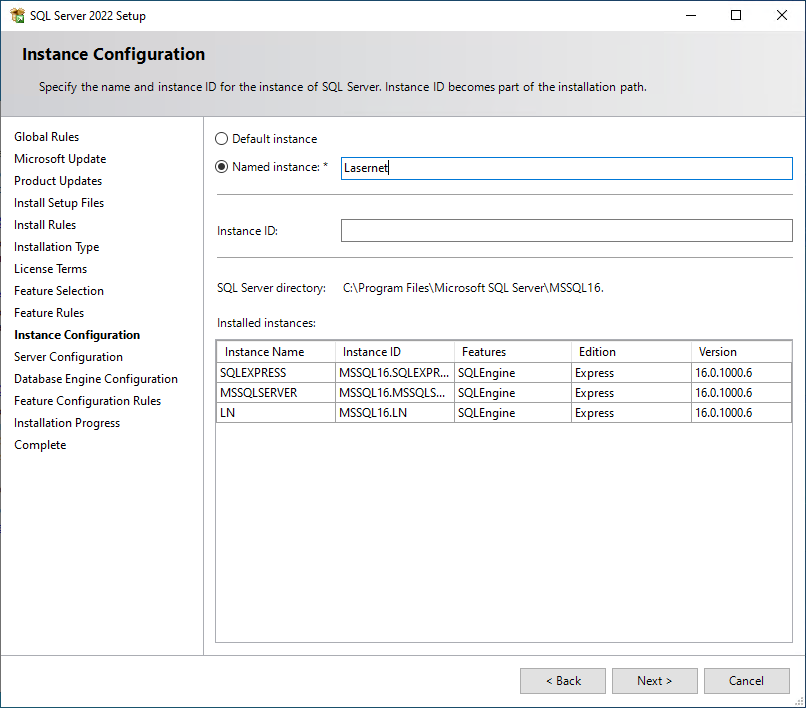
Instance Configuration: Click Named instance and enter Lasernet into the adjacent box. Then, click Next.
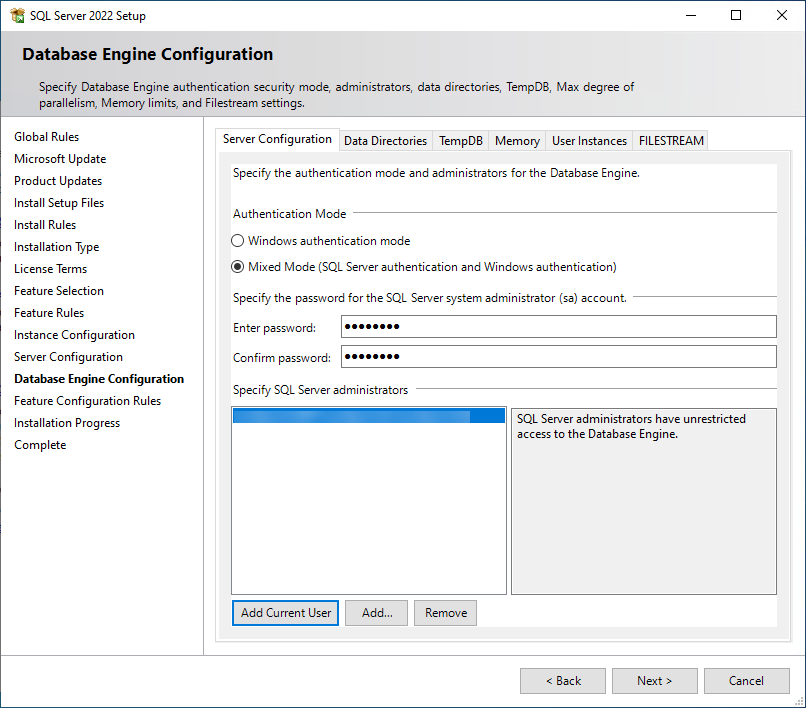
Database Engine Configuration
Click Mixed Mode (SQL Server authentication and Windows authentication).
In the Enter password and Confirm password boxes, enter a strong password for the sa (system administrator) user. For guidelines, see https://learn.microsoft.com/en-us/sql/sql-server/install/instance-configuration?view=sql-server-ver16#strong-password-guidelines. Make a note of this password because you will need it later.
By default, your user name is listed in the Specify SQL Server administrators box. If it is not, click Add Current User (below the box).
Click Next.
After you complete all stages of the SQL Server Setup process, SQL Server begins to create the named Lasernet SQL Server instance. A progress bar displays the instance creation progress.
When the database instance is ready, the SQL Server Setup window reaches the Complete page. Click Close.
Download the SQL Server Management Studio installer. Then, install SQL Server Management Studio. To do this, follow the video or instructions:
Video
Show me how
Instructions
In the SQL Server Installation Center window that opened earlier, click Installation in the left-side menu, then click Install SQL Server Management Tools in the main area.
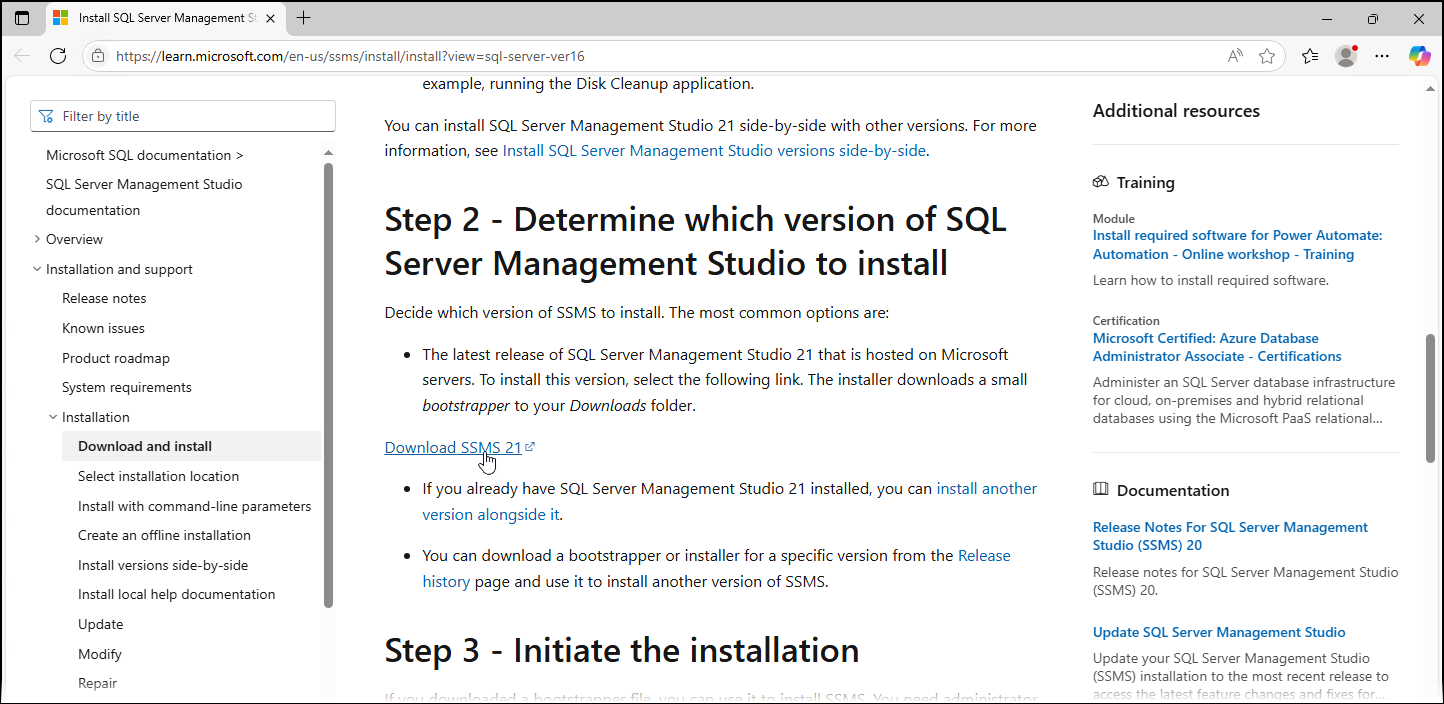
Download SQL Server Management Studio from the page that opens.
In the Downloads folder on the server, double-click
vs_SSMS.exe(the SQL Server Management Studio installer).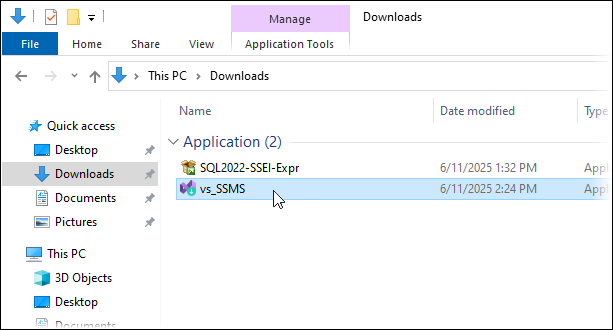
Note
In multiple places, the installation process for SQL Server Management Studio refers to the installation of Visual Studio. This is normal.
If a Before you get started window is displayed, click Continue.
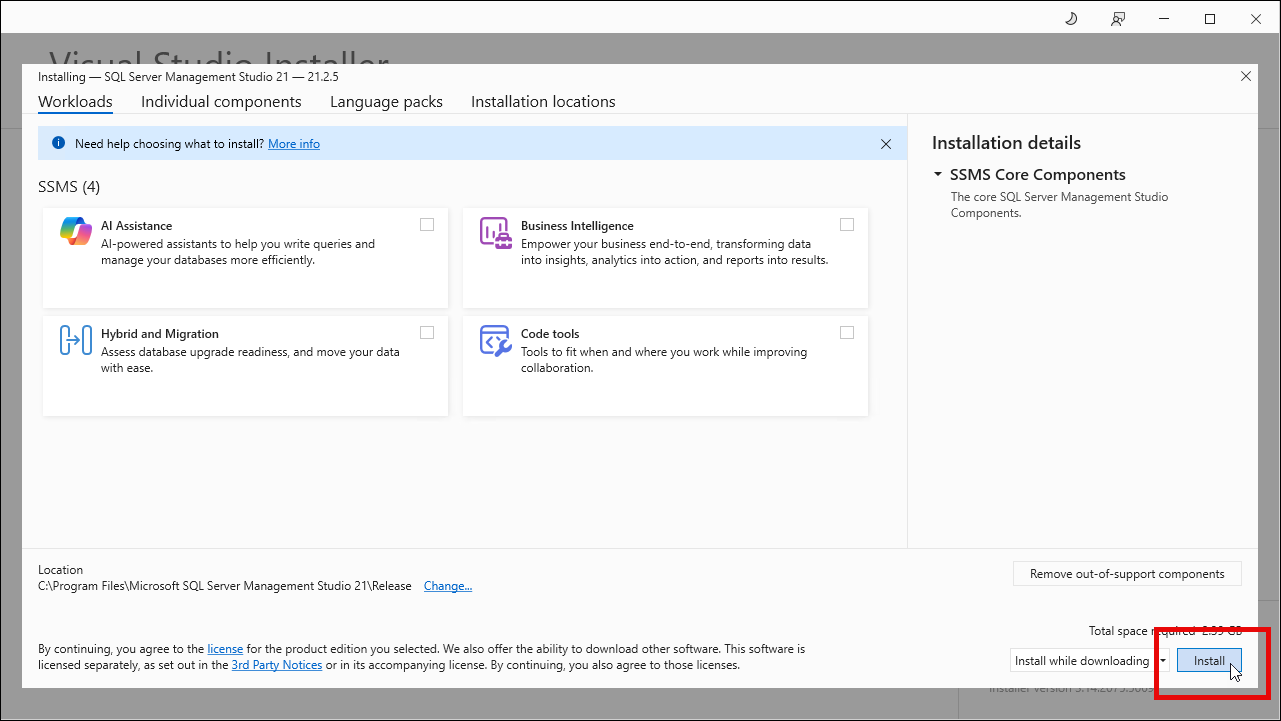
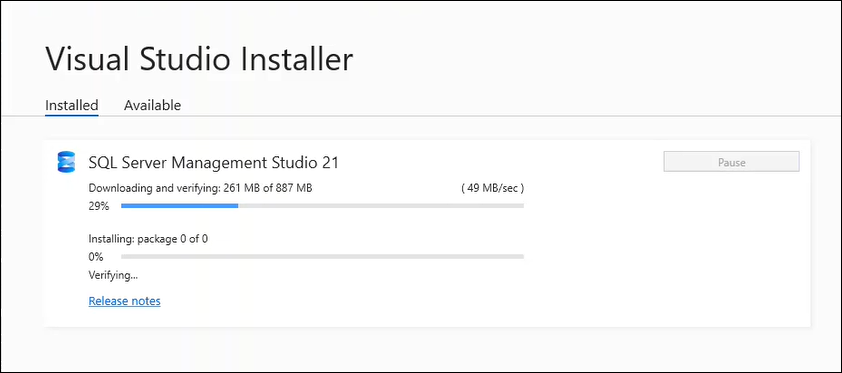
In the Installing – SQL Server Management Studio window, click Install (in the lower-right corner).
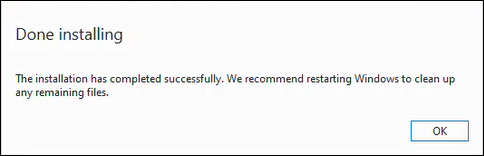
The installer will indicate the progress of the installation process. When the installation is complete, click OK in the Done installing window, then restart the server.
Start SQL Server Management Studio. To do this, follow the video or instructions:
Video
Show me how
Instructions
In the Windows Start menu, click Microsoft SQL Server Tools > SQL Server Management Studio.
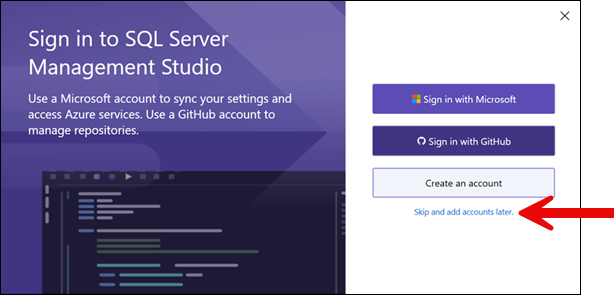
If SQL Server Management Studio prompts you to sign in, click Skip and add accounts later.
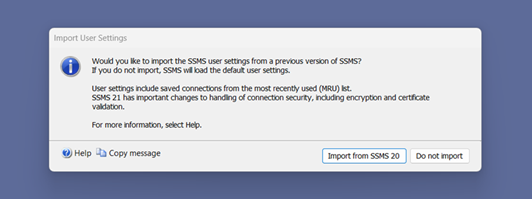
If an Import User Settings window opens, click Do not import.
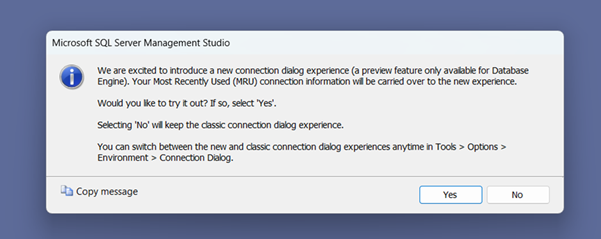
If a “new connection dialog experience” window opens, click No.
The SQL Server Management Studio Connect to Server window opens.
Connect to the database engine that you created. To do this, follow the video or instructions:
Video
Show me how
Instructions
In the Connect to Server window:
Enter localhost\Lasernet in the Server name box.
Select SQL Server Authentication from the Authentication list.
Enter sa in the Login box.
Enter the sa user’s password in the Password box.
Select Remember password.
Select Trust server certificate.
Click Connect. SQL Server Management Studio connects to the SQL Server instance that you created.
.png)
Create a database for Lasernet Config Server to use. To do this, follow the video or instructions:
Video
Show me how
Instructions
In the Object Explorer pane, right-click Databases, and then click New Database.
In the New Database window, enter LNConfig into the Database name box (at the top of the General page).
Click OK. SQL Server creates the database.
.png)
Minimize SQL Server Management Studio.
Locate the Lasernet Server installer.
If you received Lasernet software as a ZIP file: Extract the ZIP file to a suitable location, then open Windows Explorer and navigate to the extracted files.
If you received Lasernet software through another method: Open a Windows Explorer window, navigate to a suitable location, and then copy the Lasernet Server installer (example installer file name:
Lasernet Server 11.0.0.msi) into that location.
Use the Lasernet Server installer to install the Lasernet service and Lasernet Config service on the server:
Run the Lasernet Server installer.
On the Welcome page, click Next.
Accept the terms of the license agreement, then click Next.
Check that the default installation location is suitable and change it if necessary, then click Next.
On the feature selection page, select Lasernet Service and Configuration Server.
On the Ready to Install page, click Install.
After the installation is complete, click Finish.
Note
The Lasernet Monitor tool is also installed. This standalone desktop application enables you to read activity logs for Lasernet environments.
To view logs through a web application, you can use Manage. For more information, see Lasernet Environment Logging.
After installing the Lasernet server software, the next step of the Lasernet 11 installation and setup process is to install Lasernet Developer on the server.
Full Installation and Setup Process
Important
You must be signed in to the server as an administrator.
Ensure that all hardware and software system requirements are satisfied.
Create a Microsoft SQL Server database for Lasernet Config Server to use.
You must create the database in a named SQL Server instance (rather than the default instance). This instance must be on the same server as Lasernet Config Server or on a server that Lasernet Config Server can communicate with.
Ensure that a database user that has permissions to create and alter tables, and insert, update and delete rows, is available for Lasernet Config Server to use. This can be the
sauser, or it can be a created user that has appropriate permissions.There are no manual database configuration requirements. Any necessary configuration is made automatically by Lasernet.
Copy the Lasernet Server installer to any location on the servers that will host Lasernet environments or Lasernet Config Server. The installer file name is
Lasernet Server 11.<minor version>.<patch version>.msi. For example,Lasernet Server 11.0.0.msi.On each server that will host either a Lasernet environment or the Lasernet Config Server, or both, use the Lasernet Server installer to install the Lasernet service or Lasernet Config service (or both) on the server:
Run the Lasernet Server installer.
On the Welcome page, click Next.
Accept the terms of the license agreement, then click Next.
Check that the default installation location is suitable and change it if necessary, then click Next.
Select which installer features to install:
Lasernet Service: Install this feature if the server will run a Lasernet environment.
Configuration Server: Install this feature if the server will run Lasernet Config Server.
Note
If necessary, you can select both Lasernet Service and Configuration Server.
On the Ready to Install page, click Install.
After the installation is complete, click Finish.
Note
If you selected the Lasernet Service feature, the Lasernet Monitor tool is also installed. This standalone desktop application enables you to read activity logs for Lasernet environments.
To view logs through a web application, you can use Manage. For more information, see Lasernet Environment Logging.
After installing Lasernet server software, the next step of the Lasernet 11 installation and setup process is to install Lasernet software on client computers.