Create, Import, or Open a Configuration
- 16 Apr 2026
- 4 Minutes to read
- Contributors


- Print
- PDF
Create, Import, or Open a Configuration
- Updated on 16 Apr 2026
- 4 Minutes to read
- Contributors
- Print
- PDF
Article summary
Did you find this summary helpful?
Thank you for your feedback
Applies to: Lasernet Core 11
Lasernet Config Server stores Lasernet Core configurations and can deploy them to Lasernet Core environments.
You can use Lasernet Developer to add a configuration to a Config Server in two ways: you can create a new blank configuration or you can import an existing configuration from a file.
When Lasernet Developer connects to the Config Server, you can access the configurations that you and other users have created or imported. To modify one of these configurations, open it in Lasernet Developer.
Note
For information about creating, importing, and opening configurations in Lasernet Core 10, see the Lasernet Config Server and Deployment Guide.
Create a Configuration
To create a new configuration, follow these steps:
In the Windows Start menu, click Lasernet Developer 11 > Lasernet Developer 11.
Select a Config Server to connect to, then click Connect.
Log in to that Config Server.
On the Start page, click New configuration.
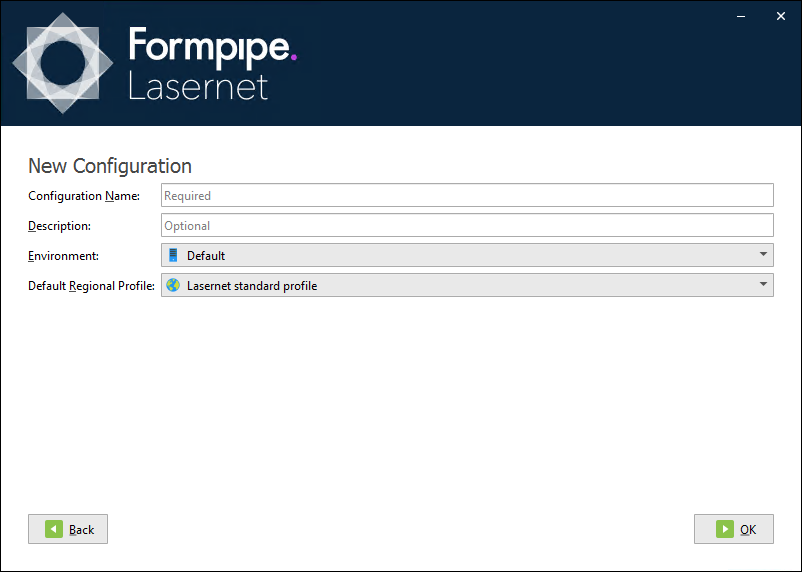
On the New Configuration page:
Enter a Configuration Name.
Note
Each configuration that the Config Server manages must have a unique name.
Enter a meaningful Description for the configuration.
Select a Lasernet Environment. This list contains the environments managed by the connected Config Server. The Environments list in the new configuration will contain an entry for the selected environment.
Note
Environments are created and added to the Config Server as a part of the Lasernet Core 11 installation and setup process.
Select a Default Regional Profile. In the new configuration, Lasernet Developer will create a regional profile named Default that uses settings from the selected profile. You can add more regional profiles to the configuration later.
Note
A regional profile is a collection of number, currency, time, and date formats that together are appropriate for data originating from, or intended for, a particular locale. For example, a particular country. Regional profiles are needed because (depending on project requirements) Lasernet Core might need to interpret incoming data that is formatted in a way that is used in a particular locale. It might also need to format values in output documents in a way that is meaningful to a reader in that locale.
For more information, see Regional Profiles.
Click OK.
Lasernet Developer creates the configuration, adds it to the Config Server, and then opens the configuration. The configuration’s initial state becomes revision 1 of the configuration (in Config Server).
The configuration is added to the Config Server’s list of configurations.
Import a Configuration
To import a configuration from an LNCONFIGX file, follow these steps:
In the Windows Start menu, click Lasernet Developer 11 > Lasernet Developer 11.
Select a Config Server to connect to, then click Connect.
Log in to that Config Server.
On the Start page, click Import configuration (see 1 in the image below).
In the Select a configuration window, navigate to and then click the
.lnconfigxfile that you want to import, and then click Open.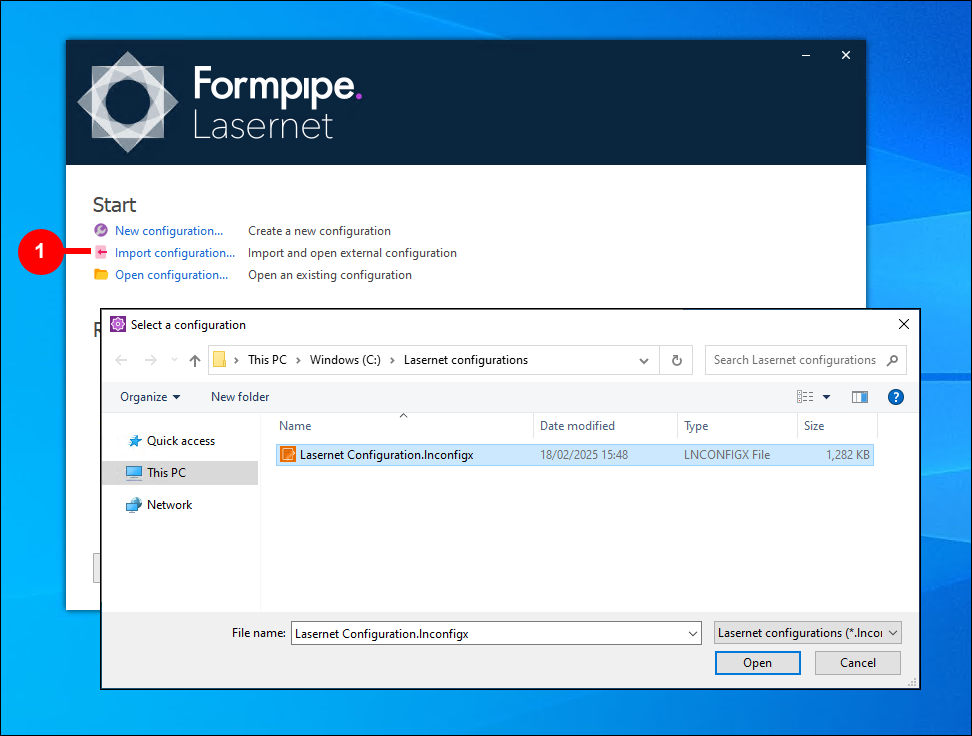
If prompted, in the Include Grab window, click Yes to import the configuration and the grab files that it contains, or click No to import only the configuration.
Lasernet Developer will display an Importing Configuration message. After it imports the configuration, it will open the configuration.
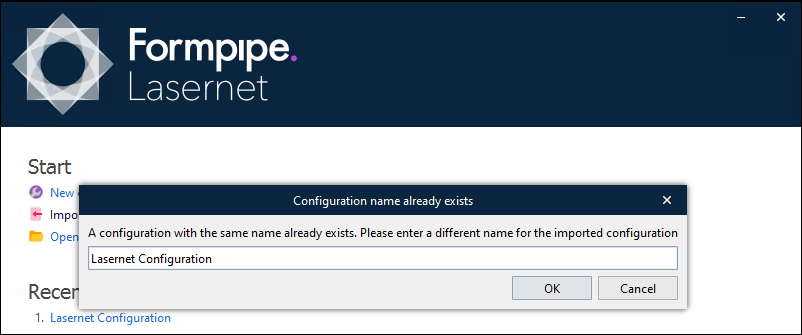
Note
Each configuration that the Config Server manages must have a unique name. If the imported configuration has the same name as an existing configuration, you must enter a different name for the imported configuration.
Note
The Lasernet Developer Guide describes how to export an entire configuration as an LNCONFIGX file.
Open a Configuration
You can open any of the configurations that are managed by the Config Server that you connect to.
When you open a configuration, it loads in Lasernet Developer, where you can modify it.
Open a Configuration That You Recently Opened
The configurations that you have recently opened are available from the Recent list on the Start page when you start Lasernet Developer (see 1 in the image below). To open the latest revision of one of these configurations, click it in the list.
To open the configuration you most recently opened, click Most Recent (2). This is equivalent to clicking the configuration that is numbered 1 in the Recent list.
.png)
Open the Latest Revision of a Configuration That Is Not in the Recent List
To open the latest revision of a configuration (that is not in the Recent list), follow these steps:
In the Windows Start menu, click Lasernet Developer 11 > Lasernet Developer 11.
Select a Config Server to connect to, then click Connect.
Log in to that Config Server.
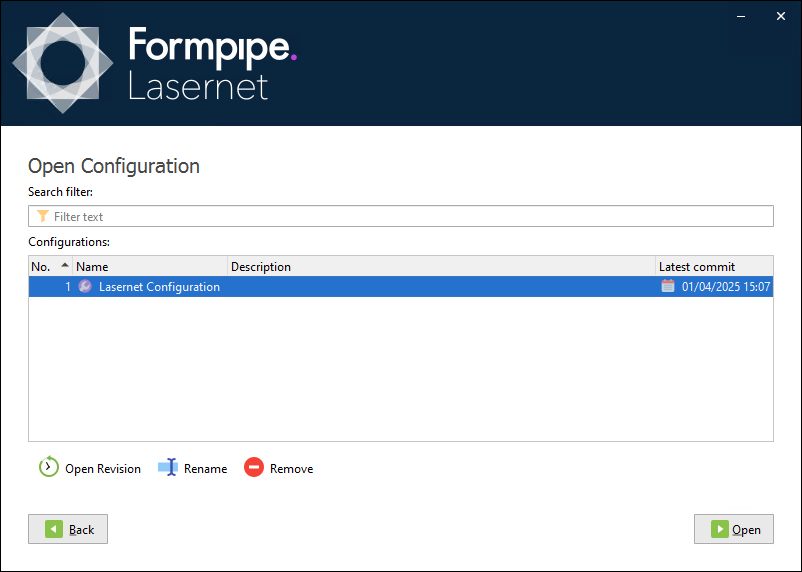
On the Start page, click Open configuration.
Select the configuration from the Configurations list, and then click Open.
Tip
Use the Search filter box to filter the list.
Open a Past Revision of a Configuration
To open a past revision of a particular configuration, follow these steps:
In the Windows Start menu, click Lasernet Developer 11 > Lasernet Developer 11.
Select a Config Server to connect to, then click Connect.
Log in to that Config Server.
On the Start page, click Open configuration.
Select the configuration in the Configurations list.
Below the Configurations list, click Open Revision.
In the Revisions list, select the revision that you want to open, and then click OK.

Lasernet Developer will open the configuration. The text in the Lasernet Developer window’s title bar indicates that you are viewing a past revision of the configuration. For example: Lasernet Configuration (Revision 1) - Lasernet Developer 11.
After you open the selected revision in Lasernet Developer, you can validate the configuration and view its history there, and you can export individual objects (such as modules) from it. However, you cannot commit or deploy that revision of the configuration.
If your Lasernet Core permissions grant you restricted user rights in Lasernet Developer, you can open an old revision of a configuration but most objects will be in read-only mode.