Add Environment JobInfos
- 08 May 2026
- 3 Minutes to read
- Contributors


- Print
- PDF
Add Environment JobInfos
- Updated on 08 May 2026
- 3 Minutes to read
- Contributors
- Print
- PDF
Article summary
Did you find this summary helpful?
Thank you for your feedback
Applies to: Lasernet Core 11
You can add JobInfos at the environment level. The JobInfos that you add in Manage (or the Lasernet Config web app) for a particular Lasernet Core environment are available to use by the configuration running on that environment.
When Lasernet Developer or a Lasernet Core environment loads a configuration, it receives a JobInfo list from the Config Server. The full list of JobInfos available to the configuration running on that environment are these environment JobInfos, the built-in Lasernet Core JobInfos, and any user-defined custom JobInfos added within the configuration itself.
Note
For more information about JobInfos, see the Lasernet Developer Guide.
Add an Environment JobInfo
To add a JobInfo to an environment, follow these steps.
Manage
In the side menu, click System Configuration (see 1 in the image below).
On the Environments tab, click the tile (2) for the Lasernet Core environment that you want to add a JobInfo for.
In the properties pane for the environment, click New JobInfo (3).
.png)
Enter the properties of the new JobInfo:
Name: The name of the JobInfo.
Description: An optional description.
Groups: Optionally, you can add the JobInfo to groups.
Value: The initial value of the JobInfo.
You can enter a value or leave the box empty.
To assign a text value, click the Text button and then enter a value into the Value box.
To assign a binary file value, click the File button, then click the Value box. In the Open window, select a file, then click Open. If a binary file value is assigned, Value contains Binary followed by the file’s size in bytes (in brackets).

Click Save JobInfo.
Click Confirm.
Lasernet Config Web App
Note
The Lasernet Config web app was provided with earlier versions of Lasernet Core. It is a legacy web app and will be deprecated in a future version of Lasernet Core.
Expand for information
Sign in to the Lasernet Config web app.
In the Tools menu, click Environments.
Click the environment that you want to add a JobInfo for, then click Edit in the toolbar.
On the JobInfo tab, click Add (below the JobInfo list).
In the JobInfo Properties window, configure the new JobInfo. Each property has a maximum length of 30 characters.
JobInfo: The name of the JobInfo.
Value: The initial value of the JobInfo.
You can enter a value or leave the box empty.
To assign a binary file value, click the three dots at the end of the box, click the file, then click OK.
If a binary file value is assigned, Value contains binary data followed by the file’s size in bytes (in brackets).
Password: Select this to denote that Value is a password. The characters in Value will be obscured.
Group: Optionally, you can add the JobInfo to a group.
Description: An optional description.
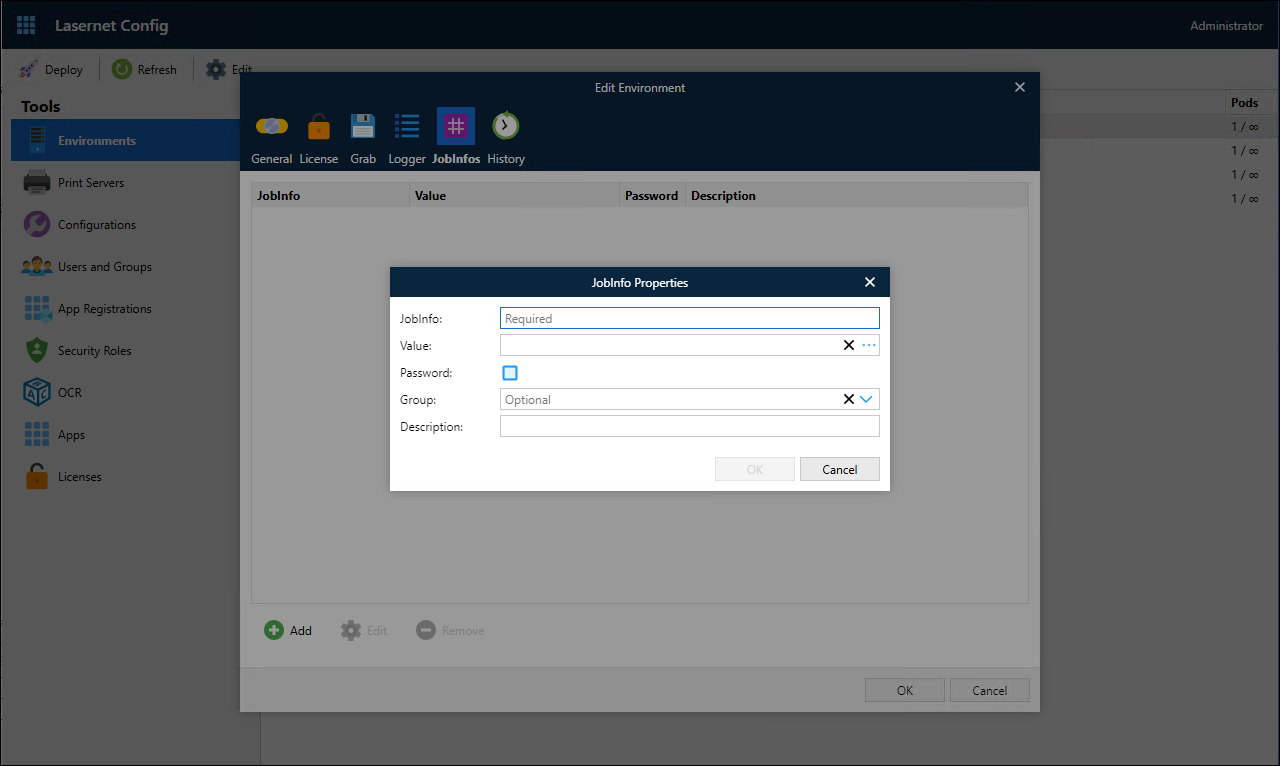
Click OK to close the JobInfo Properties window.
Click OK to close the Edit Environment window, save your changes, and make them available (for example, in Lasernet Developer).
Edit an Environment JobInfo
Your actions depend on the tool you are using.
Manage
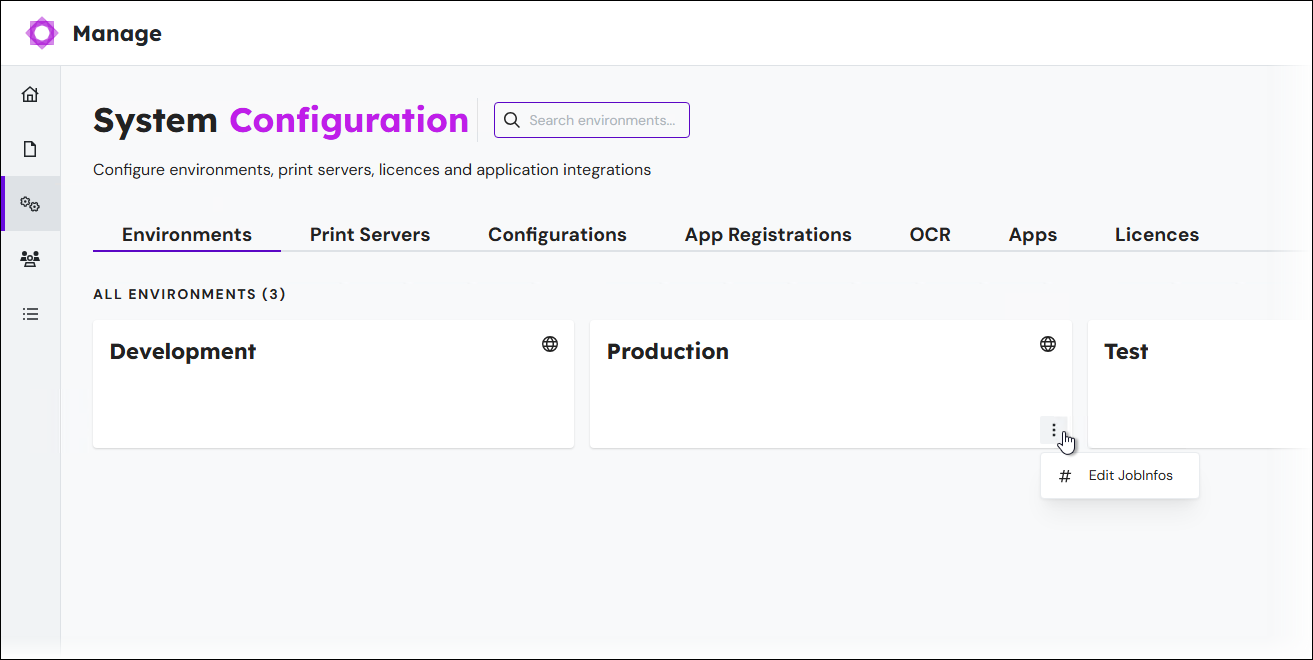
In the side menu, click System Configuration.
On the Environments tab, click the menu button (three vertical dots) on the environment whose JobInfo you want to edit, then click Edit JobInfos.
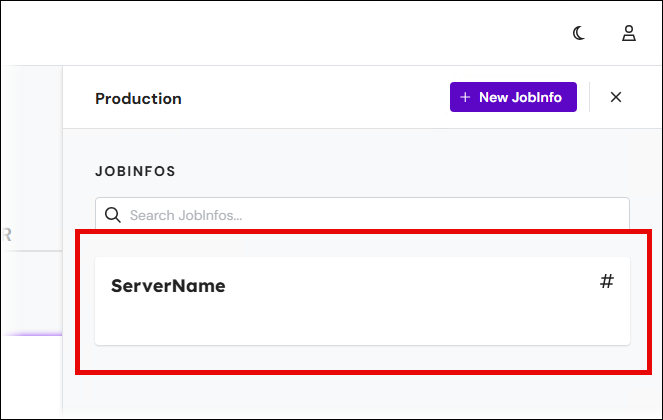
In the JobInfos area, click the JobInfo that you want to edit.
Edit the JobInfo’s properties, then click Save JobInfo.
Click Confirm.
Lasernet Config Web App
To edit any property of an environment JobInfo, select it, click Edit below the list, make changes to the JobInfo, then click OK.
Delete an Environment JobInfo
Your actions depend on the tool you are using.
Manage
In the side menu, click System Configuration.
On the Environments tab, click the menu button (three vertical dots) on the environment whose JobInfo you want to edit, then click Edit JobInfos.
In the JobInfos area, click the menu (three dots) button on the JobInfo that you want to delete, then click Delete.
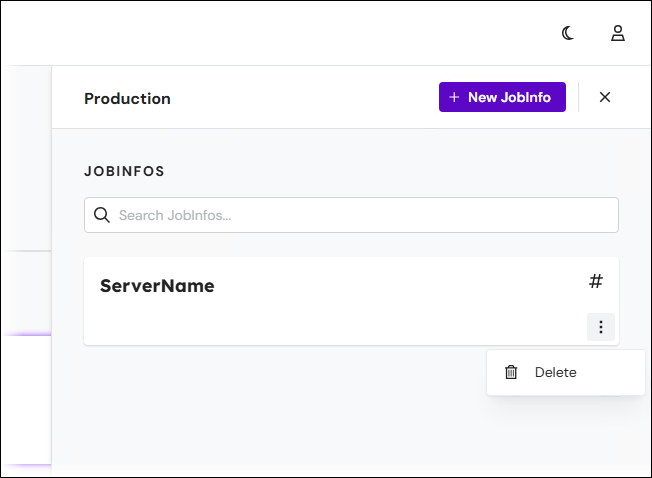
In the Delete JobInfo window, click Confirm.
Click Confirm.
Lasernet Config Web App
To delete an environment JobInfo, select it, click Remove (located below the list), then click OK in the Remove Jobinfo window.