XLSX Output (Calculation)
- 06 Mar 2026
- 1 Minute to read
- Contributors


- Print
- PDF
XLSX Output (Calculation)
- Updated on 06 Mar 2026
- 1 Minute to read
- Contributors
- Print
- PDF
Article summary
Did you find this summary helpful?
Thank you for your feedback
Applies to: Lasernet 9
Introduction
In the previous exercise, you have created an output of the XLSX format. Now you are proposed to finalize creating the output by applying the required style and adding calculations.
Note
This article describes a software version that is no longer supported. Although the software will no longer receive updates or technical support, existing documentation, such as this article, will be retained for reference purposes but will no longer be updated. If you have any questions, contact Lasernet Support.
Exercise
Download and import the attached configuration called 09. XLSX Output (Calculation) in Lasernet Developer 9. Afterward, navigate to the Forms section and open the Sample form.
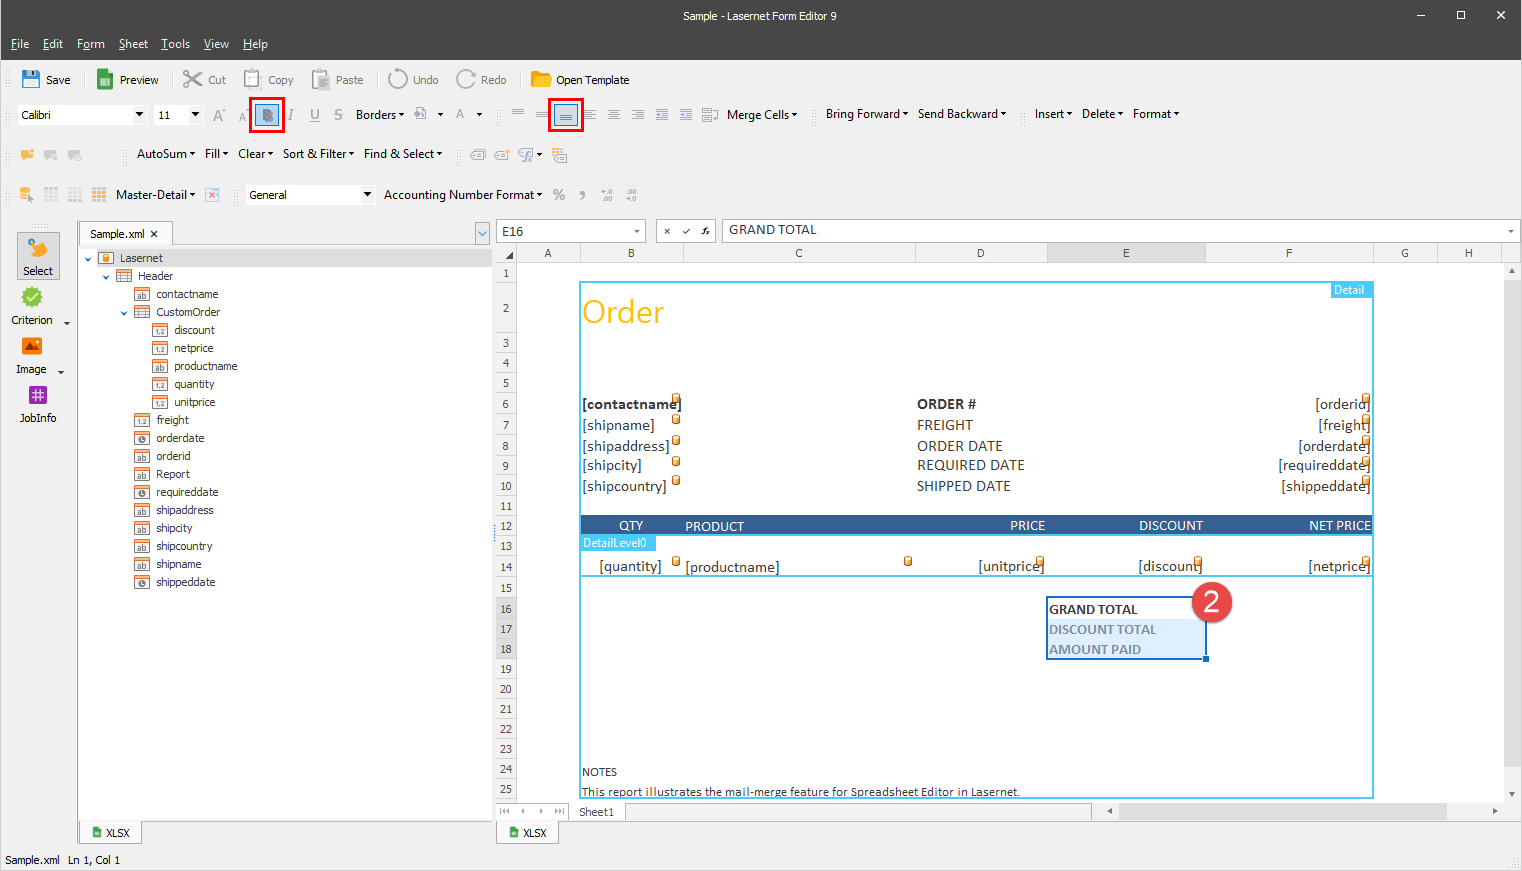
In the output, click on the cell as it is shown in the following image, and then type the following text in it: GRAND TOTAL.
.png)
Use the two cells following the one to type the following text in each: DISCOUNT TOTAL and AMOUNT PAID, respectively.
Once the cells contain the required text, select them and then format them using the buttons on the toolbar. As a result, the output looks like the one in the following image:
Click in the cell next to the GRAND TOTAL one, and then type =SUM(RANGE($D$14)) in the formula bar or directly to the cell.

Let us consider what =SUM(RANGE($D$14)) means. So, in the cell, we want to get a sum of numbers in the range into which the specified template cell is expanded in a merged document. It is a unit price range giving us a grand total sum.
Repeat the step to enter =SUM(RANGE($E$14)) next to the DISCOUNT TOTAL cell as well as =SUM(RANGE($F$14)) next to the AMOUNT PAID cell. So, we can have a sum for the discount total and the amount paid respectively.
Once you are done, select them, and then format the cells using the buttons on the toolbar. As a result, the output looks like the one in the following image:

To make sure that all the required elements are added to the template, preview it by clicking the Preview button on the toolbar.
