Wave Labels
- 19 Feb 2026
- 7 Minutes to read
- Contributors

- Print
- PDF
Wave Labels
- Updated on 19 Feb 2026
- 7 Minutes to read
- Contributors
- Print
- PDF
Article summary
Did you find this summary helpful?
Thank you for your feedback
Introduction
Wave labels are standard Dynamics 365 functionality. Wave label printing offers an alternative approach to label printing by introducing a new wave-step method that lets users create and print labels directly from the wave template during wave execution.
Therefore, the labels will already be available before workers run the work order on a mobile device. Workers can then attach the required labels during picking instead of after picking.
Wave labels can also be used with Lasernet. However, this requires Lasernet FO Connector configuration as well as Dynamics 365 configuration. This guide will explain the Lasernet FO Connector configuration and, partially, the Dynamics 365 configuration. However, due to the complexities involved, this section of the Warehouse Labels User Guide will not cover the complete setup required to print Wave labels.
Refer to Microsoft’s documentation for more information on how Wave labels can be configured in Dynamics: https://learn.microsoft.com/en-us/dynamics365/supply-chain/warehousing/configure-wave-label-printing.
Lasernet FO Connector Configuration
This section will explain the Lasernet FO Connector configuration needed to create an XML file for a Wave label, which can be used with a Lasernet configuration. This guide will not explore how to configure the Lasernet Developer.
Lasernet Report
The LACWHSWaveLabels Lasernet Query is used as an alternative to the standard Dynamics 365 solution for printing Wave labels.
The LACWHSWaveLabels Lasernet Query can be manually added to your Lasernet FO Connector configuration by following these steps:
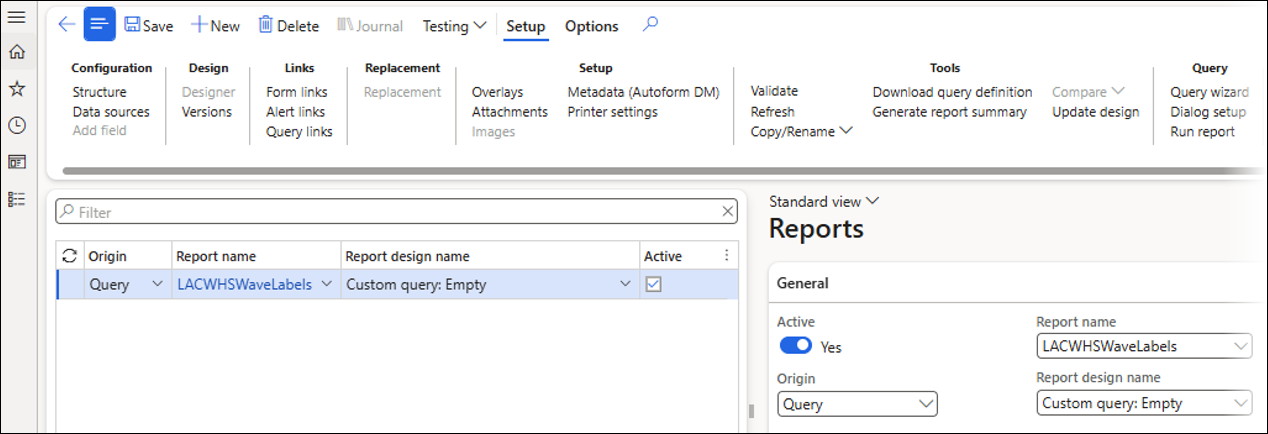
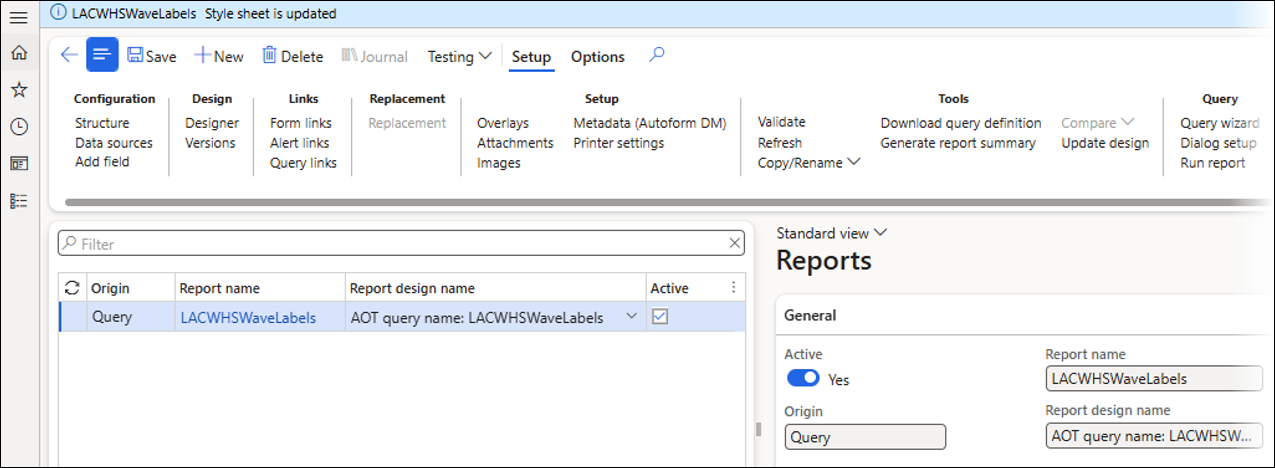
Navigate to Lasernet > Common > Reports.
Create a new report.
Origin: Query
Report name: LACWHSWaveLabels
Active: Yes
Archive: Default (this is useful for testing but is usually turned off in a Prod environment)
Save XML: Yes (this is useful for testing but is usually turned off in a Prod environment)
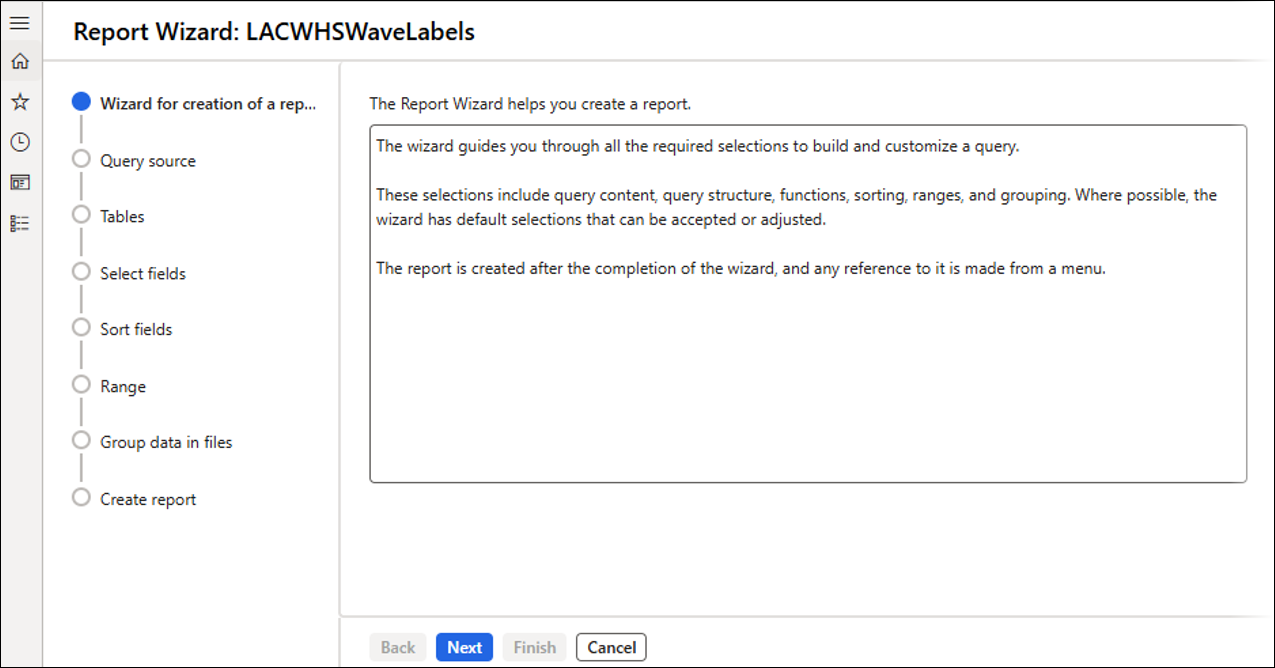
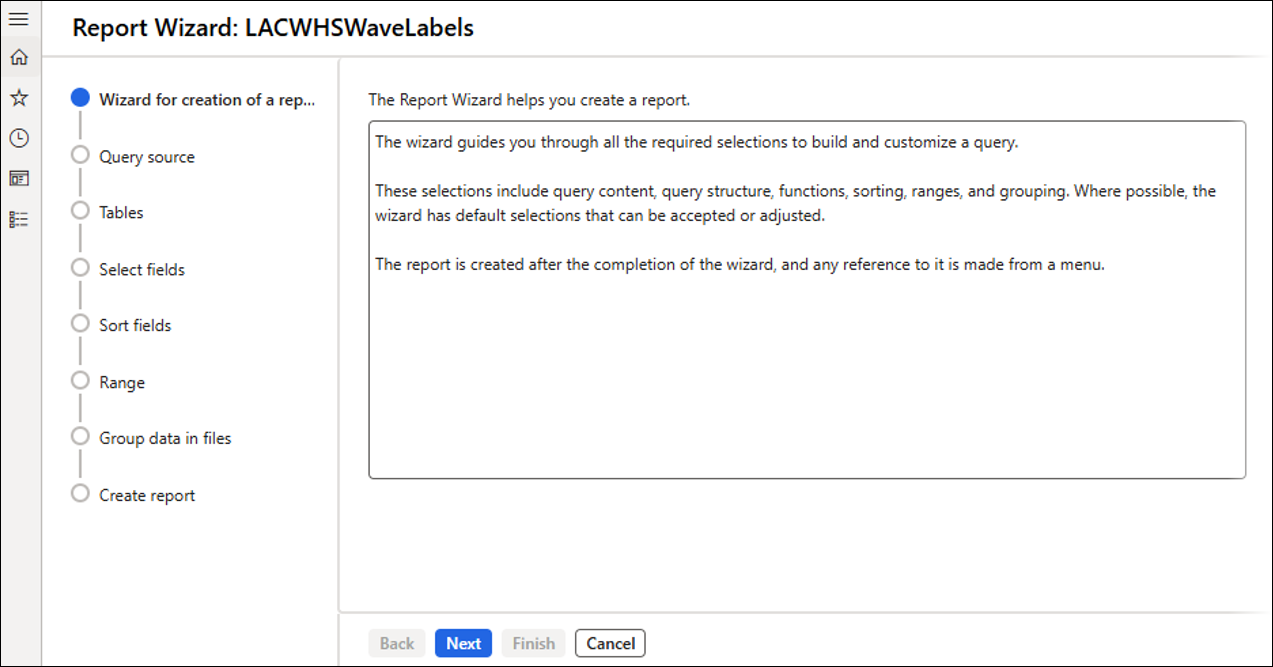
Click Query Wizard.
Click Next.
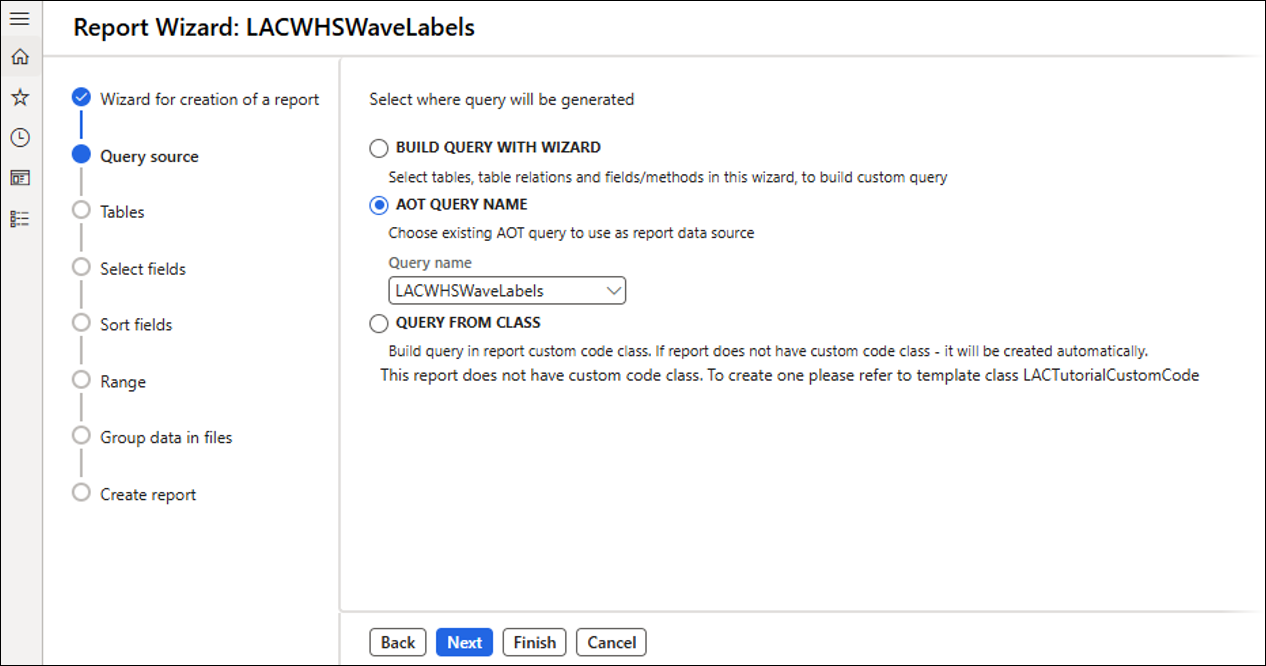
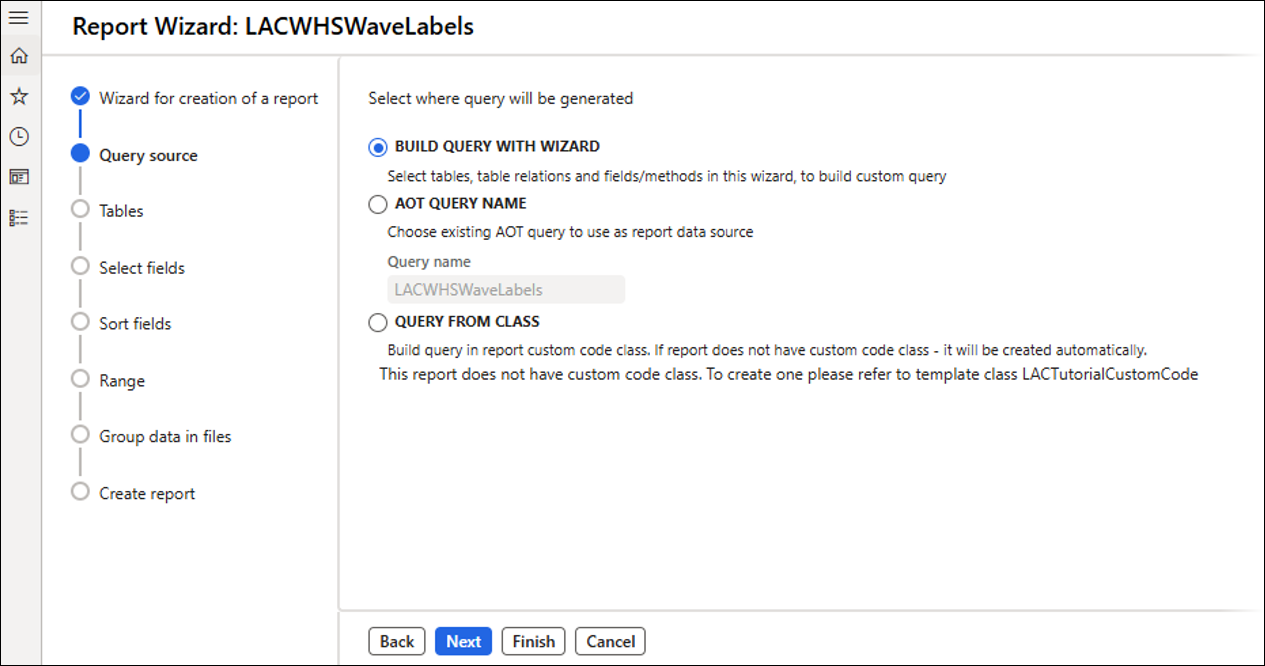
Select the AOT QUERY NAME option.
Select LACWHSWaveLabels from the Query name field.
The LACWHSWaveLabels AOT Query is included as part of the Lasernet FO Connector deployable package.
Click Finish.
Ensure the LACWHSWaveLabels Lasernet Query is still selected, then click Query Wizard.
Note
The Query Wizard is closed and then re-opened, so the default tables and fields will be visible when the Query Wizard is re-opened. The tables and fields may not be visible if you were to select BUILD QUERY WITH WIZARD before clicking Finish.
Click Next.
Change the selection from AOT QUERY NAME to BUILD QUERY WITH WIZARD.
This option must be selected if additional tables and fields are needed that are not part of the default tables and fields for this Lasernet Query.
Click Next.
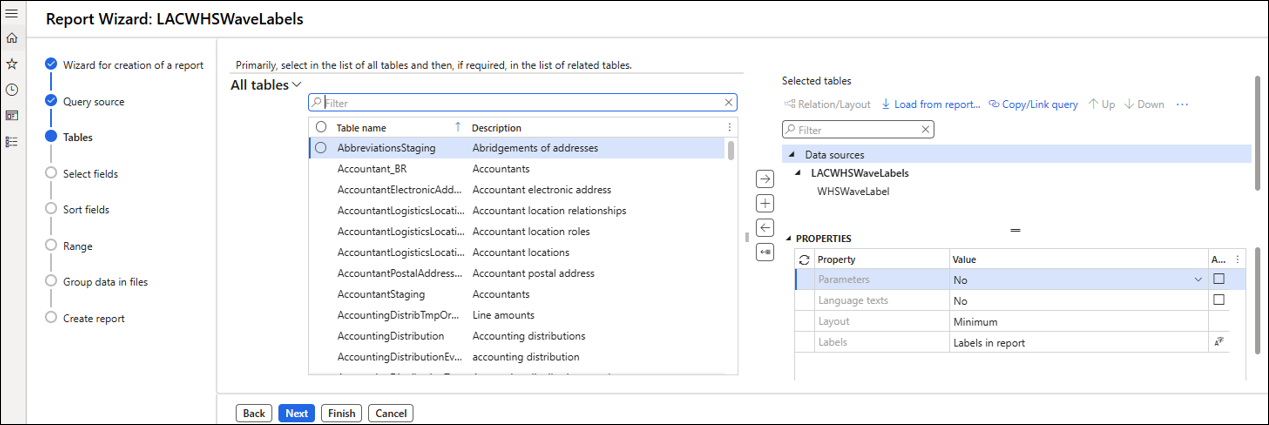
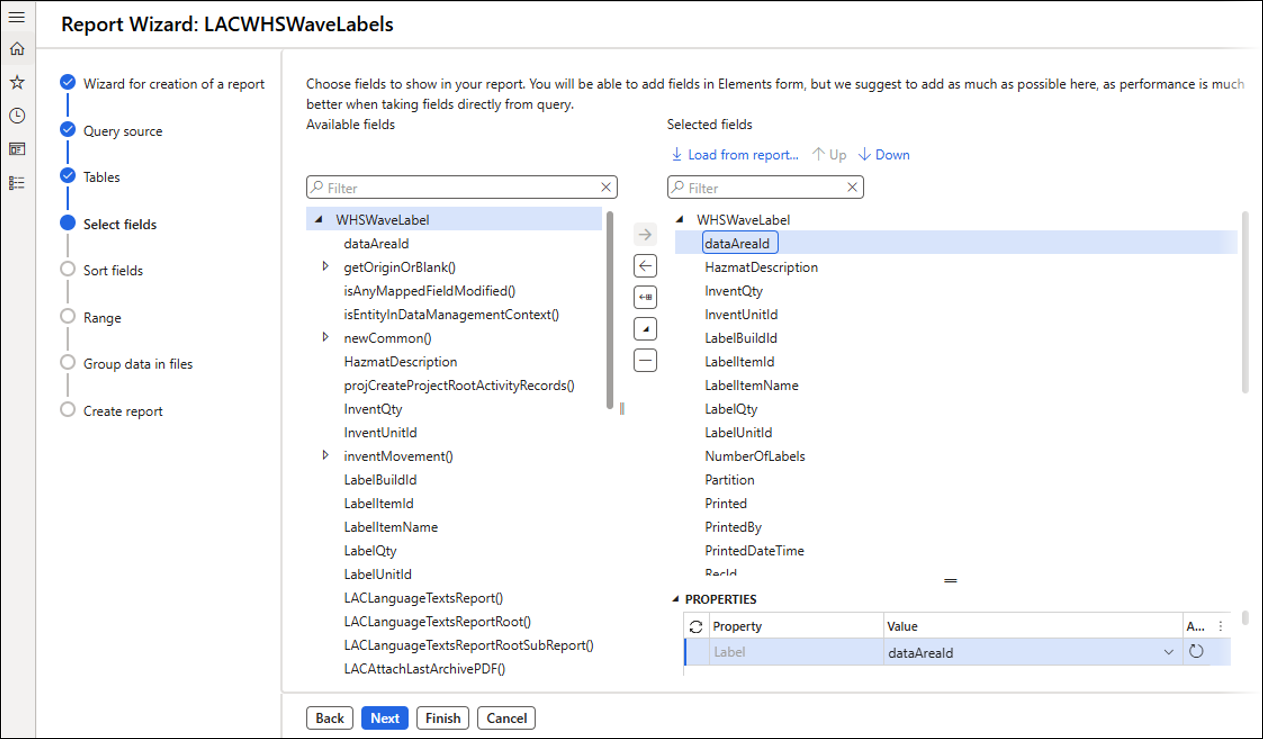
The fields that are typically used for a Wave label are included in the WHSWaveLabel default table.
The WHSWaveLabel default table should not be removed. However, you can join it to other tables if needed.
Click Next.
Some fields have already been included from the default table. However, additional fields can be added if needed.
Click Finish.
Quick Destinations
A Quick destination needs to be set up as a prerequisite for a Wave label template, which is needed to print a Lasernet Wave label.
A Quick destination is used to define a print destination. For example, a Quick destination can be created for:
Lasernet Print – Send to a specific printer.
Lasernet Email – Send to a specific email address.
Lasernet Predefined - Can be used to send the label to a different print destination based on the scenario.
Lasernet Screen – A Wave label is generated as a background process, so it will not be displayed on the user’s screen. However, the report will still be generated since the record can be seen in the Lasernet Archive.
A Quick destination can be created by following these steps:
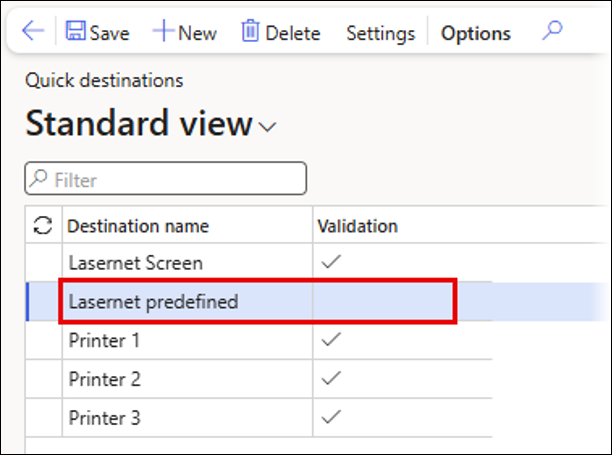
Navigate to Lasernet > Setup > Quick destinations.
Click New to create a new Quick destination.
Enter Lasernet Predefined.
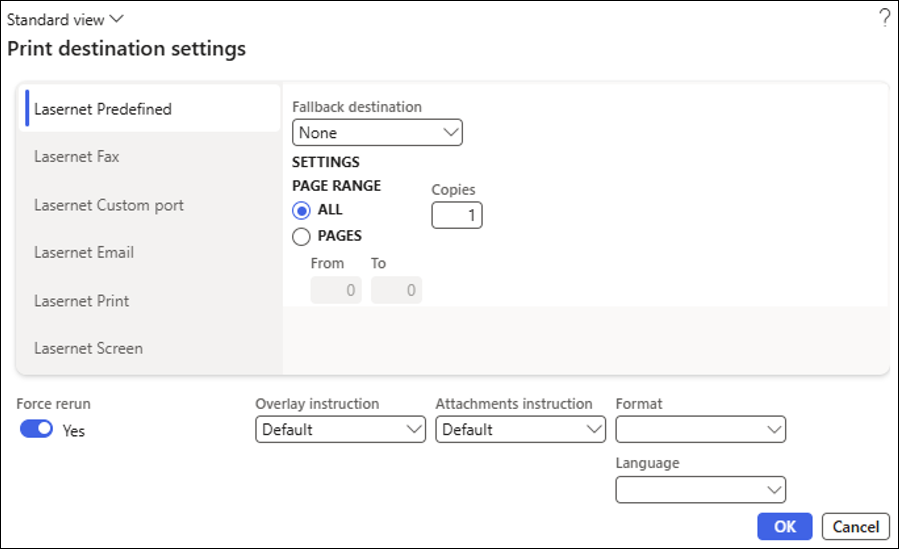
Click Settings to define the print destination. The following options are available:
Lasernet Predefined
Lasernet Fax
Lasernet Custom port
Lasernet Email
Lasernet Print
Lasernet Screen
A Lasernet Print or Lasernet Predefined destination is often used when printing a Wave label in a Prod environment. In this example scenario, Lasernet Predefined is used.
Click OK.
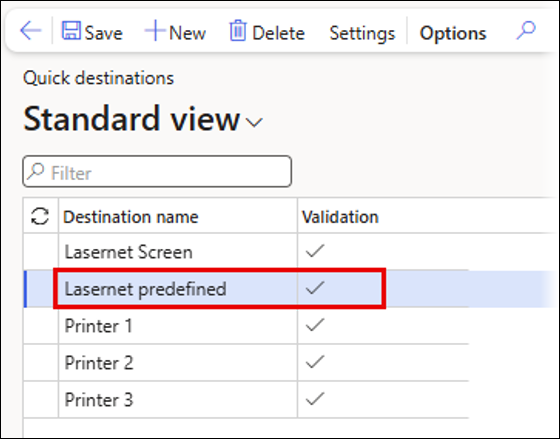
The Validation field has been updated since a valid print destination has been selected.
The Quick destination will be linked to a Wave label template.
For more information, refer to the Wave label templates section of this guide.
Dynamics Configuration
This section outlines the configuration required for a simple Wave labels scenario. The example configuration changes are made in a demo environment and within the USMF legal entity.
Note
These configuration changes are based on the USMF demo data, which may differ from your data and configuration.
Refer to Microsoft’s documentation for more information on how Wave labels can be configured in Dynamics: https://learn.microsoft.com/en-us/dynamics365/supply-chain/warehousing/configure-wave-label-printing.
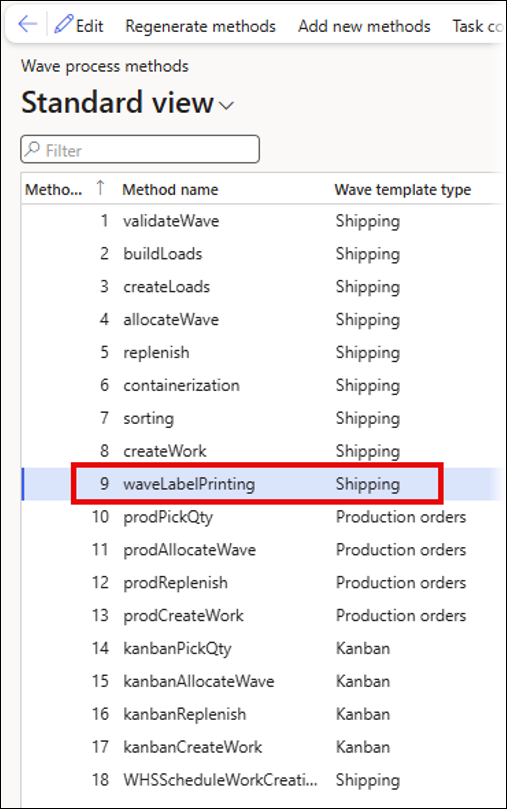
Wave Process Methods
A Wave label printing method is required for a Wave template.
Navigate to Warehouse management > Setup > Waves > Wave process methods.
Ensure that waveLabelPrinting is on the list. If it is not, click Regenerate methods on the Action Pane to add it.
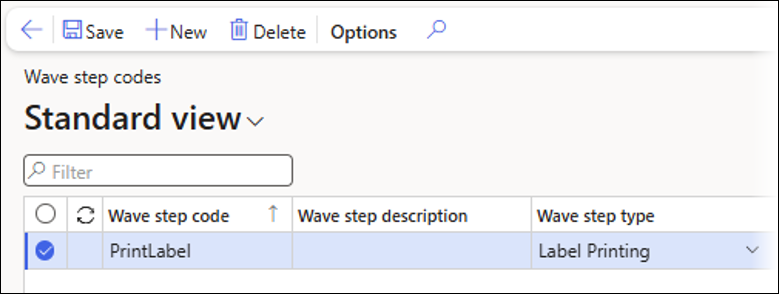
Wave Step Code
A Label Printing Wave step code is required for a Wave label template.
Navigate to Warehouse management > Setup > Waves > Wave step codes.
Create a Wave step code and name it PrintLabel.
Select the Label Printing Wave step type.
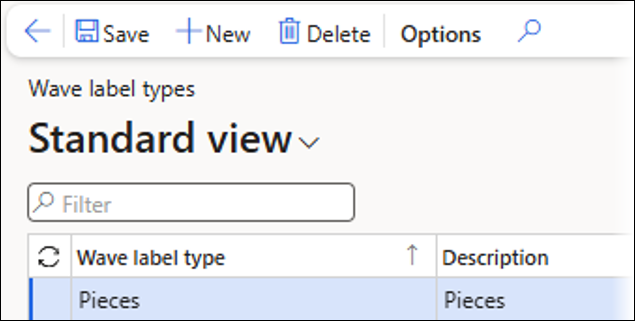
Wave Label Type
Wave label types are used to link Wave label templates to a unit on unit sequence group lines.
Navigate to Warehouse management > Setup > Document routing > Wave label types.
Create a Wave label type and name it Pieces.
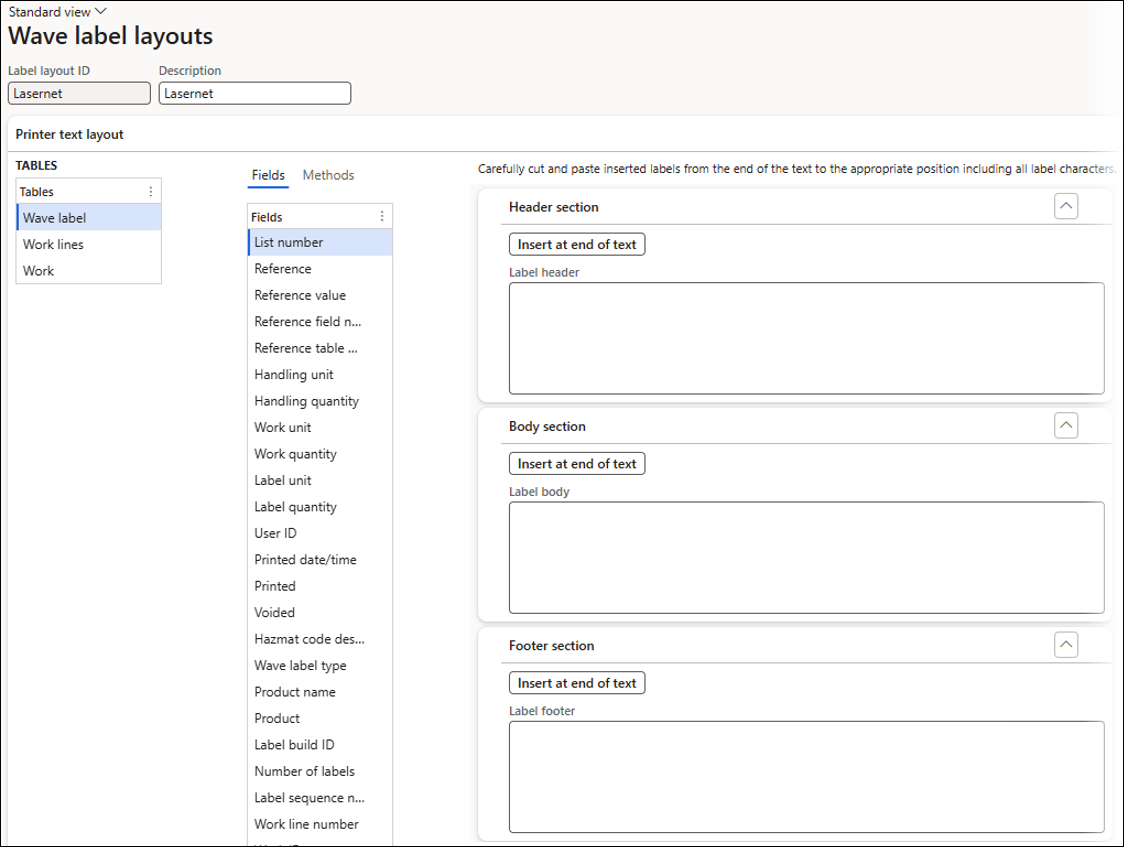
Wave Label Layouts
In standard Dynamics 365, a Wave label layout is used to control what information is printed on the Wave label using ZPL code. This is a mandatory setup, as a Wave label layout is needed for the Wave label template.
Navigate to Warehouse management > Setup > Document routing > Wave label layouts.
Create a Wave label layout and name it Lasernet.
ZPL code is not needed here because the layout is defined in the Lasernet Developer and is not using ZPL code. Therefore, no changes need to be made to the Printer text layout FastTab.
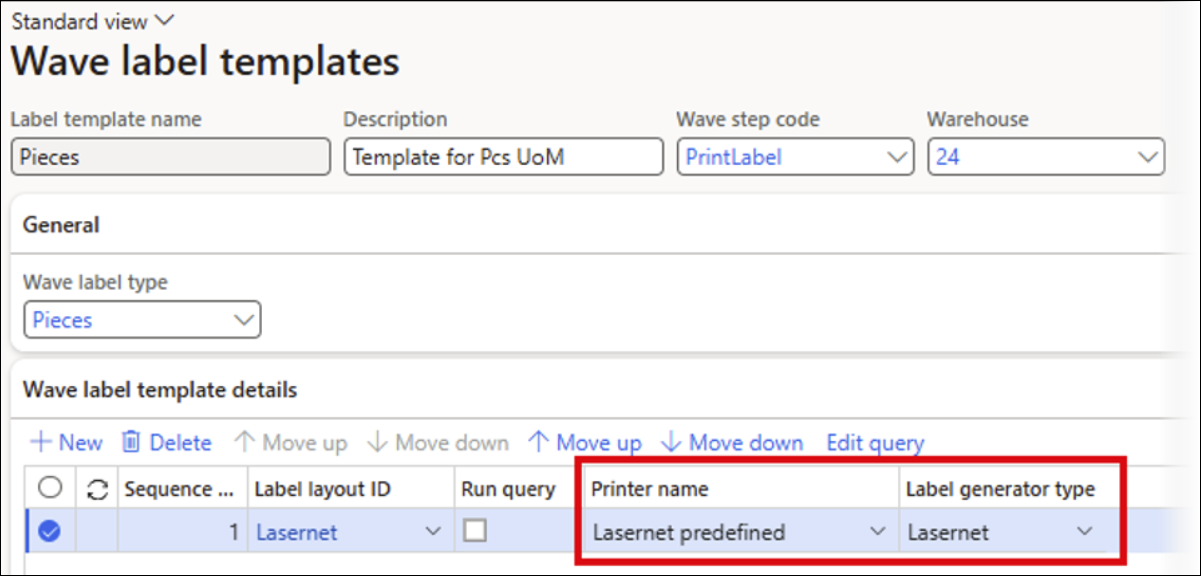
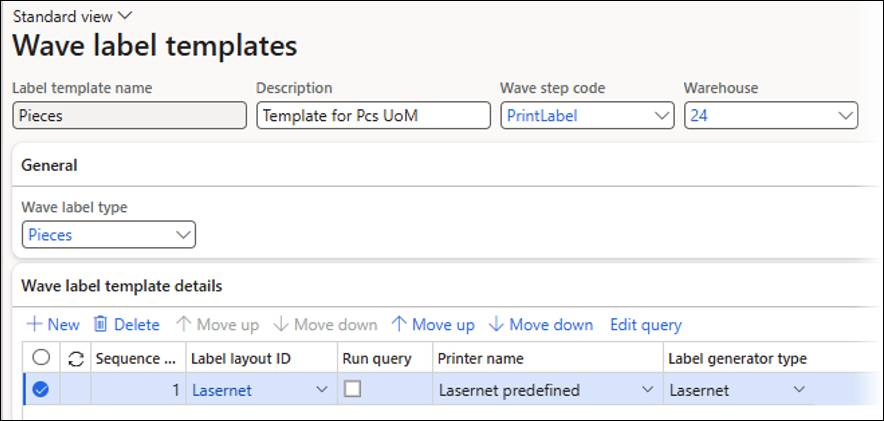
Wave Label Templates
Wave label templates tell the system which label layout to use.
Navigate to Warehouse management > Setup > Document routing > Wave label templates.
Enter the following details for this example scenario:
Label template name: Pieces
Description: Template for Pcs UoM
Wave step code: Select the PrintLabel Wave step code that was created earlier.
Warehouse: Warehouse 24
Wave label type: Select the Pieces Wave label type that was created earlier.
Wave label template details FastTab
Sequence: 1
Label layout ID: Select the Lasernet Label layout ID that was created earlier.
Run query: No
Printer name: The Lasernet Quick destinations are available for selection once the Label generator type is set to Lasernet. Lasernet Predefined will be used for this scenario.
Label generator type: Lasernet
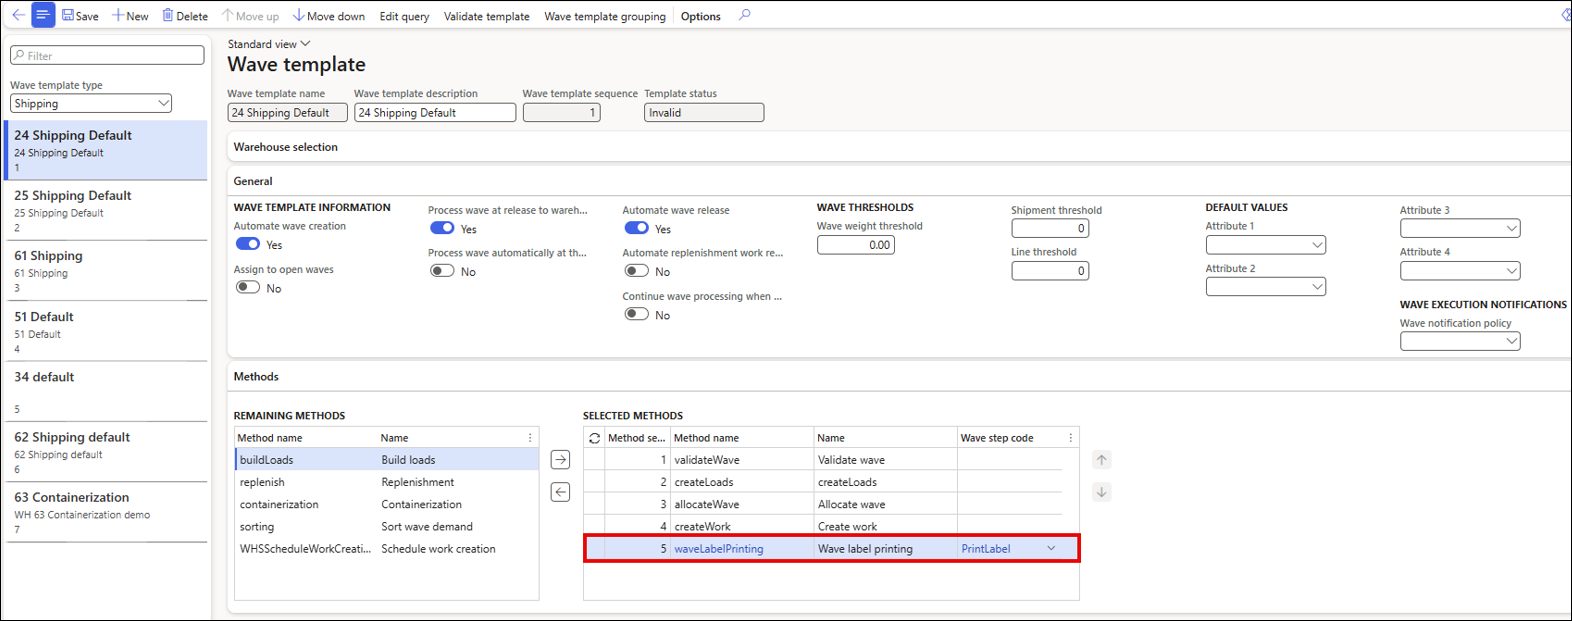
Wave Templates
Wave templates are used to define tasks and criteria for processing orders in waves. The waveLabelPrinting Wave process method should be configured here, along with the PrintLabel Wave step code.
Navigate to Warehouse management > Setup > Waves > Wave template.
Select the 24 Shipping Default Wave template name.
Add a waveLabelPrinting method to the SELECTED METHODS.
Select the PrintLabel Wave step code that was created earlier.
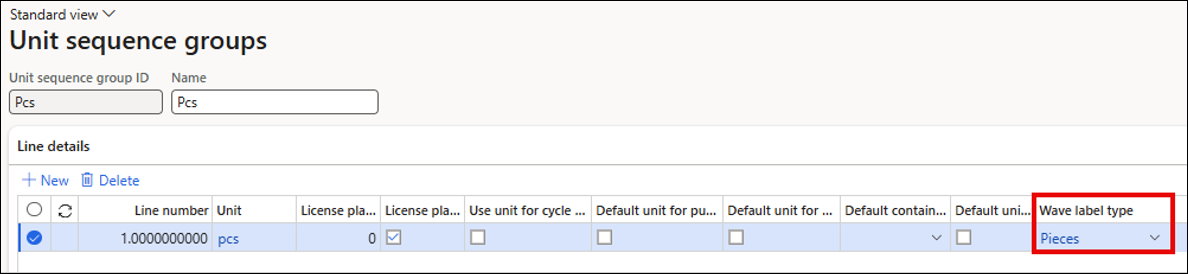
Unit Sequence Group
A Unit sequence group is used to link the Pieces Wave label type to the Pcs Unit sequence group ID.
Navigate to Warehouse management > Setup > Warehouse > Unit sequence groups.
Add the Pieces Wave label type to the Pcs Unit sequence group.
Scenario: Using Wave Labels
Create Sales Order
Follow these steps:
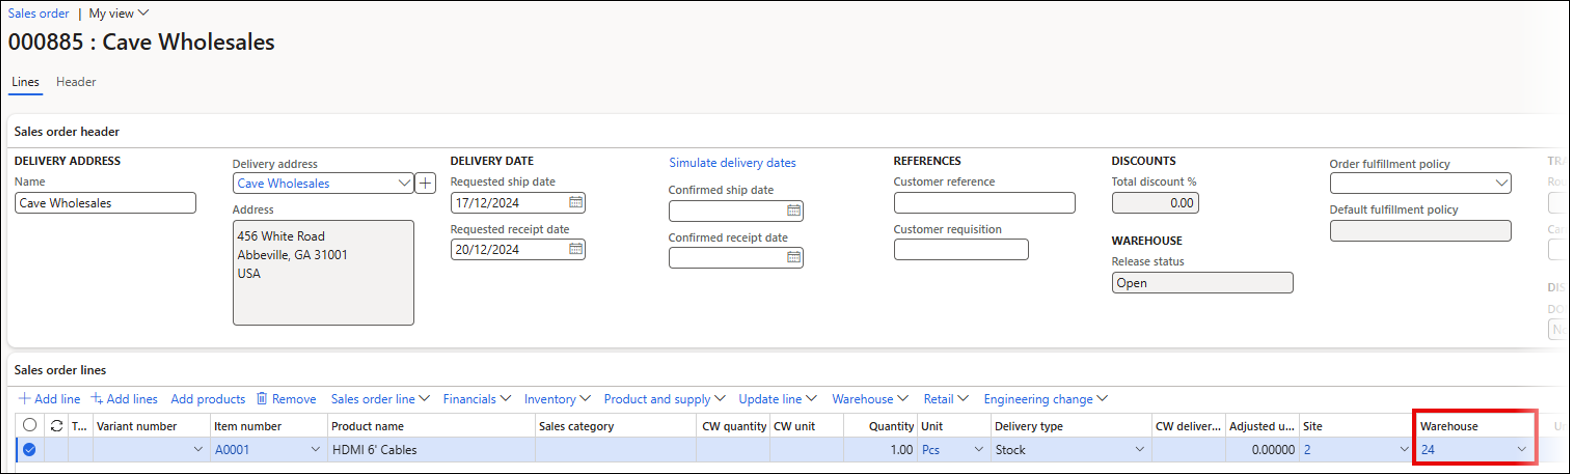
Create a Sales order.
Add a Sales order line for Item number A0001.
Set Warehouse to 24.
Reservation
Click Inventory > Reservation.
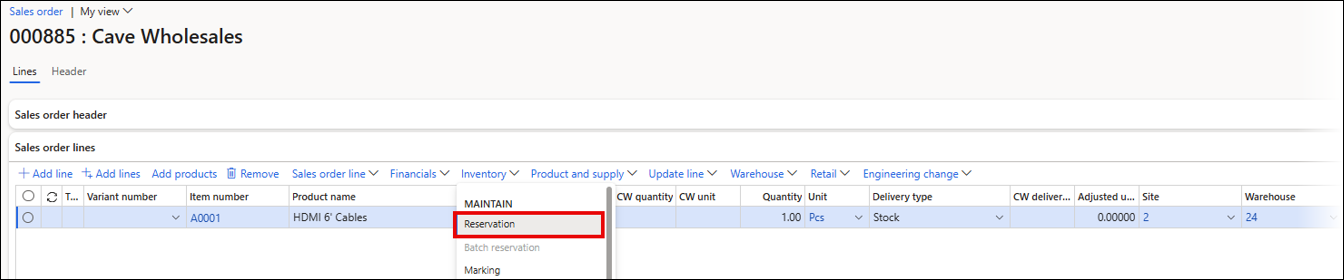
Click Reserve lot.
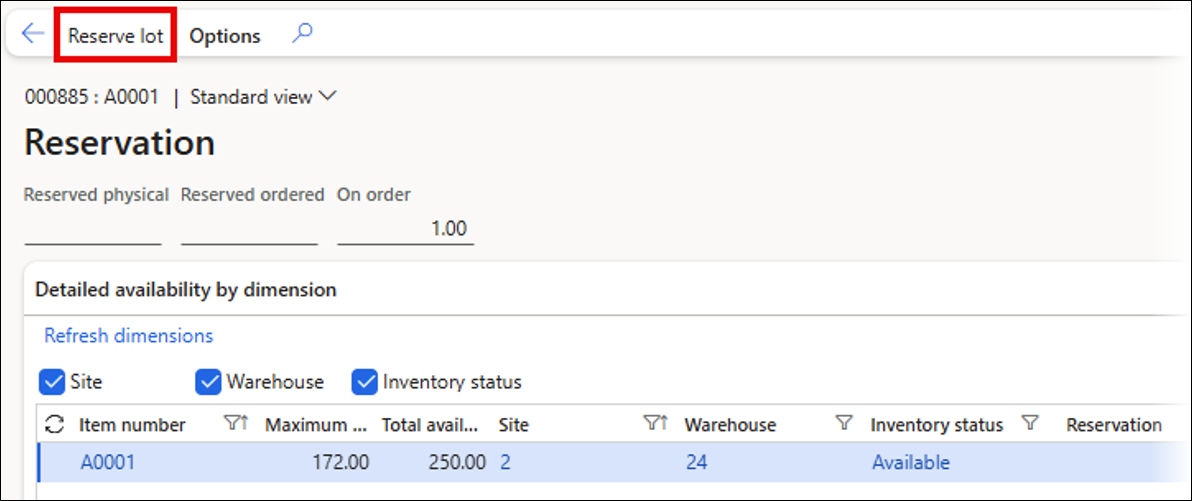
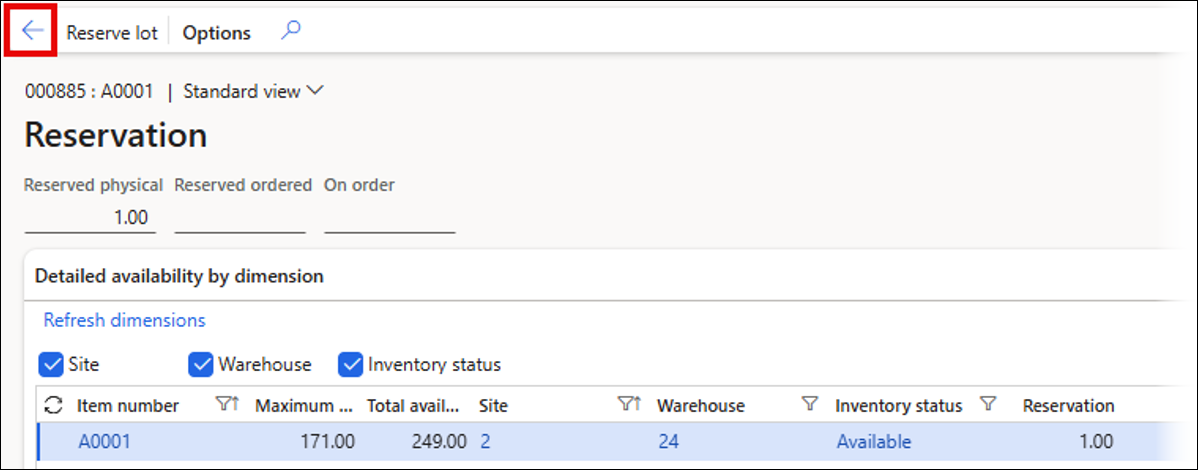
The Item has now been reserved.
Click ←.
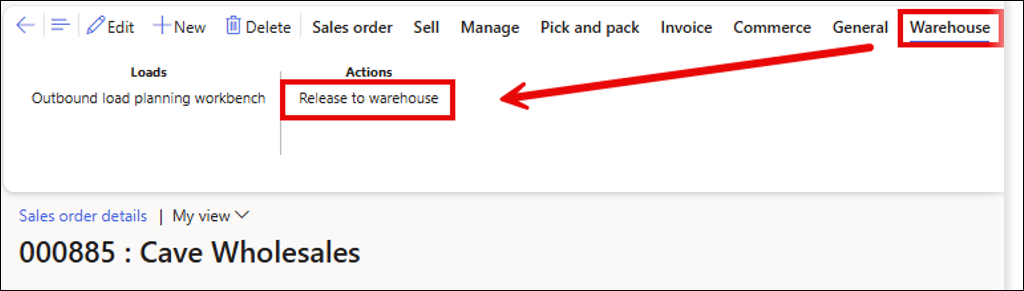
Release to Warehouse
Select the Warehouse tab.
Click Release to warehouse.
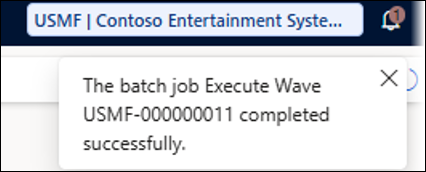
Execute Wave Batch Job
A wave is submitted to run in a batch job once the Sales order line is released to the warehouse.
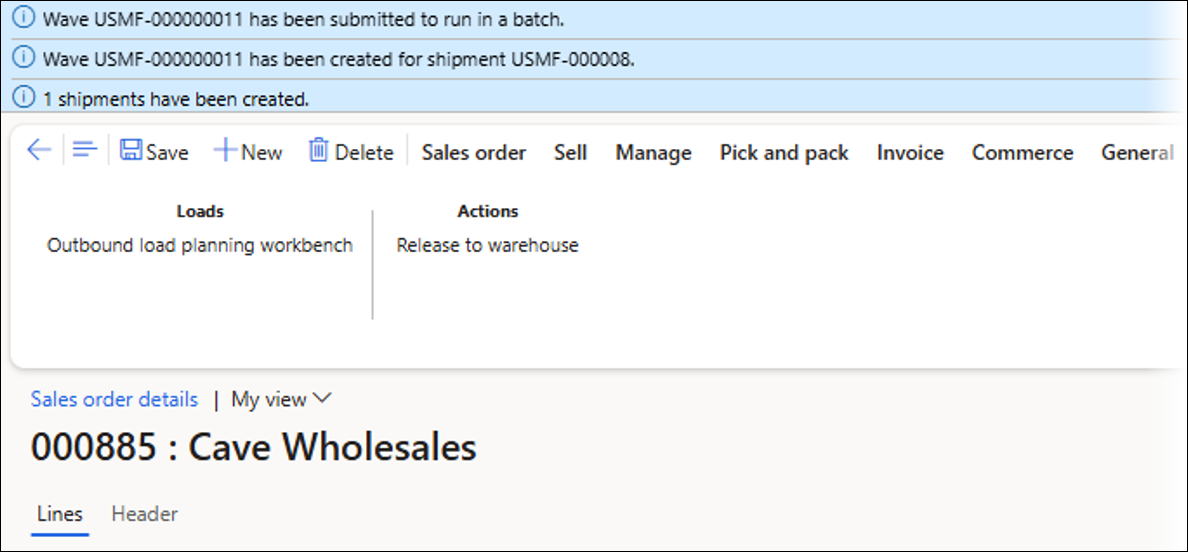
A Wave label will be created once the batch job has been completed successfully.
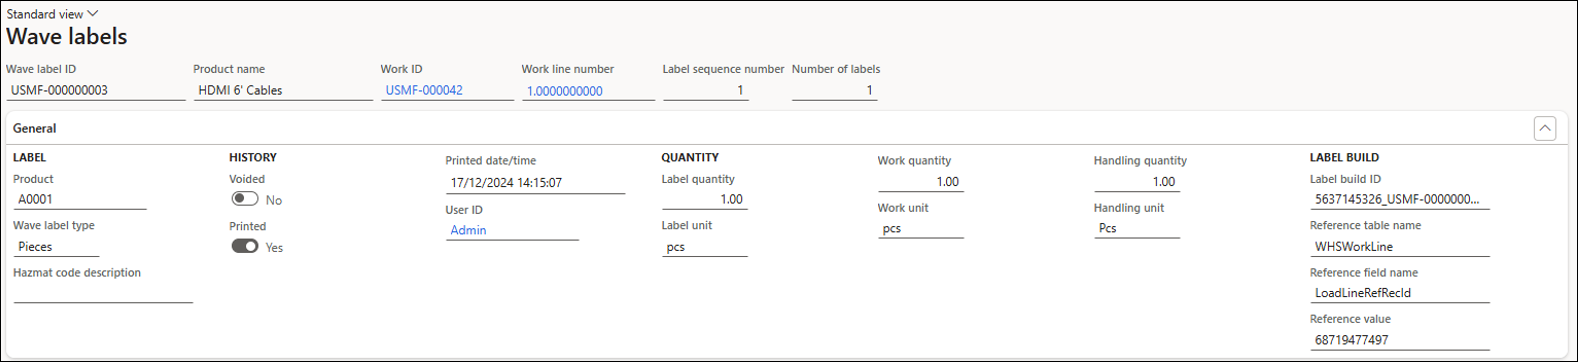
Wave Labels
Two Wave labels have been created. These can be seen by navigating to Warehouse management > Inquiries and reports > Wave labels.
Two Wave labels have been created for this Work ID: one for the Pick and one for the Put.
Note
The Printed field is set to Yes for the Pick Wave label ID. Therefore, this is sent to the Lasernet print destination (the Put Wave Label ID is set to No and, therefore, is not printed).
The Wave label for the Pick has been sent to the Lasernet predefined print destination and a record has been created in the Lasernet Archive. In this scenario, the predefined destination was Printer 1. The following is the Lasernet Archive record for the Pick Wave label:
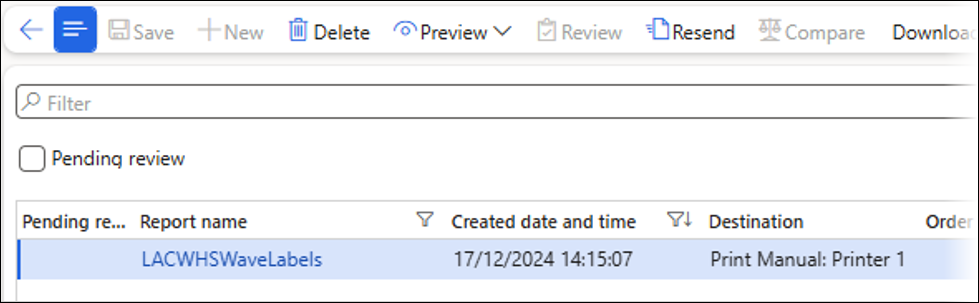
Note
The Lasernet Archive has been turned on for this scenario, but it is typically turned off in a Production environment, due to the additional costs associated with saving the labels in the Archive. However, Wave labels can be easily re-printed from the Wave labels form, which is covered in more detail in the next section of this guide.
Once the Wave label is printed, the warehouse workers can then attach this label during picking.
Re-Print Wave Labels Using a Form Link
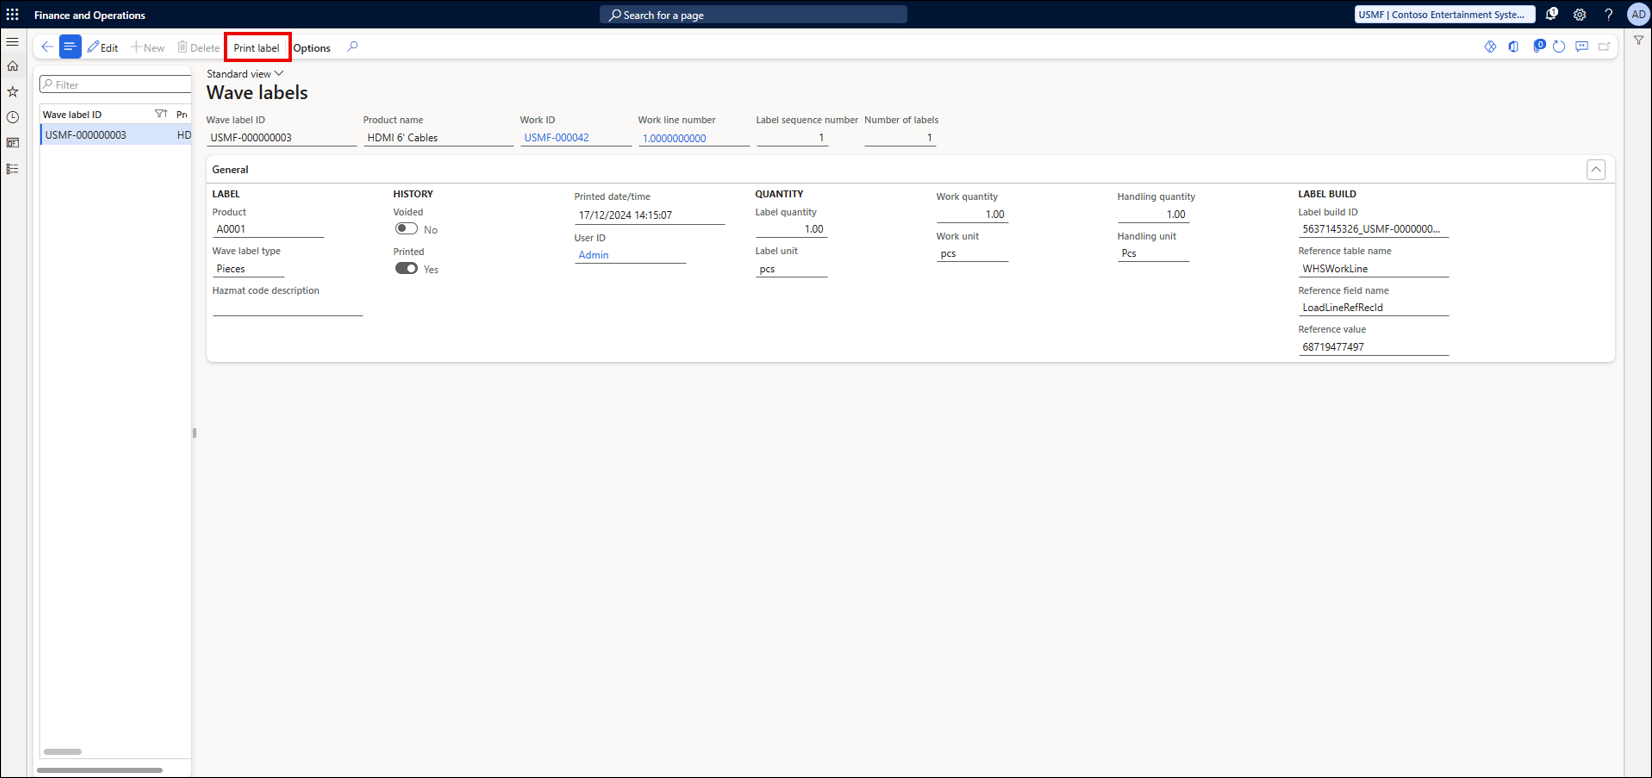
Wave labels can be found by navigating to Warehouse management > Inquiries and reports > Wave labels.
By default, only one print option for a standard Dynamics SSRS report is available, which can be printed by clicking the Print Label button.
However, a Form link can be added to the LACWaveLabels report to add a print button to the Lasernet version of the Wave label.
Navigate to Lasernet > Common > Reports.
Select the LACWHSWaveLabels report.
Click Form links.
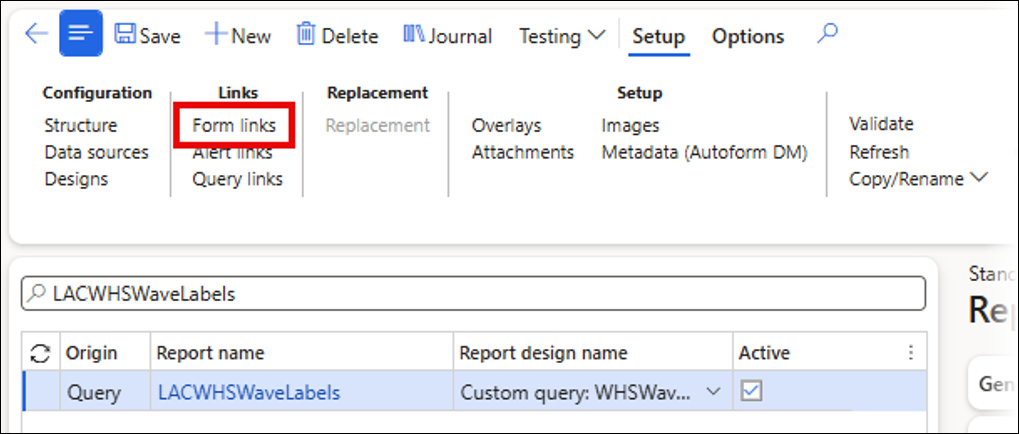
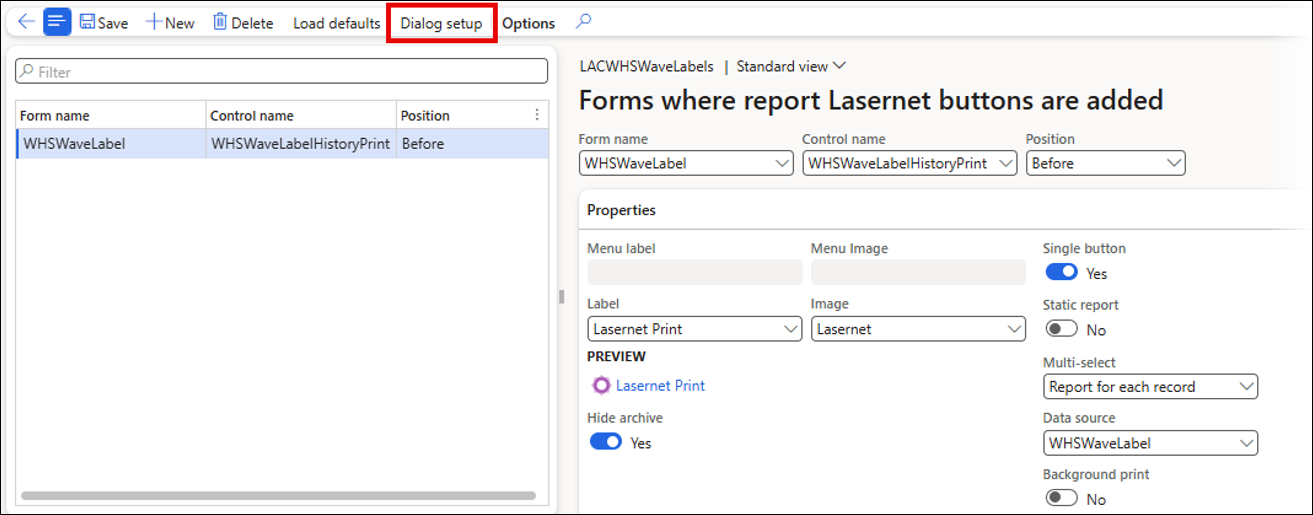
Create a Form link for the WHSWaveLabel form with the following configuration, then click Dialog setup.
Click Default ranges.

Add the following Range. This needs to be added using the Range Expression button:
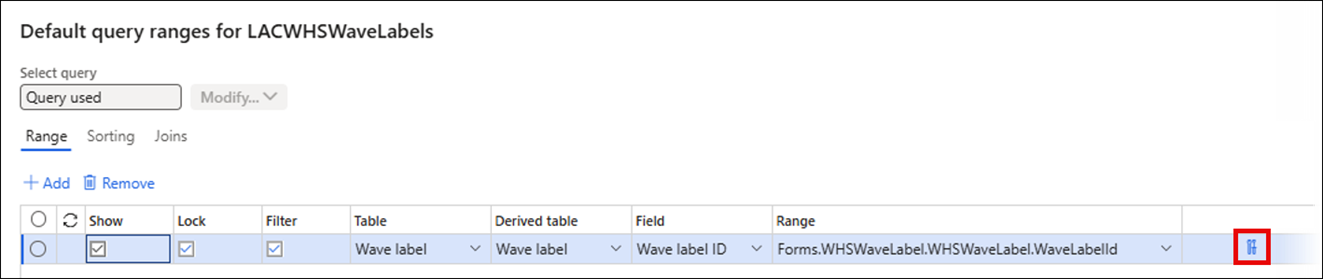
Save the changes.
Navigate to Warehouse management > Inquiries and reports > Wave labels.
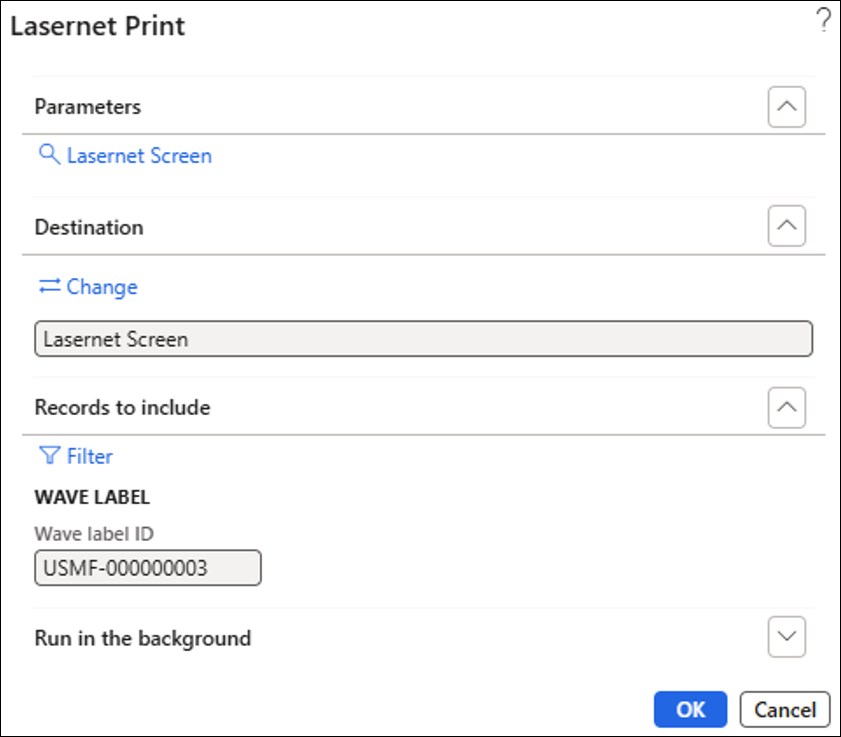
Select a Wave label and then click the Lasernet print button.

Click Change to select a Lasernet print destination.
The Wave label ID has been pre-populated with the selected Wave label from the list page.
Click OK to print the Lasernet version of the Wave label.