Use the Lasernet XML Transformer
- 16 Apr 2026
- 5 Minutes to read
- Contributors

- Print
- PDF
Use the Lasernet XML Transformer
- Updated on 16 Apr 2026
- 5 Minutes to read
- Contributors
- Print
- PDF
Article summary
Did you find this summary helpful?
Thank you for your feedback
Applies to: Lasernet Core 11
To use the Lasernet XML Transformer, follow the process described on this page.
Create a Form
Before you create a new XML Transformer form, must add an XML Transformer engine to the Lasernet Core workflow. To do this, follow these steps:
In the Lasernet Developer Tools pane, click Modules.
In the Modules pane, click Engine.
Scroll down the list of Lasernet Core engines and double-click XML Transformer.
In the XML Transformer Properties window, click OK. Lasernet Developer adds an XML Transformer engine to your workflow.
In the Lasernet Developer Tools pane, click Forms.
In the main area of Lasernet Developer, click the name of the engine that you created (by default, XML Transformer 1).
In the Lasernet Developer toolbar, click Add.
In the Form Properties window, enter properties for your new form, and then click Ok.
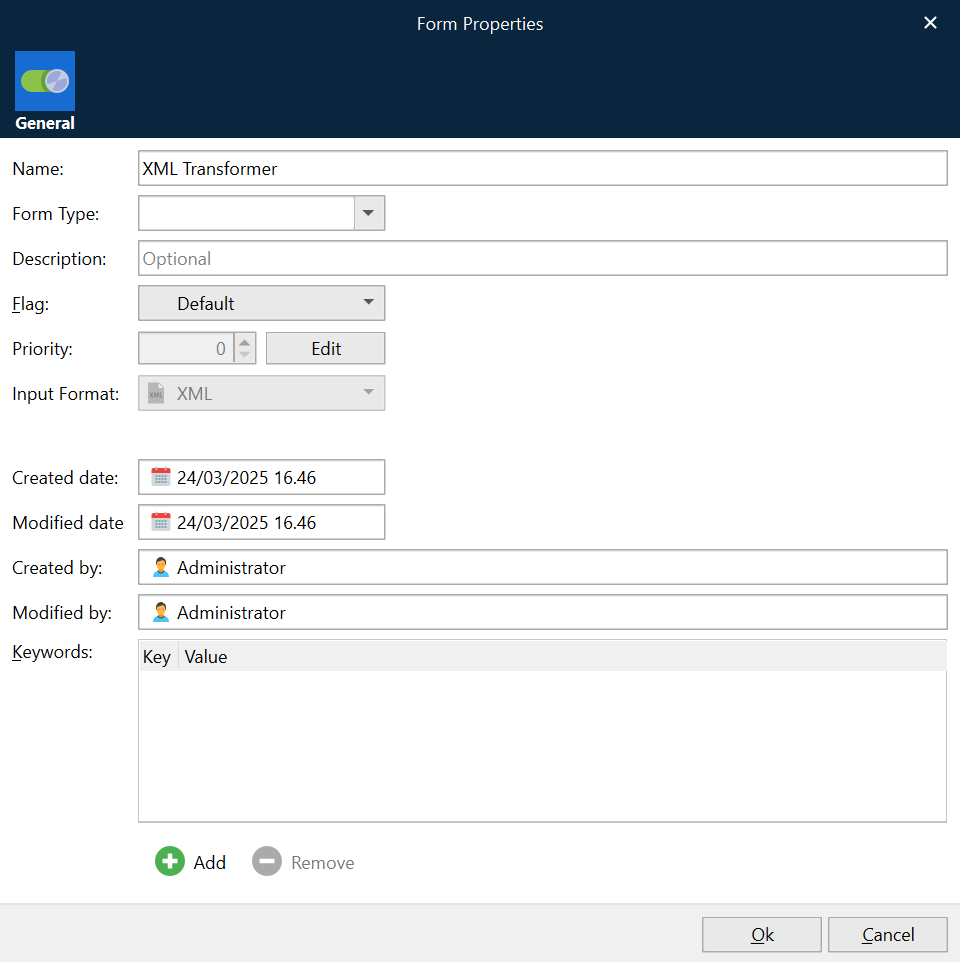
Lasernet Developer adds a new XML Transformer form under the XML Transformer engine (in the main area of Lasernet Developer).
To edit the new form, double-click it. The Lasernet XML Transformer Editor 11 window opens.
The form is initially empty, so you must select a grab file (to enable you to design the XML Transformer form).
Editor Options
After you have created at least one form, ensure that the XML Transformer Editor options are set as needed. You can access the options by clicking File > Options in the Lasernet XML Transformer Editor 11 window. The options defined affect all forms in this Lasernet Core configuration. You can change these options at any time.
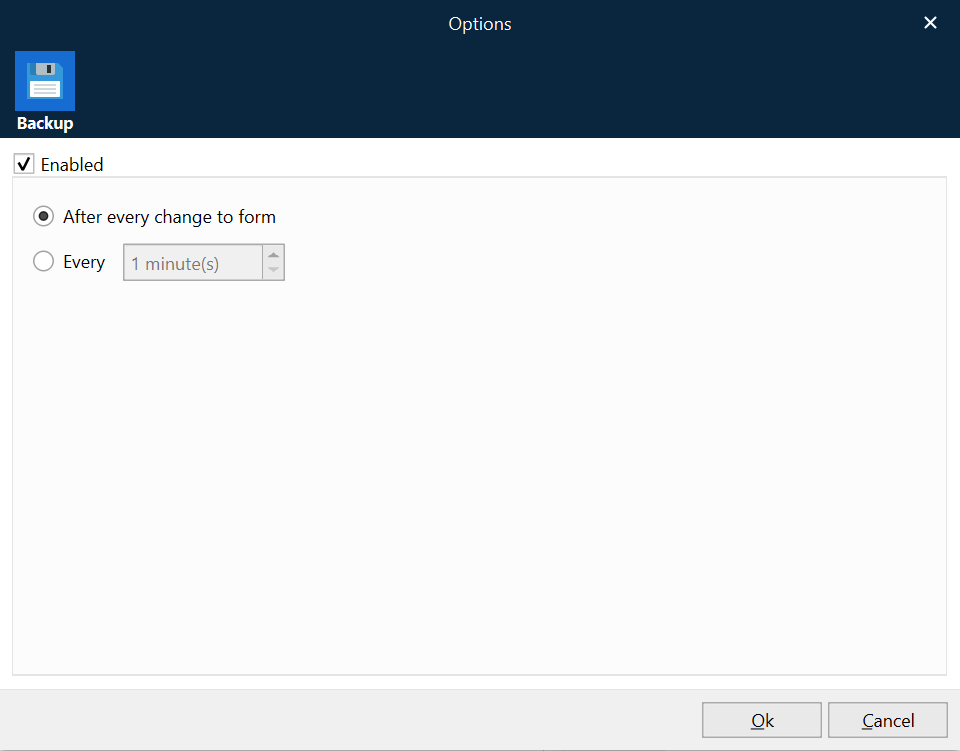
In the Options window, you can define the Backup options. You can enable or disable the continuous backup. If enabled, you can also specify whether the backup process occurs after every change to a form or at a specified interval (for example, every 60 minutes).
Select a Grab File
To select a grab file, follow these steps:
In the Grab area of the toolbar, click Open.

In the Open Grab File(s) window, browse to the location on your computer where the relevant grab file is located. This is usually the Grab subdirectory of your configuration. Select the grab file you want to use and then click Open.
After the grab file opens, you can change the font and zoom level for the input and output areas of the Lasernet XML Transformer Editor 11 window. To do this, click XML > Options. Set your preferred font type (Consolas is default) and the zoom level.
Define Criteria
You can use a grab file to define various criteria that your XML Transformer form will use to recognize input data files.
Criteria are used to look for key data in specific locations in a data input file to ensure that the right input file has been received. Criteria also ensure that the correct form is used for the received data. If the input data does not satisfy the criteria defined in this form, the file is not processed by this form.
To define a criteria for the form, follow these steps:
Open a grab file. For instructions, see Select a Grab File.

On the toolbar on the left side of the window, click Criterion.

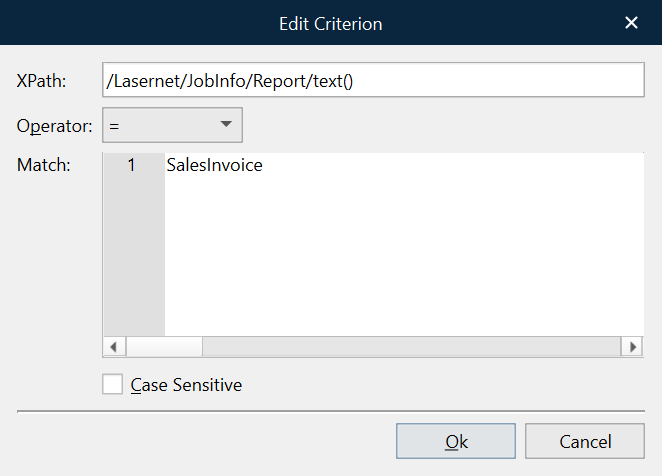
After the cursor turns into a + (plus) sign, click the XML node that you want to create criteria on. A populated Edit Criterion window opens.
In the Edit Criterion window, check the following properties of the criteria and modify them if necessary:
If necessary, select Case Sensitive.
Click OK. The Criteria window opens. The new criteria is listed there.
Click OK. The Criteria window closes.
Edit Criteria
To edit the criteria, double-click the string on which it has been created.
XPath
The name of the XML node, including the top node.
Operator
The following operators are available:
contains
Returns true if the text data contains the match string.
not contains
Returns true if the text data does not contain the match string.
=
Returns true if the text data matches the match string.
<>
Returns true if the text data does not match the match string.
Operators < <= > >=
These operators try to convert the value of the text data and match string to numbers before comparing them. From here it is possible to make numerical comparisons. If at least one of the text strings is not converted to a number, a regular string comparison is performed.
like
Returns true if the text data matches the regular expression.
not like
Returns true if the text data does not match the regular expression.
exists / not exists
You can choose whether a tagname exists within the XML input file or not by using the operators “exists” and “not exists” and leaving the match string field empty.
Match
The value (criterion) of the XML node.
Case Sensitive
If checked, the string will be case sensitive.
Manually Add Criteria
Follow these steps:
On the toolbar at the top of the window, click Criteria. The Edit Criterion window opens.
Click Add Form.
Manually specify the XPath, Operator, and Match for the criteria.
If necessary, select Case Sensitive.
Click OK. The new criteria is added to the Criteria window.
Click OK. The Criteria window closes.
Schedule Criteria
You can include a schedule in the list of criteria for a form. To add schedule criteria, click Add Schedule in the Criteria window.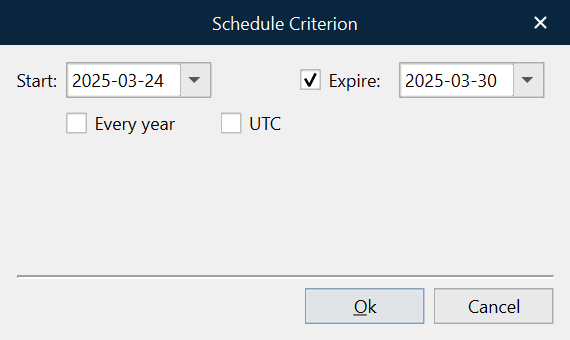
Start | The date from which the criteria is true. Choose a date from the calendar. |
Expire | If selected, this is the final date on which the criteria will be true. Choose a date from the calendar. |
Every year | If checked, the criteria is considered true between the specified Start and Expire dates (day and month) every year. |
UTC | If selected, UTC time is used instead of the Lasernet Core server time. |
Other Controls
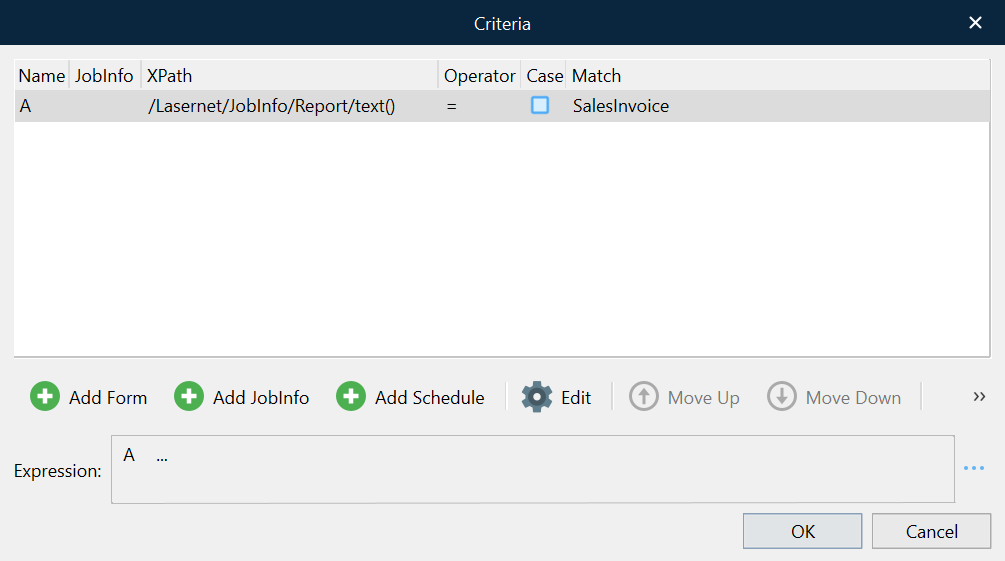
As well as manually adding additional criteria, you can also add JobInfo criteria, edit or remove existing criteria, and change the order of the criteria. The following buttons are present in the Criteria window in addition to the buttons previously described:
Add JobInfo: Add JobInfo criteria.
Edit: Edit the selected criteria.
Move Up: Move the selected criteria up the list order.
Move Down: Move the selected criteria down the list order.
Remove: Remove the selected criteria.
Form Expressions
In the Criteria window, you can use the Expression area to define logical expressions to control the evaluation of criteria.
For example:
A and B and C and D
(A or B) and (C or D)
(A or B) and not (C or D)
If no form expression is defined, all criteria must be true. The form expression field provides you with a high degree of flexibility when defining the rules to be used when recognizing data input files.
JobInfo Criteria
You can include JobInfos in the list of form criteria. To manually add a JobInfo criteria, click Add JobInfo.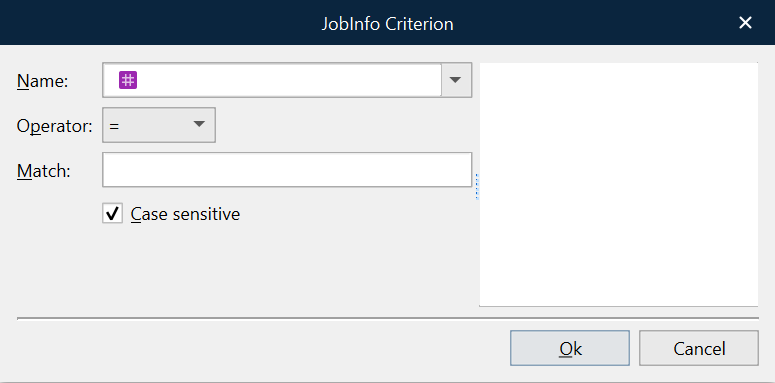
In the JobInfo Criterion window, specify the criteria:
Name | From the list, select the JobInfo that you want to work with. You can also manually type the name of a JobInfo (which could be a non-system JobInfo). |
Operator | Select the type of operator to use. |
Match | Type the value to look for in the specified JobInfo. |
Case sensitive | Select the checkbox to activate the case-sensitivity rule. |
Save the XML File
While working with an XML file, you can save a local copy of either the input or output XML at any time to preserve their current state. Right-click the XML, then select Save XML. In the Save XML to file window, specify the name and location for the file to save.
Next Steps
The next stage of the process is to specify actions and groups.