TXT (Add New Rearrange, Conditional Area and Pattern)
- 06 Mar 2026
- 4 Minutes to read
- Contributors


- Print
- PDF
TXT (Add New Rearrange, Conditional Area and Pattern)
- Updated on 06 Mar 2026
- 4 Minutes to read
- Contributors
- Print
- PDF
Article summary
Did you find this summary helpful?
Thank you for your feedback
Applies to: Lasernet 9
In the current exercise, you are proposed to add a new rearrange and a new pattern, as well as define a conditional area to the input of the TXT format.
The Rearrange tool is one of the Lasernet Form Editor's most important functions. It defines variables in the input data files and maps them to the output form fields.
Using the Conditional Area function, areas in the input files can be defined and included in the print when certain conditions are satisfied. This can be used to recognize invoices or order lines in the corresponding documents.
Patterns are used within conditional areas to recognize specific line items. For example, a pattern is used to identify various data elements contained in an invoice or order line.
Note
This article describes a software version that is no longer supported. Although the software will no longer receive updates or technical support, existing documentation, such as this article, will be retained for reference purposes but will no longer be updated. If you have any questions, contact Lasernet Support.
Exercise
Download and import the attached configuration called 04. TXT (Add New Rearrange, Conditional Area and Pattern) in Lasernet Developer 9. Afterward, navigate to the Forms section and open the Sample form.
Once you are done, follow the steps listed below:
Add a conditional area. To this end, click the Conditional Area tool on the Developer toolbar. When a pointer becomes a cross, mark the desired area of the input data file.
At the mouse release, the conditional area is added and highlighted in the input.
Continue with adding patterns to the conditional area. Patterns are used within conditional areas to recognize specific line items. For example, you are proposed to add a pattern to identify elements containing invoice items. To this end, follow the steps listed below.
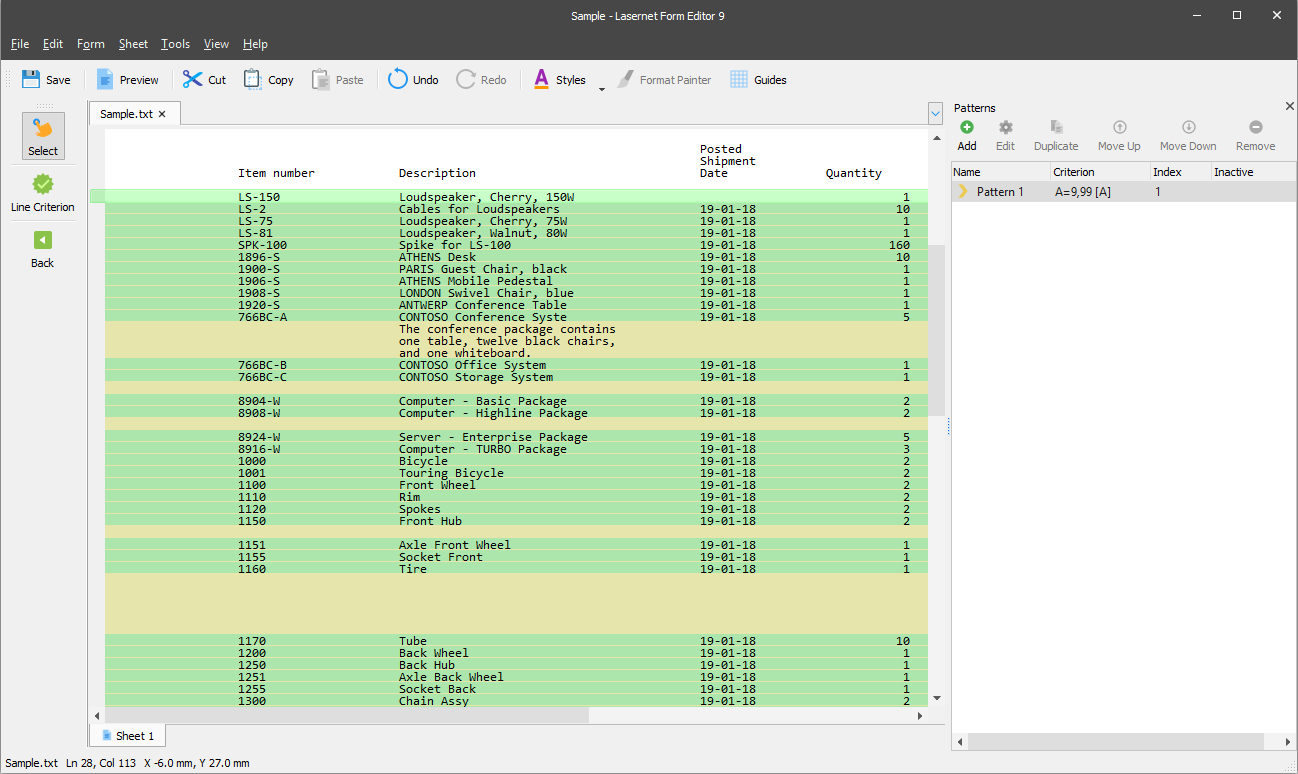
On the Developer toolbar, click Pattern.
In the Pattern mode, a panel is shown on the right-hand side. Click the Add button to add a pattern.

Open the pattern for editing. To this end, select a pattern and then click the Edit button. Otherwise, right-click the selected pattern and then click Edit on the context menu that appears, or just double-click the pattern.
In the Pattern Properties dialog, type a new name (Pattern 1) for the pattern, and then click OK to save changes and close the dialog.
Click Line Criterion to set a criterion for the pattern you have just added.
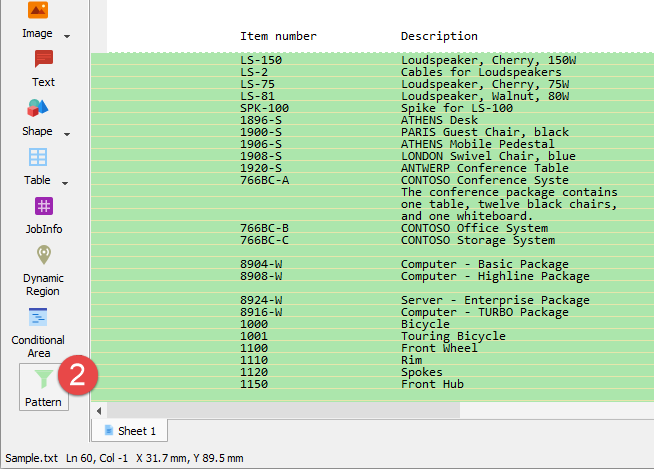
Once a pointer becomes a cross, draw a rectangle around the first element in the Unit price column, taking 1 symbol before a decimal separator and 2 symbols after it.
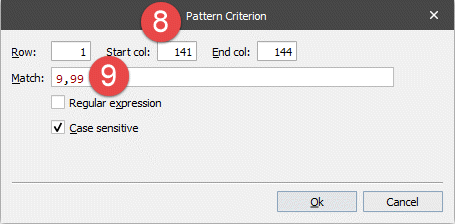
At the mouse release, the Pattern Criterion dialog opens.
In the Match field, type 9,99, where each 9 indicates a number from 0-9. It is a wildcard.
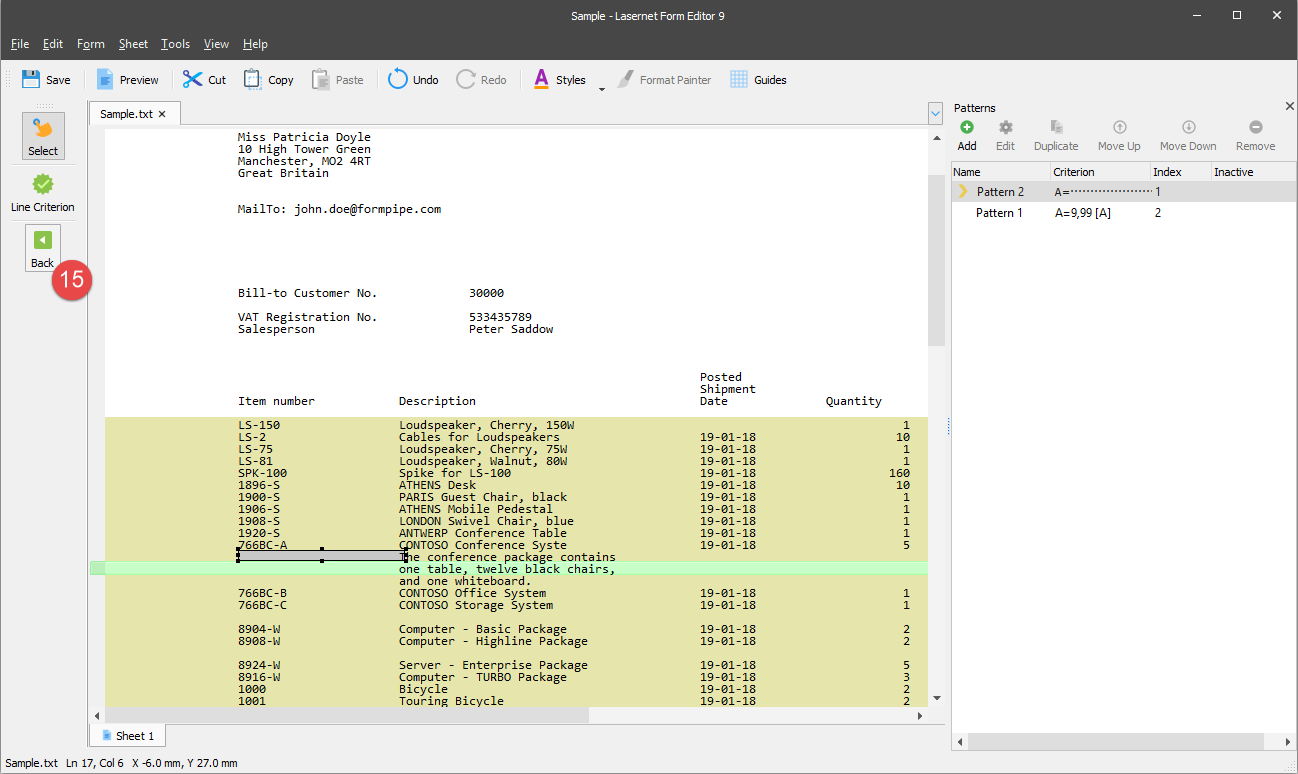
As a result, you can see only lines containing invoice items are highlighted in green in the input.
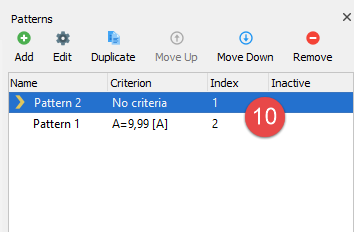
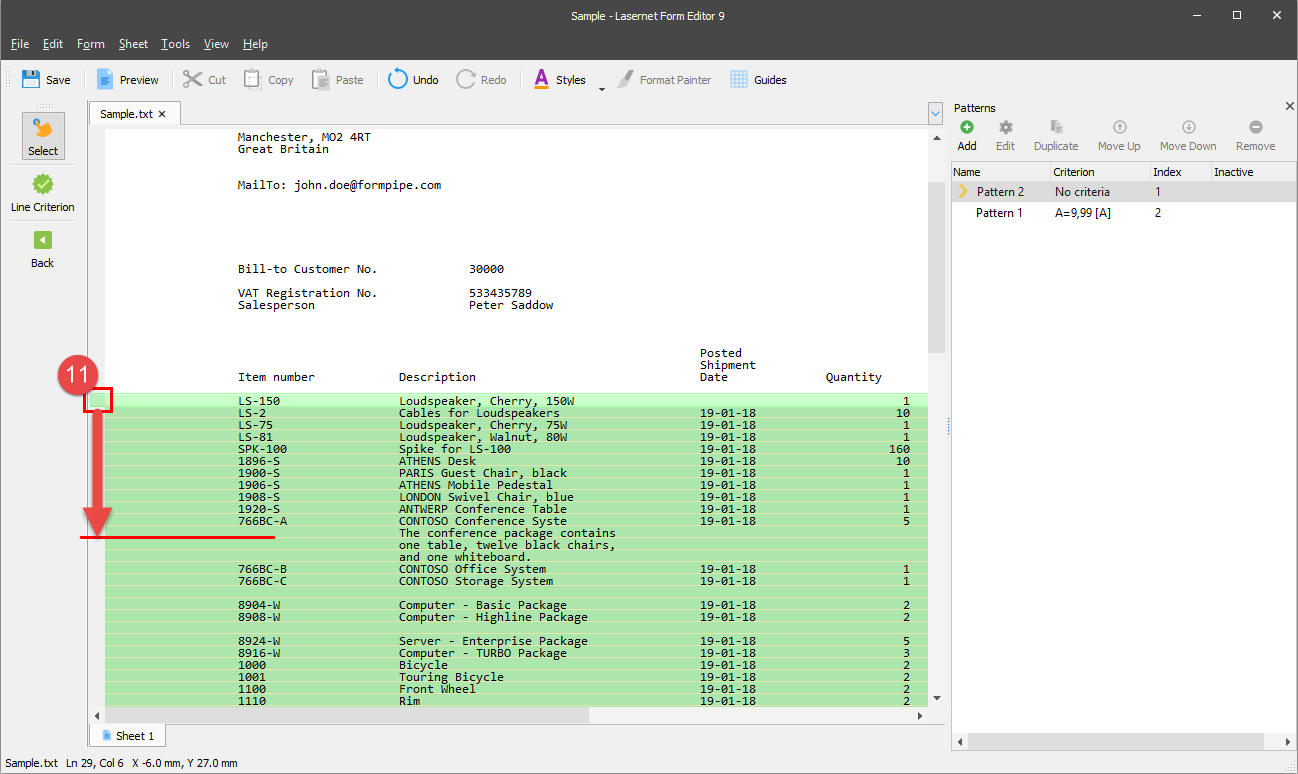
On the Pattern panel, add one more pattern with the Pattern 2 name.
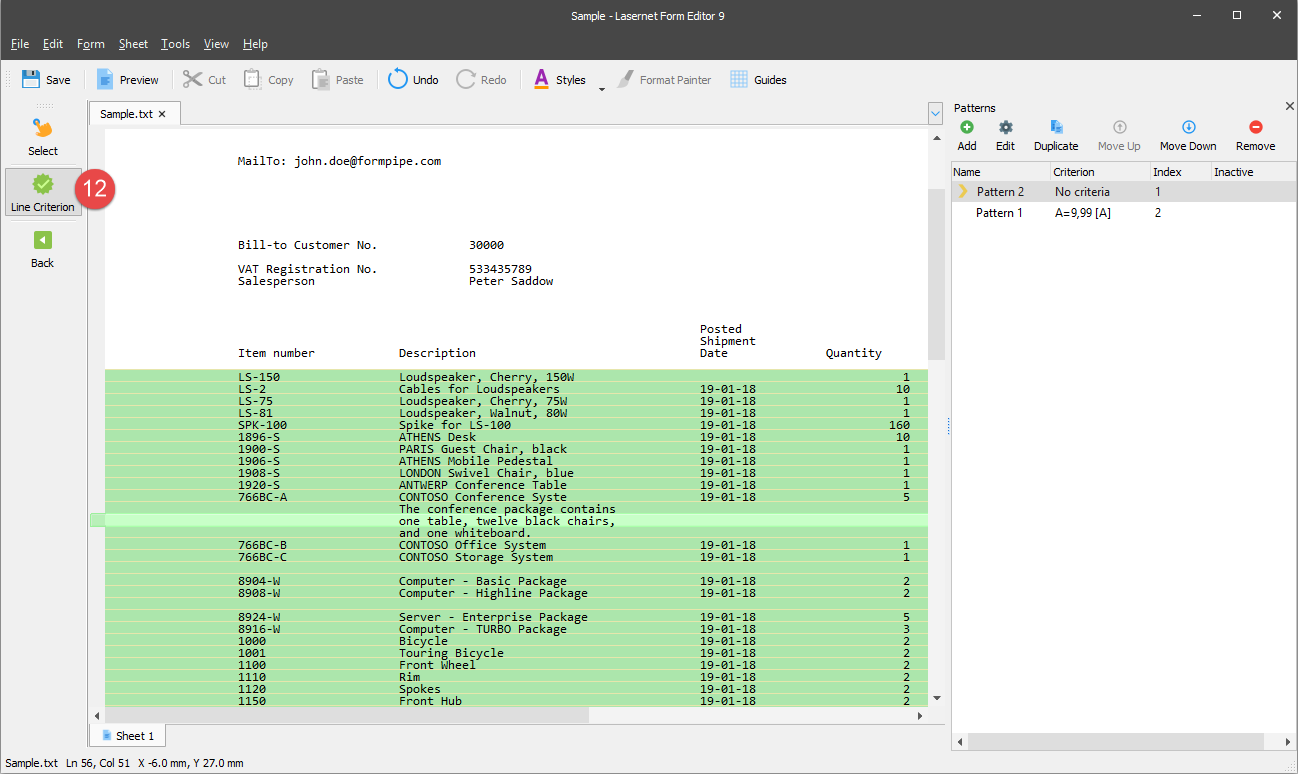
On the left side of the input, click a light green pattern marker. The pattern marker is used as a guideline while defining a pattern. Drag the marker to the second line that does not contain invoice items so you can include the first empty line in the selected area.
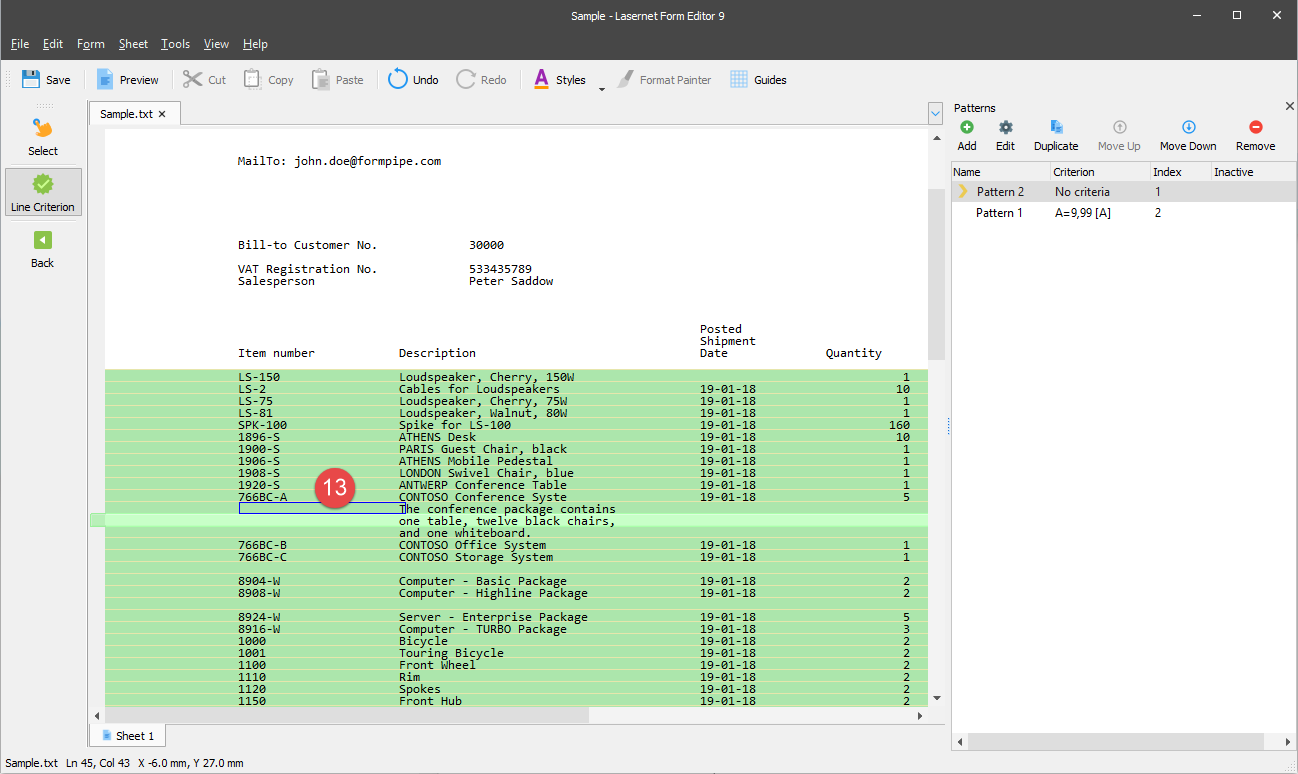
Click Line Criterion.
Once a pointer becomes a cross, draw a rectangle around the first empty elements in the line, including the first symbol of the first word.
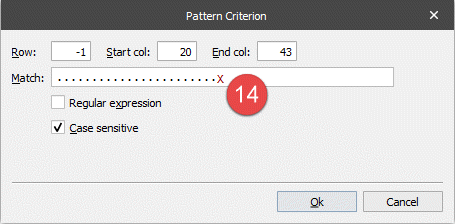
At the mouse release, the Pattern Criterion dialog opens. In the Match field, type X after space symbols, where X indicates a letter, not numbers and spaces. It is also a wildcard.
Once you are done adding and editing patterns, click the Back button to exit the Pattern mode.
Now is the right time to add rearranges, both absolute and conditional. The latter are added to the pattern.
On the Developer toolbar, click Rearrange.
Once a pointer becomes a cross, draw a rectangle around the first element in the Item number column.
When the mouse is released, all the elements of the Item number column are selected within the pattern. Click the selection. The rearrange is shown in the output.
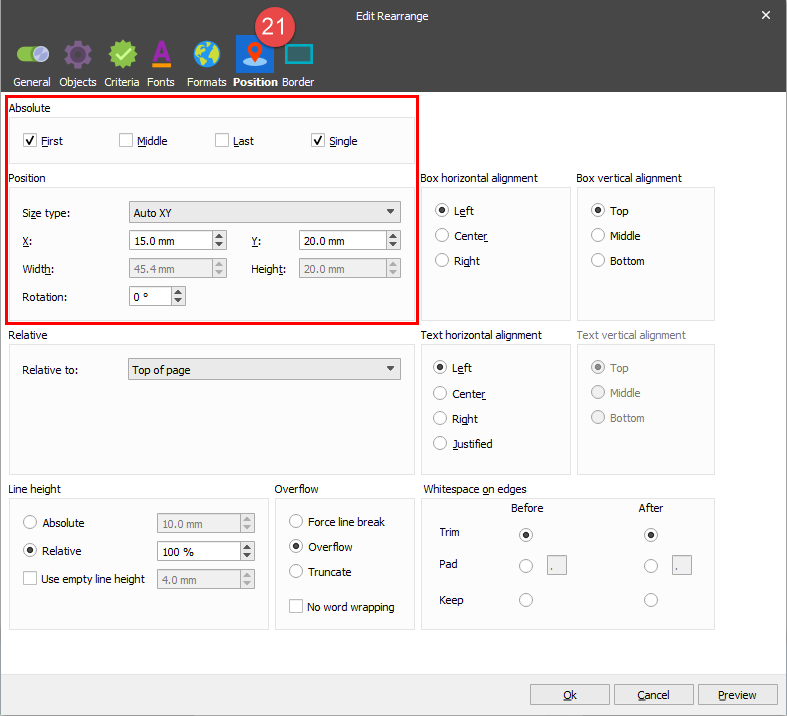
Set the X position of the rearrange added to the output to 15 mm. To this end, open the Edit Rearrange dialog on the Position tab. Otherwise, you can drag the rearrange to the required position.
Afterward, add more rearranges (Description, Quantity, Unit price, and Amount) belonging to the same pattern and locate them in the output as shown in the following image.
On the Developer toolbar, click Rearrange. Once a pointer becomes a cross, draw a rectangle around the first five lines in the input, as shown in the following image:
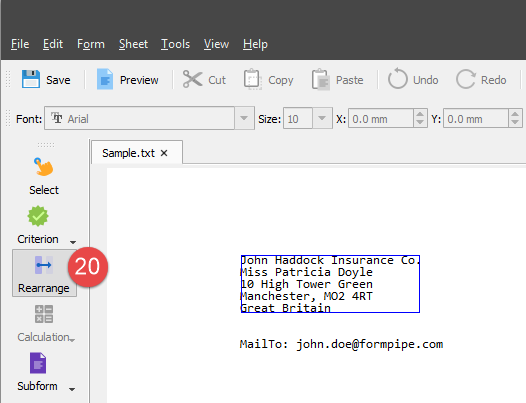
As you can see, lines do not belong to any pattern meaning you are adding an absolute rearrange. At the mouse release, the rearrange is added to the output.
Open the Edit Rearrange dialog on the Position tab and set the position properties as shown in the following image:
You have used the input of the TXT format to define a conditional area, add 2 patterns to it, and several conditional rearranges belonging to a pattern. In addition, you have added an absolute rearrange and defined absolute and X-Y positions for it. As a result, your output looks as follows: