Tables (End of Conditional Area)
- 06 Mar 2026
- 2 Minutes to read
- Contributors


- Print
- PDF
Tables (End of Conditional Area)
- Updated on 06 Mar 2026
- 2 Minutes to read
- Contributors
- Print
- PDF
Article summary
Did you find this summary helpful?
Thank you for your feedback
Applies to: Lasernet 9
In the table settings, you can use the Relative to and Vertical lines to options to manage the table style and the position of headers and footers relative to the body.
Note
This article describes a software version that is no longer supported. Although the software will no longer receive updates or technical support, existing documentation, such as this article, will be retained for reference purposes but will no longer be updated. If you have any questions, contact Lasernet Support.
Exercise
Download and import the attached configuration called 22. Tables (End of Cond. Area) in Lasernet Developer 9. Afterward, navigate to the Forms section and open the Sample form.
In the output, switch to the Last Page tab.
Right-click the table and open the Table Properties dialog.

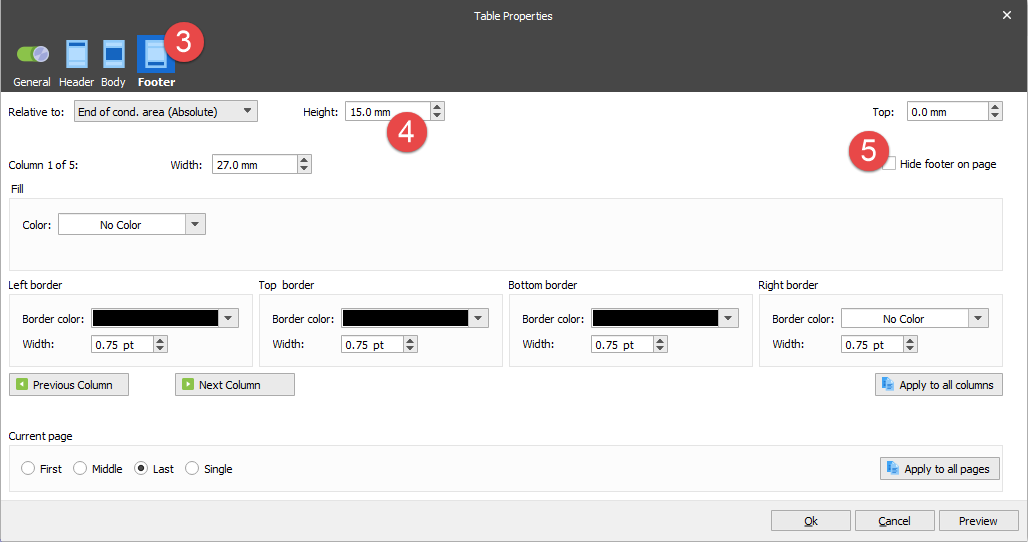
Switch to the Footer tab.
Set Height to 15 mm.
Clear the Hide footer on page checkbox.
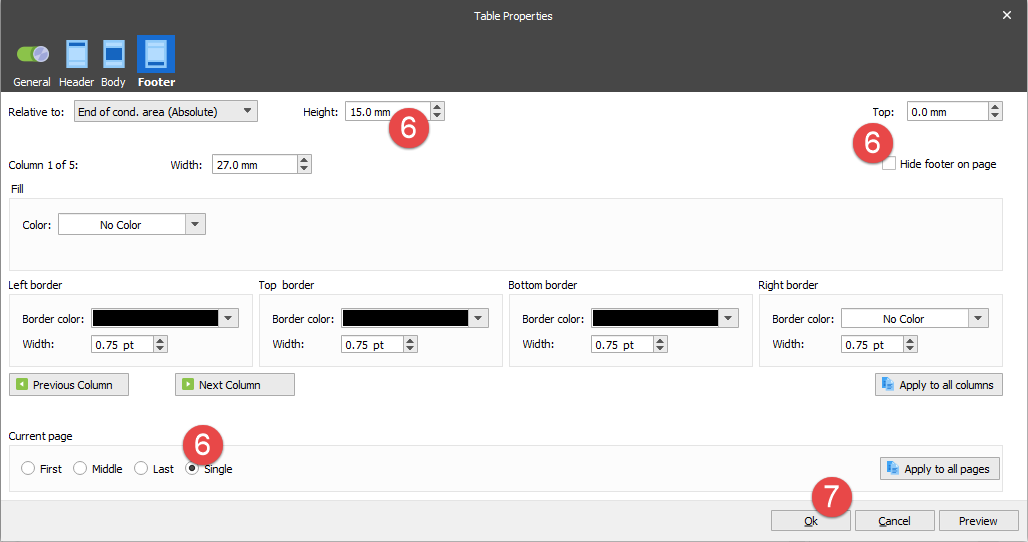
Select the Single Page radio button in the Current Page group box and make the same changes as for the last page.
Click Ok to confirm changes.
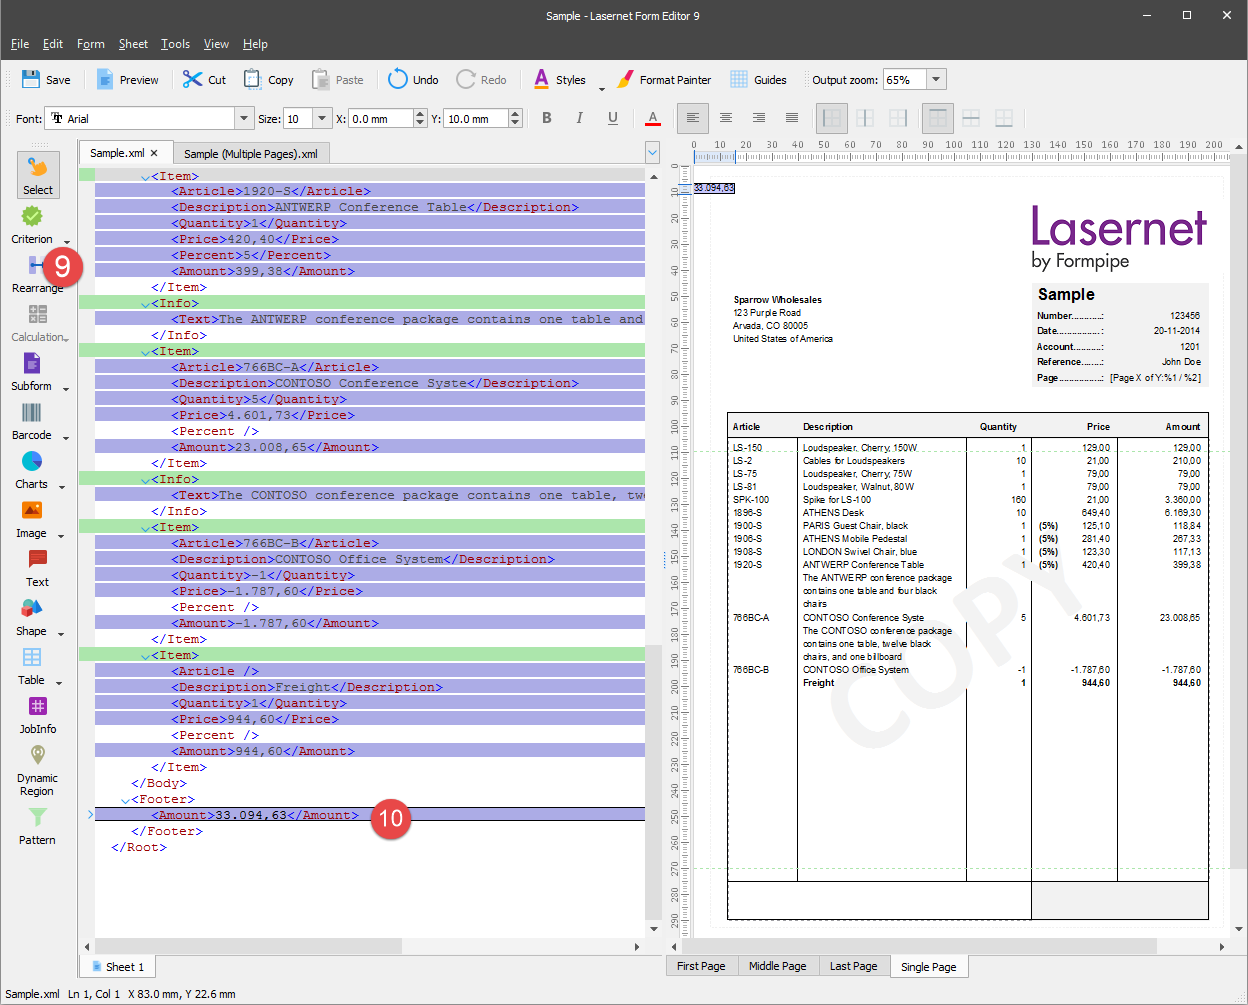
Switch to the tab of the Sample.xml grab file.

On the Developer toolbar, click the Rearrange tool.
In the input, click the /Root/Footer/Amount node.
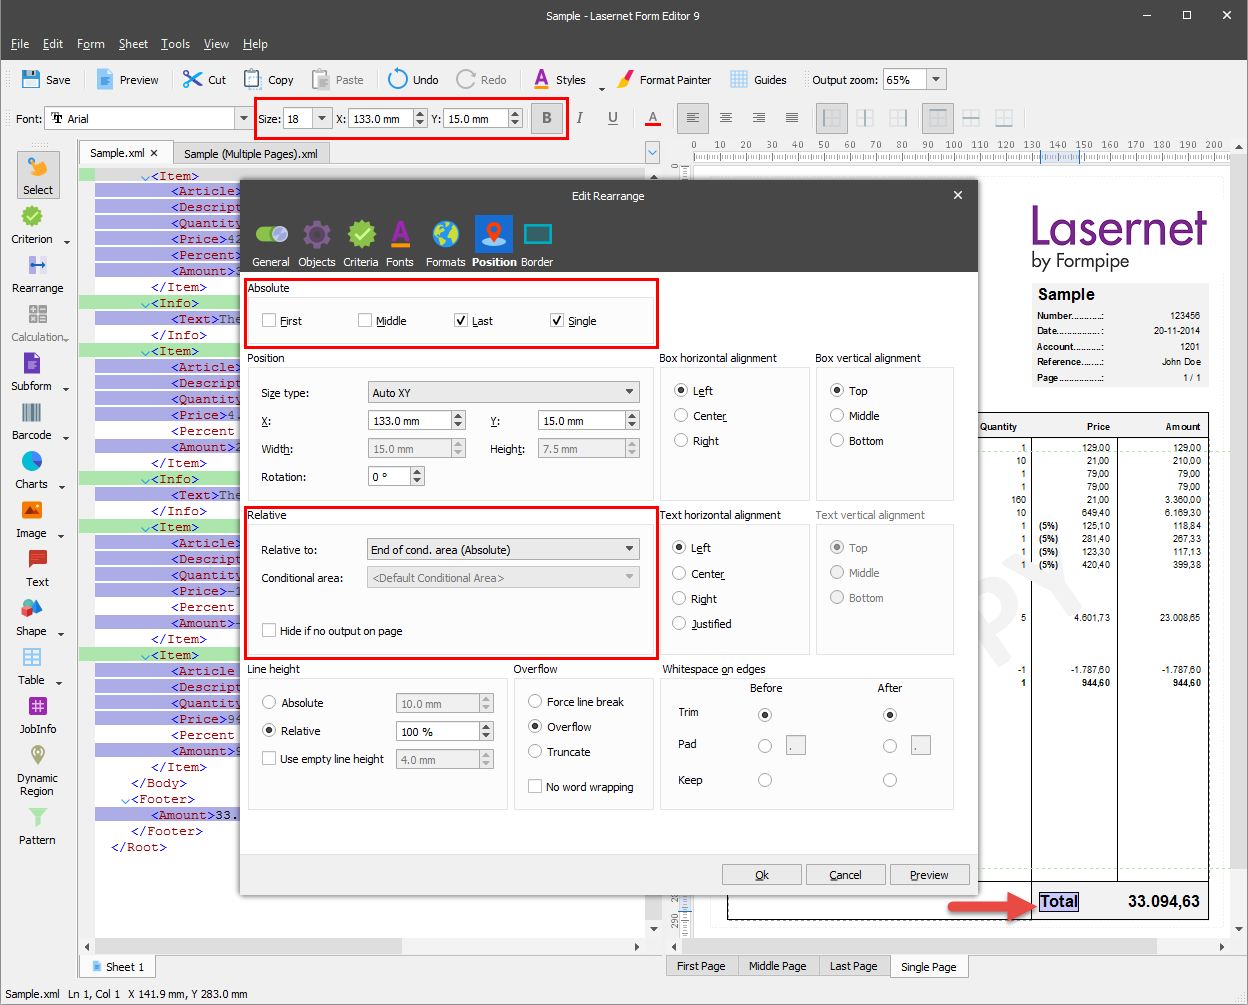
Edit properties for the last added rearrange. To this end, open the Edit Rearrange dialog and switch to the Position tab.
In the Relative group box, set Relative to to End of cond. Area (Absolute).
Select the Last and Single checkboxes in the Absolute group box.
Click Ok to confirm changes.

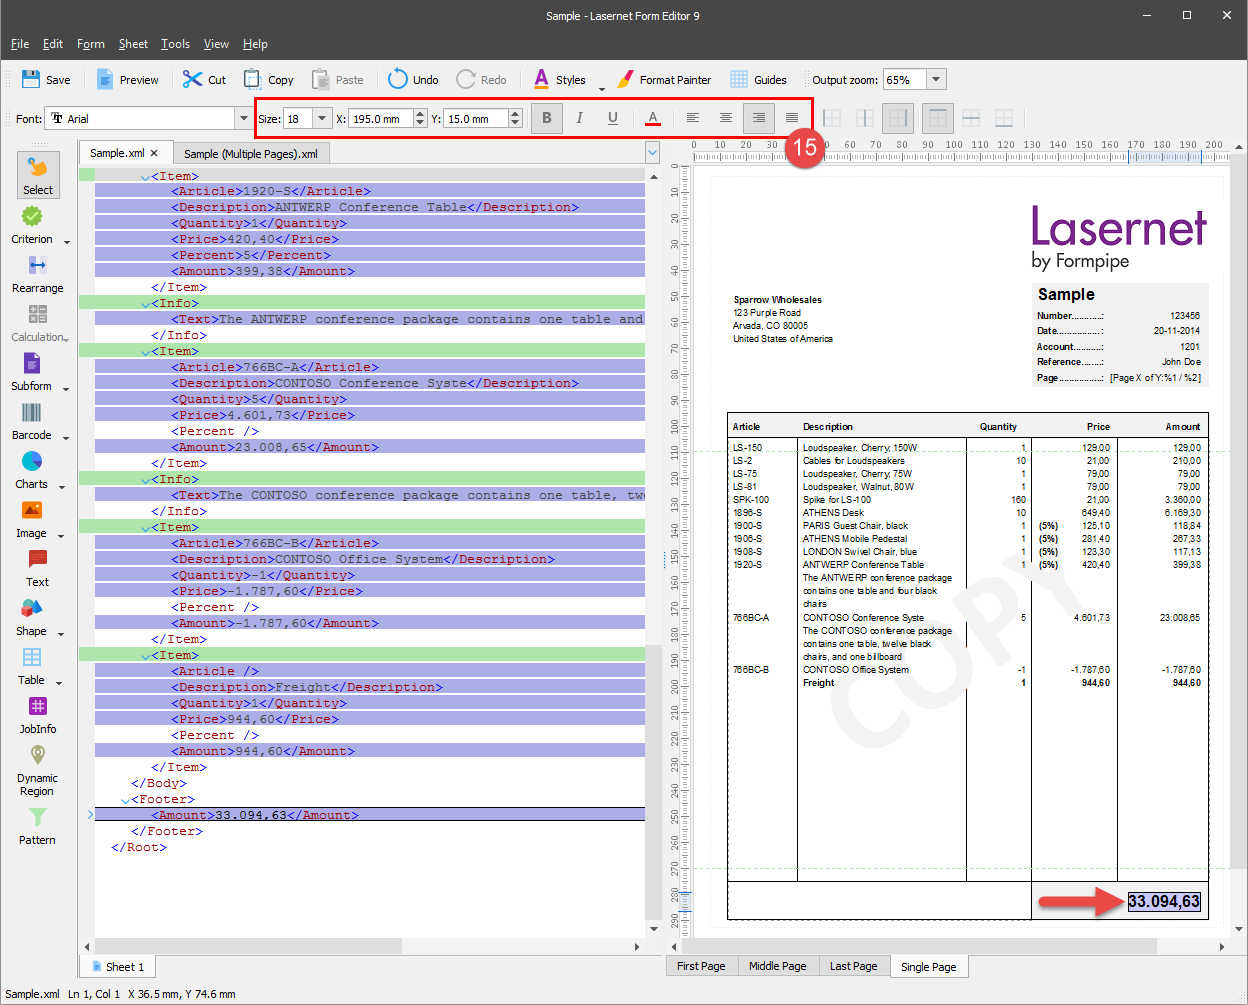
On the Property bar, set Font to 18 pt and Bold, the X position to 195 mm, Y to 11 mm and align the text right.
On the Developer toolbar, select the Text tool and insert the Total text. For the added text, set Font size to 18 pt, the X position to 133 mm and Y to 15 mm. In the Absolute group box, select the Last and Single checkboxes, set Relative to to End of cond. area (Absolute).
Now let us remove the vertical lines between the end of the last item line and the footer of the table. To this end, follow these steps:
Select the table and right-click it to open the Table Properties dialog. Switch to the Body tab.
Clear the Footer checkbox for the Vertical lines to setting.
Click Ok to confirm settings.
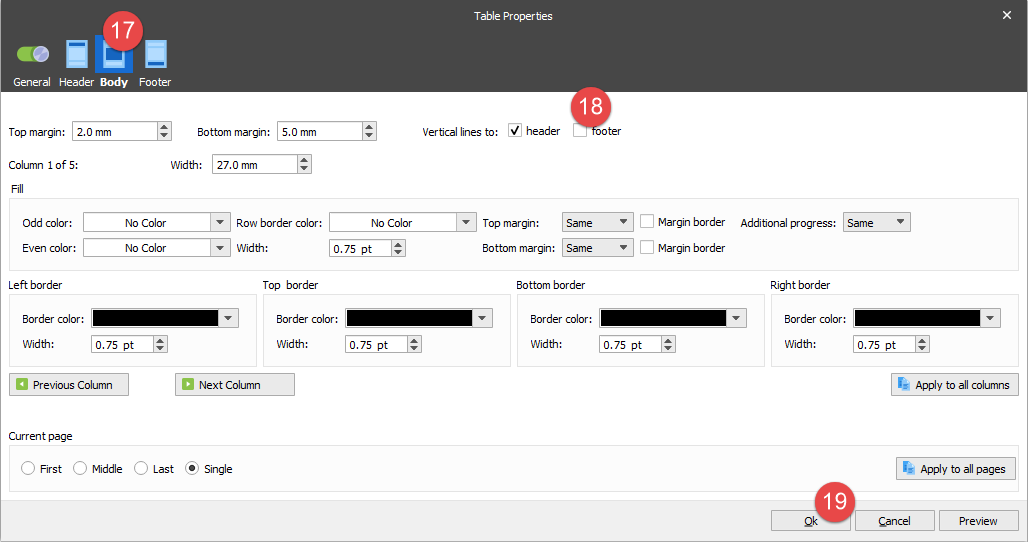
A vertical line between the last item line and the footer is now removed as illustrated:

To complete designing the form, you need to perform the same changes for the last page. This is required for supporting the single and multi-page layouts.
