- Print
- PDF
You can use the Subform tool to add definite content as a standalone entity to your document or report. For example, you need to create several reports for different departments; with that, you want to add the same fragment to all of them. So, not to add the fragment to each report separately, you can create a global subform, add this fragment to this subform, and then insert the latter into each report. It could be, for example, a company's legal information fragment, etc. For this purpose, global subforms are recommended to use.
On the other hand, you would like to show one fragment and hide another one in your report based on certain criteria, or vice versa. To this end, you can create the required number of local subforms and specify certain criteria for each of them based on the input or JobInfos. Unlike the global subforms which can be used for various forms, the local subforms can be used only within one form but for different sheets.
Subforms can be an alternative to overlays. Branding, such as a company logo, addresses, and graphical elements, can be maintained from subforms instead of overlays, which were often used in previous versions of Lasernet.
In this exercise, you can learn how to add a subform and edit it if needed.
Exercise
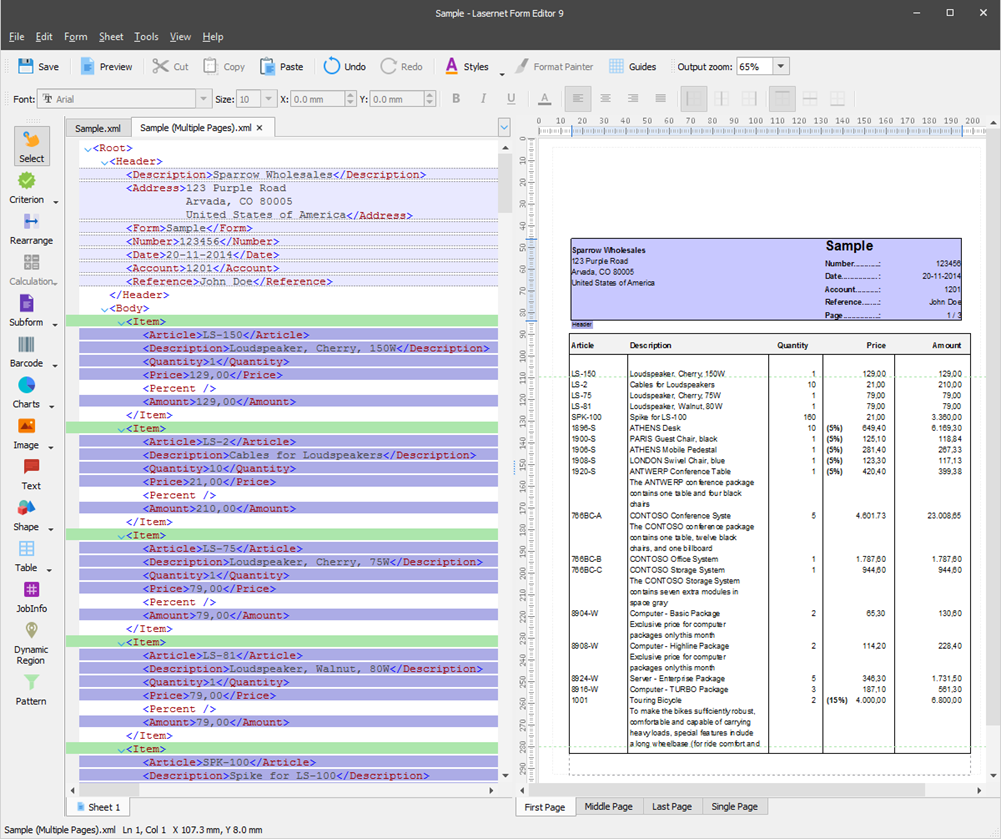
Download and import the attached configuration called 35. Subforms (Getting Started) in Lasernet Developer 9. Afterward, navigate to the Forms section and open the Sample form.
To add a local subform, follow these steps:
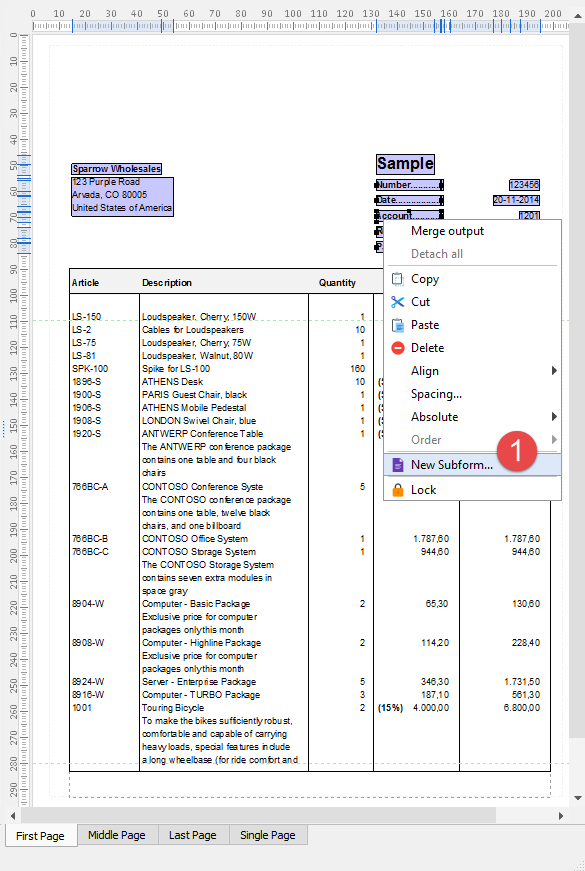
In the output, select the objects you want to add to the local subform. Right-click the selected objects, and then select New Subform… on the context menu.

Note
Only absolute (not conditional) objects can be added to a subform. Ensure the objects have the same Absolute and Relative to position settings values.
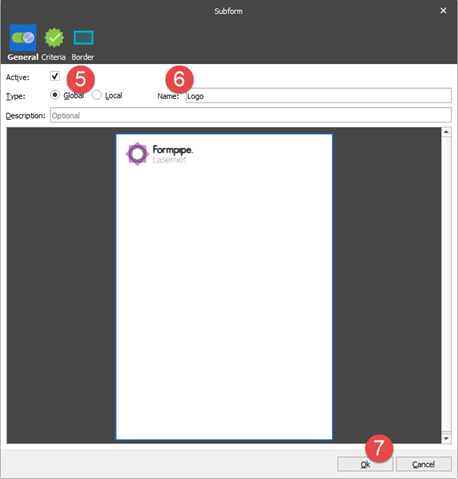
In the Subform dialog, select the Local radio button to specify a subform type.
Type a name (Header) in the Name text box. Once you are done, click OK.
(12).png)
The subform is now added to the output.

Before adding a global subform, insert an image from an external file to the output by using the Image tool available on the Developer toolbar. Remember that, by default, the image of its original size is inserted into the output. To control the image size, open the image properties dialog on the Position tab and then set Size type to Auto Width+Height. Afterward, specify the Position values as shown in the following image. In addition, select all checkboxes in the Absolute group box.
(17).png)
To add a global subform, follow these steps:
In the output, select the image you have just inserted and edited. Right-click it, and then select New Subform… on the context menu. With the Subform dialog displayed, select the Global radio button to specify a subform type.
In the Name text box, type Logo as a subform name.
Once you are done, click OK.

The subform is now added to the output.
.png)
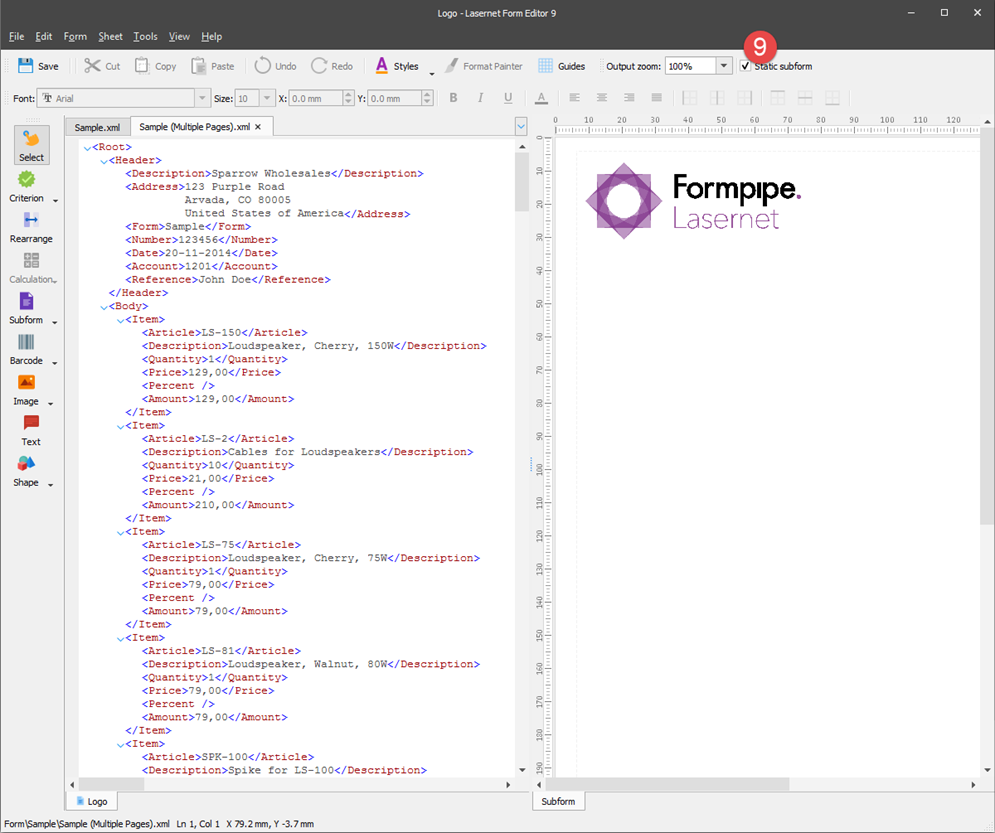
Now, you can edit the global subform. To this end, right-click the subform, and then click Edit on the context menu that appears, or double-click the subform name tab.
(14).png)
A subform opens in a separate Lasernet Editor window. Select the Static subform check box to fix the X-Y position of the subform in the output regarding the X-Y position of the leftmost and bottommost elements that belong to this subform.

Once you are done, close the form by clicking a cross in the upper right-hand corner, and then click Yes to save the changes you have made.
As a result, you have added a static subform that shows a company name and a logo, which can be used as an alternative for an overlay, as well as a non-static subform that includes a group of rearranges in the header.
(10).png)

