Select and Move Form Objects
- 15 Apr 2026
- 2 Minutes to read
- Contributors


- Print
- PDF
Select and Move Form Objects
- Updated on 15 Apr 2026
- 2 Minutes to read
- Contributors
- Print
- PDF
Article summary
Did you find this summary helpful?
Thank you for your feedback
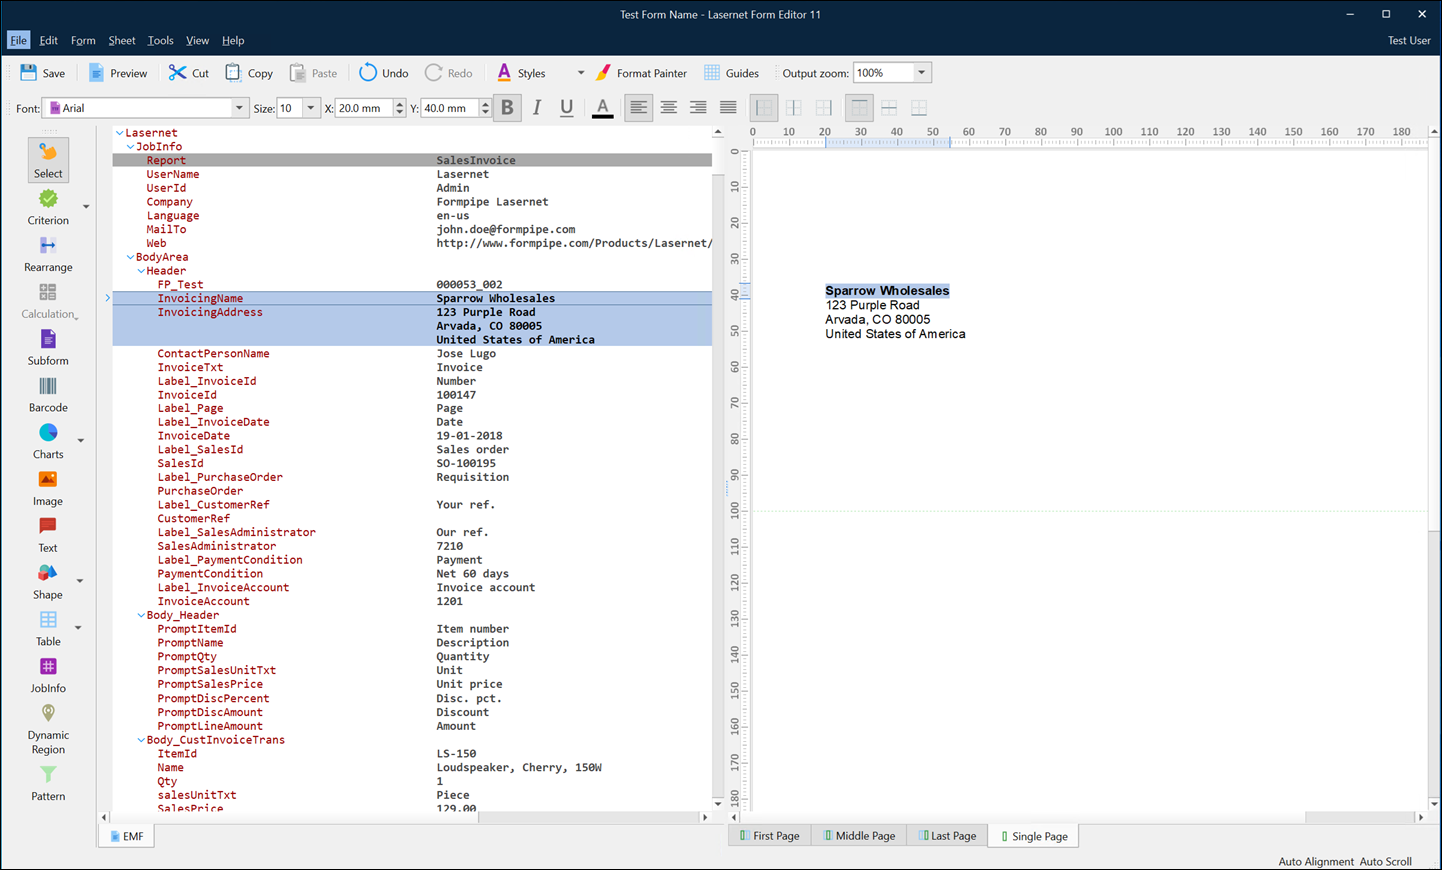
When the select tool is active, you can select previously defined areas and input data elements on the left side of the window, and you can select objects (such as shapes, images, and rearranges) in the form design on the right side of the window. When you select an object on either side of the Form Editor window, the connected object on the opposite side is automatically selected too.
Select Tool
You activate the object selection tool by clicking the Select button in the toolbar.
![]()
After you select an object, you can change its properties by right-clicking it or using the toolbar, and you can move it.
Several Patterns Matching the Lines
If there are one or more patterns matching the lines you wish to select after clicking the Rearrange tool, you can press Shift prior to releasing the mouse. A context menu is then displayed showing all patterns matching the selected line. Select the desired pattern to create a conditional rearrange or select Sheet to create an absolute rearrange.
Move an Object
There are multiple ways to move an object to another position in the form design.
You can highlight the object(s) using the Select tool. The mouse cursor will then change to ![]() and you can drag the object to a new position by keeping the left mouse button held down and releasing it when the object has been relocated.
and you can drag the object to a new position by keeping the left mouse button held down and releasing it when the object has been relocated.
You can also use the arrow keys on the keyboard or type in specific X/Y coordinates in the property bar or the properties dialog (accessible by double-clicking the object).
Alt + arrow keys moves the object in smaller steps.
Shift + dragging the object moves the object in one direction only (horizontal or vertical).
Change the Layer Order of Objects
Form objects (such as rearranges, shapes, and images) can overlap in the form design. Overlapping objects have a layer order. As a result, an object can be in front of or behind another object.
When you design a form, you might sometimes need to change the layer order of objects. To do so, follow these steps:
Right-click the object that you want to change the layer order for.
In the Order menu, select one of the following actions:
Bring to Front
Send to Back
Bring Forward
Send Backward
Note
If an object that is behind one or more other objects is selected, you cannot select any of the objects that are in front of it.
To select any of these objects, you must first deselect the object that is behind them. Then, you can select any of the objects.
Prevent Anyone from Moving or Resizing the Object
Right-click the object and then select Lock.
Or, on the General page of the object’s edit window, select Locked.
Note
In Lasernet Core 10, although you can select locked objects, you cannot move or resize them.
In Lasernet Core 11 and Lasernet Essentials / Professional / Advanced, you cannot select locked objects.