Overlays
- 06 Mar 2026
- 3 Minutes to read
- Contributors


- Print
- PDF
Overlays
- Updated on 06 Mar 2026
- 3 Minutes to read
- Contributors
- Print
- PDF
Article summary
Did you find this summary helpful?
Thank you for your feedback
Applies to: Lasernet 9
Overlays represents a way to add graphical design elements to your forms. You can design and maintain overlays outside Lasernet Developer, mostly using a Windows design applications that can print to the Lasernet Print Capture printer, an integral part of the Lasernet installation.
The overlay files are created in the EMF format, and generated by the Lasernet EMF Driver, via the Lasernet Print Capture printer.
The function allows splitting up all your graphical elements of a form into separate overlays.
Note
This article describes a software version that is no longer supported. Although the software will no longer receive updates or technical support, existing documentation, such as this article, will be retained for reference purposes but will no longer be updated. If you have any questions, contact Lasernet Support.
An overlay file containing your company logotype:

Note
To optimize the file size in documents and process speed through Lasernet Server, logos must be scaled to the required X-Y size before inserting graphics into the Form Editor.
An overlay file with box and footer:

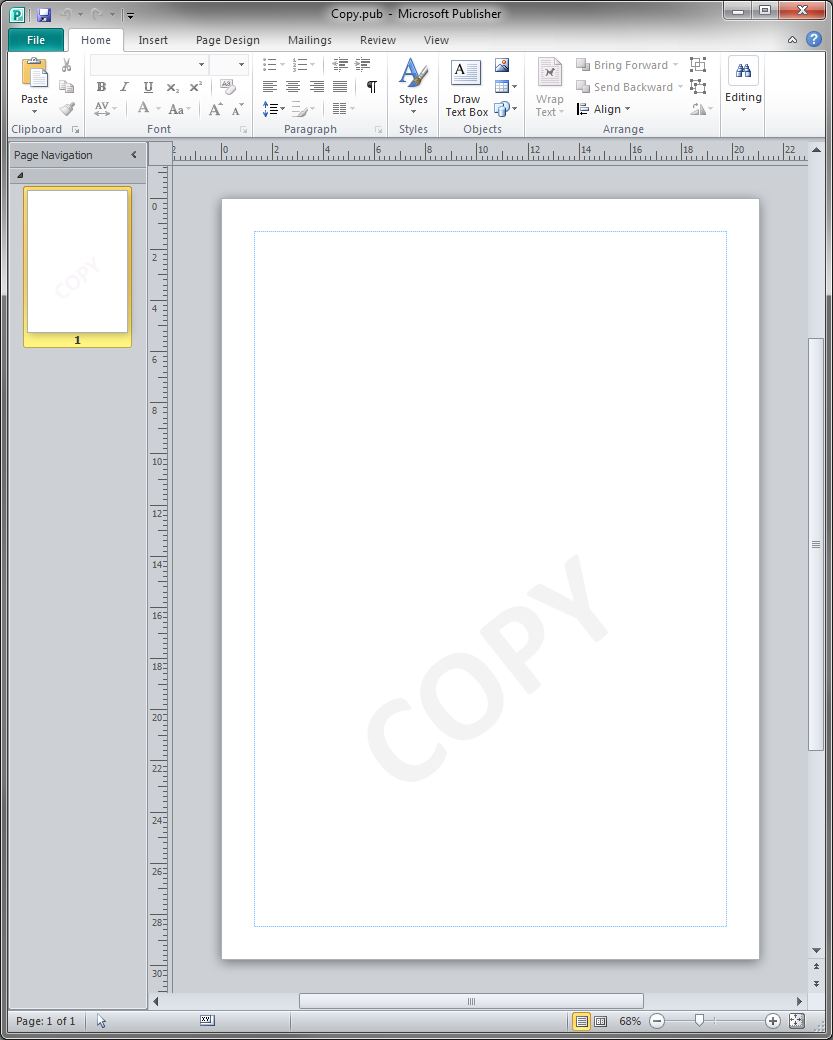
An overlay file with a COPY text:
Note
It is recommended to store a copy of the original design files in your Resources > Overlay folders as a part of the Lasernet configuration. They are your original templates, and must be available for the Form Editor for future editing.
Exercise
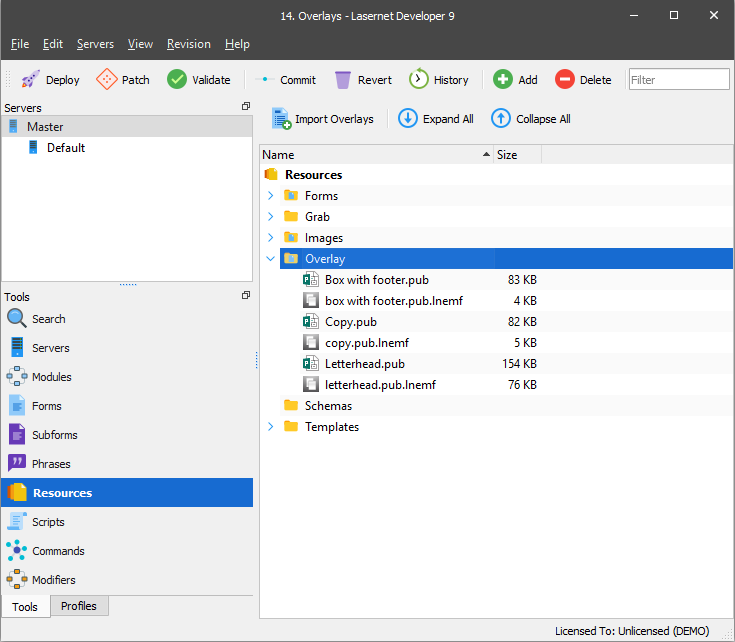
Download and import the attached configuration called 14. Overlays in Lasernet Developer 9. Afterward, navigate to the Forms section and open the Sample form.
You can generate overlays for your Lasernet forms using Windows applications such as Microsoft Publisher ® and Microsoft Word ®. The Lasernet Print Capture printer is available in the list of Windows printers and can be used by most applications (Acrobat Reader is not recommended). The Lasernet Print Capture printer stores temporary overlay files until they are imported into a configuration.
When you have finished the overlay design, click File and then Print.
Select the Lasernet Print Capture printer.
Click the Print button.

Repeat the actions for all templates.

Import Printed Overlays to the Setup
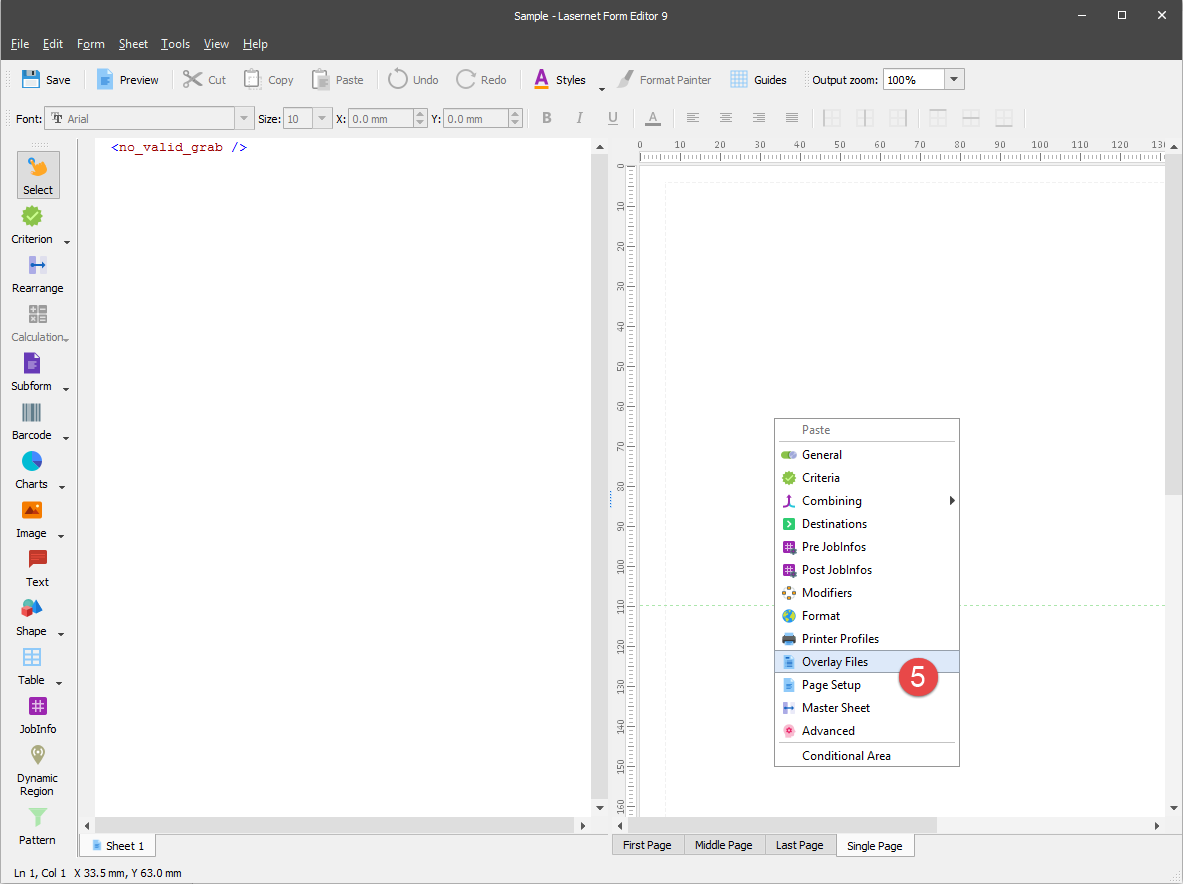
To open the Sheet Options dialog with the Overlay Files tab, right-click in the right part of the editor workspace and select the Overlay Files command in the context menu.
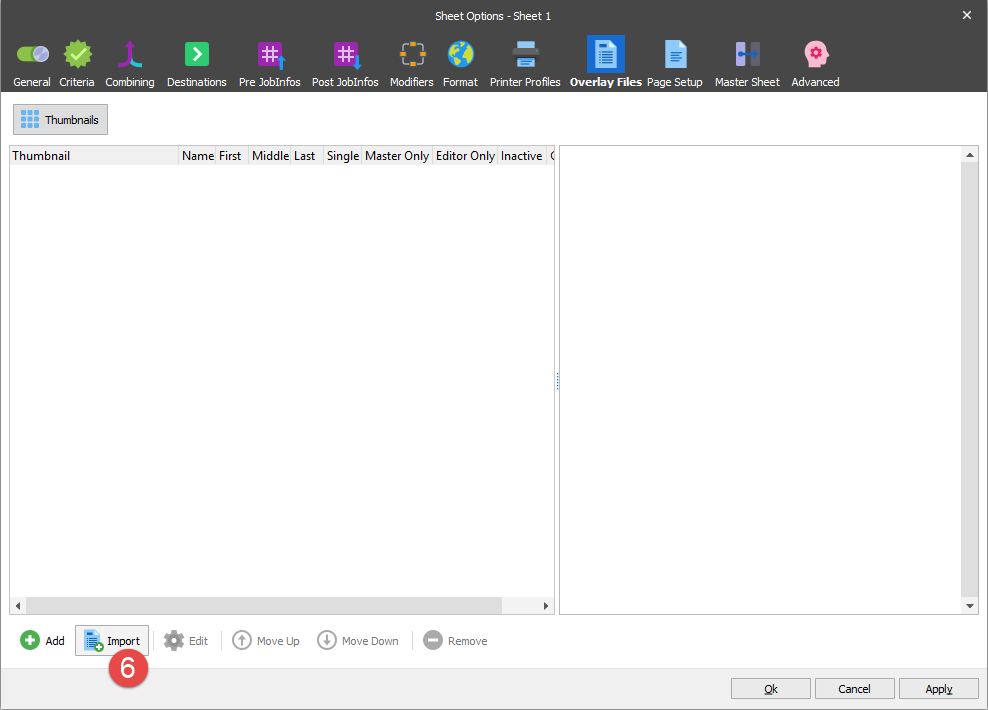
Click the Import button.
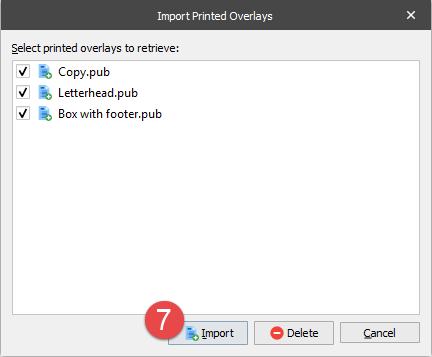
The overlays, that you have created since the last import, are now ready for import to the configuration. The imported overlay files are also available for the other forms.
Click Import to import all the printed overlays to your configuration.
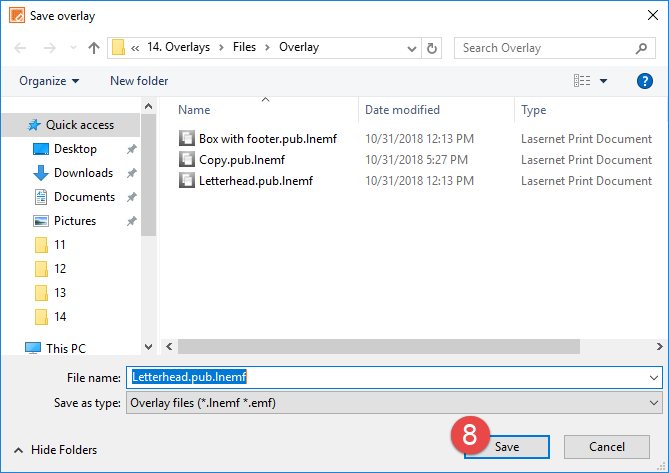
During the import process, you are prompted to rename files, but it is not needed in this case, so click Save to save the files as they are.
If the overlay is successfully imported, you will have two options for which page you want to add your overlay. Otherwise, you can select not to add the overlay to any page now.
Confirm adding overlays to the current page type by selecting the corresponding radio button.
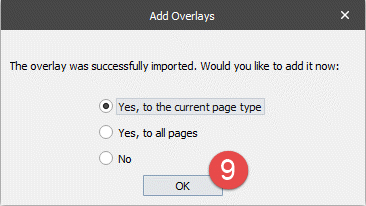
Click Ok to accept a list of overlays.
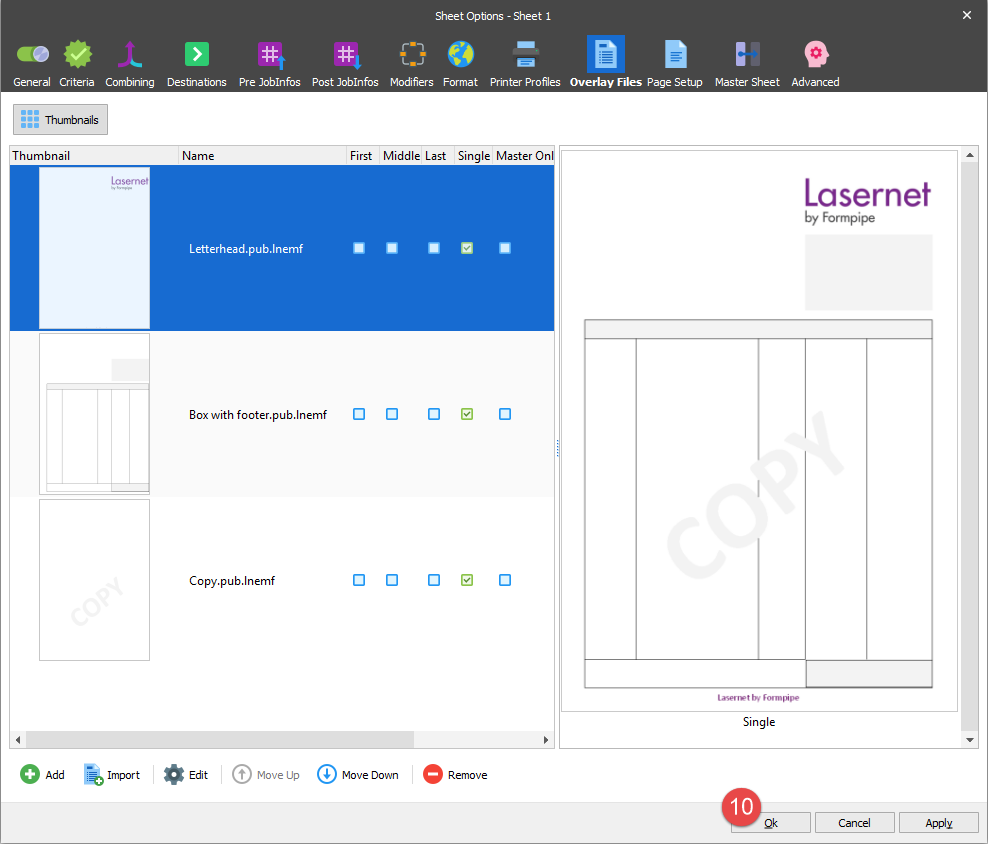
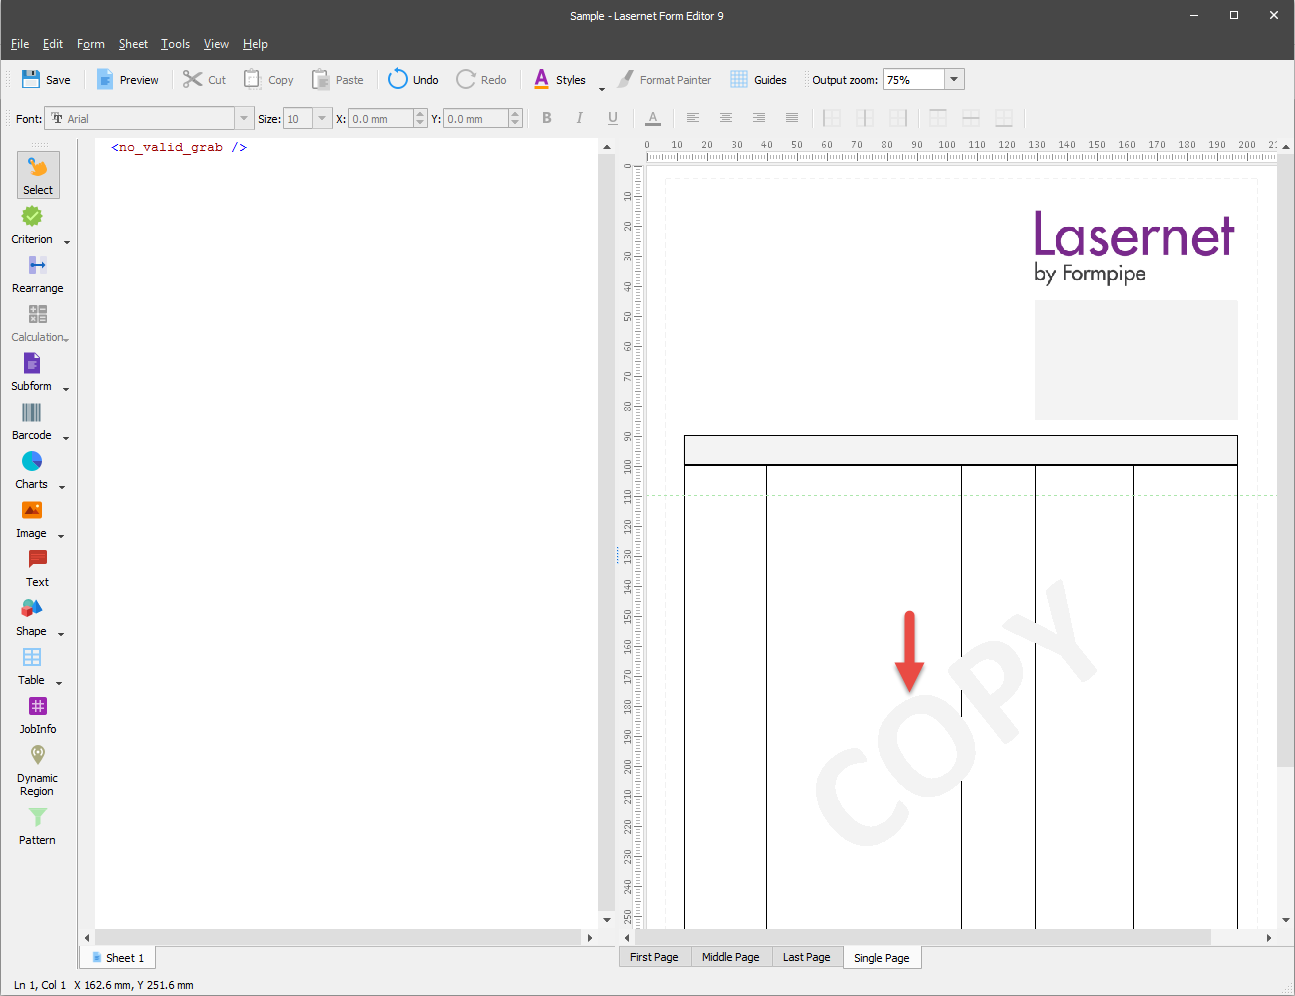
The overlays are added to the form in the order they are presented in the list. The COPY text is shown in the foreground.
You can change the sequence of overlay files by moving them up or down, using the Move up and Move down buttons. It is important to consider in what order you arrange them. The last added overlay appears on top of the other overlays. Rearranges, Insert Text, etc. are added to an upper layer, and will always stay on the top of any overlay.
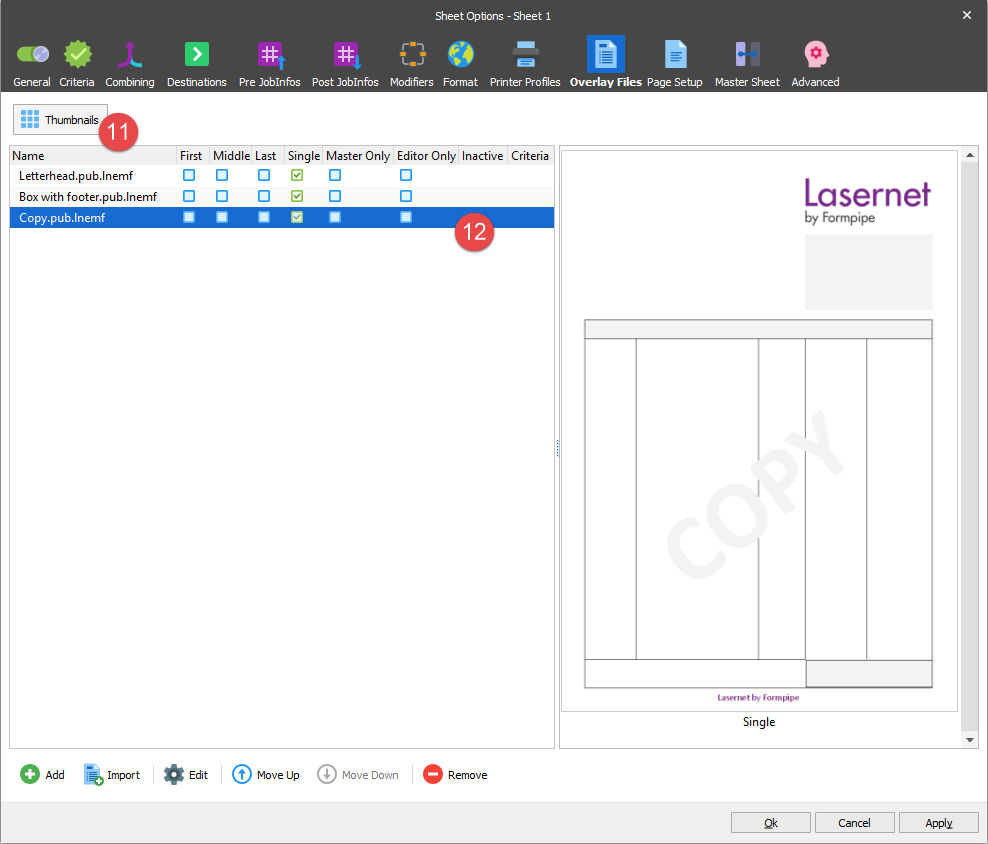
On the menu bar, click Sheet and then click Sheet Options. With the dialog displayed, switch to the Overlay Files tab.
You can always click the Thumbnails button to switch between the thumbnail view and the list view.
Select the Copy.pub.lnemf overlay.
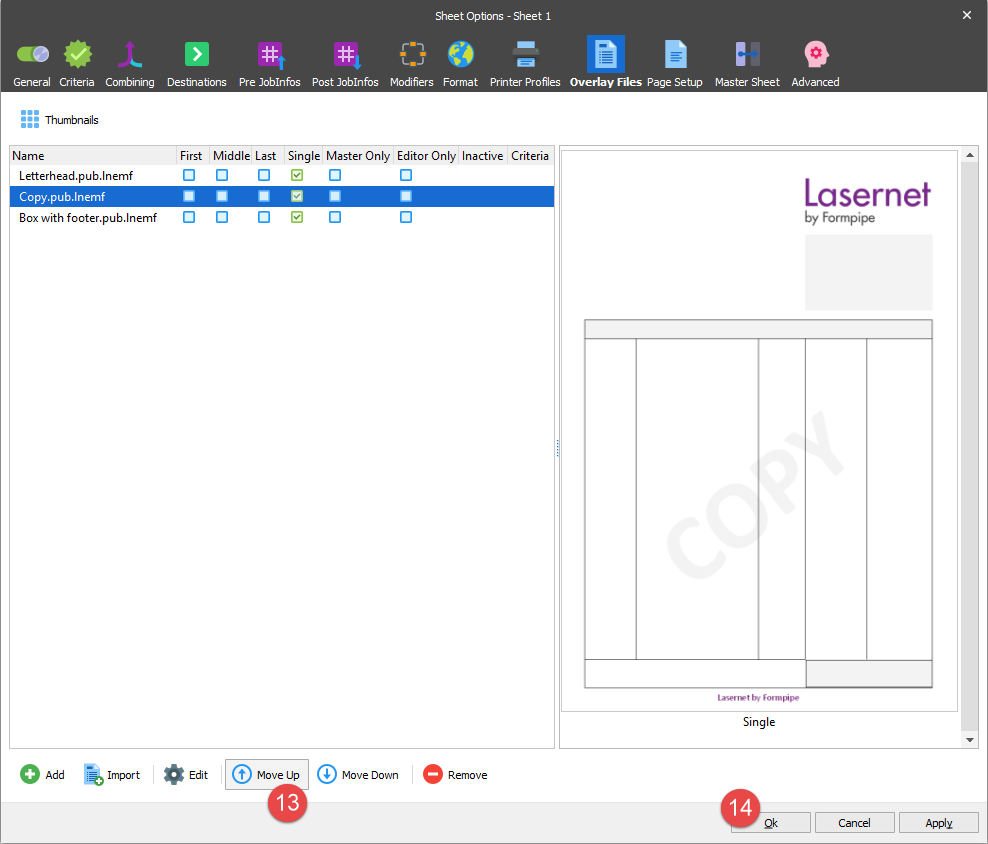
Click the Move up button.
Click Ok to confirm the change.
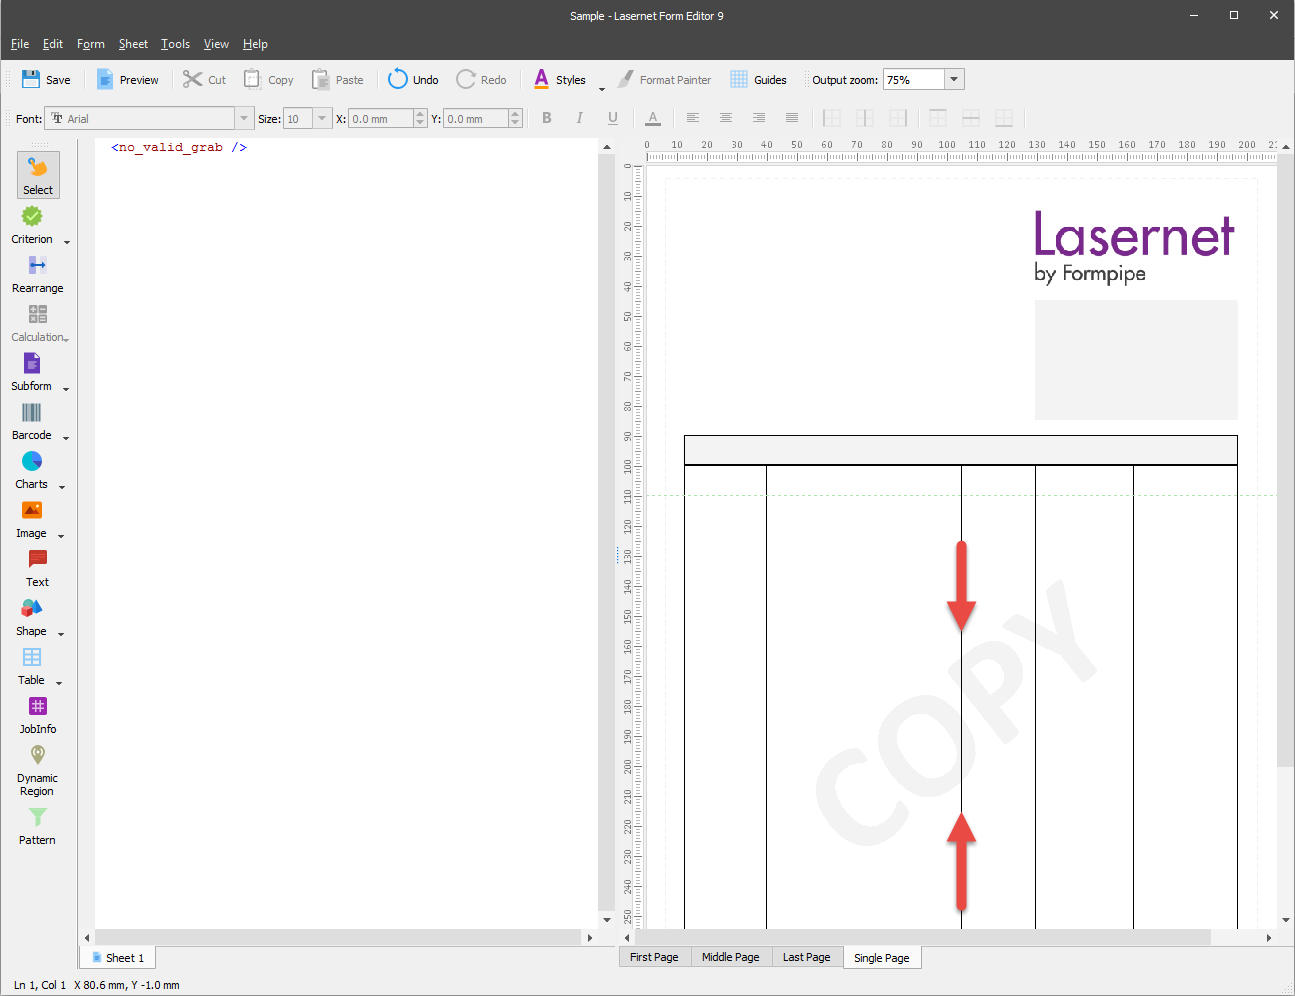
The overlay named Copy.pub.lnemf is now visible in the layer below the overlay named Box with footer.pub.lnemf.
You can also assign overlays imported for other forms.
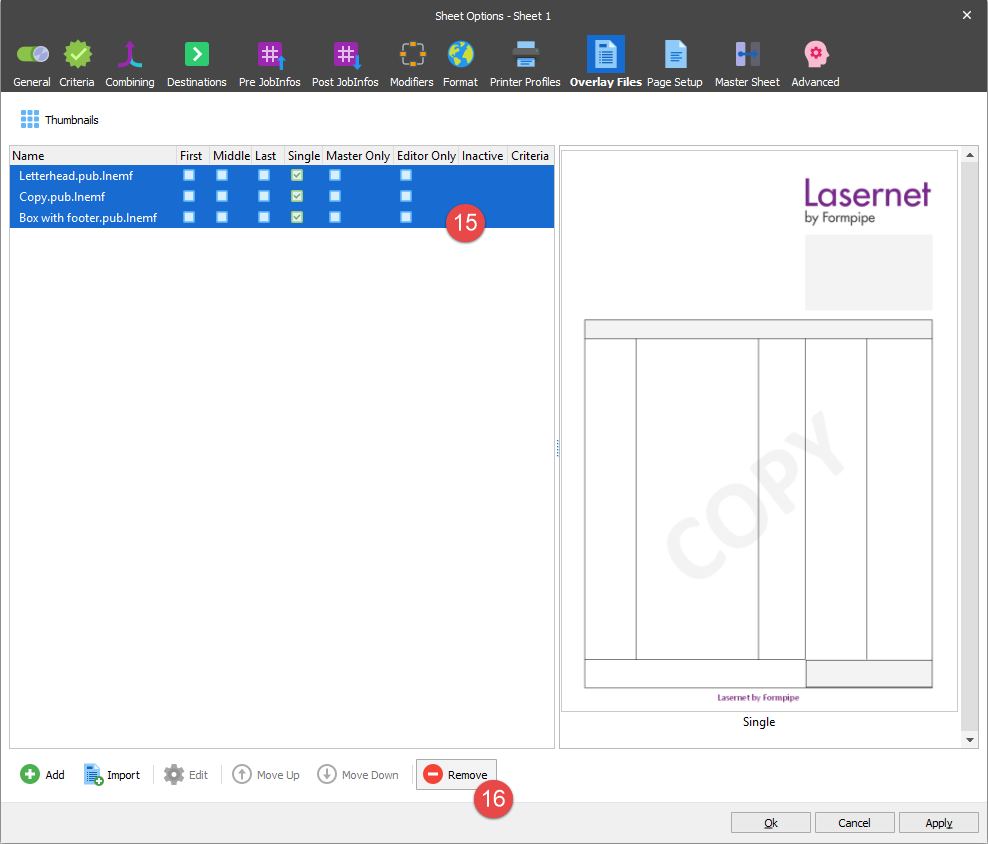
On the menu bar, click Sheet and then click Sheet Options. With the dialog displayed, switch to the Overlay Files tab and multi-select the list of overlays.
Click the Remove button to clear the list, and confirm removing items by clicking the Ok button.
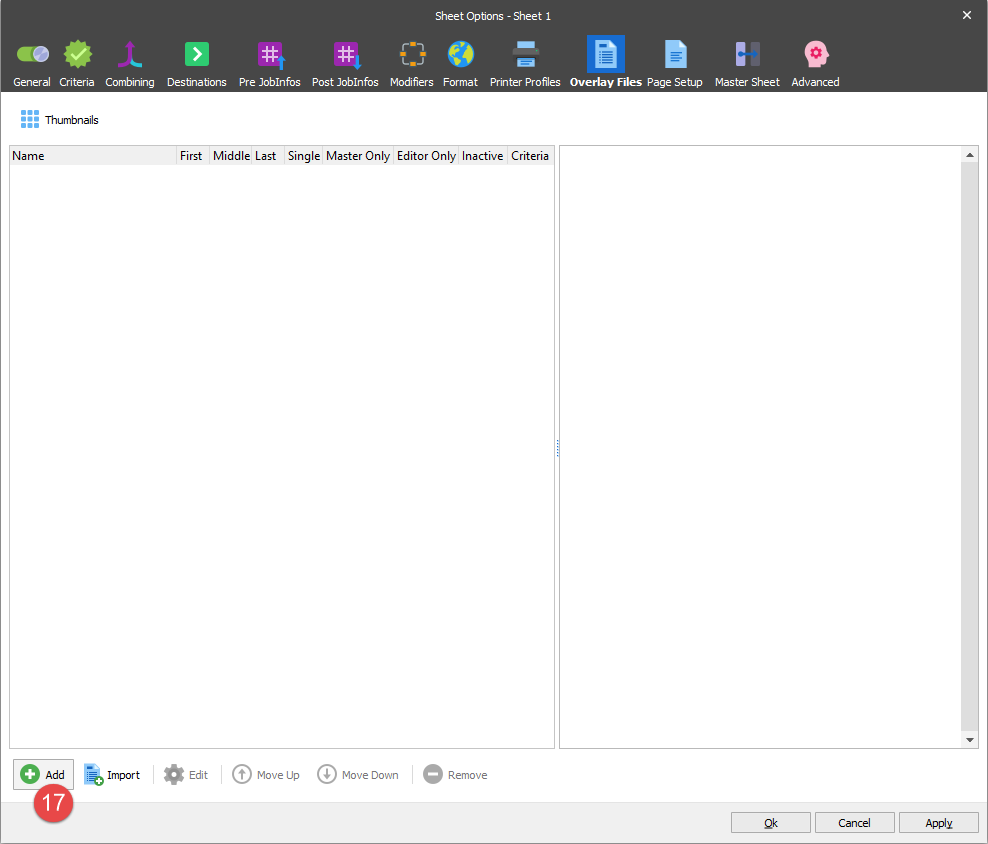
Click the Add button.
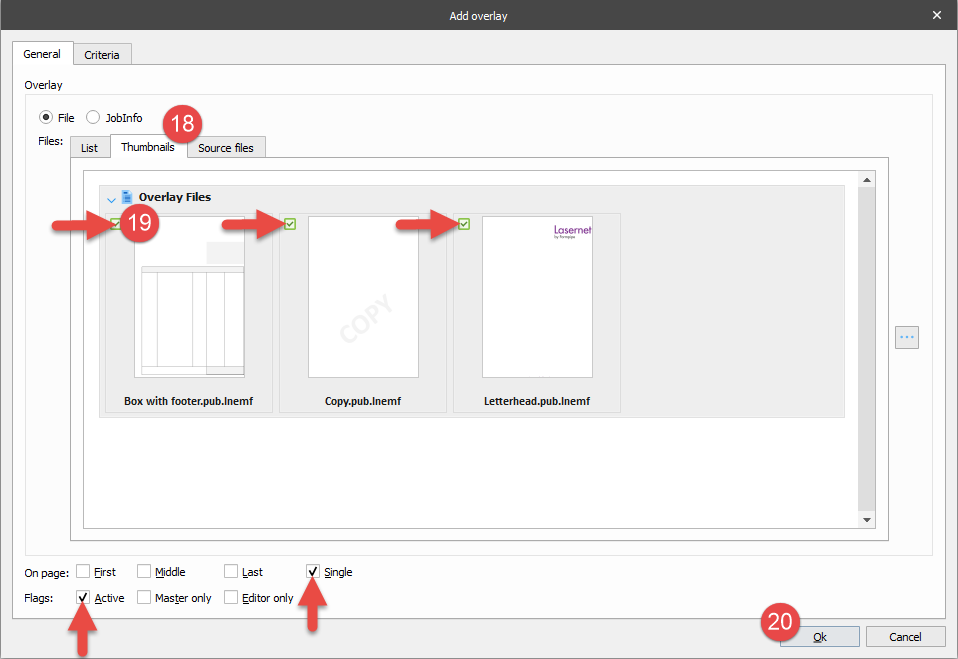
With the Add overlay dialog displayed, switch to the Thumbnails tab to view a list of available overlay files.
Select a checkbox next to each overlay file to add them to the form again. Like in the previous example, you can select the files in the layer as you want them to appear in the form.
Click the Ok button.
The overlays are now added to the form once more. Navigate back to the list of overlays to change the order of layers so they appear in the expected order.
