Lasernet Web Client 11 Guide
- 19 Dec 2025
- 8 Minutes to read
- Contributors


- Print
- PDF
Lasernet Web Client 11 Guide
- Updated on 19 Dec 2025
- 8 Minutes to read
- Contributors
- Print
- PDF
Article summary
Did you find this summary helpful?
Thank you for your feedback
Introduction
This guide is written for everyone whose work involves Lasernet Input and Output workflows.
You can use the Lasernet Web Client to view job queues and perform basic tasks such as editing JobInfos, rescheduling, searching, viewing jobs, removing jobs, and releasing paused jobs.
Note
For instructions on how to install and configure Lasernet Web Client, see the Lasernet 11 Installation and Setup Guide.
You must ensure that Lasernet Web Client and Lasernet Server software versions are in sync. Lasernet Web Client will only work if it is at the same software version as the installed Lasernet environment.
Note
Features and images shown in this document might vary slightly from your particular configuration.
Ensure your computer has internet access. The Web Client requires internet access to download the icons it uses.
Access Lasernet Web Client
To access Lasernet Web Client, go to the following location in a web browser:
https://<hostname>:<port number>/lasernet/client
Appropriately substitute <hostname> (and <port number> if used). If Web Client is running on its default port (443), you can omit the port number.
For example, if the web browser and Lasernet Web Client are running on the same server, and Lasernet Web Client is running on its default port, you would go to: https://localhost/lasernet/client
Sign in with your account credentials.
Select an Environment
The environment is selected from the settings dropdown menu.
Click the settings (cog) icon. A list of available environments is displayed.
Click the environment you require. The window will be refreshed to reflect the environment you have chosen.

Overview
Lasernet Web Client has an intuitive interface for viewing and managing the jobs stored in Lasernet.
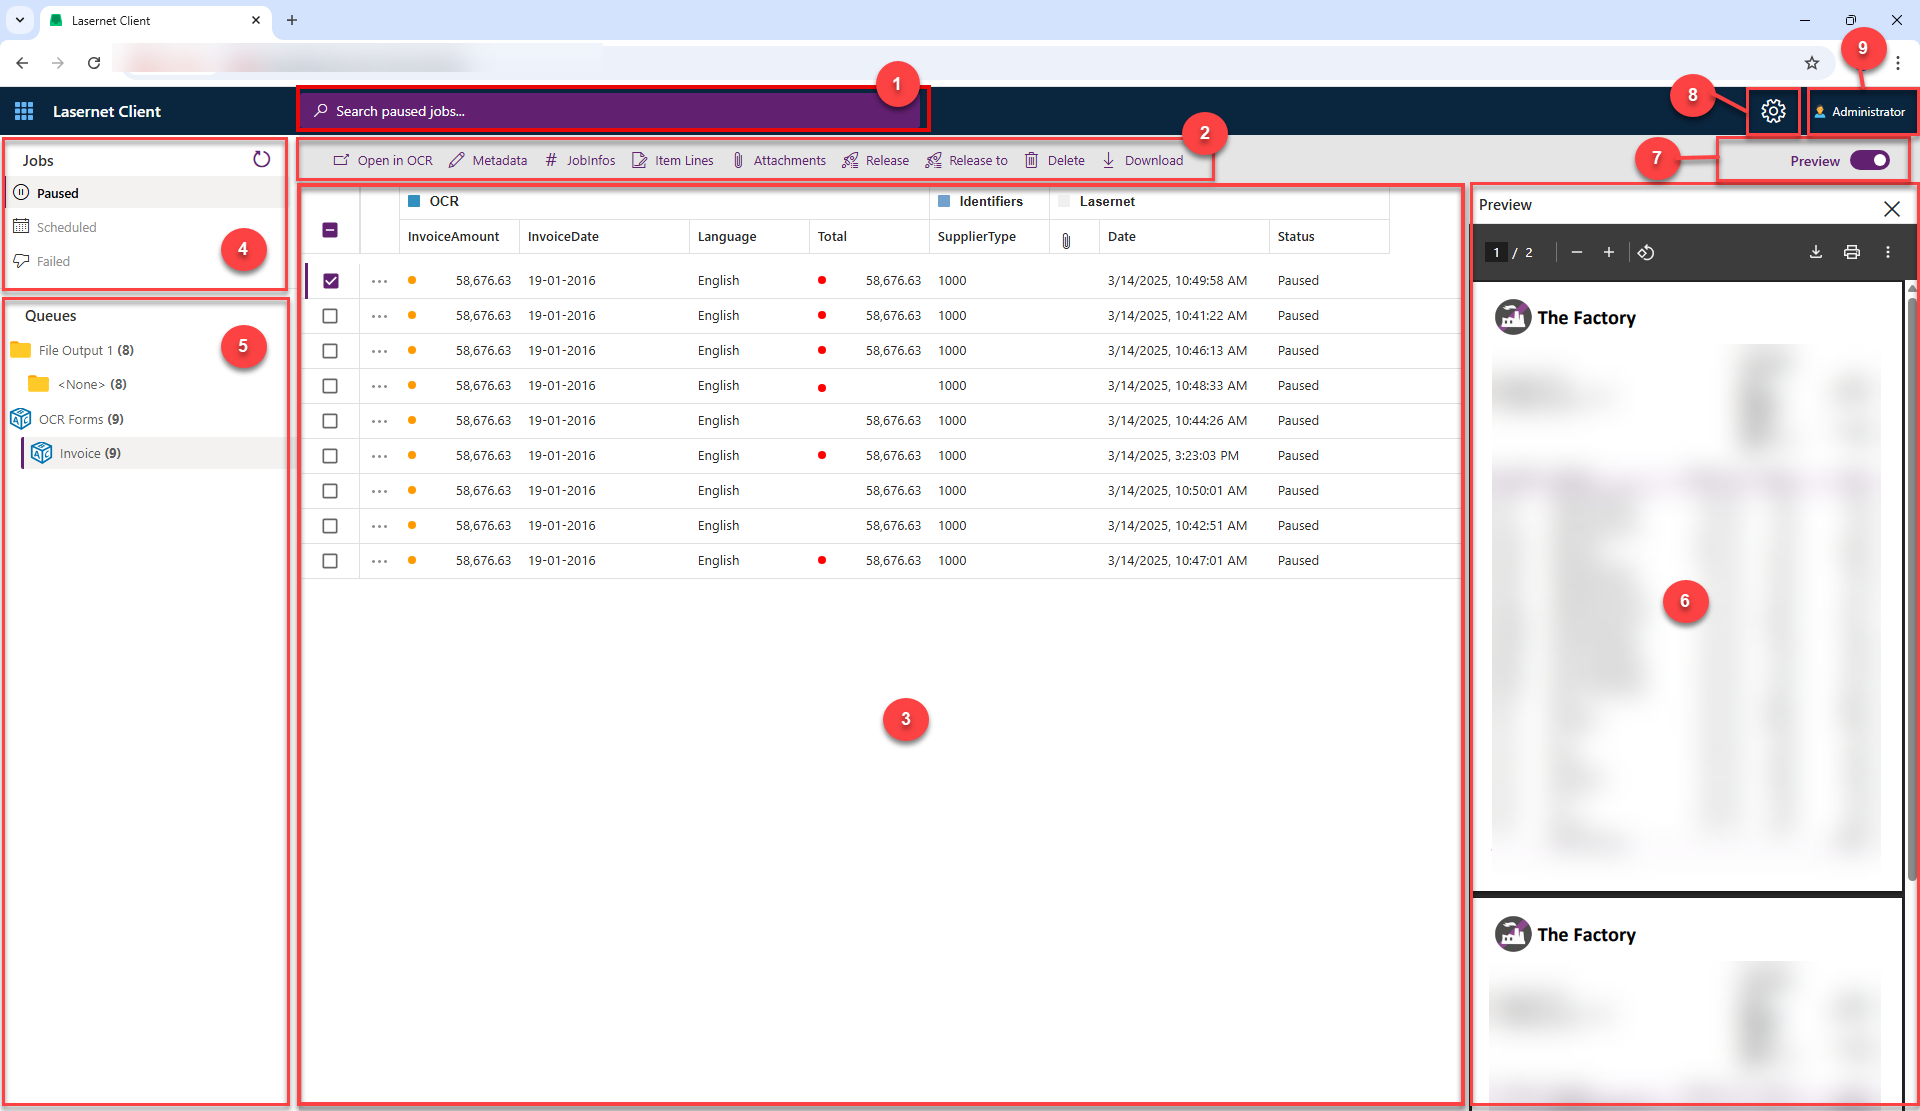
Number | Element |
|---|---|
1 | The Search box finds values in any column and any queue for a selected job category. See Search Box. |
2 | The Jobs toolbar contains commands relevant to jobs. See Jobs Toolbar. |
3 | The Jobs pane lists jobs and their metadata in the selected queue. See Jobs Pane. |
4 | The Jobs panel lists the job categories and shows which one is currently selected. See Jobs Panel. |
5 | Queues show the queued job category tree, with job totals in brackets. See Queues. |
6 | The Preview pane displays a document preview for the selected job, if available. See Preview Pane. |
7 | Preview toggles the document preview pane on or off. See Preview. |
8 | Settings displays the menu from which you select the environment instance. See Settings. |
9 | The account button displays the active account. You can also sign out from here. See Account. |
Search Box
Searches all jobs in the selected job category. See Search for more information.
Note
You cannot search by date, status, or failure reason.
Settings
The list of available environments is displayed. Click the environment you require, and the window will refresh.

Account
The active account is shown at all times. Click Sign Out when your session is finished.
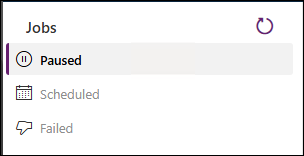
Jobs Pane
The following job categories are available:
Paused: Jobs that must be manually released (unpaused).
Scheduled: Jobs that are awaiting automatic release at a predetermined time.
Failed: Jobs that have failed at some point in Lasernet.
Click Refresh to retrieve new jobs from the environment and update the list view.
Note
The total number of jobs within a category, shown in brackets, is updated when refreshed.
Jobs Toolbar
Commands are shown when a job is selected in the Jobs pane.

Note
Particular options shown will change depending on what you select in the Jobs pane.
Alternatively, you can show the commands available for a particular job by clicking the ellipses icon.
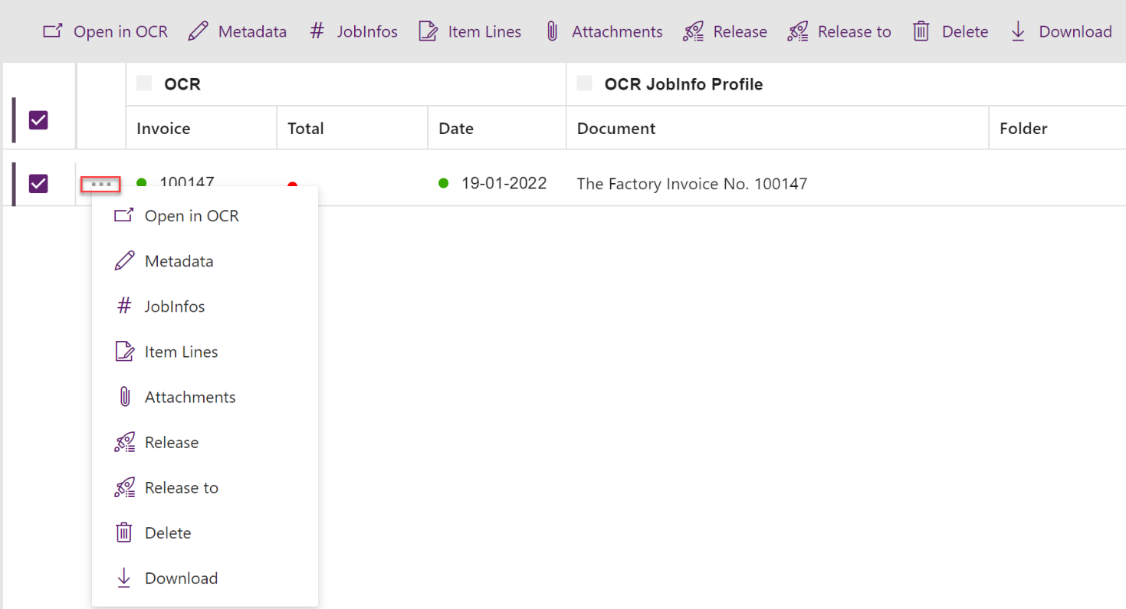
Open in OCR
This command is shown only for users running the Lasernet Input Management solution. If a job is paused, select it and then click Open in OCR to open the job in Lasernet OCR Editor.
Note
A local installation of Lasernet OCR Editor is required.
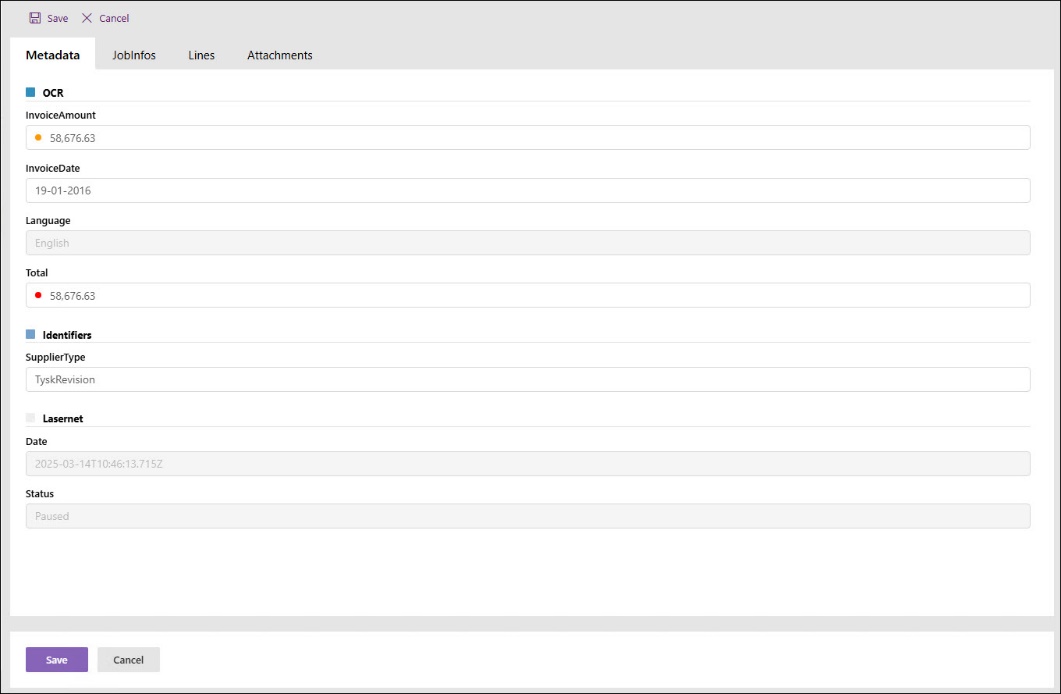
Metadata
Displays the additional metadata associated with the selected job.
JobInfos
Displays the primary user and system JobInfos fields associated with the selected job.
You can edit fields if they do not have a read-only setting applied. System data cannot be edited.
Click Save to apply your changes.
Note
The system band will always be called Lasernet. Other names of the band are configurable.
Metadata That Requires Validation
Some metadata requires validation. For example, item lines are created using the OCR module. These show one of the following status indicator symbols. The color codes are:
| Successful: the field value has been validated by the system or user. |
| Tentative: the field value requires validation and, if necessary, editing. |
| Failure: the field value requires correction. |


Depending on the status, any two of the following commands will be shown when you select a validation field:
| Sets the field status to Successful. |
| Sets the field status to Tentative. |
| Sets the field status to Failure. |


Click Save to apply your changes to the environment.
We recommend that all status indicator symbols be green before releasing a job.
Note
JobInfos that are marked as Read Only in the JobInfo Profile are not editable.
Attachments
Allows you to add new documents to, or delete existing documents from a job.
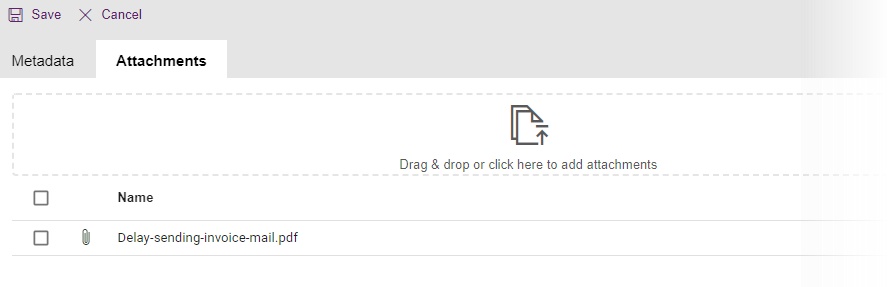
To add a document, choose one of the following options:
Drag and drop the documents you want to add to the dashed box.
Click within the dashed box to browse for the file.
Select an existing document from the list to delete or download it.
Click Cancel to restore deleted attachments and delete new uploads.
Click Save to apply your changes to the job.
Release
Releases all jobs at a selected tree level to their default destinations.
Note
Failed jobs (if any) are retried.
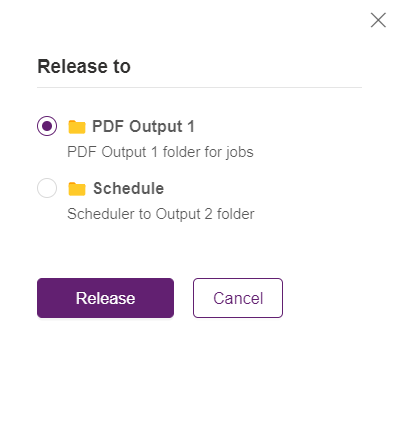
Release to
Allows you to choose the destination to which all jobs at the selected tree level will be sent. A menu is displayed with all available options. Select the desired destination and click Release.

Delete
Deletes all jobs from any queue at any selected tree level.
Note
It is not possible to recover a deleted job.
Download
Downloads documents associated with a job.
Item Lines
Shows the extracted item lines from the previewed document, if any.

Note
This option will only appear when you select an OCR Forms queue.
Preview
To display the Preview pane, turn on the Preview toggle.

Queues
Click a category to display the jobs it contains in the Jobs Pane.
The total number of jobs within a category is shown in brackets.
Note
Clicking the Refresh button refreshes the total number of jobs, shown in brackets.

Jobs Panel
All jobs in the selected queue are listed. The listing order is chronological, with the oldest jobs at the top.
Scroll down to continuously fetch newer jobs from the environment.
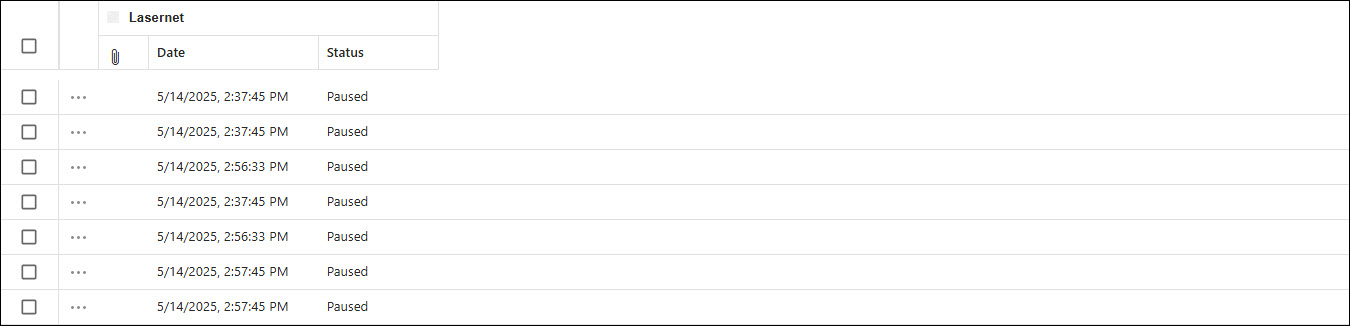
Some metadata associated with each job is shown. Some of this is configurable and can be grouped into bands, see Banding.
Lasernet system data cannot be overwritten. This includes a number of attachments, a timestamp, and a status.
Note
Click the ellipses icon to display relevant toolbar commands.
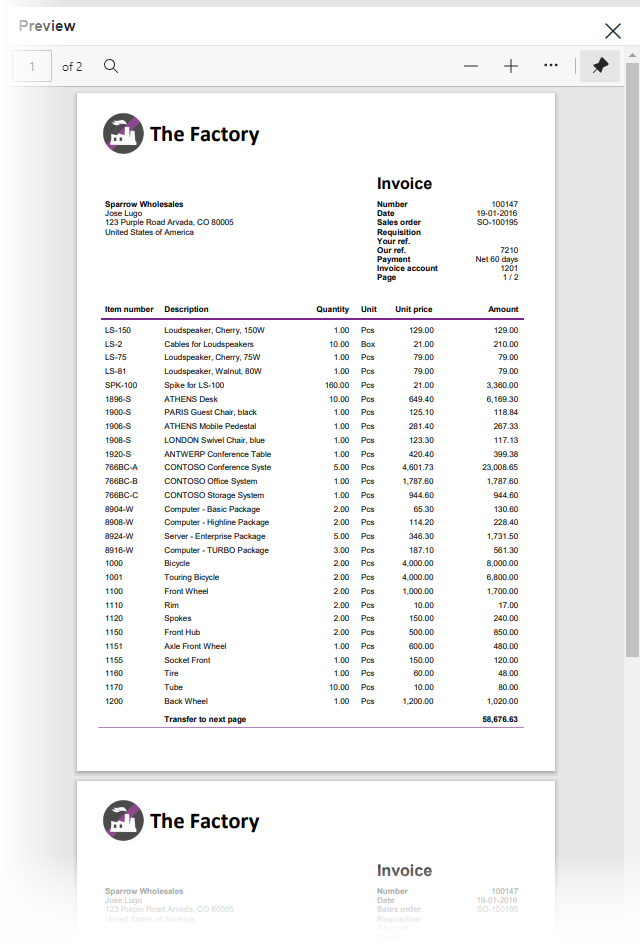
Preview Pane
Multiple formats are supported in preview, including PDF, DOCX, XLSX, RTF, TIF, TXT, HTML, and XML formats.
Note
EMF jobs stored for printing devices will be previewed in PDF format.
Use your local toolbar to view, print, and save your document.
Functions
Queues
There is a tree of queues containing jobs for each of the different queue types—Paused, Scheduled, and Failed. If a queue does not contain jobs, it is not displayed.
There are two queue levels in the tree:
Top: Logical module name.
Bottom: Occurrences grouped by the JobInfo FormType.

The higher you go in the tree, the more queues are covered, and the more jobs are shown.
The FormType JobInfo is a special JobInfo, defined on the environment, which is used to group jobs in a queue in separate lists. If no FormType is specified for a job, it will automatically be in the list called “<None>”.
FormType is stored by default, so a JobInfo profile does not need to be created to use this feature.
Click Release to release all jobs at a selected tree level to their default destinations. Failed jobs are then retried.
Click Release to choose the destination to which all jobs at the selected level will be sent. A menu with all available options is displayed. Select the desired destination and click Release.
Click Delete to remove all jobs from any queue at any selected tree level.
Note
It is not possible to recover a deleted job.
Search
Search works across all queue types and shows jobs regardless of their status. The status of the job determines which actions are possible.
Note
It is not possible to search for a date, a status, or a failure reason.
Keywords cannot be found in JobData.
Paused Jobs
Pause a job to verify that a module's output looks correct before releasing it to its output destination(s).
You need to manually release paused jobs (unpause) to continue.
When a paused job is released by a user, it is passed to the job destination(s) specified in the module. It is possible to mark a pre-defined destination as an “Alternative”. Alternative destinations are skipped unless you specifically choose to release a job to them.
Scheduled Jobs
The system automatically releases scheduled jobs from their paused state after a specified period. Alternative destinations are not configurable for scheduled jobs.
Failed Jobs
If a job has failed in Lasernet, it is often because communication cannot be established between an output module and the external environment, such as an email server. To retry a failed job, select the queue or jobs you want to release and then click Release. Lasernet will process the job again (from the same state as where the job failed) by attempting to reconnect and send the job again.
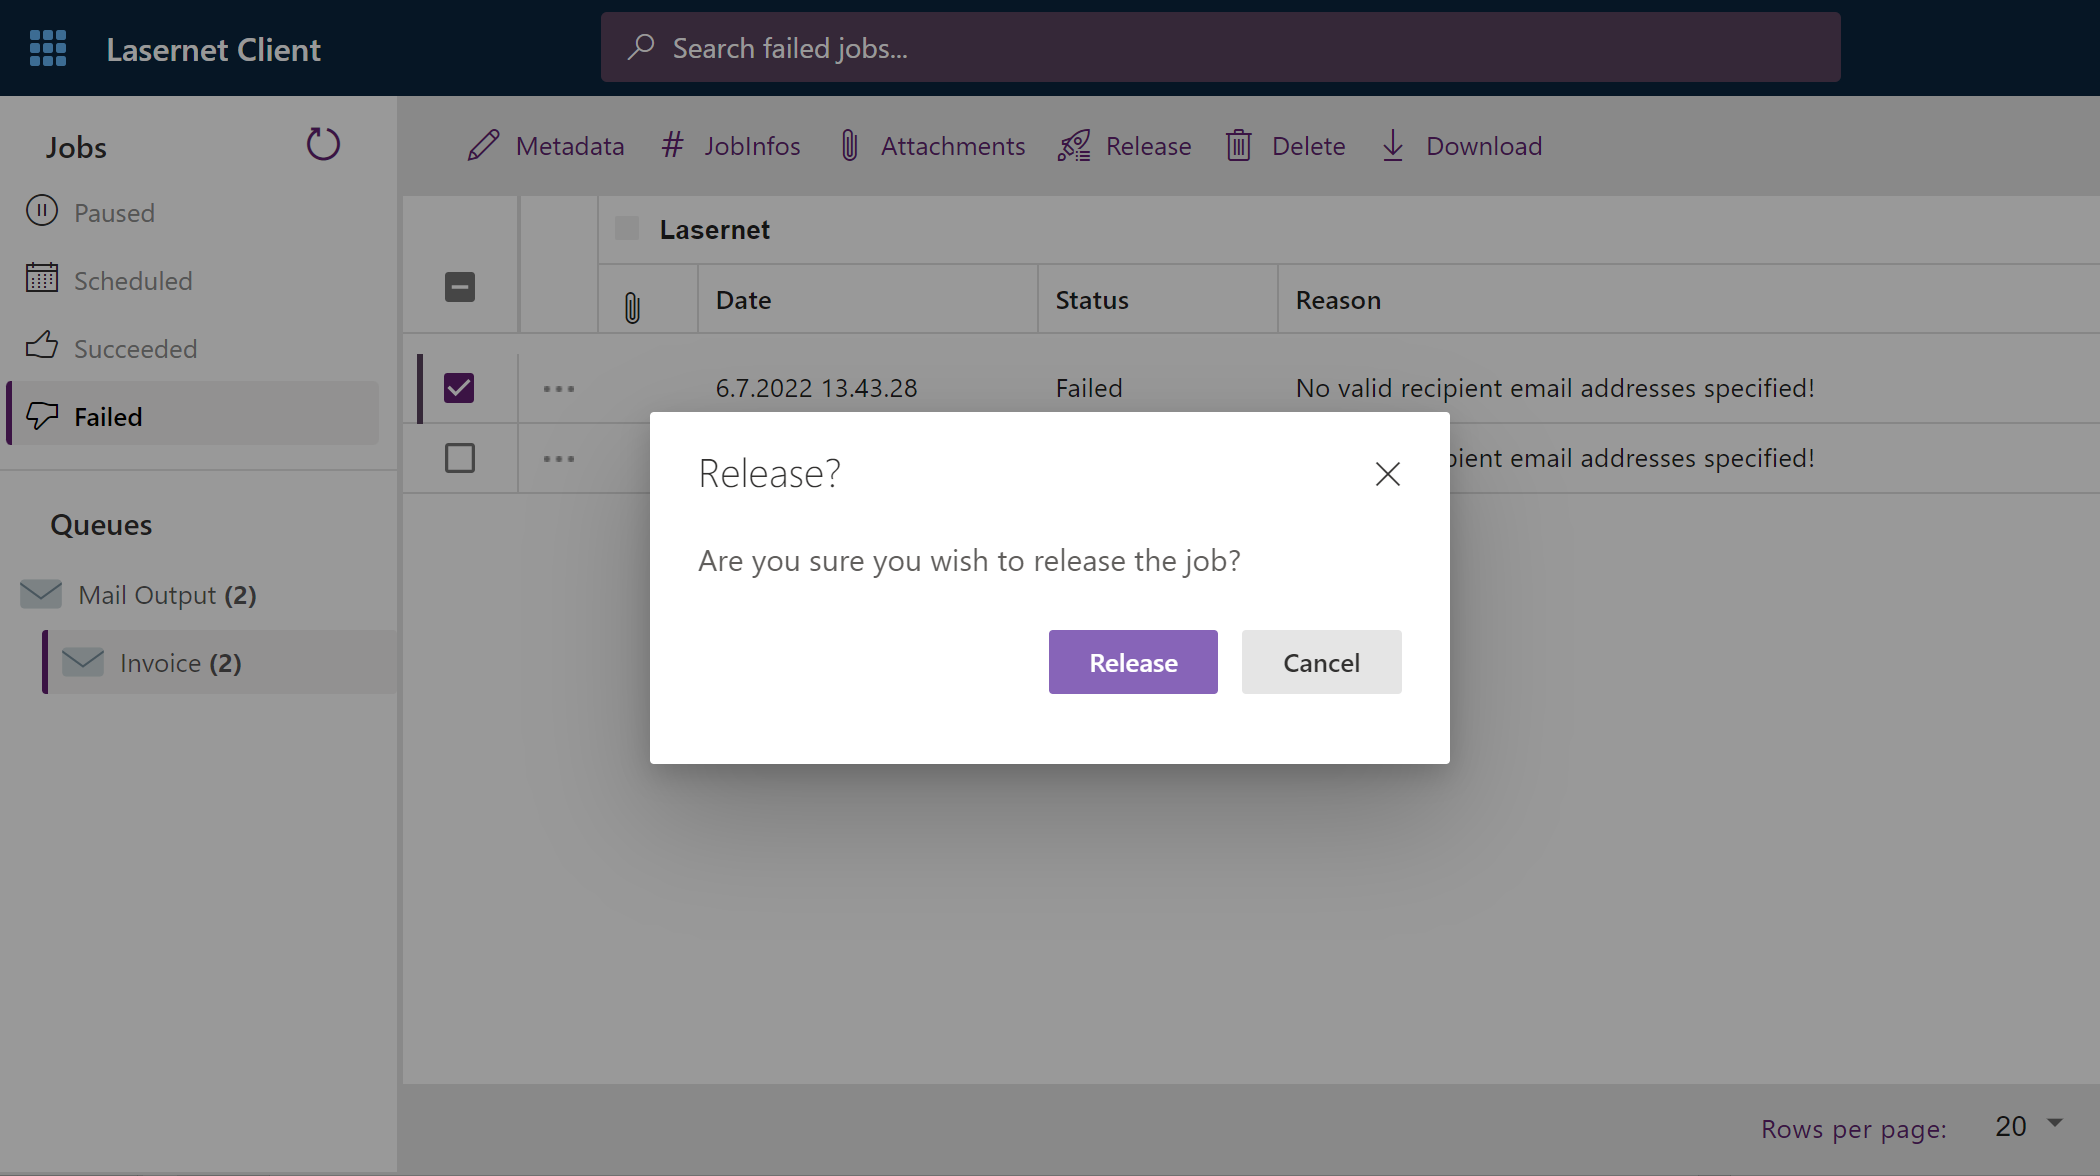
Alternatively, click Delete to delete the selected job from the failed job queue.
OCR Jobs
Jobs for the OCR Engine can have one of the following states:
The incoming document is not recognized by the OCR Engine
The job will be paused with only system metadata. You can select the document and click Open in OCR to define how to find and extract data from the document.
OCR Form is finalized in the OCR Editor
The job is ready to be released from the client. Click Release or Release to as necessary.

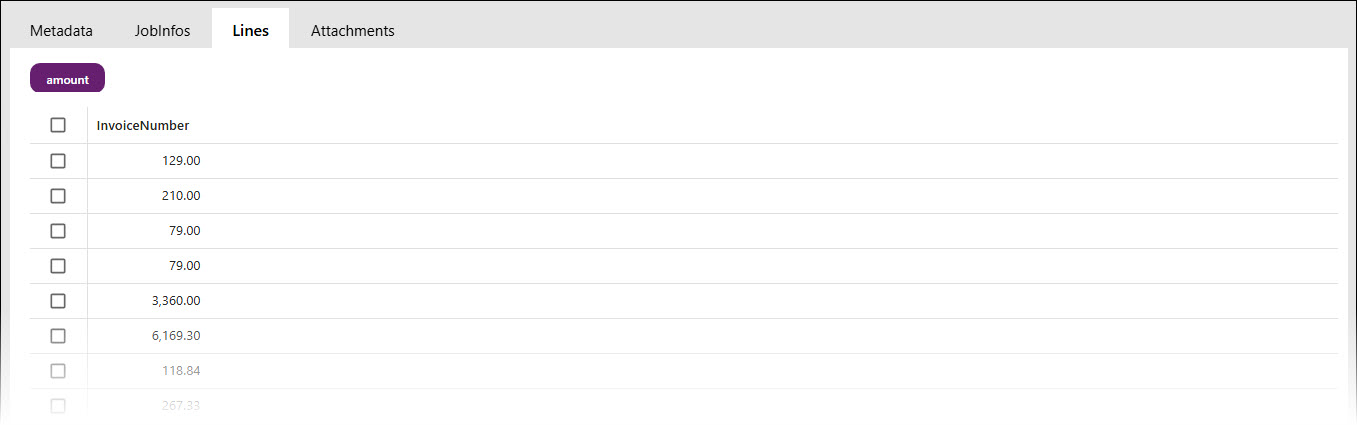
The Lines tab displays extracted item lines for the selected document. It also shows the color-coded status indicator symbols.
Note
If validation fails, the job will go to the Paused queue, not the Failed queue.
Banding
Metadata (JobInfos) can be arranged into bands for display in Lasernet Web Client. Bands are shown in the top header row, indicated by colored squares.

Bands and colours are configured via JobInfo Profiles in Lasernet Developer. They can be used to display a list of relevant JobInfos in the Lasernet Web Client.
Once configured, the metadata is shown in columns for the job. For example, useful information like invoice numbers, names, or email addresses of clients can be displayed.