- Print
- PDF
The sample setup applies to the following:
The Printer Connector earlier than version 1.2
JobInfo on the Server Properties set to EnableLNEMFPrinting = No
Use the following step-by-step instructions as an example of Lasernet Cloud Print setup.
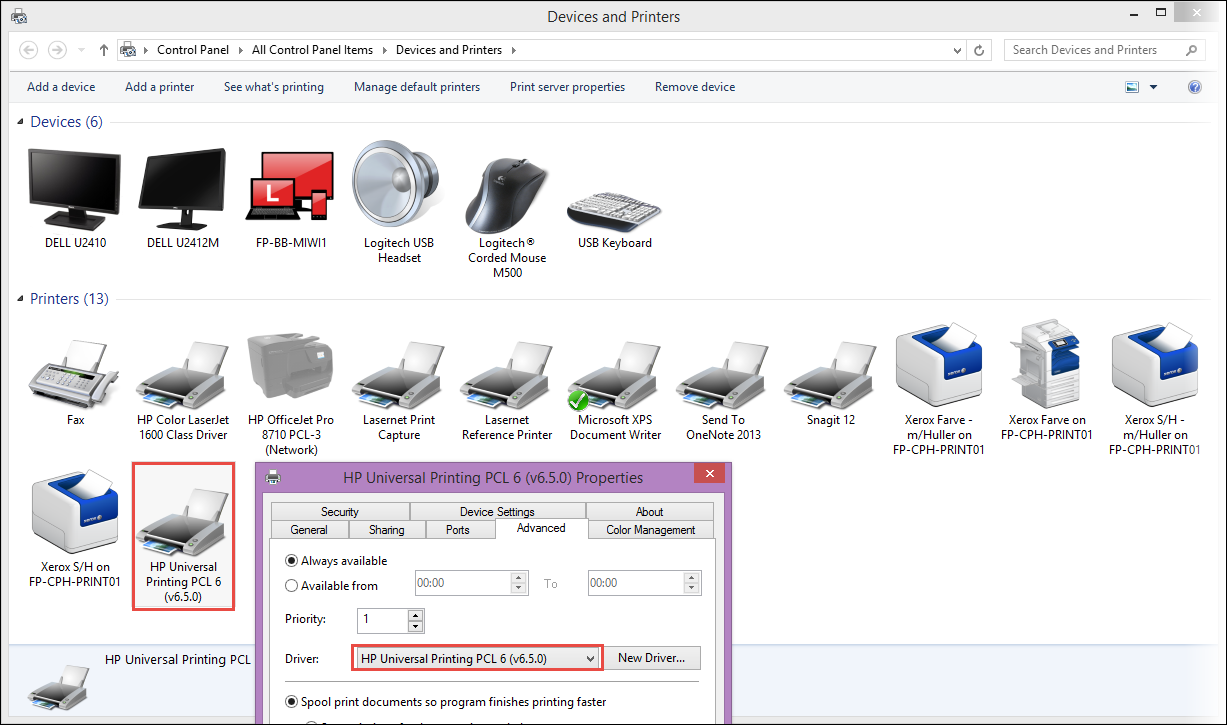
Install a printer driver on the Lasernet server (it does not matter whether the Lasernet server is installed in the Cloud or on-premises). Do the same for all printer drivers you wish to use for printing. Therefore, if four different HP printers use the same HP Universal printer driver, you only need to install one printer with that name and printer driver.
Note
The printer's name must be the same as the printer driver's name.

Navigate to Dynamics 365 Finance and Operations and set up Azure Service Bus and Azure storage account on the Parameters page (Lasernet > Setup > Cloud print connector setup > Parameters).
Navigate to Lasernet > Lists > Printers and click the Download button.
On the menu that appears, click Download Lasernet Cloud Print Connector.
When the download is finished, run the .exe file.
If the following message appears, first, click Show more, and then Run anyway.

Follow all the screen prompts to complete the procedure.
In the Lasernet Cloud Print application dialog, select to run the application as either a User or as a Windows service.
Note
Remember if you select Windows service, a service user must be applied to the Lasernet Cloud Print Connector service who shall have user privileges to the PC/server where it is running.
Close the application. A small icon will appear in the lower right corner if User mode is applied.

Navigate to Lasernet > Lists > Printers and click the Download button.
On the menu that appears, click Download Lasernet Cloud Print Connector-Configuration.
Save the file.
Open the Lasernet Cloud Print Connector application by right-clicking the icon, and select Load Configuration-file.
Locate the downloaded configuration file, select it, and click Open.
Right-click the icon again and click Show setup.
Verify that you now have a GUID in the Connector-id field. If you do not have a GUID value, try to reload the configuration file.
Close the application.
Navigate back to Lasernet > Lists > Printers and click Download Lasernet Cloud Printers.
You should now see your local printers.
Ensure that you have the correct Lasernet setup on your Lasernet server. If you use the default Lasernet setup, you should be able to select printing now. If you do not use the default Lasernet setup, contact your local Lasernet reseller.

