Installation
- 06 Mar 2026
- 11 Minutes to read
- Contributors

- Print
- PDF
Installation
- Updated on 06 Mar 2026
- 11 Minutes to read
- Contributors
- Print
- PDF
Article summary
Did you find this summary helpful?
Thank you for your feedback
Prerequisites
Before Lasernet CE Connector can be installed, several prerequisite steps need to be completed. Firstly, we need all the component parts of the solution:
An FO environment with Lasernet FO connector properly installed and configured (see the Lasernet FO Connector Installation Guide).
A properly installed Lasernet instance that is configured and connected to the FO instance.
A CE environment in which to install the connector.
As part of the installation process, we need the following access (these may all be the same user or multiple users, depending on your organization):
A user with system admin access in the CE and FO environments.
A user with access to deploy a package to the CE environment.
A user with access to Azure to create an App Registration.
A user with access to the Power Platform Admin Centre to create a CE Application User and assign CE users Lasernet security privileges.
A user with Tenant Admin access to approve App Registrations.
Once the environments and access are confirmed, we need the following solution components:
A copy of the CE Connector package, the latest version can be found here: Download Latest Releases (select the latest version of the Lasernet CE Connector).
A license for the CE Connector package.
Test data in both systems - this is not crucial, but it makes the process easier.
Deploy the Lasernet CE Connector Package
The first step in installing Lasernet CE Connector is to deploy the package from Lasernet into the appropriate CE environment. There are several ways to do this; if in doubt, refer to the latest Microsoft documentation or consult with your CE partner. In this example, we will be deploying the solution through make.powerapps.com.
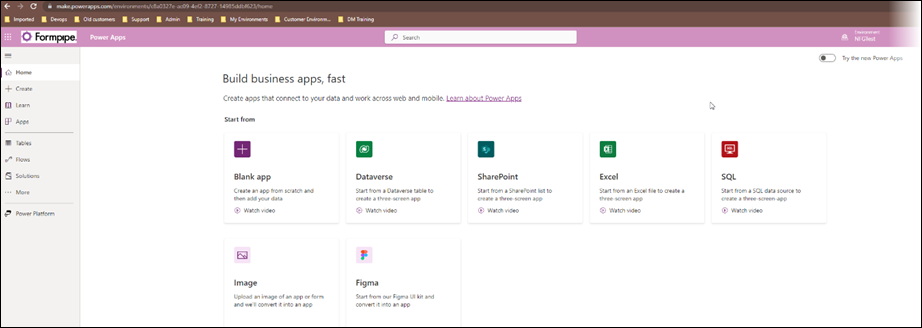
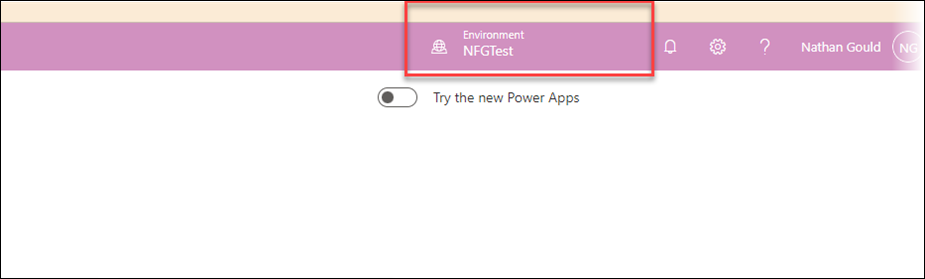
Within Power Apps, ensure that you are in the correct environment. This should be the environment where you want to deploy the CE Connector package.
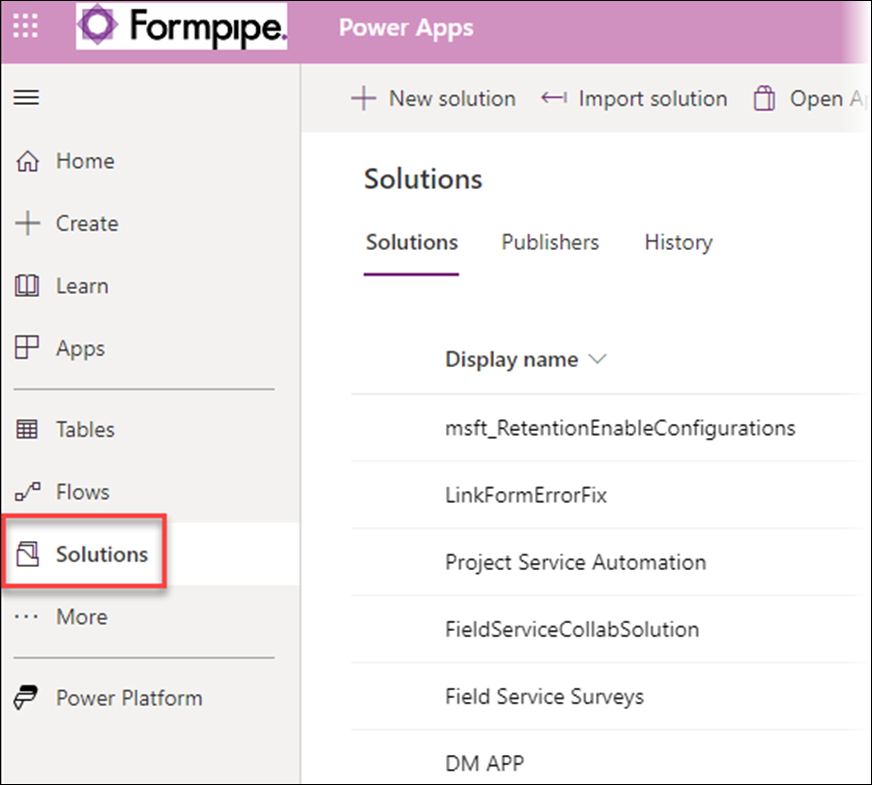
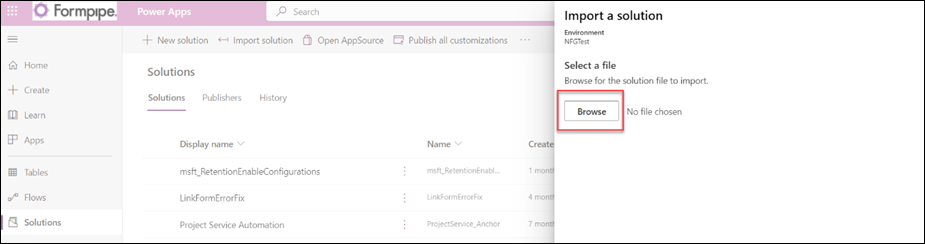
Once you have confirmed that you are in the correct environment, navigate to Solutions.
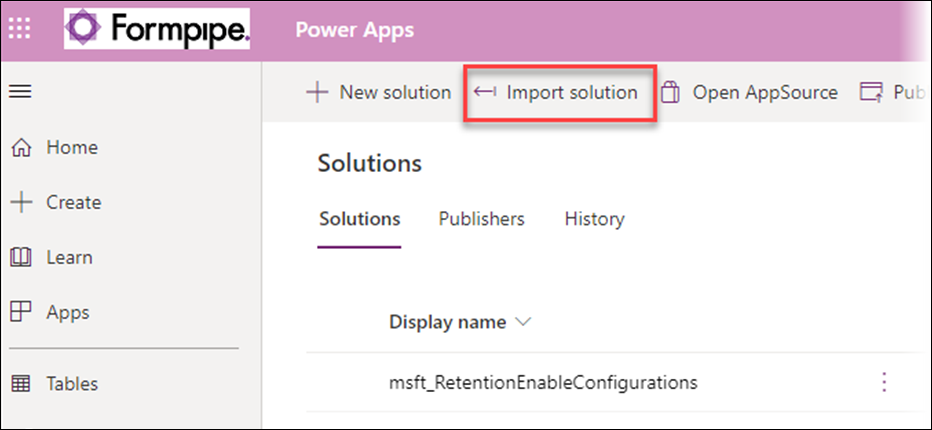
Click Import solution.
In the pane that appears, select Browse.
Browse to the location where you saved the Lasernet CE Connector package. The original download is a zip file, so you need to extract it.
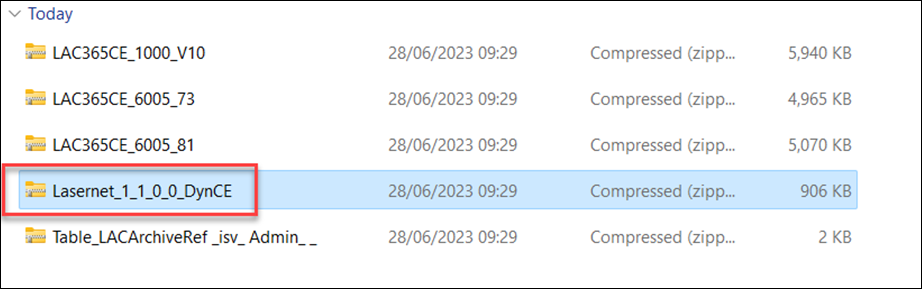
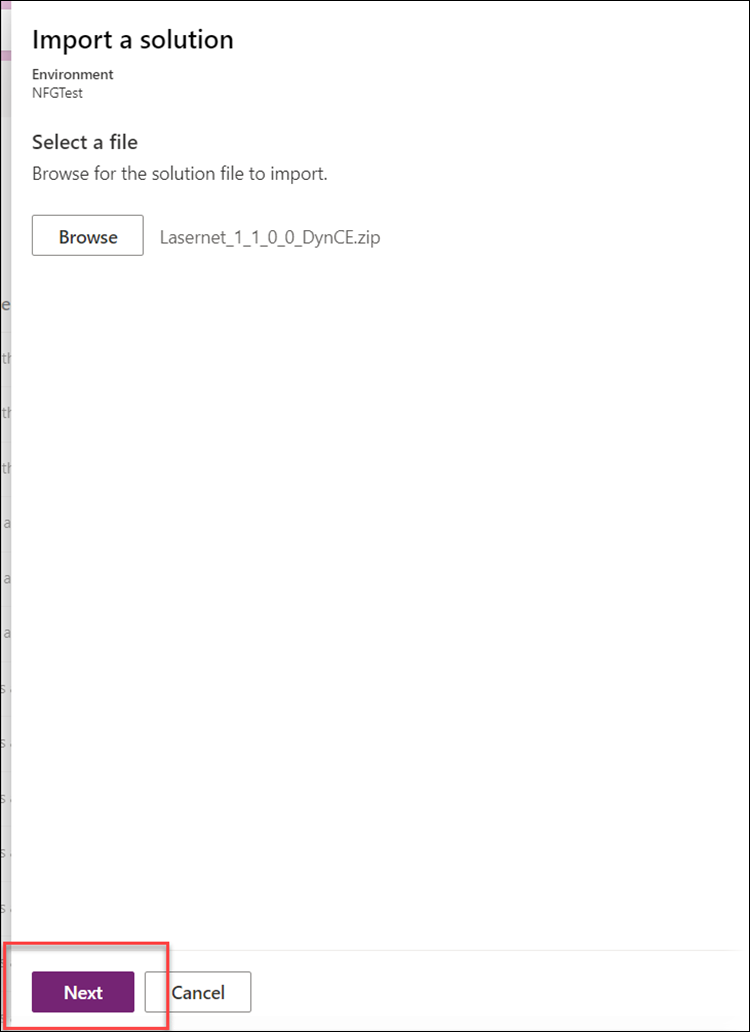
Select the Lasernet_1_1_0_0_DynCE file and click Next to load the solution.
Once the downloaded folder is extracted, select the CE installation package, click Next, and load the solution.
The system will show a preview of what is being imported, check that it matches, and then click Import.
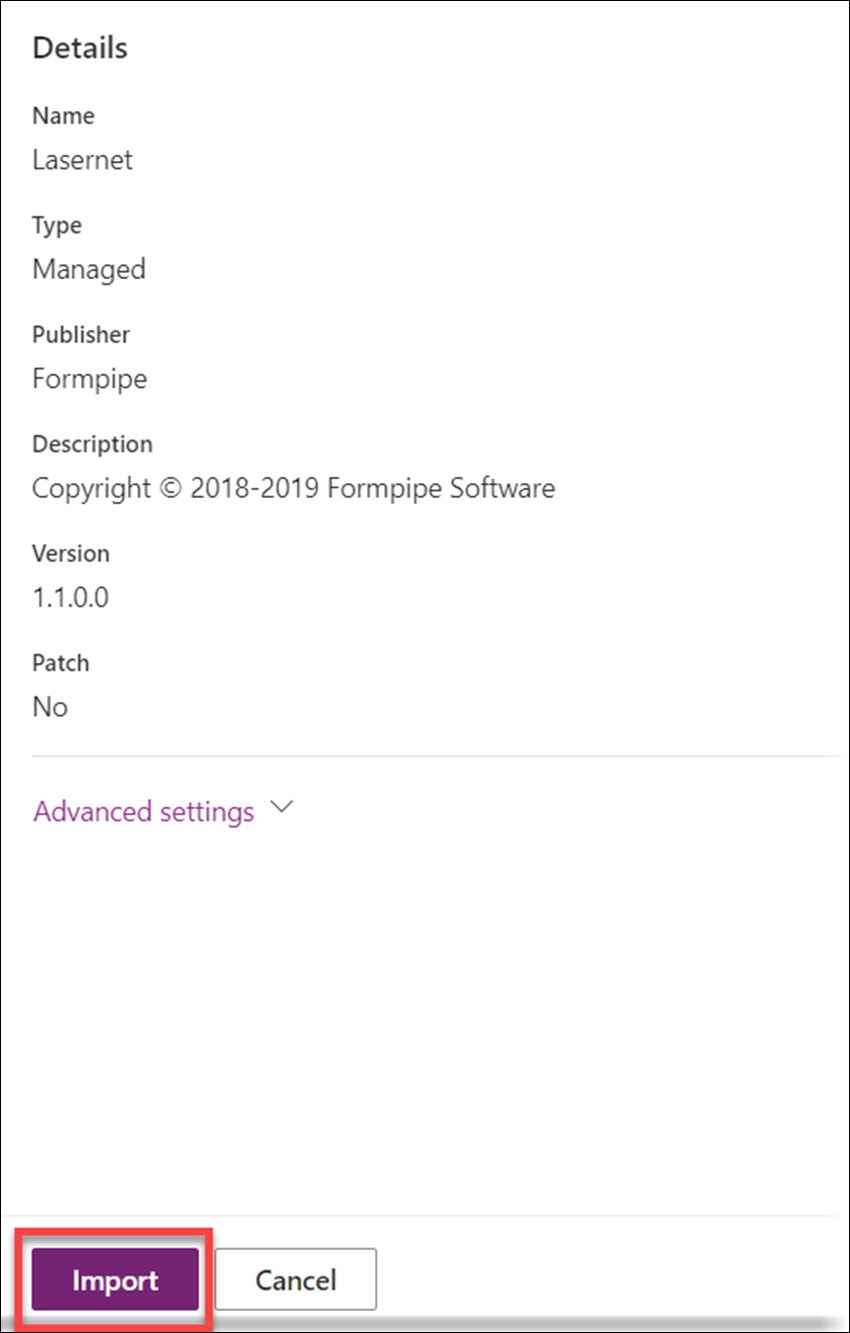
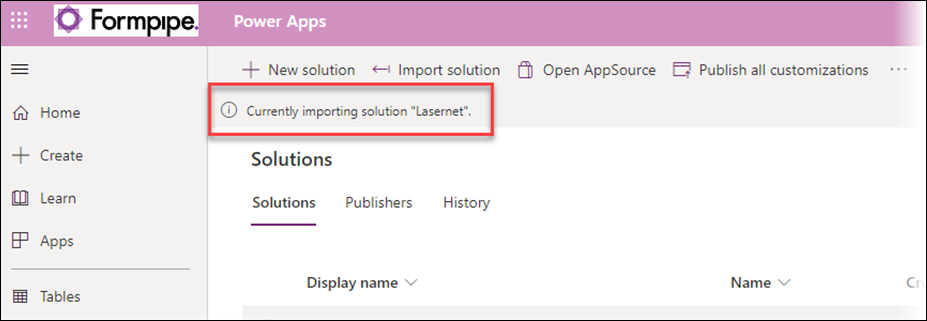
Power Apps imports the solution.
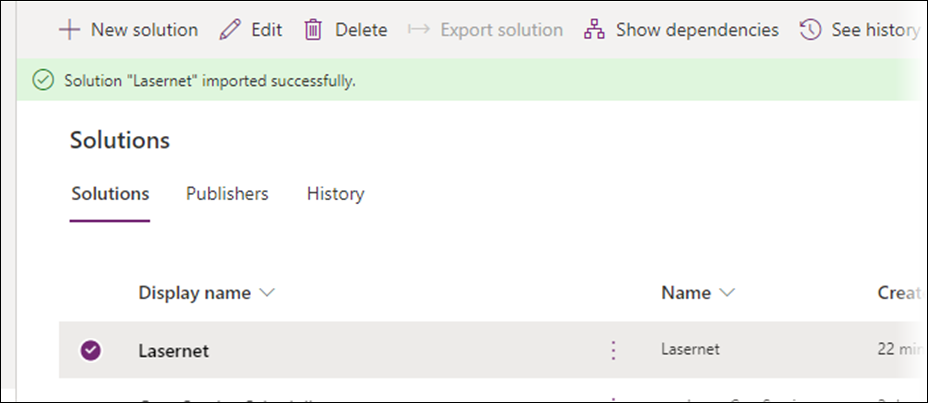
Once complete, the Lasernet package is displayed in the list of available solutions:
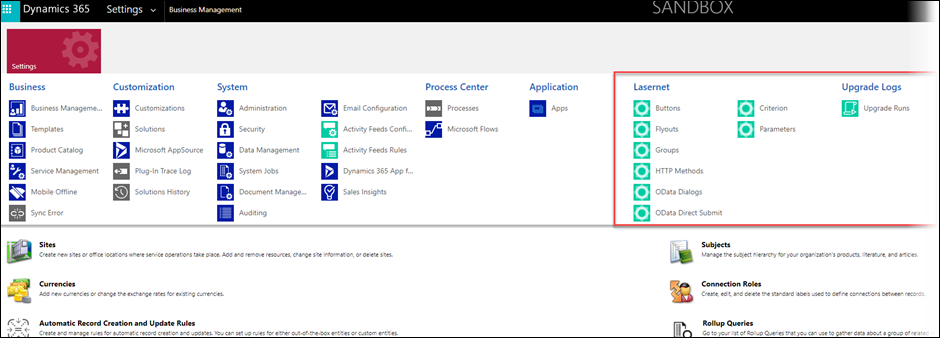
The Lasernet options will also be available for selection within the advanced settings in your CE environment.
Create Azure App Registration
Now that the package is deployed, it is necessary to create the mechanism for communication between FO and CE, which is the app registration.
There are three parts to this:
Creating the registration and copying the IDs.
Confirming the correct settings.
Setting up the user impersonation.
Firstly, to create the app registration and generate the required IDs, follow these steps:
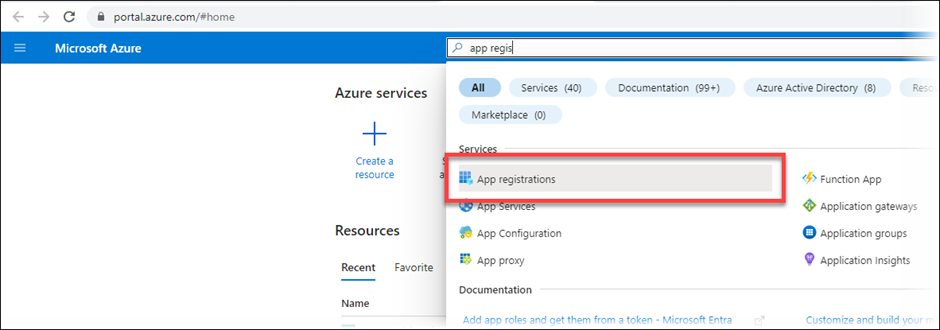
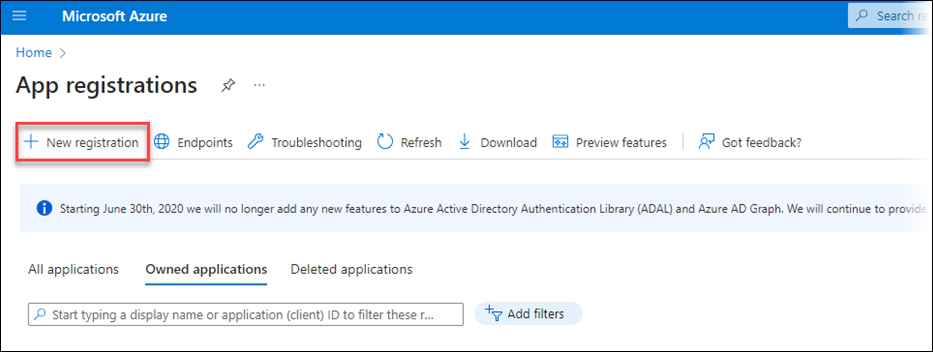
Navigate to http://portal.azure.com and type ”app registrations” in the search bar. Then, open the App registrations resource that is displayed:
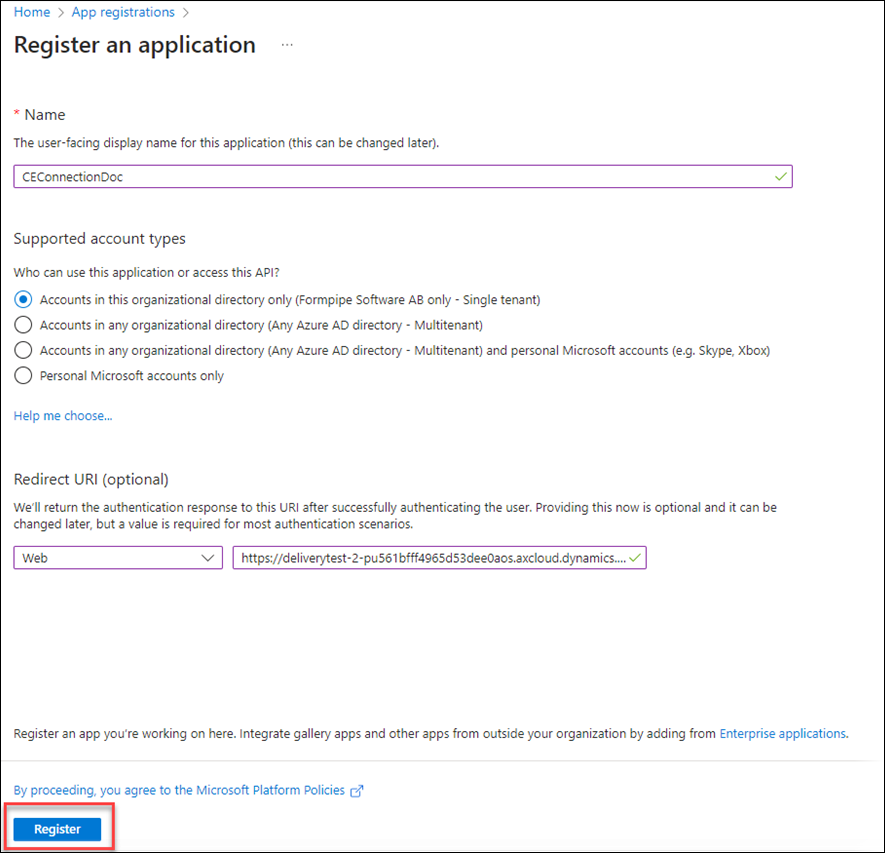
On the displayed form, click New registration.
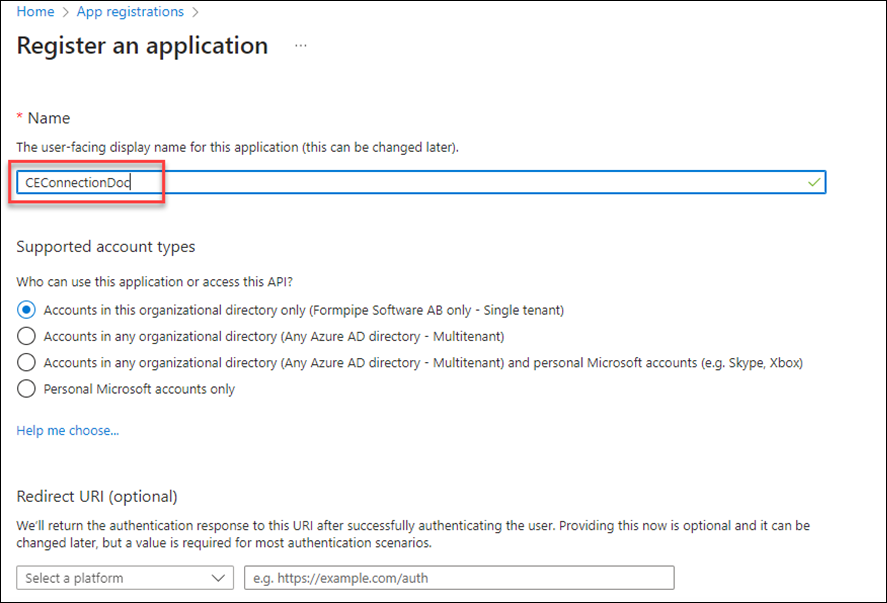
Give the new app registration a sensible name.
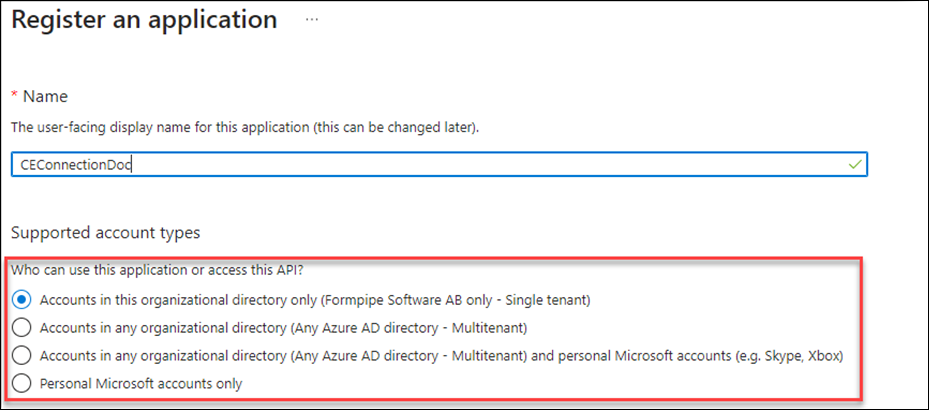
If your FO and CE instances are within the same tenant, select the first option under Supported account types. If they are within different tenants, select the second (if unsure, select the first; most will be within the same tenant).
Select Web as the platform type, then copy your FO URL into the box.
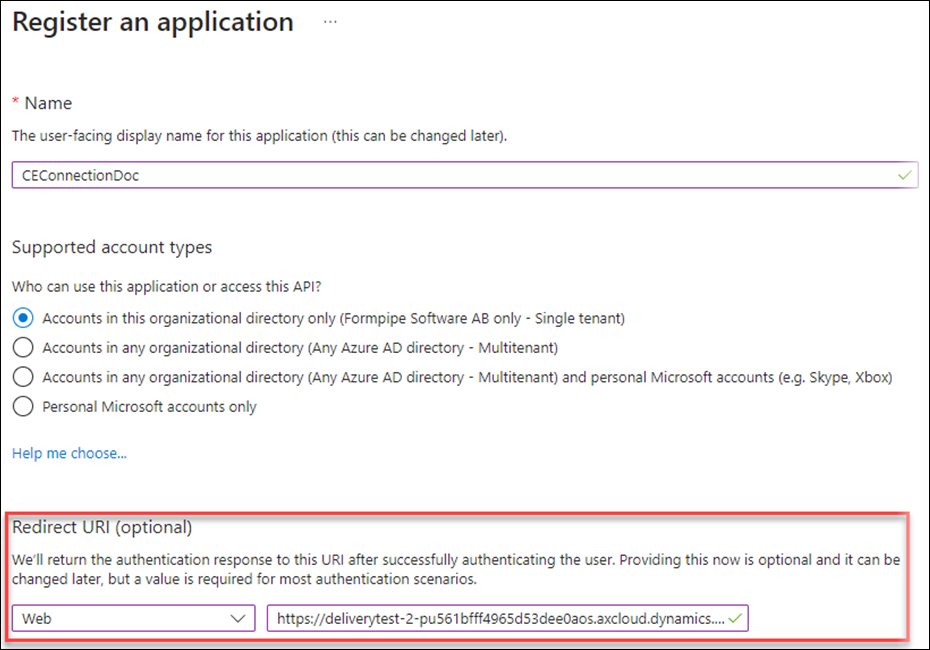
Click Register.
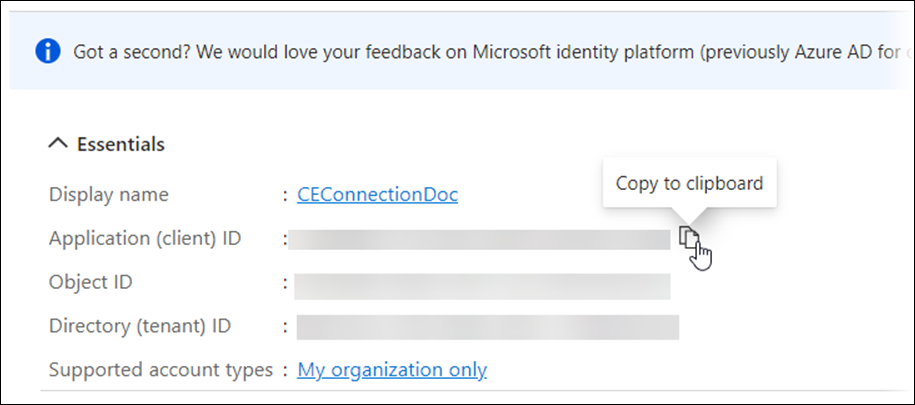
The following screen is displayed:

Using the Copy to Clipboard button, copy the Application Client ID and save it for later use. Notepad or a Word document is ideal for this.
Create a new client secret by clicking the Certificates and secrets menu item, then click New client secret.

Select the secret’s expiration period. Azure will send a notification before the secret expires to inform you that it needs to be updated soon.
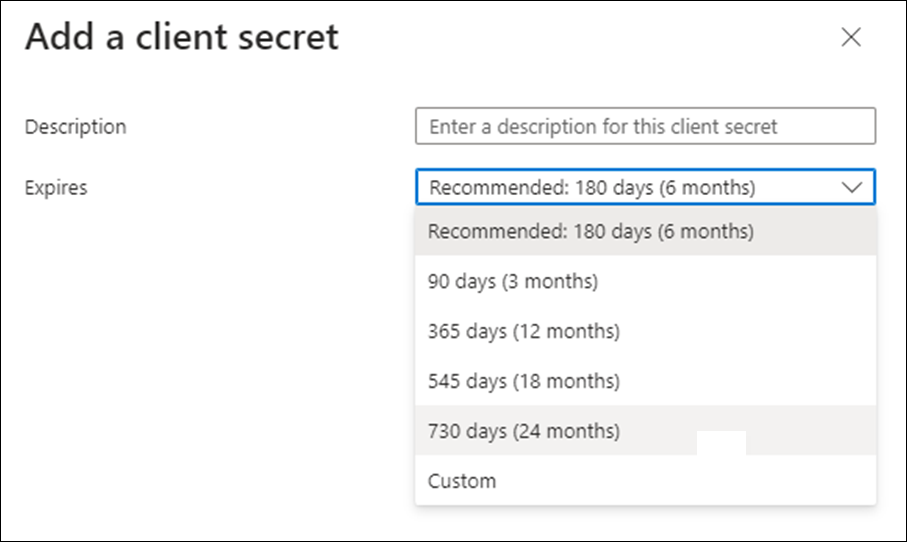
Click Create, and when the client secret is displayed, use the Copy to clipboard option to copy it to the same location where the application ID was copied earlier.
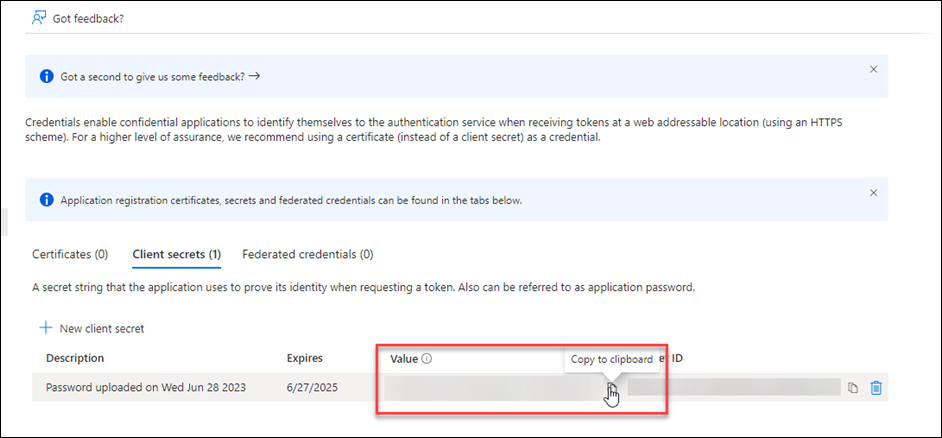
Note
Once copied, the secret will never be displayed again in Azure, so be sure to store it in a safe location. If you lose the secret, you will need to create a new one.
App Registration Configuration
Next, complete the required configuration on the app registration by following these steps:
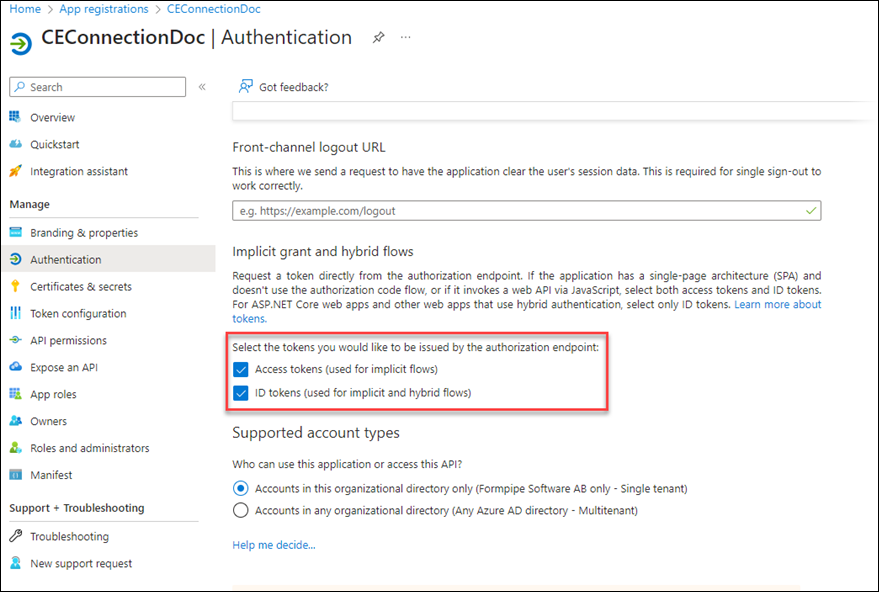
Navigate to the Authentication tab and ensure that both of the boxes are selected as shown:
Depending on your organisation's Azure setup, it may be necessary to update the Who can use this application options to multitenant rather than single tenant. If your FO and CE instances are in the same tenant, this can stay as Single tenant. If they are in different tenants, update this to Multi tenant. If unsure, contact your CE partner.
User Impersonation Setup
With the required configuration of the app registration are complete, only the user impersonation setup remains.
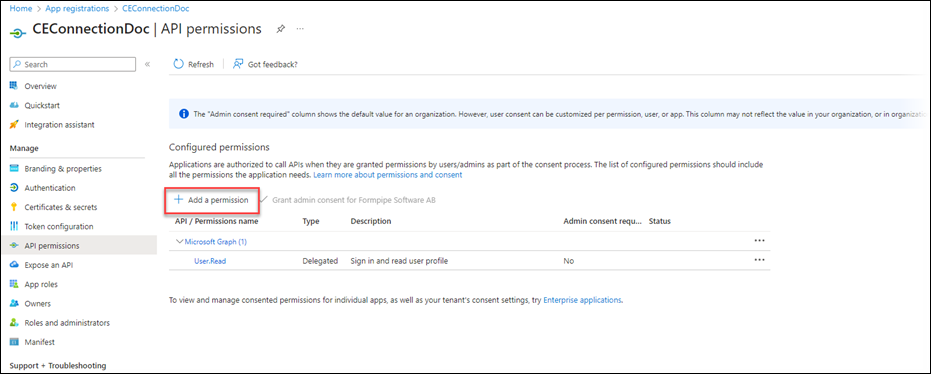
Navigate to API Permissions and click Add a permission.
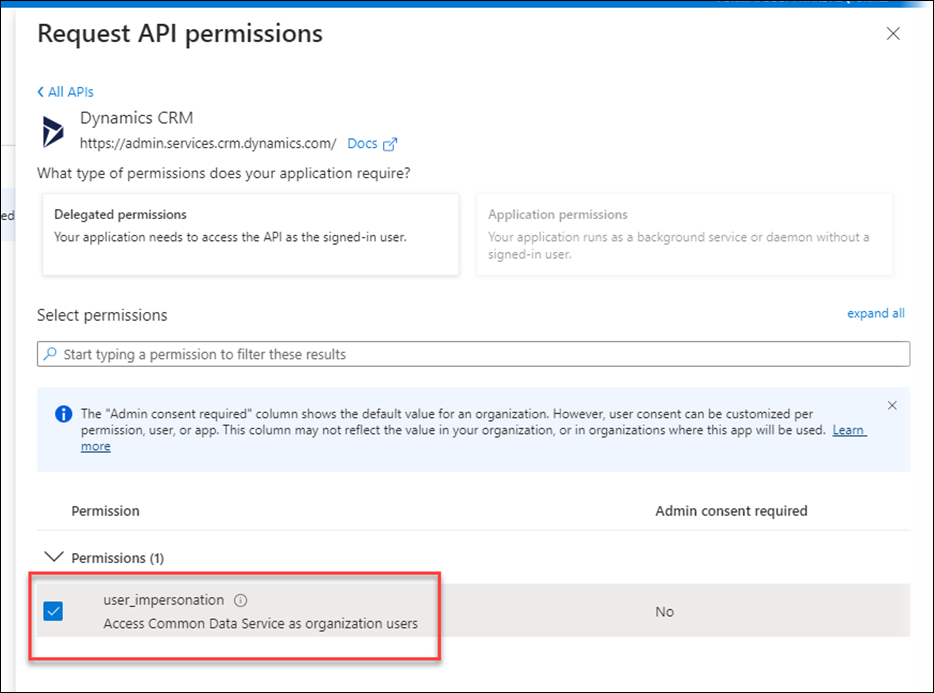
Select Dynamics CRM from the options.

Ensure the checkbox for user_impersonation is selected.
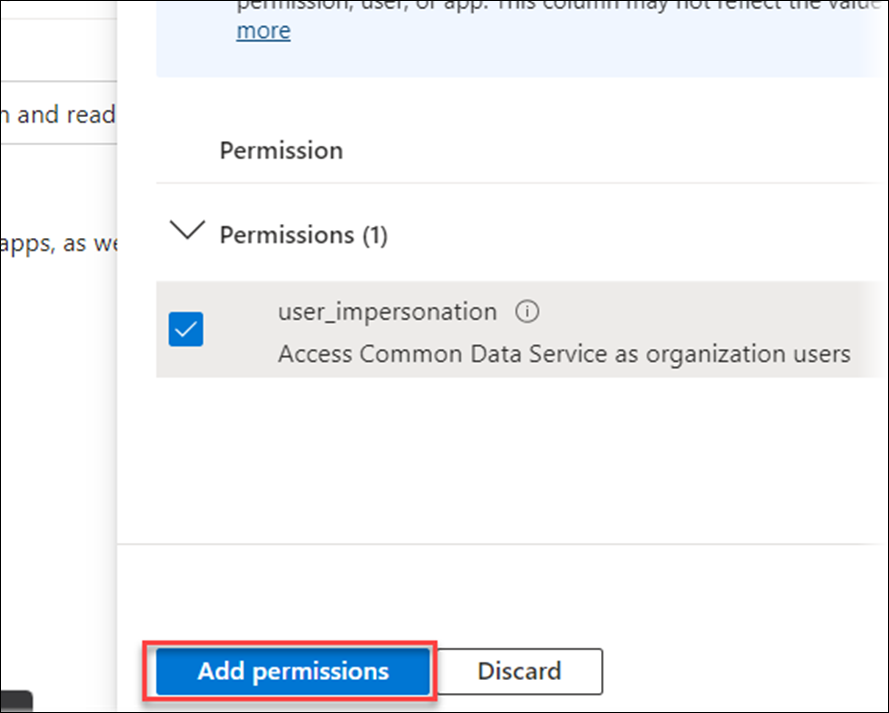
Click Add permissions. The setup for the app registration is complete.
Create Connection in Finance and Operations
To create the connection in FO that links FO to CE, follow these steps:
Open the FO environment that will be connected to CE, and select the entity from within FO that you want to connect to CE.
Note
The Lasernet CE Connector configuration is entity-specific.
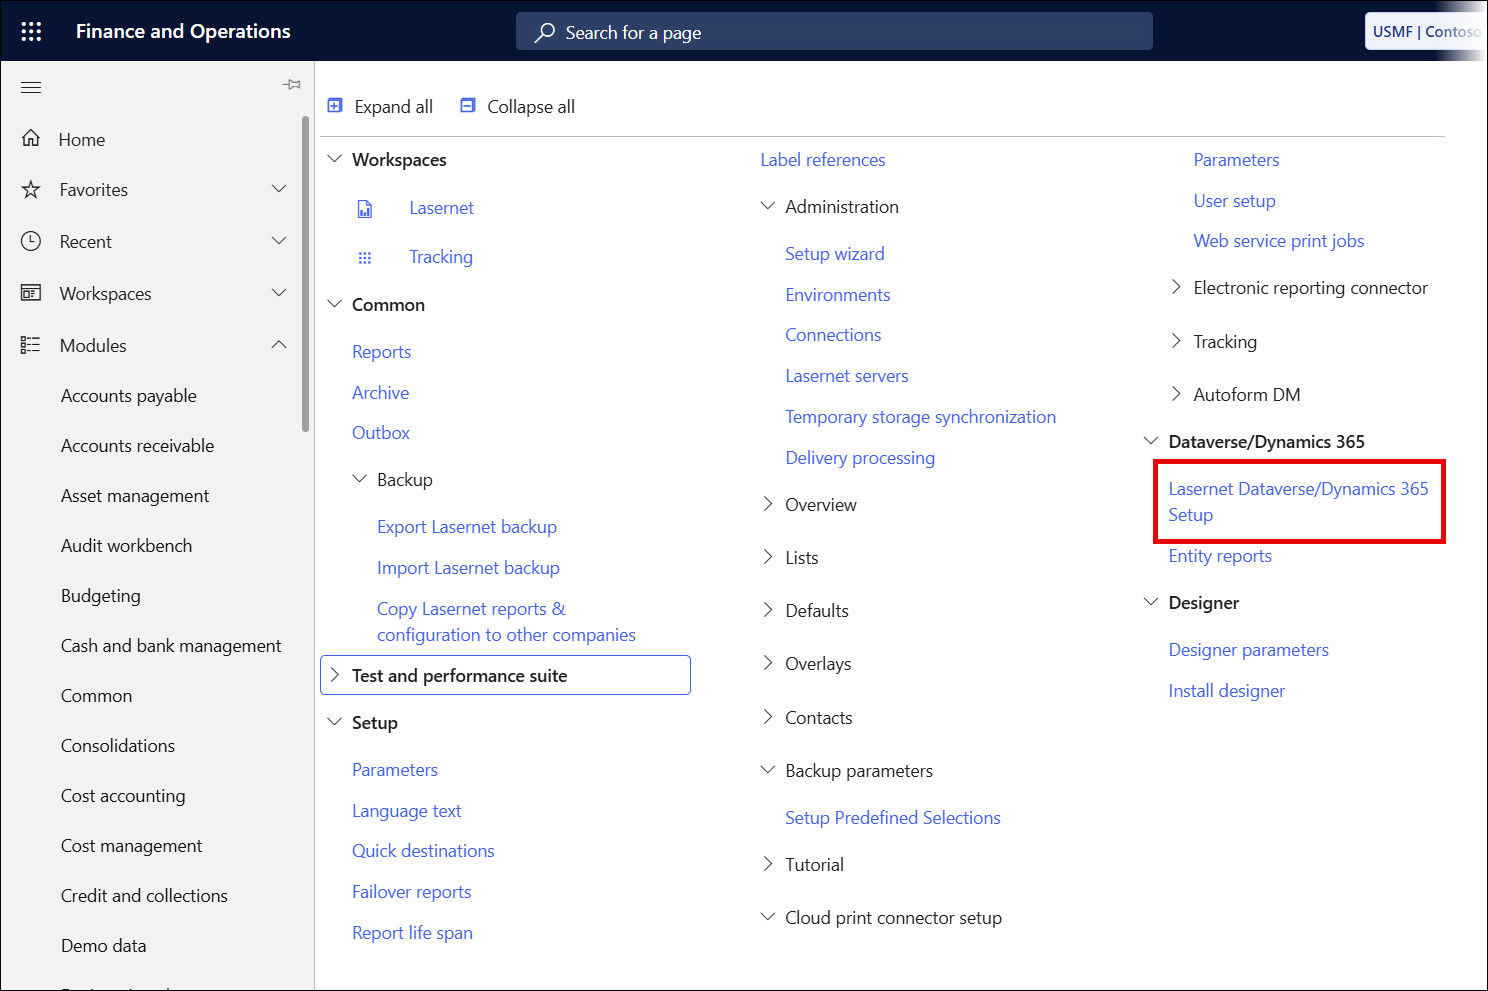
When in the correct environment and entity, navigate to Lasernet > Dataverse/Dynamics365> Lasernet Dataverse/Dynamics 365 Setup.
On the displayed screen, click New.
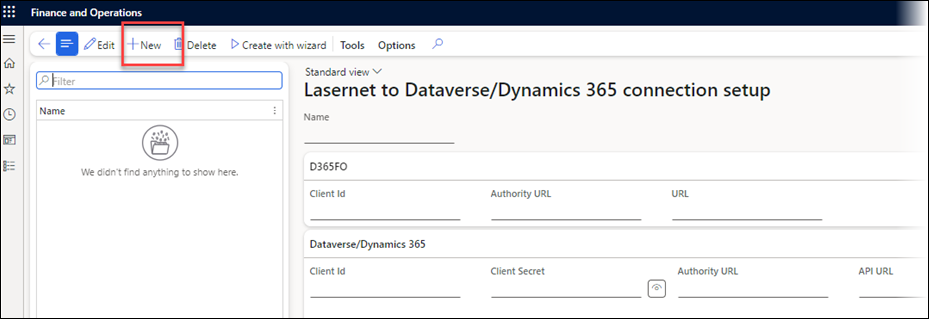
Give the connection a sensible name. In this example, it is named the same as the CE environment being connected, but your organisation may already have a naming convention in place.
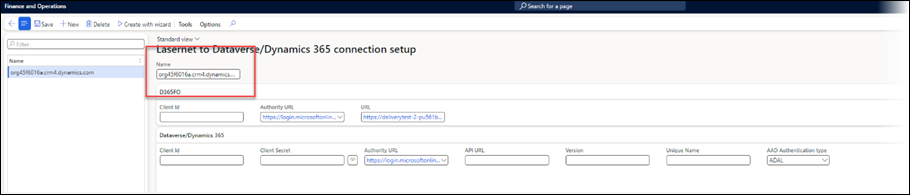
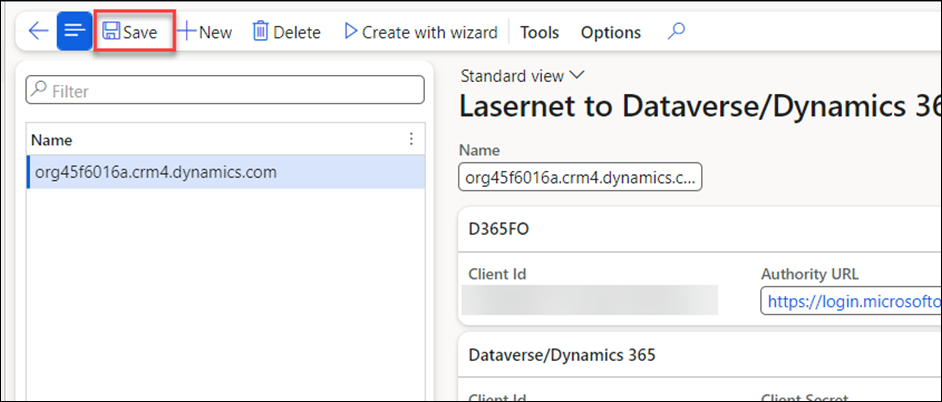
On the new connection, there are empty spaces that need to be filled in with information to connect this FO instance to CE.
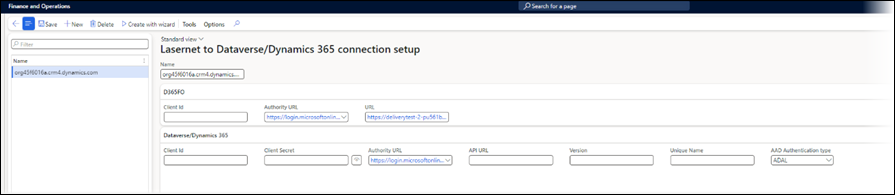
Add the Client ID and the Client Secret, which were copied from the app registration.

The Client ID gets copied twice, into both of the Client ID boxes, after copying into the first box, the following popup will be displayed, click Yes.
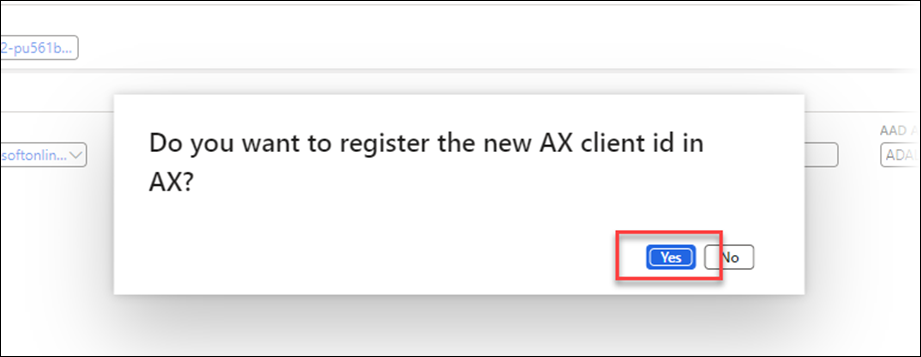
Copy the Client ID into the second box, and then the client secret into the Client Secret box as shown.
Click Save.
Set Up Application Users in FO and CE
To create the users in FO and in CE that will act on behalf of the app registration, follow these steps:
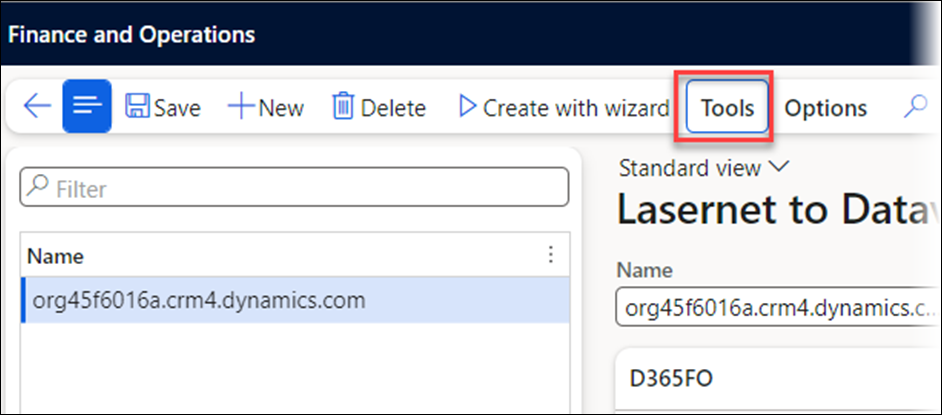
In FO, navigate to the connection screen through Lasernet > Dataverse/Dynamics365 > Lasernet Dataverse/Dynamics 365 Setup, select the connection that was created in the previous step, and then click Tools.
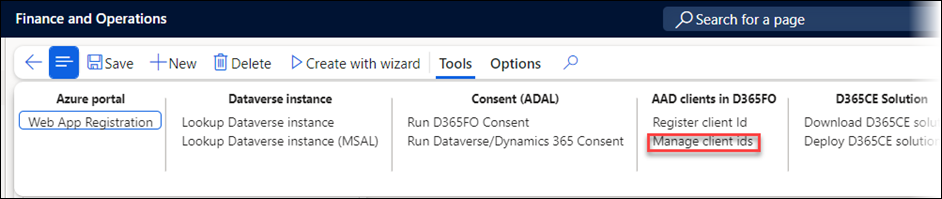
Under Tools, click Manage client ids.
Select the client ID that matches the ID that was just copied into the connection, and assign it a sensible name.
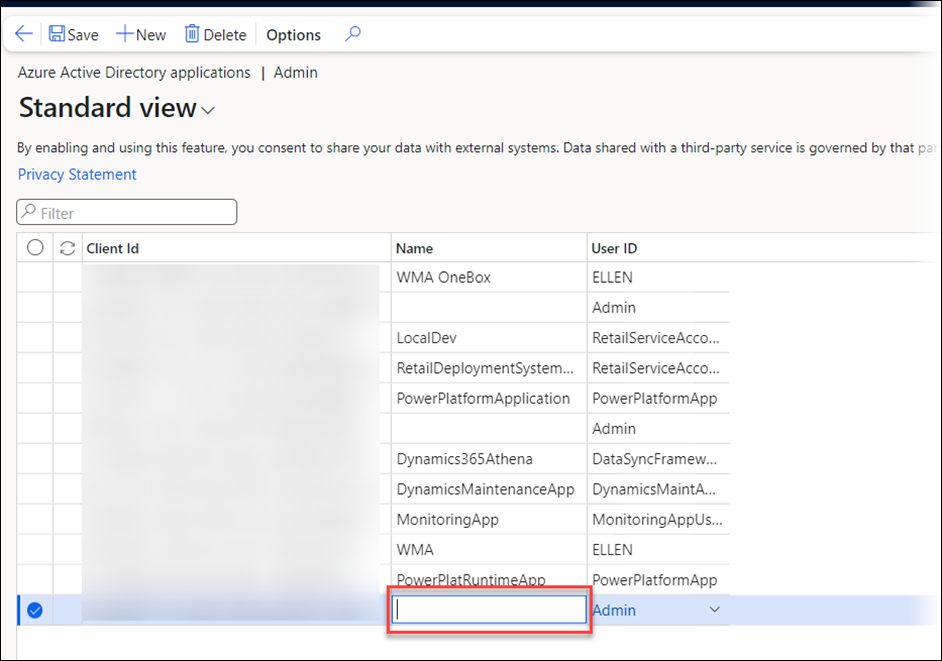
Next, the ID needs to be assigned to a user whose default company is the same as the entity in which the CE connection is configured. In this example, the user who is assigned to the ID is Admin.
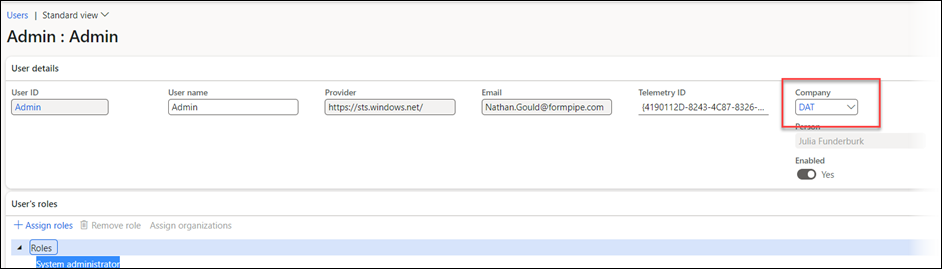
The Admin user Company is set to DAT, but the CE connection that is being configured here is in USRT. Therefore, either the Admin user company needs to be changed, or a different user needs to be selected.
Note
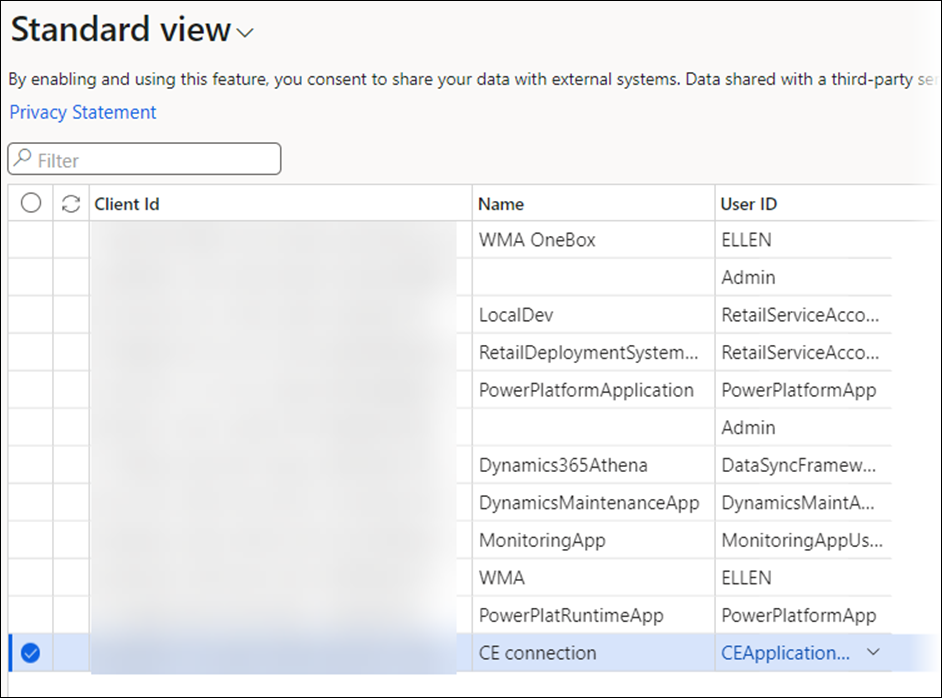
It is recommended that the user referenced by the Client ID is not a user linked to an actual person, but rather a user created specifically for this application. In this instance, a new "CEApplicationUser" user has been created and granted System Admin access (this can later be restricted based on identified requirements) and assigned to the USRT company.
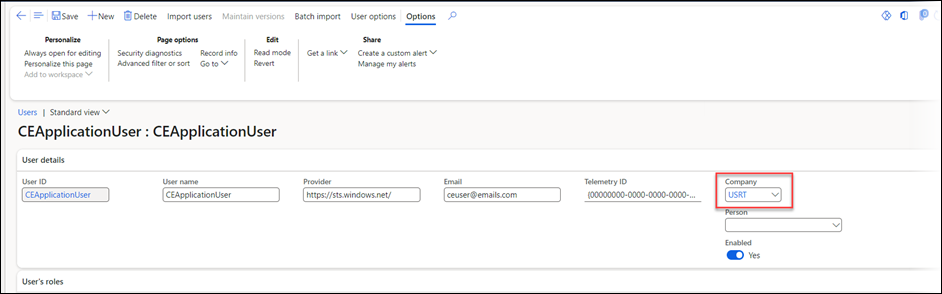
This user is then assigned the Client ID, and the form is saved.
Create Application User for CE
To create the Application User for CE, follow these steps:
Navigate to https://admin.powerplatform.microsoft.com/, then select Environments.
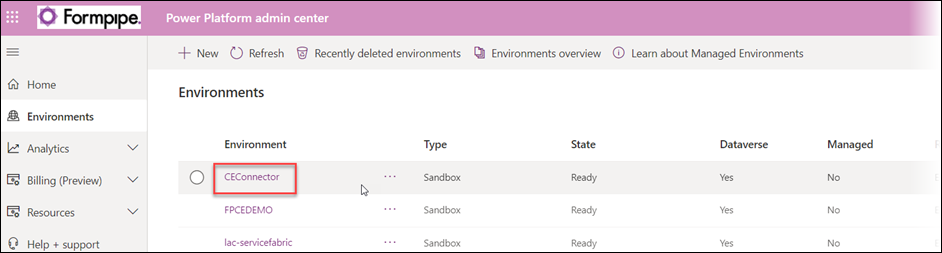
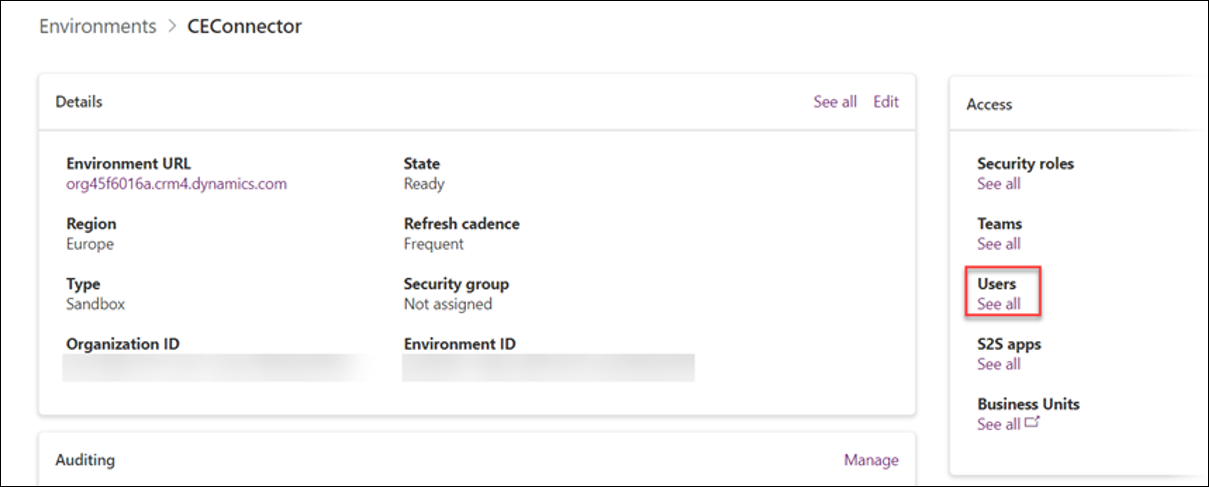
Select the CE environment that needs to be connected to FO.
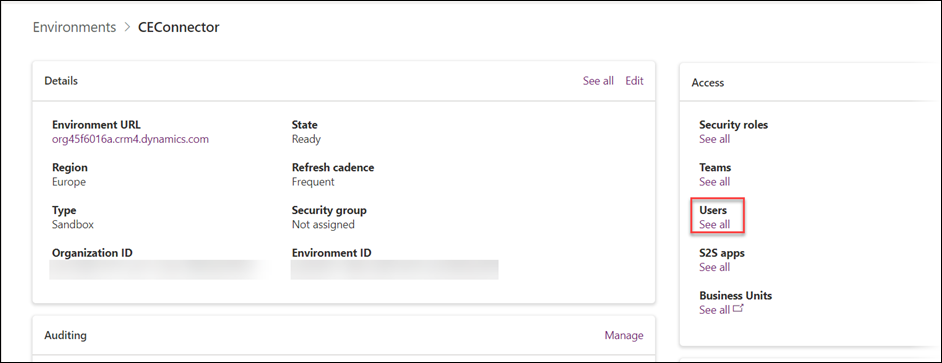
Click See all to display the list of users.
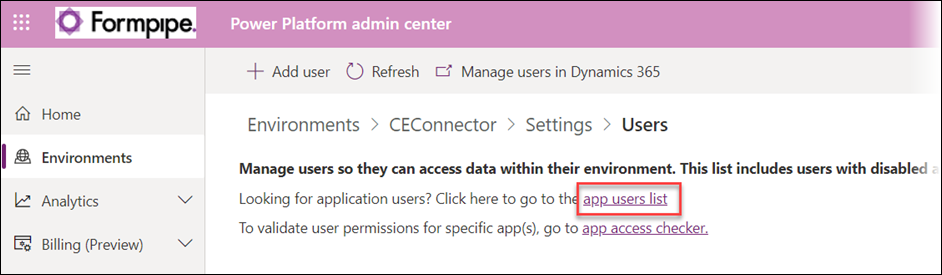
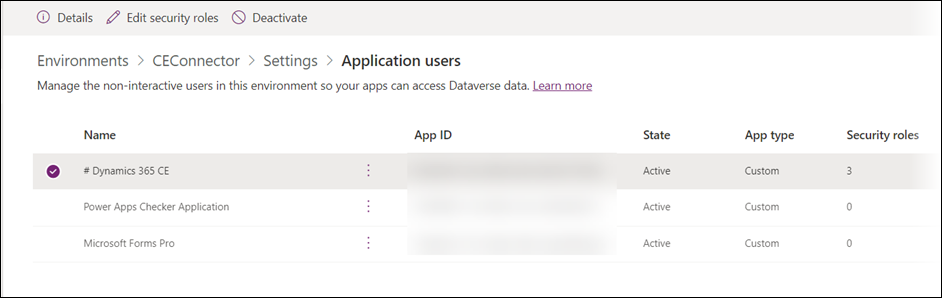
Navigate to the app users list.
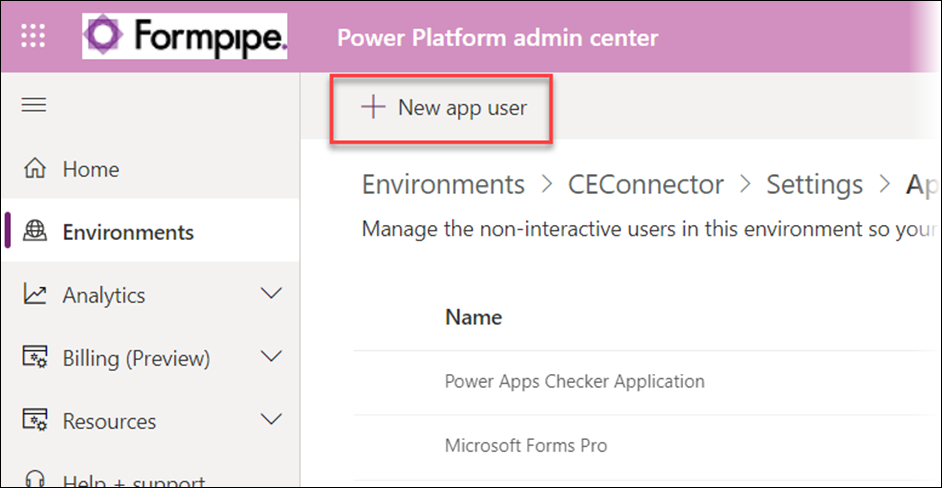
Click New app user.
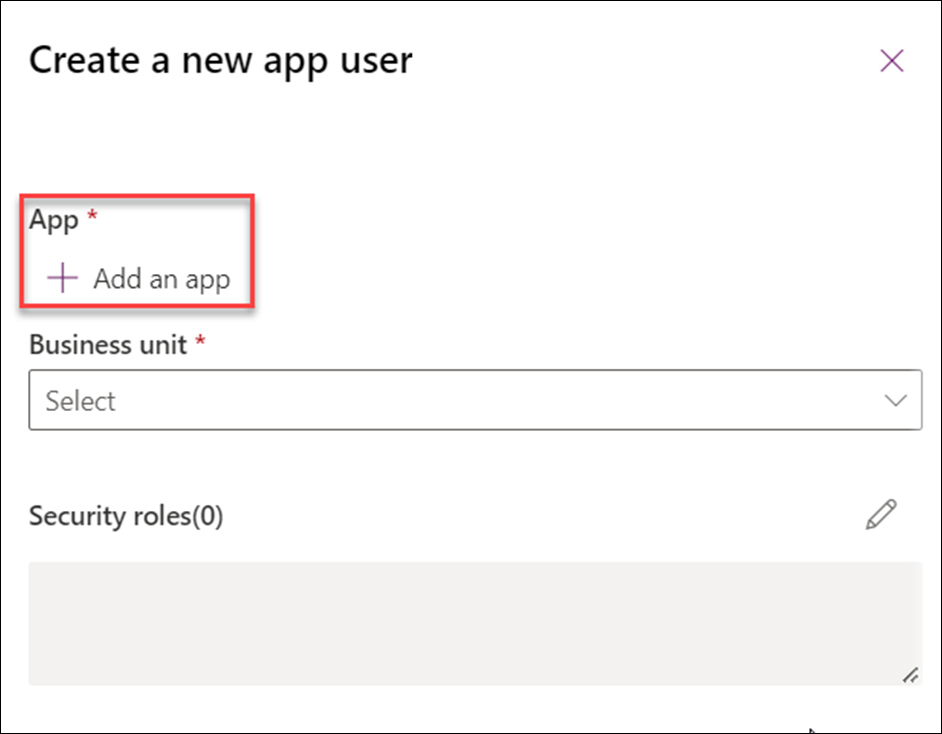
Click Add an app.
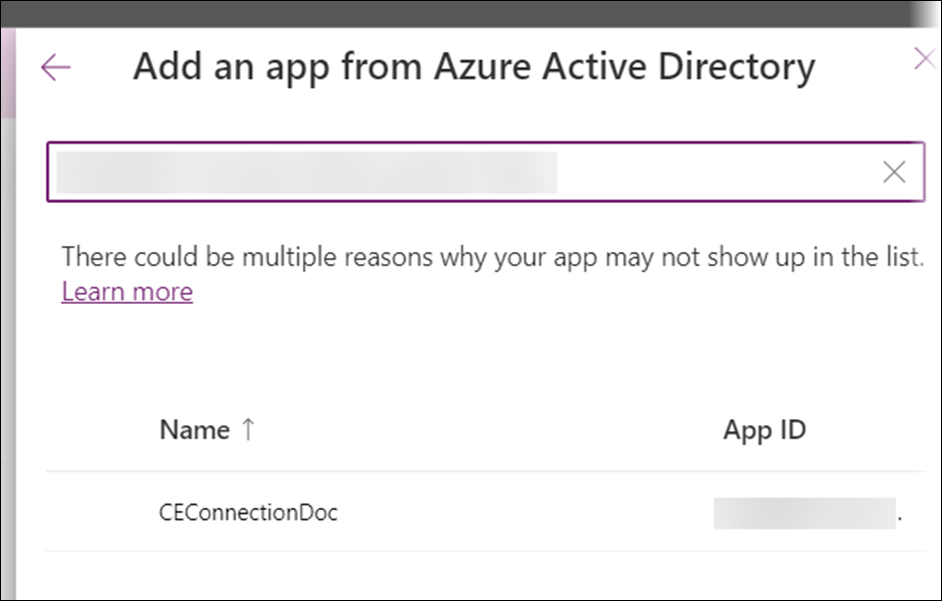
On the list page that is displayed, search for the application ID from the app registration used earlier, select it, and click Add.
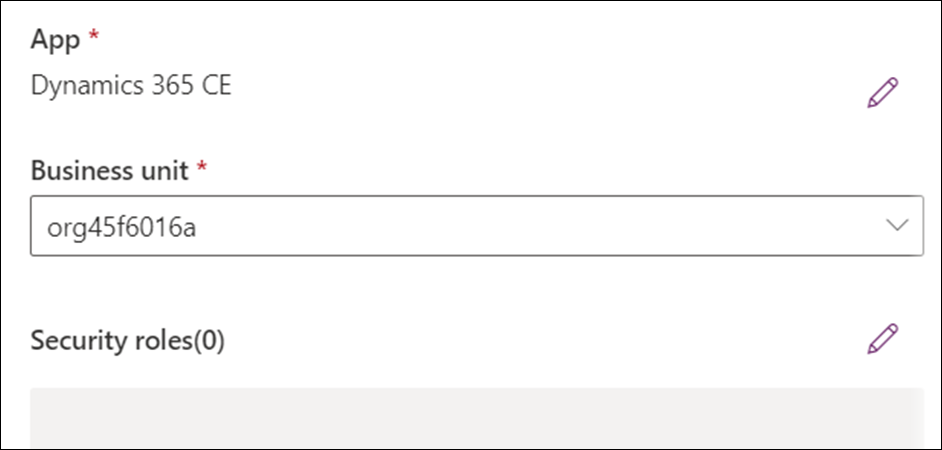
Select the Business unit (if there is more than one, check with your CE partner).
Assign the Application User the Lasernet Admin, Lasernet User, and System Administrator roles. These can be adjusted at a later date to restrict access.
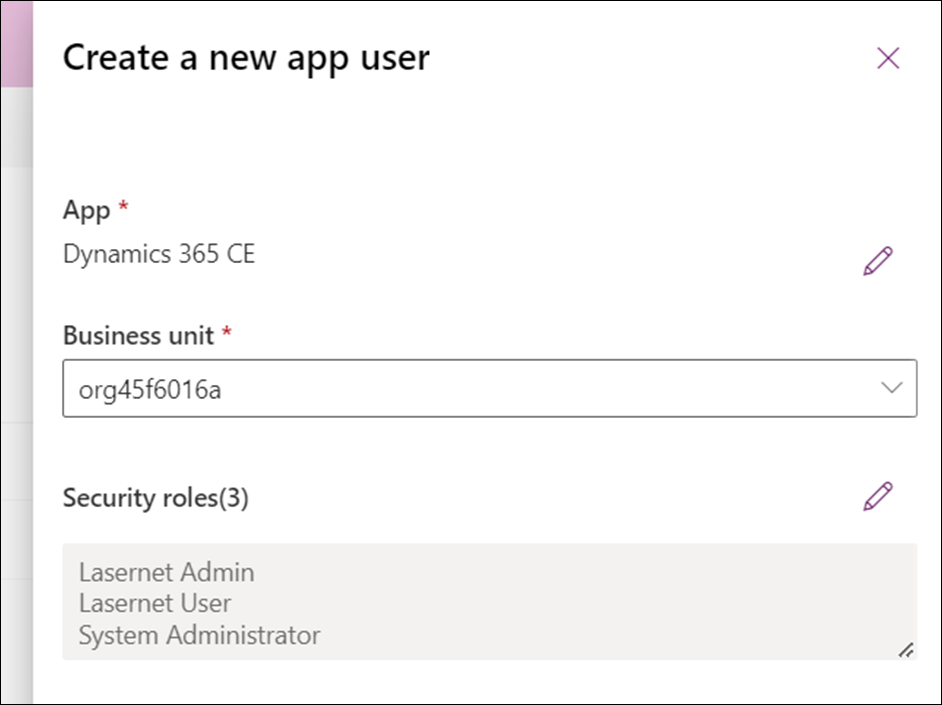
Click Create.
Assign Security Roles to CE User
For users to successfully submit Lasernet reports from CE, each end user who will run reports must have one of the following security roles assigned directly in the Power Platform admin center:
Lasernet User
Lasernet Admin
Note
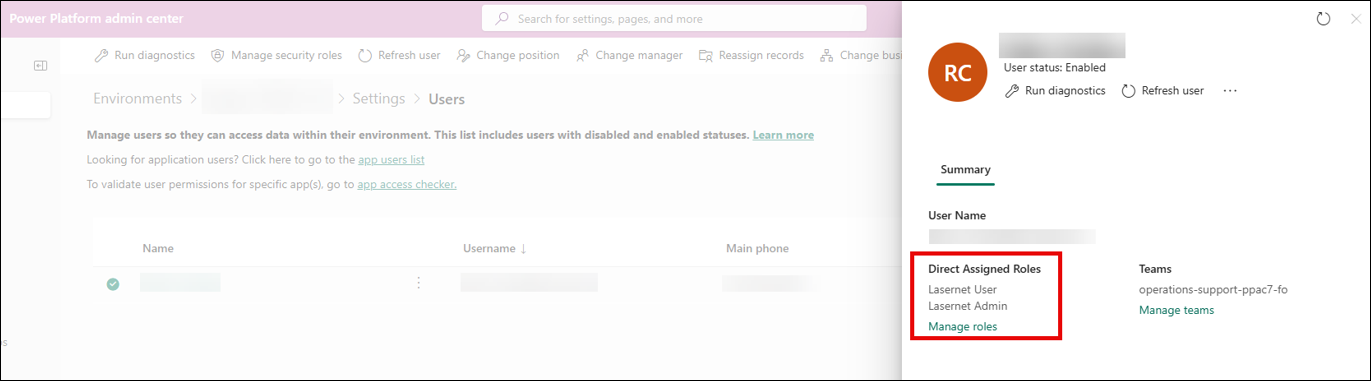
These roles must appear under Direct Assigned Roles on the user’s overview dialog.
Inherited access via security groups, teams, environment roles, or business unit hierarchy is not sufficient for report submission.
When a user is not assigned either of these security roles, CE may fail to print Lasernet reports. Users may encounter the error “Could not submit the printing contract!” when clicking Submit for the Lasernet report in CE. To resolve these issues, follow these steps:
Click Environments and select the CE environment connected to FO.
Navigate to Access > Users and click See all.
Select the CE user who will run the report.
Under Direct Assigned Roles, add Lasernet User or Lasernet Admin.
Complete Connection Setup in FO
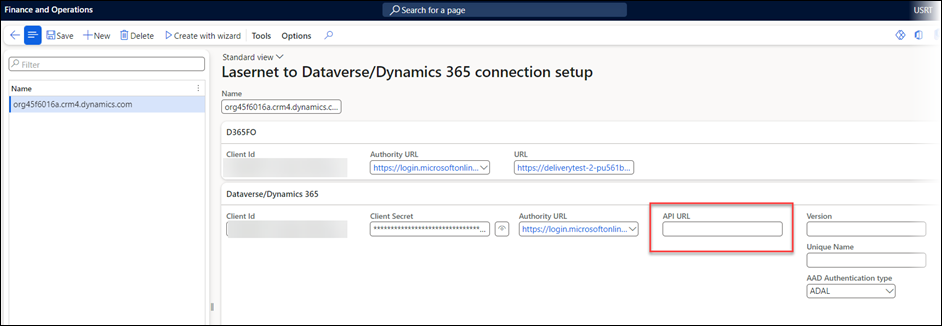
Update API URL
To update the API URL, navigate to Lasernet > Dataverse/Dynamics365 > Lasernet Dataverse/Dynamics 365 Setup in FO.
To get this API URL, follow these steps:
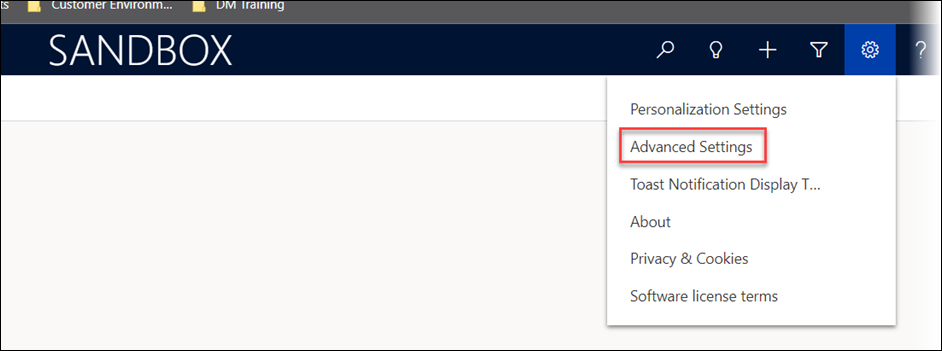
Navigate to the CE environment that is being connected to FO, click the Settings cog, and select Advanced settings.
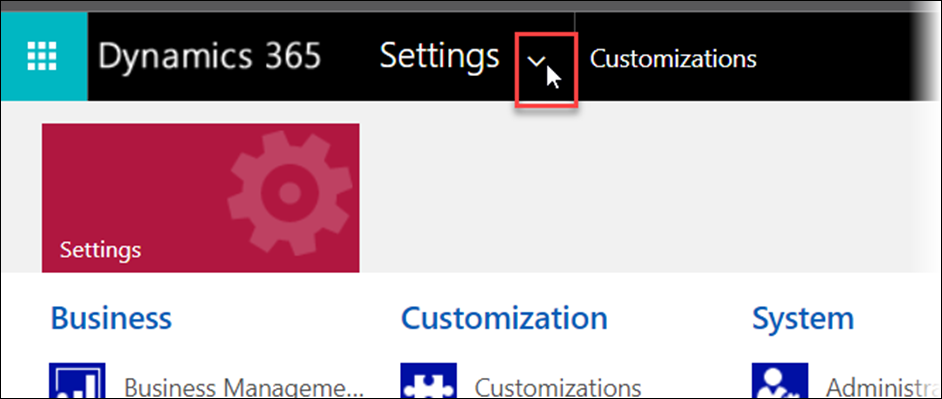
Click the down arrow next to Settings to open the Menu Options.
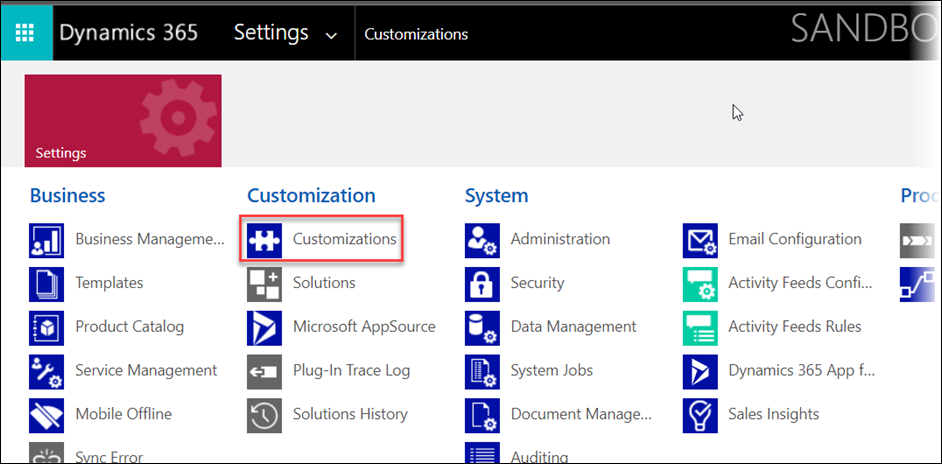
On the tab that opens, navigate to Settings > Customization > Customizations.
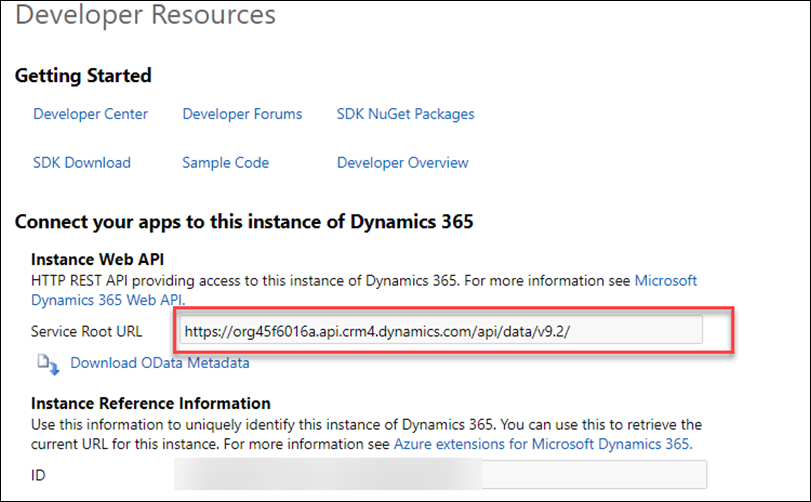
Navigate to Developer Resources.
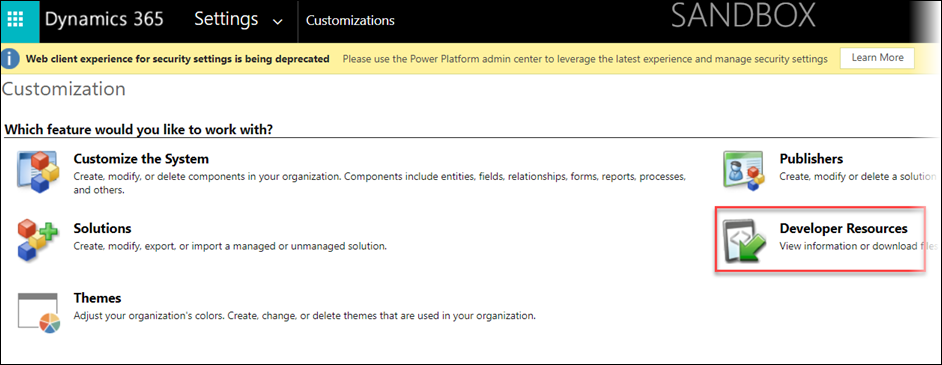
Copy the Service Root URL and paste it into the API URL field in the FO connection.
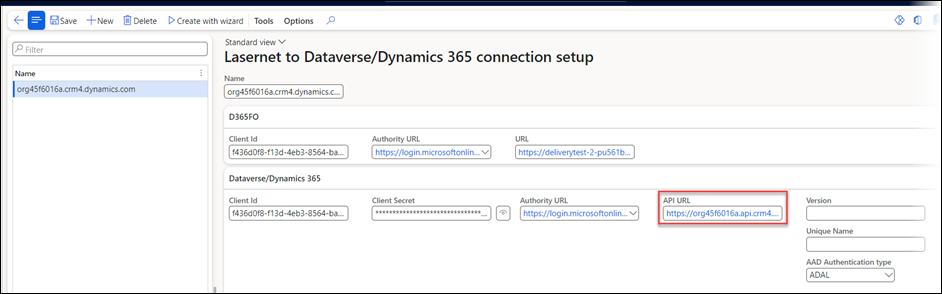
Click Save.
Confirmation of Instance Connection
To confirm that the instances are connected, follow these steps:
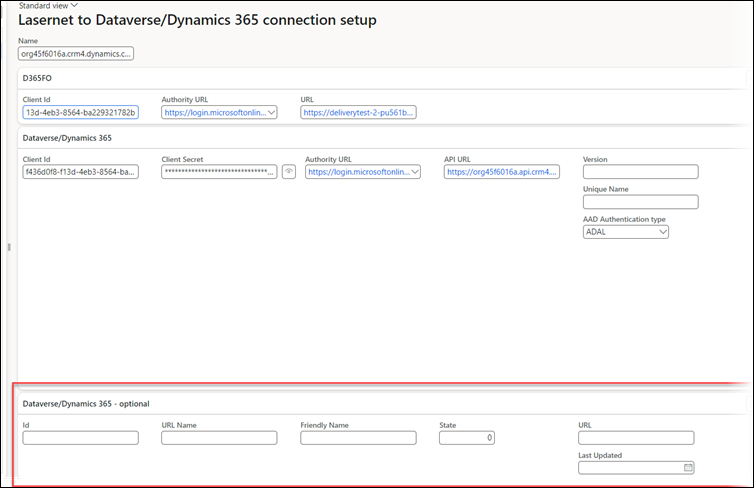
Expand the optional tab at the bottom of the connection form and see that it is empty.
Under Tools, click Lookup Dataverse instance.
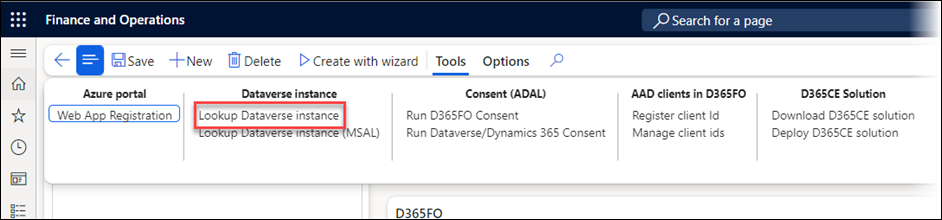
Click Fetch Dataverse/Dynamics 365 Instances.
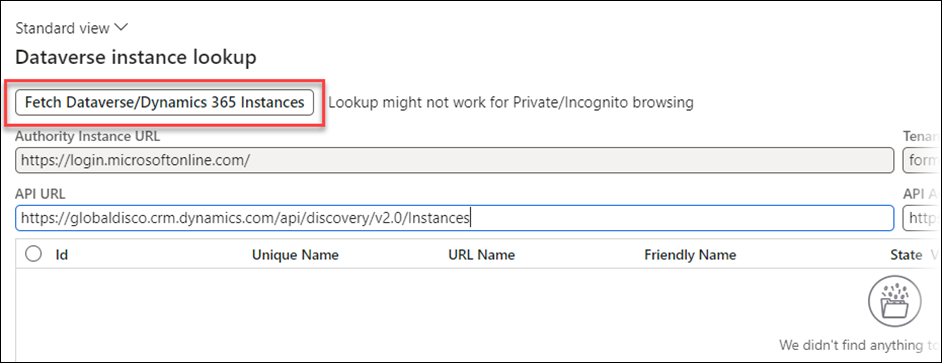
Accept the conditions in the pop-up.
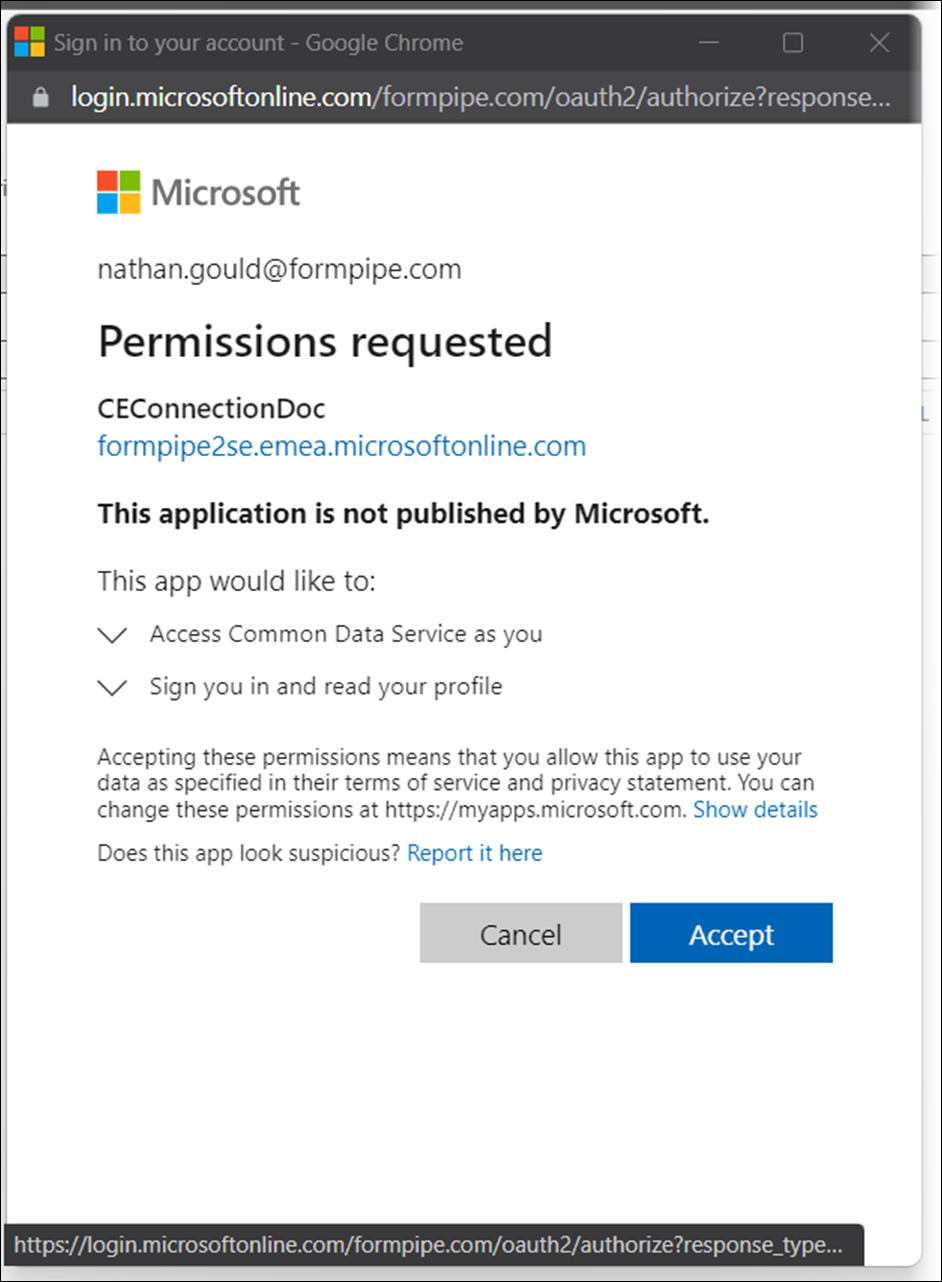
An error will be shown because the user is not logged in. This is expected.
Click the Fetch Dataverse/Dynamics 365 instances button again and log in.
From the list that is displayed, highlight the CE environment that is being connected, and click Select.
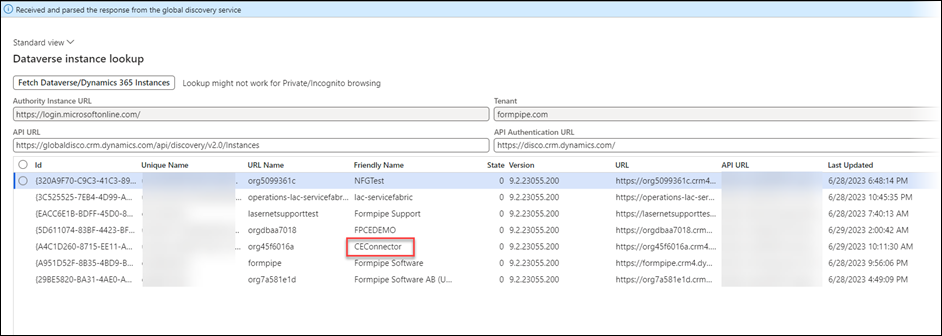
The information at the bottom of the connection form has now been updated with the correct information from the CE environment.

Consent for App Registration
To complete the connection setup, it is necessary to run consent for the App Registration. Follow these steps:
From within the connection form, navigate to Tools, and then under Consent (ADAL).
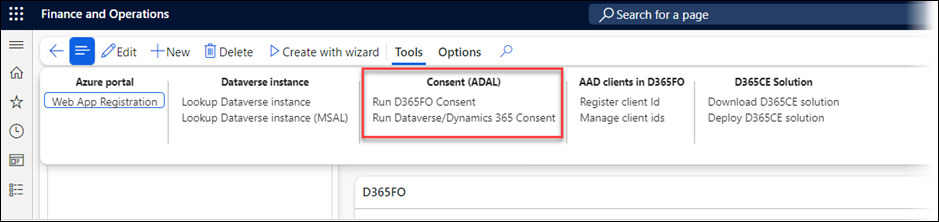
Select Run D365FO consent, and you will be prompted to log in with a Tenant Admin User who can consent to the App Registration between the two environments. Do the same for the Run Dataverse/Dynamics 365 Consent underneath.
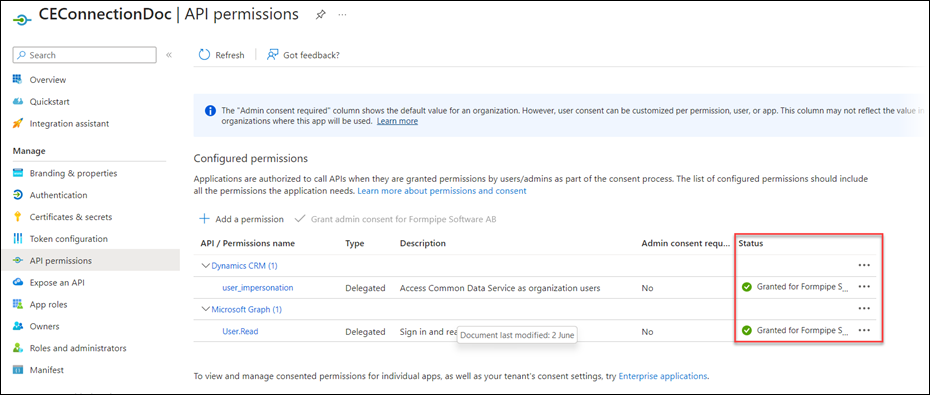
Once this is complete, a message will be shown on the screen that validation was successful, and the API Permissions on the app registration will also be updated to show that the status of the User Impersonation permission is granted.
Which Connection Should FO Use?
To let FO know when to use the connection, follow these steps (in this example, we only use one connection):
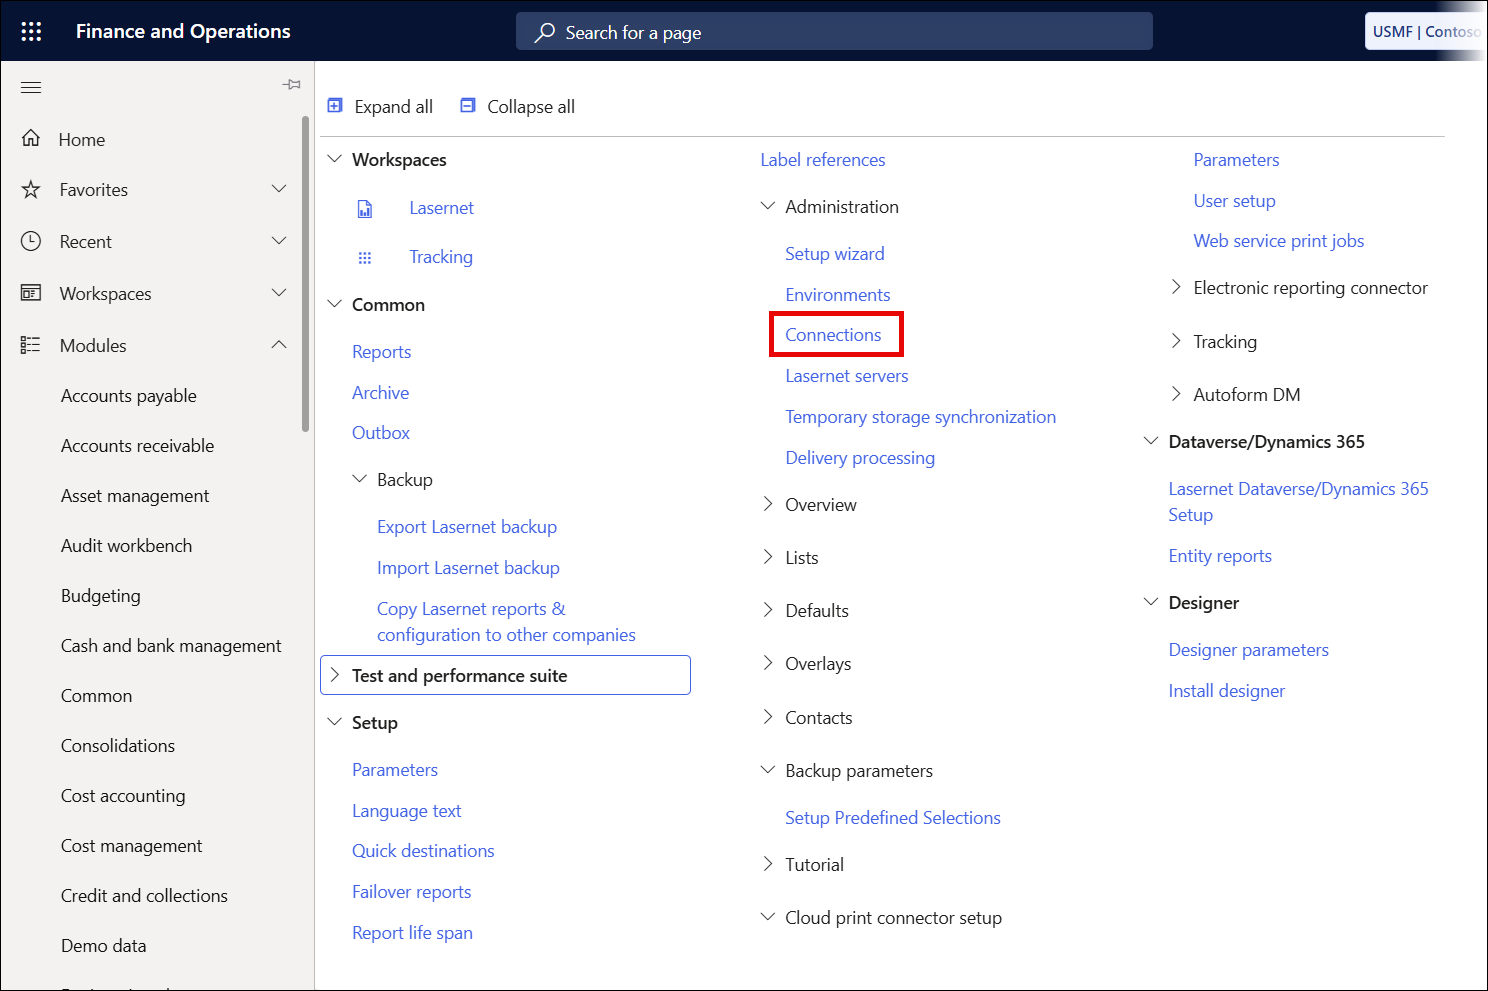
Navigate to Lasernet > Setup > Administration > Connections.
Click New.
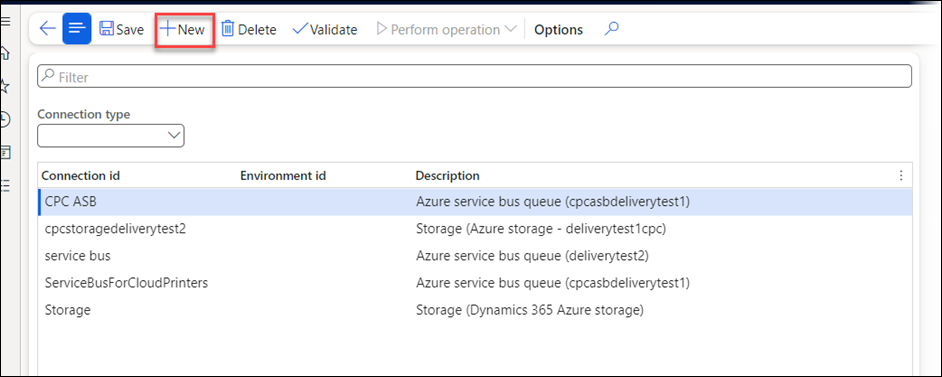
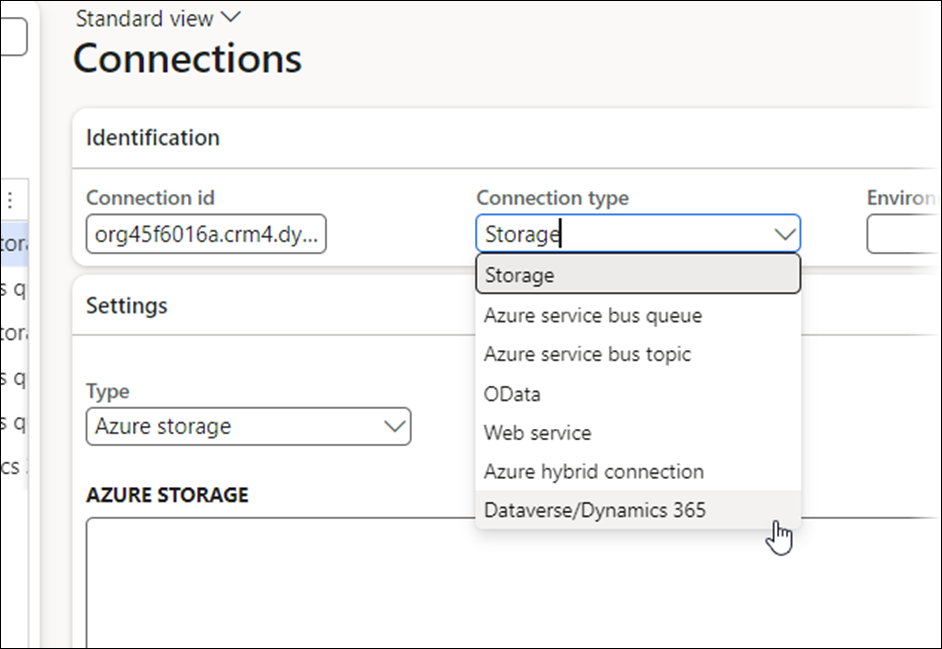
Give the new connection a sensible name; in this instance, it has been named the same as the CE organisation to which it is connected.
Under Connection type select the Dataverse/Dynamics365 connection type.
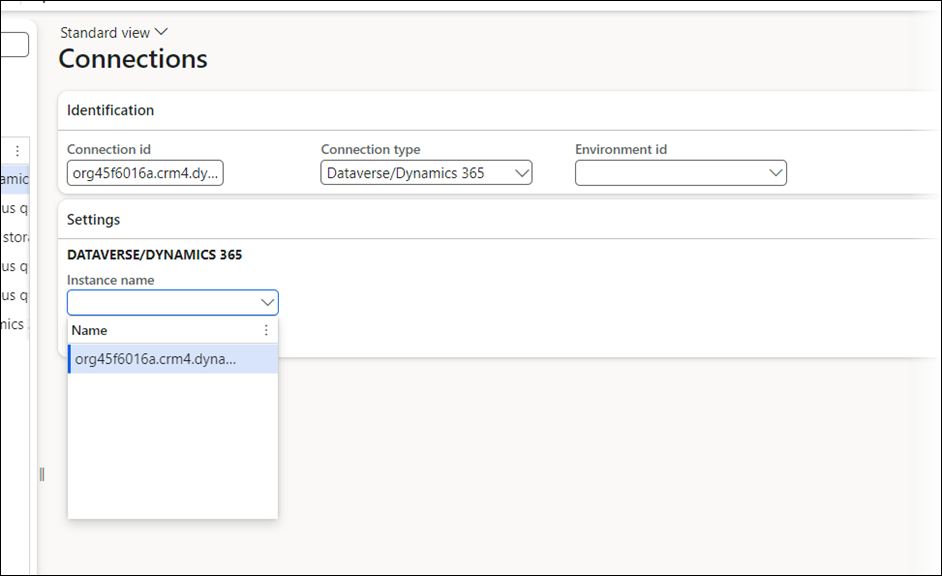
Click Save, and then select the Instance Name from the drop-down that appears; this instance name should match the name of the connection created in the previous steps.
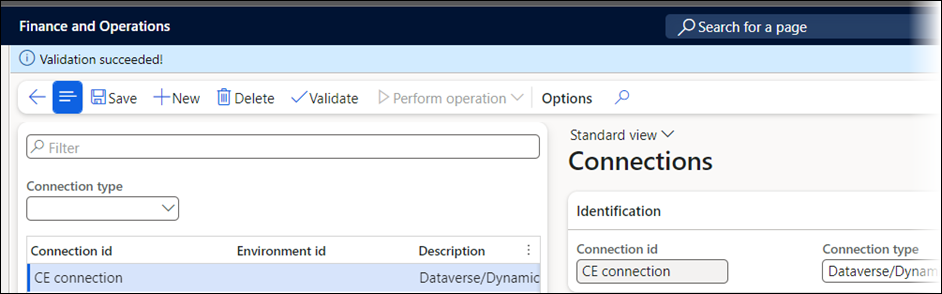
Click Save, and the connection will be validated.
Validate the Connection
To validate the connection, create a dummy class report. Follow these steps:
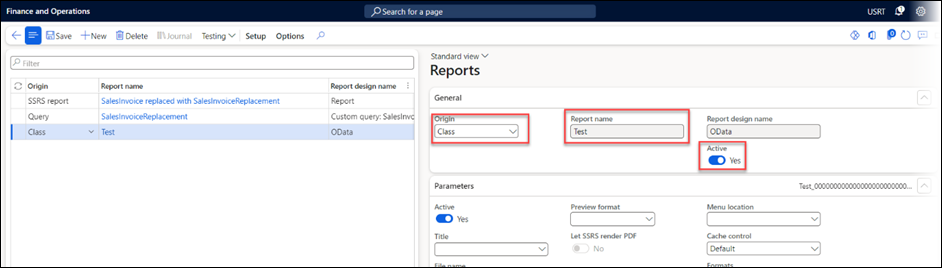
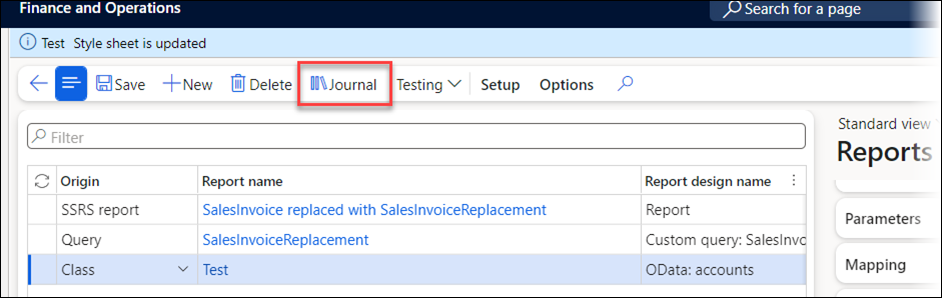
Navigate to Lasernet > Common > Reports.
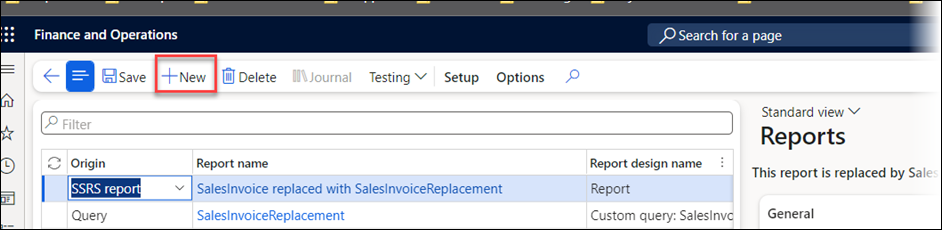
Click New, set the Report name to Test, set the Origin to Class, and toggle the Active button to Yes.
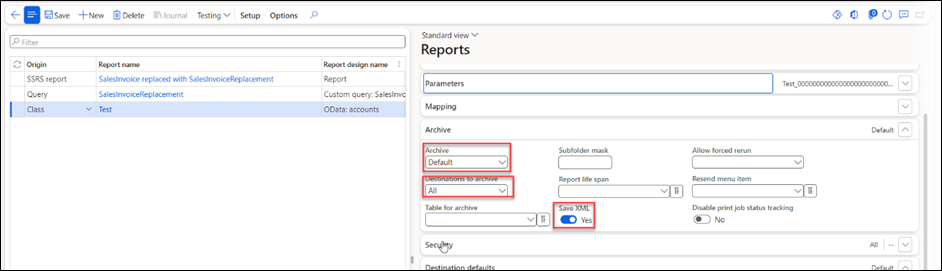
Once this is saved, navigate to the Archive tab, under Archive, select Default, under Destinations to archive select All, and toggle the Save XML button to Yes.
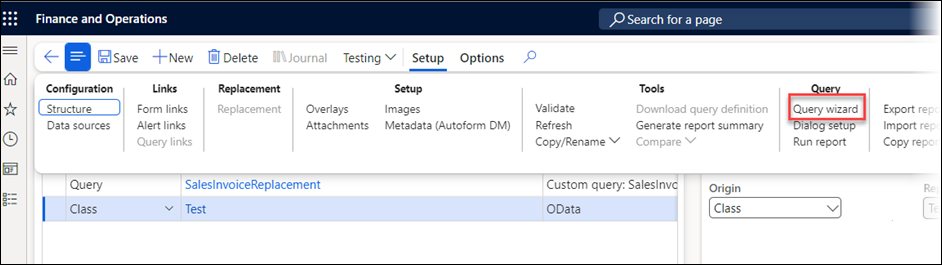
Navigate to Setup > Query wizard.
Click Next on the first screen that is displayed, then select your connection from the drop-down.
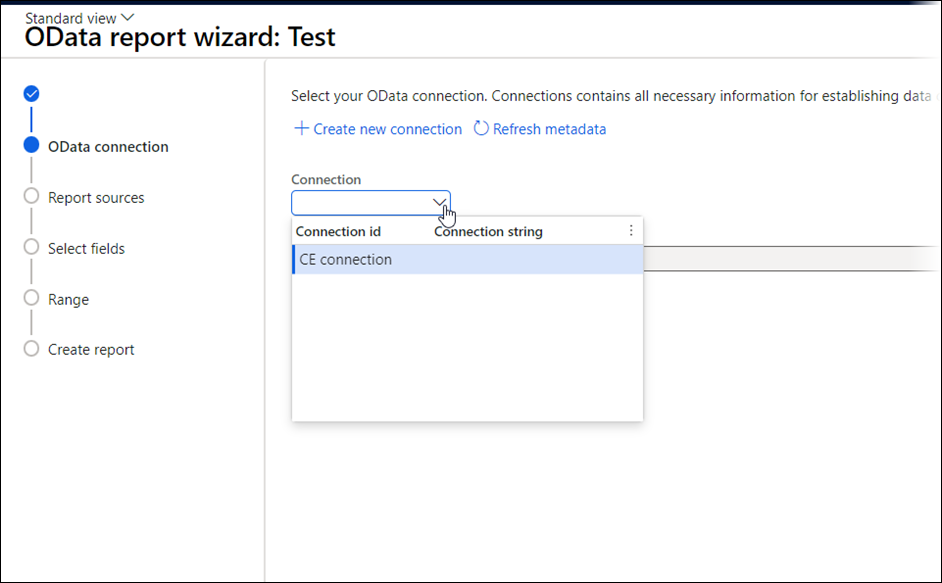
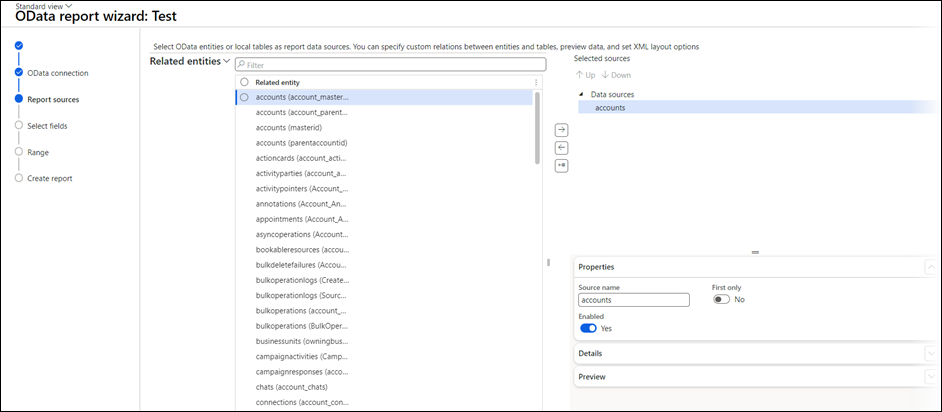
Click Next again. It is now possible to view a list of entities, indicating that our FO environment is connected to our CE environment, as it can see all the entities in the CE environment. This includes any custom entities that may have been created. To test this further, select an entity from the list. This is where having test data is useful, as it provides a basis for populating the report.
For this example, we will use accounts.
Search for account in the All entities list.
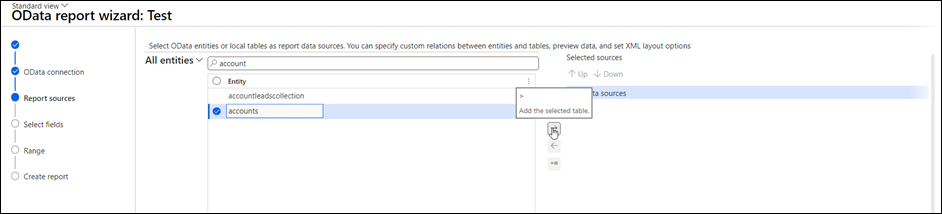
Select the accounts entity and use the right arrow in the middle to make it part of the query.
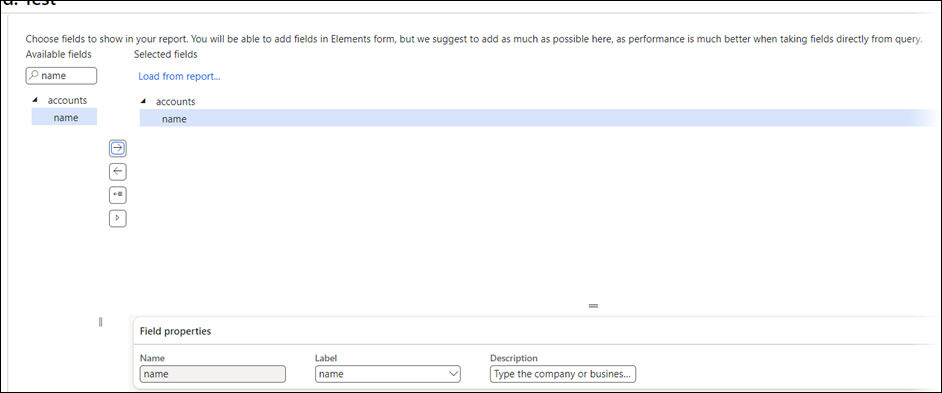
Click Next, and select fields from the account entity to add to the query.

For this example, Name has been added.
Click Finish when you have added a test data source and some test fields, then on the reports list page again under Setup, and then under Query, click Run report.
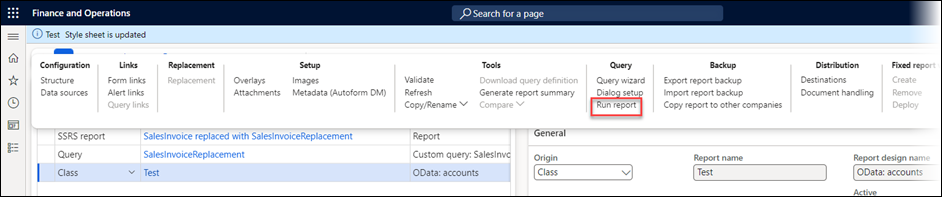
Click OK when the pop-up is shown, and the report will run. This Report is not recognized output is expected, because this Query is not matched to any output in Lasernet Developer.
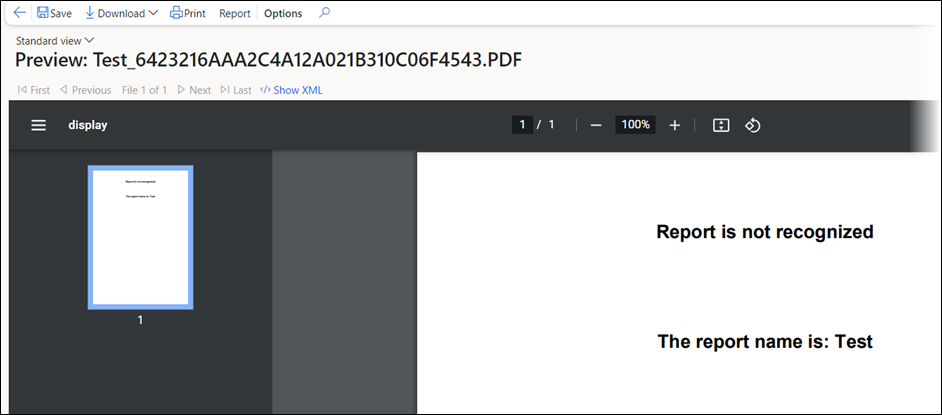
When this report was configured, under Archiving, we instructed Lasernet to save a copy of the XML file, allowing us to view this saved copy in the Journal.
Open the Journal, identify the report that was run (there should only be one in there unless the test was run multiple times. The latest run shows at the top.
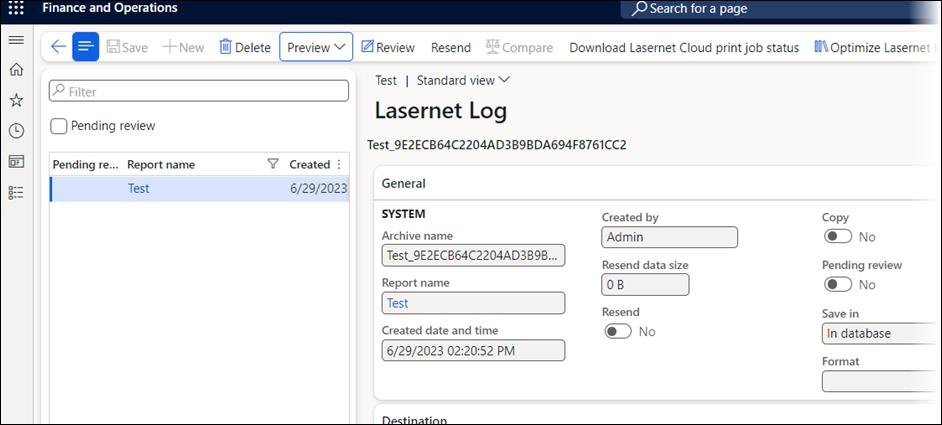
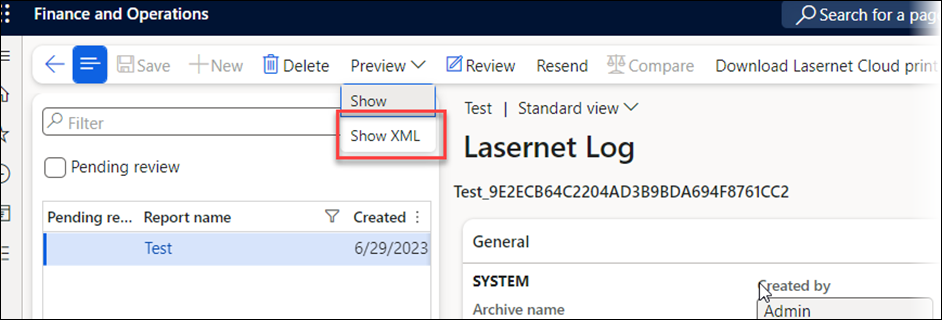
Select the report, click Preview, and then Show XML.
Scroll through the generated XML message until you get to the data source that was added in the Query Wizard. Here, the XML is showing the name of the one test account that exists in the CE instance:
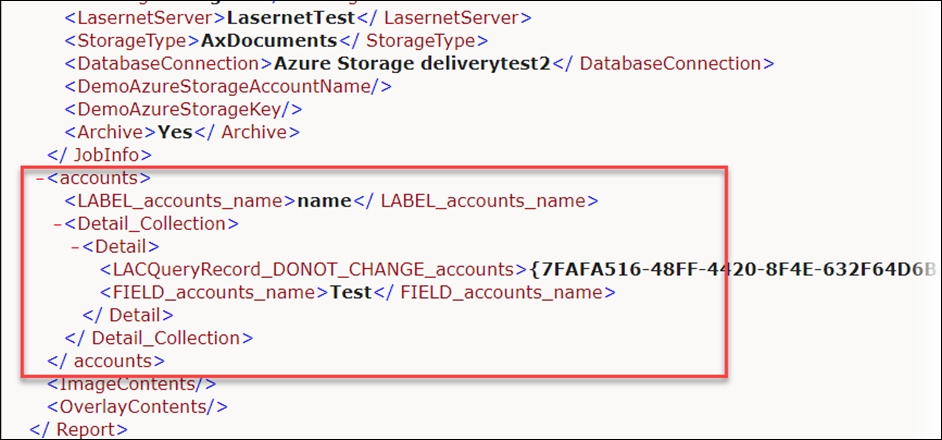
This validates that the connection between CE and FO is working. FO is able to run a query on the CE database, extract data, bring it into the FO Connector and formulate it into an XML file that Lasernet can turn into a form output.