How Do I Install the CPC in a Custom Location and Create Multiple Instances?
- 12 Feb 2026
- 1 Minute to read
- Contributors


- Print
- PDF
How Do I Install the CPC in a Custom Location and Create Multiple Instances?
- Updated on 12 Feb 2026
- 1 Minute to read
- Contributors
- Print
- PDF
Article summary
Did you find this summary helpful?
Thank you for your feedback
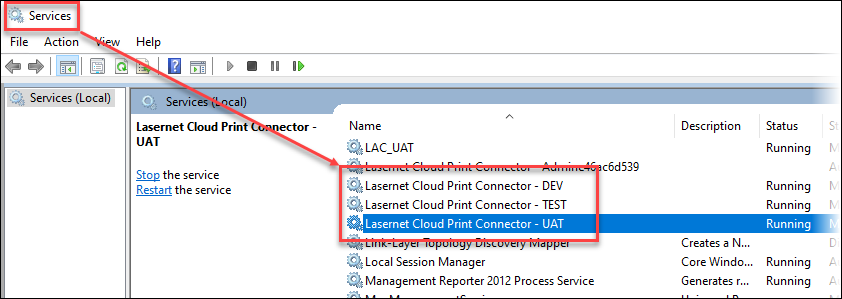
You can change the default location of Lasernet Cloud Print Connector (CPC) and run multiple instances on the print server. For example, you can install and configure a separate instance for each of your test environments.
It is recommended that you try using an application that has not been used before, as the existing service name and credentials might otherwise need to be removed from the file ConnectorUIConfiguration.config.
Install a New Instance of the CPC in a Custom Location
The following steps explain how to install and configure a CPC instance for a production environment:
Create a target folder. In this example, the path is
C:\CPC\PROD.Identify the location of the existing CPC application. This is usually found at:
C:\Users\<username>\AppData\Local\Formpipe Software\Lasernet Cloud Print Connector(the exact username will vary).Open the Command Prompt and copy the existing CPC application into
C:\CPC\PRODby using the following command:xcopy "C:\Users\<username>\AppData\Local\Formpipe Software\Lasernet Cloud Print Connector" "C:\CPC\PROD".Replace
<username>with the actual user folder.

Run the following command to find the folder where the application has been copied to:
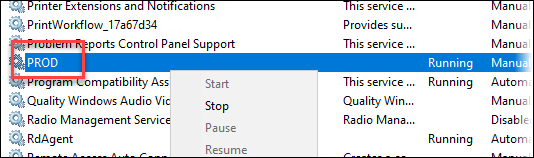
cd C:\CPC\PROD.Create the Windows service for this CPC instance. Open Command Prompt via Run as administrator and run the following command:
sc create "PROD" binpath= "C:\CPC\PROD\LasernetCloudPrintConnectorService.exe" DisplayName= "PROD".
Note
Use the following command when the filepath contains spaces:
binPath="\"something with a space\LasernetCloudPrintConnectorService.exe\"".

Ensure no other client for the CPC has been started, then use
LasernetCloudPrintConnectorUI.exeto run the UI for the CPC.

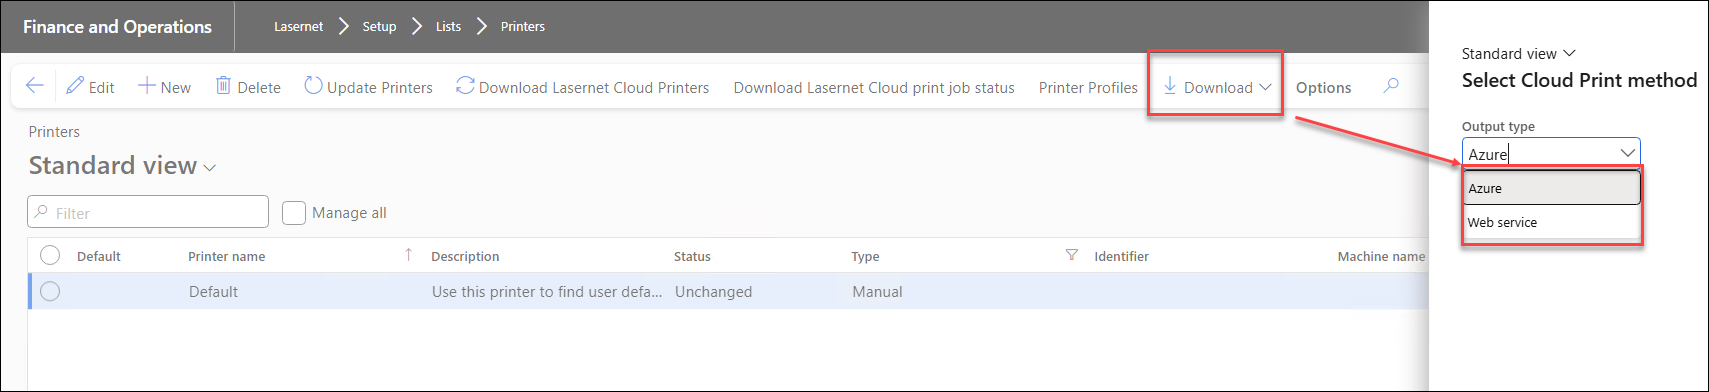
Add a CPC configuration (download or open one) to the new CPC instance.
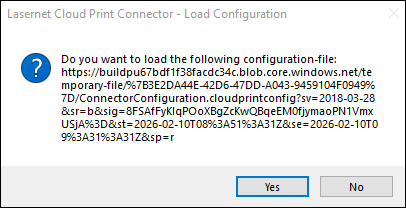
The prompt below is displayed. Click Yes to update the configuration for the new CPC instance.
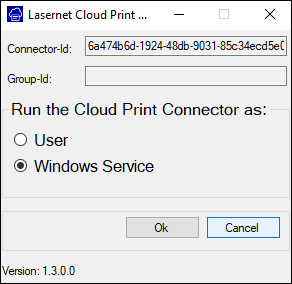
The Lasernet Cloud Print Connector Setup window opens. Click the Windows Service radio button, then click Ok.
Apply the Windows service credentials and start the service.