Get Started with Lasernet Developer
- 15 May 2026
- 7 Minutes to read
- Contributors


- Print
- PDF
Get Started with Lasernet Developer
- Updated on 15 May 2026
- 7 Minutes to read
- Contributors
- Print
- PDF
Article summary
Did you find this summary helpful?
Thank you for your feedback
Applies to: Lasernet Core 11
This article will help you to start Lasernet Developer and familiarize yourself with the application.
Start Lasernet Developer
In the Windows Start menu, click Lasernet Developer 11 > Lasernet Developer 11.
Connect to Lasernet Core
The Connect to Lasernet login screen provides secure access to the Lasernet Config Server. The configuration server stores all your configurations, server settings, history, users/groups, and security roles.
.png)
Server | Name of the Lasernet Config Server (hosted on-premises or in the cloud). |
Remember me | Select to remember the last used credentials. |
Log in
Log in with your credentials. The log-in page that you see depends on how Lasernet Core is configured. Your credentials could be for a Lasernet Core user, or for your Active Directory or Entra ID identity.
Lasernet Core users and security roles are managed by Lasernet Config Server.
The type of authentication used is managed by Lasernet Service Manager.
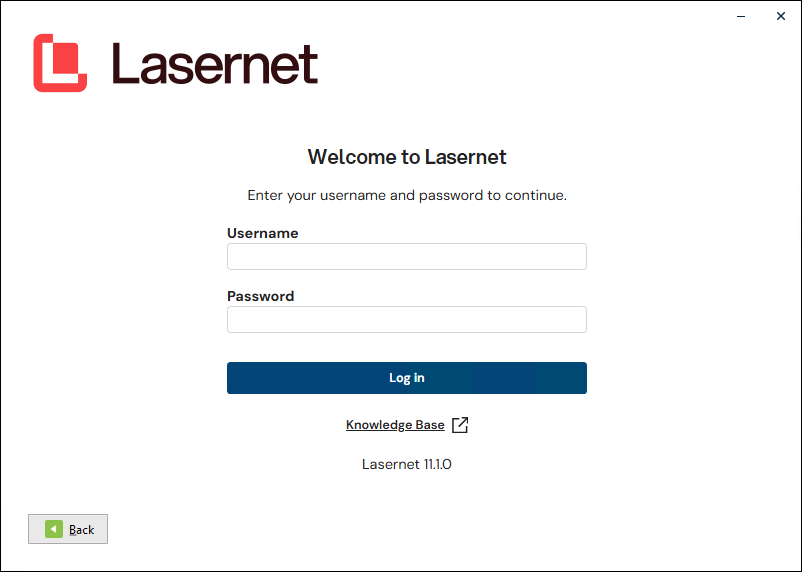
Username | A valid username for a Lasernet user (if Lasernet is set up to use the Lasernet users created in Lasernet Config Server). |
Password | The password for the given user. |
The Start Page
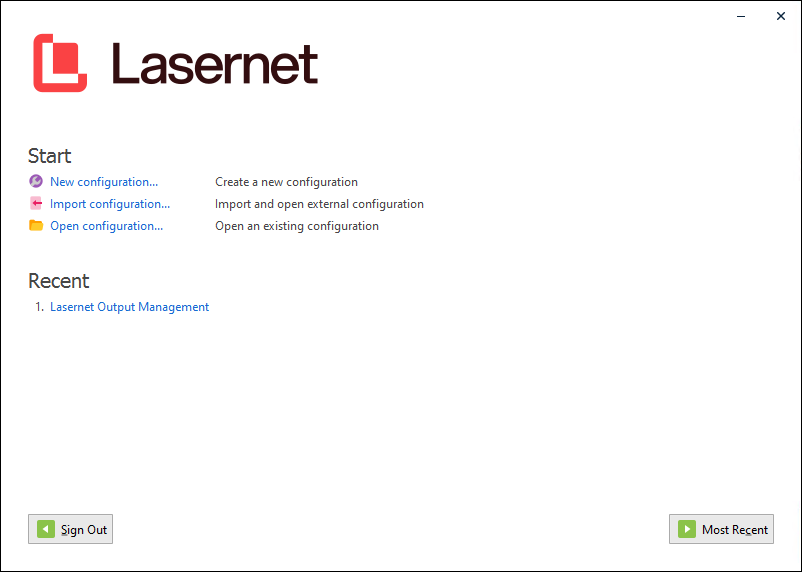
For more information about the following functions, see Create, Import, or Open a Configuration.
New configuration | Create a new configuration and store it on the Lasernet Config Server. |
Import configuration | Import a configuration from disk to the Lasernet Config Server and open it. |
Open configuration | Open an existing configuration stored on the Lasernet Config Server. |
Recent | Open a recently used configuration stored in the Lasernet Config Server. |
Click Most Recent to open the most recently used configuration.
User Interface Overview
Lasernet Developer provides a comprehensive set of tools that enable a developer to:
Set up forms.
Work with data.
Set business rules and logic.
Configure communication between modules and other systems (mail server, web server, printers, etc).
Use design features.
Below is a brief list of the different tools.
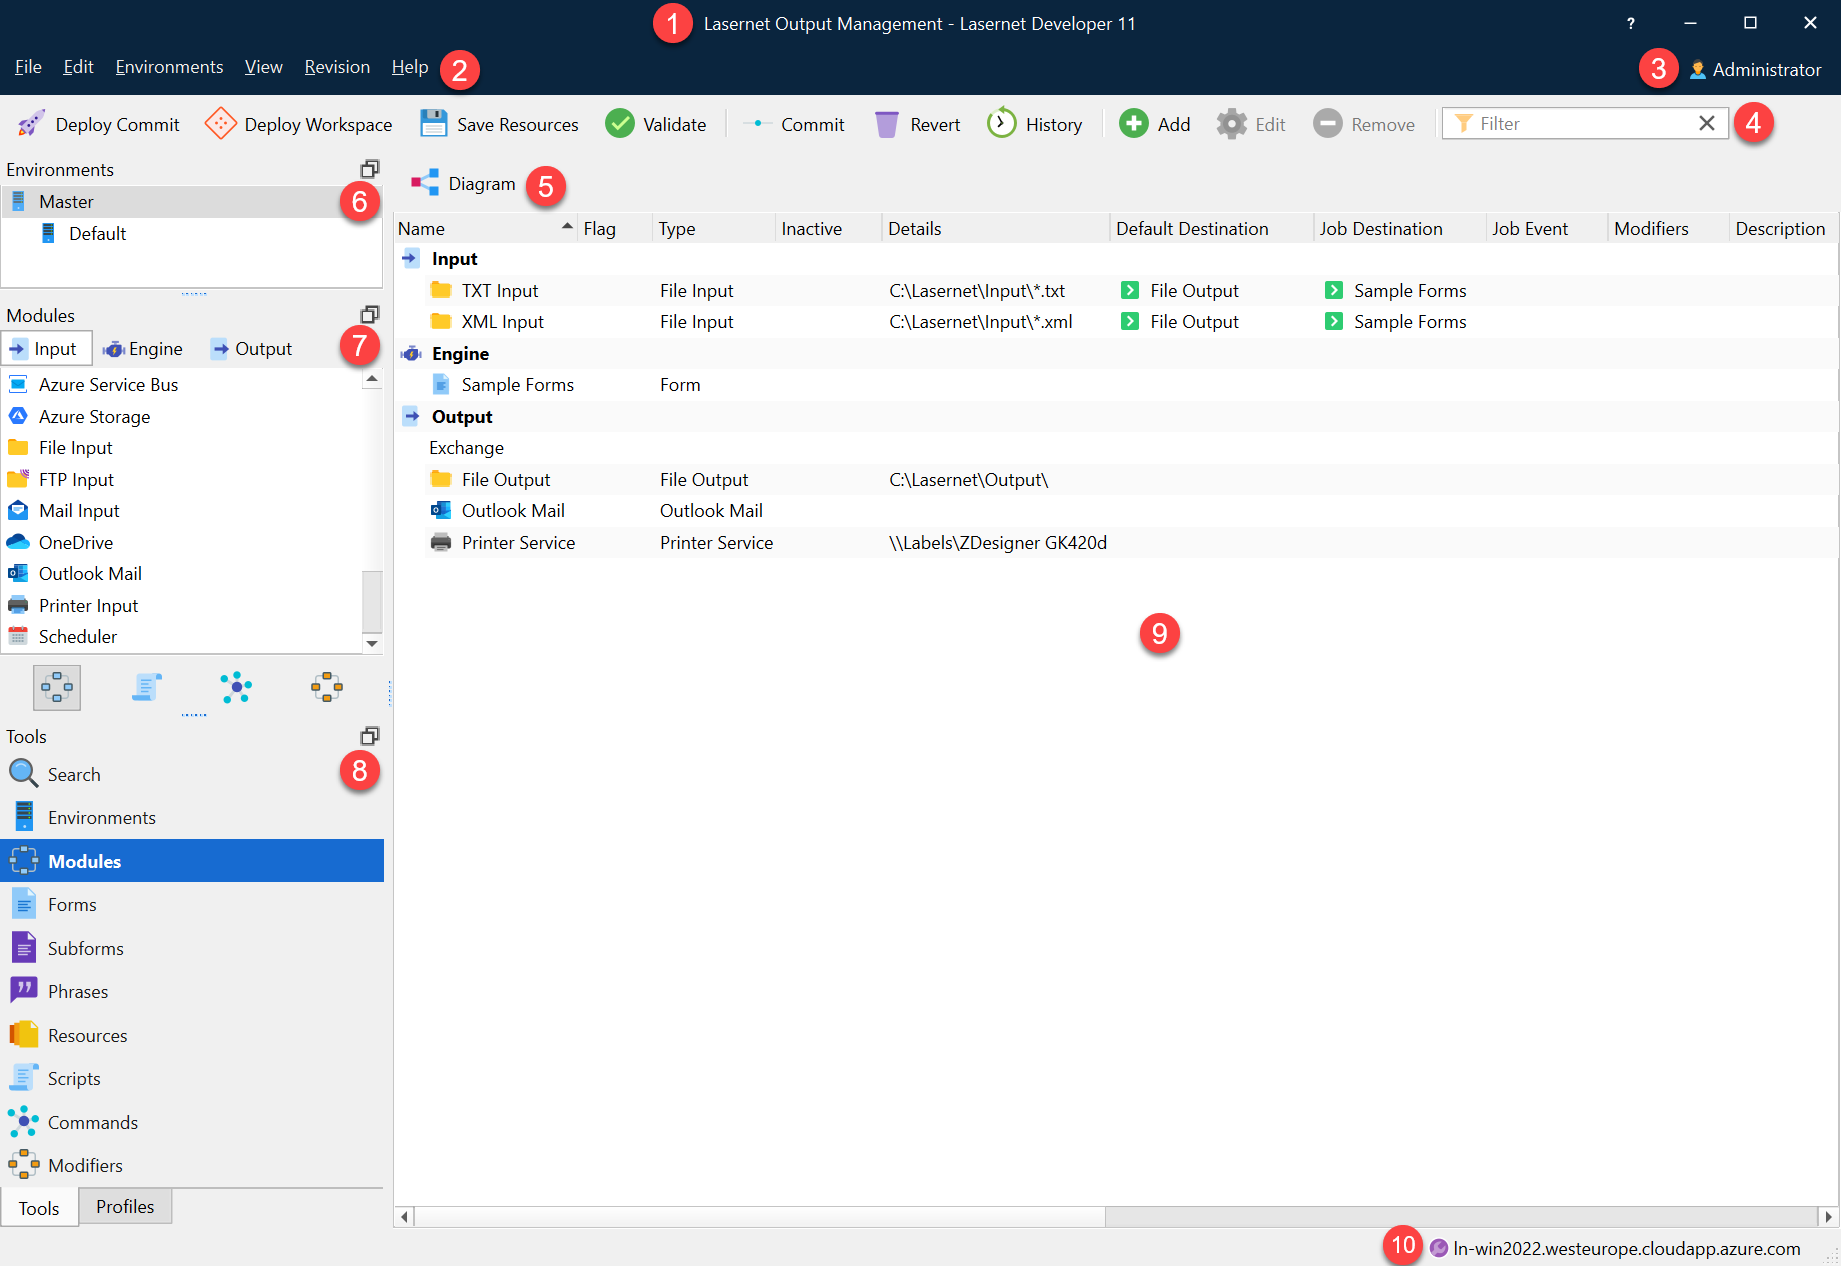
Configuration Name (1)
The title bar of the Lasernet Developer window includes the name of the configuration that you are working on.
Menu Bar (2)
![]()
File > Start Page: Return to the Start Page and connect to a new server, log in as a new user, or open a new configuration.
File > Export Configuration: Export the full configuration as an .lnconfigx file. Import the file from the Start Page > Import Configuration window.
File > Import Objects and Export Objects: For more information, see Export and Import Objects.
File > Deploy Commit/Deploy Workspace: For information about the “workspace”, committing changes, and deploying configuration revisions, see the Lasernet Core Configuration Management and Deployment Guide.
File > Save Resources: This feature sends resource files to the “workspace”. For information about the workspace and the Save Resources feature, see the Lasernet Configuration Management and Deployment Guide.
File > Validate: Select Validate to parse the configuration. Lasernet Developer will check your configuration and inform you about a list of known warnings and errors found in the configuration.
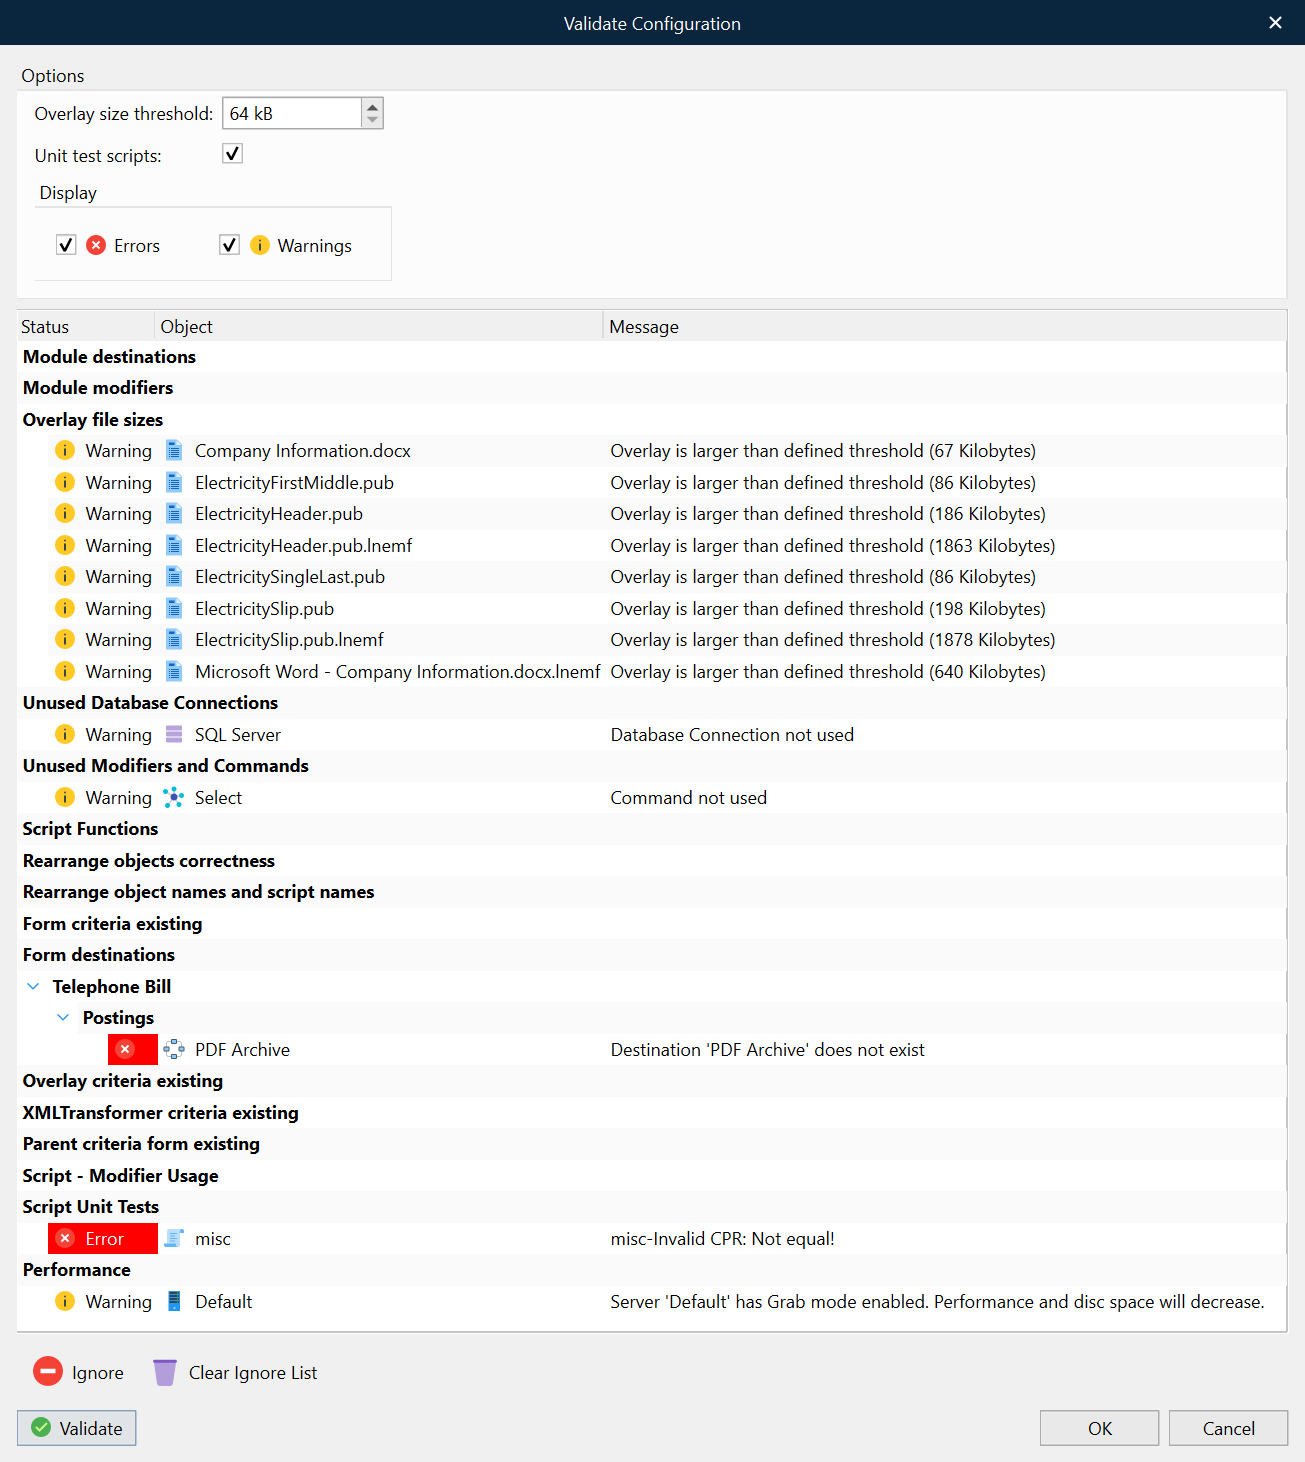
Module destinations | Checks for orphaned module objects. If a destination has been added to a module that does not exist an error for the given module will be listed. |
Module modifiers | Checks if unknown modifiers are called. If an unknown modifier has been added to a module, an error will list the name of the unknown modifier, the event point name and module name. |
Overlay file size | Checks for overlay file sizes greater than the user defined threshold. If large overlay files are added to forms, it can result in big EMF and PDF files which can slow down processing. The default threshold value is set to 64 kilobytes. The recommended value can vary between configurations depending on output. If processing a batch of documents containing lots of pages, we recommend using a low threshold value (64kb). If you are only printing single jobs, it is possible to set a high value (1024 kb). |
Unused Database Connections | Checks for unused database connections in the configuration. This alert is provided for your information only, as existing database connections that are not being used can often be deleted. |
Unused Modifiers and Database Commands | Checks for unused modifiers and database commands in the configuration. This alert is provided for your information only as unused existing modifiers and database commands can often be deleted. Important: The validation check will not include modifiers and database commands executed as script commands. |
Rearrange object names and script names | Checks for conflicting names between rearrange objects and script functions. Both will be seen as objects by the JavaScript engine so the same name cannot be used twice. |
Script | Checks for unknown and inactive script modifiers. Will list the name of the unknown script modifier, the event point name and script name. |
Script Unit Test | Runs the defined unit tests for scripts. Logged errors will result in validation errors. |
User Account (3)
The upper-right corner of the Lasernet Developer window displays the name of the user that you are logged into the Config Server as.
Toolbar (4)

For information about Deploy Commit, Deploy Workspace, Save Resources, Validate, Commit, Revert and History, see the Lasernet Core Configuration Management and Deployment Guide.
Add, Edit and Remove are used to maintain the objects for Environments, Modules, Forms, Subforms, Phrases, Scripts, Commands, Modifiers and Profiles objects.
Add | Select an object category and then click Add to create a new object in the selected category. |
Edit | Select any object in any category and then click Edit to edit the properties of the selected object. |
Remove | Select any object in any category and then click Remove to delete the object from the entire configuration. |
Tool Buttons (5)
The contents of the property bar vary depending on which tools you have in focus: modules, forms, phrases, resources, or scripts and commands.
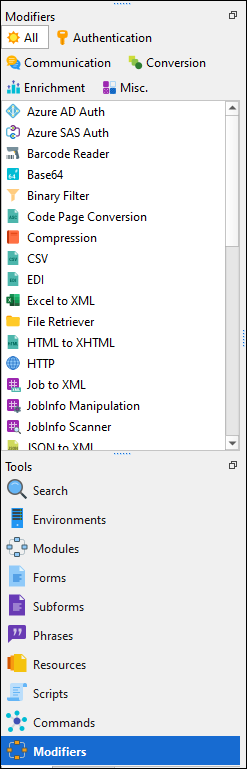
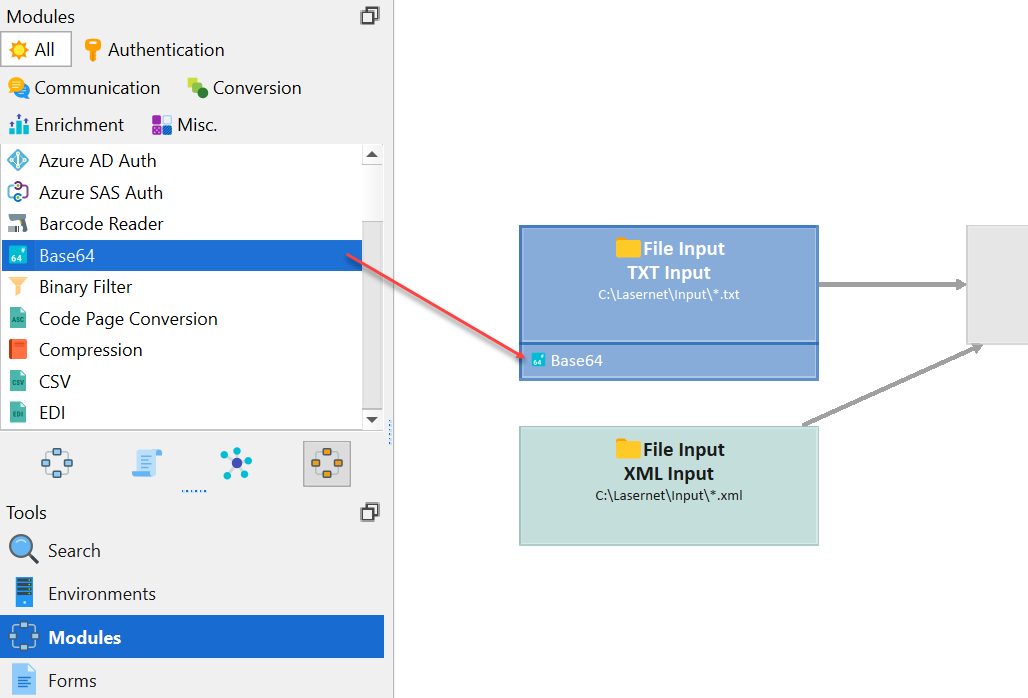
Modules
![]()
Diagram view is an alternative to the list view. You can toggle between list and diagram views via the tool button above the modules. For more information about diagram mode, see The Modules Tool.
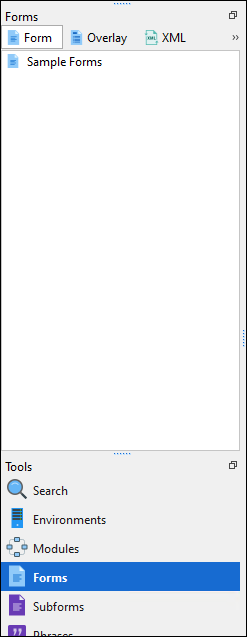
Forms

The thumbnails view is an alternative to the list view. You can toggle between list and thumbnails view via the tool button above the forms.
Phrases

A search tool to filter the list of phrases by typing a search string or defined list of keywords that match your phrases. For more information about phrases, see Share Content Between Forms (Subforms and Phrases).
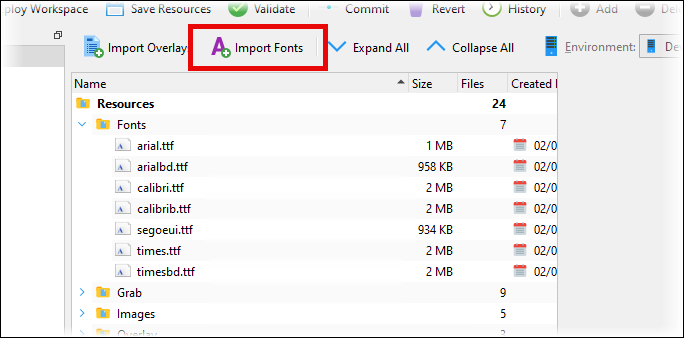
Resources

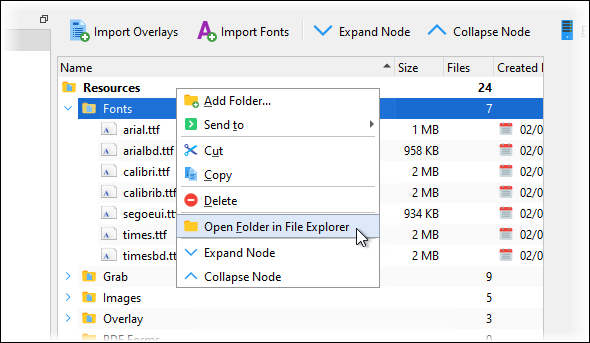
Click Import Overlays, Import Fonts, or Download all Grab Files to store those items as resources in the configuration. Expand and collapse the folders in the Resources area of Lasernet Developer to explore the resources stored by the configuration.
Use Start and Stop to control whether grab mode is enabled.
To explore the resources in the configuration, expand and collapse the folders in the Resources area of the configuration.
Note
To ensure that Lasernet Core environments can process jobs correctly, you must save imported resources to the workspace. This will ensure that test environments can process jobs after you deploy the configuration from the workspace to test environments, and that production environments can process jobs after you commit the configuration to create a new revision and then deploy that revision to production environments.
Import Fonts
Import Fonts identifies which Windows fonts are used by the forms and phrases in the configuration and then copies them to the Fonts folder of the configuration’s Resources area. Fonts that are stored within the configuration can always be accessed by the Lasernet Form Editor, the Lasernet Developer, and by Lasernet Core environments, when working with EMF-based output such as PDF.
The benefits of storing fonts in the configuration are that the fonts are easily shared between users of Lasernet Developer and there is no requirement to manually install fonts on Lasernet Core servers.
Click Import Fonts to add the used fonts to the configuration.
Note
Other methods for adding fonts to the configuration as resources are:
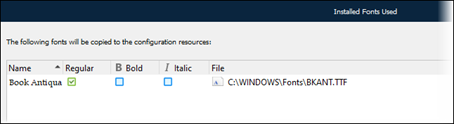
When the Form Editor saves a form, it identifies any fonts that are used in the form design but are not present in the Fonts folder of the configuration’s Resources area. An Installed Fonts Used window lists fonts that Lasernet Core can copy to the Resources area.
Manually copy a font file to the configuration’s
Fontsfolder on disk.
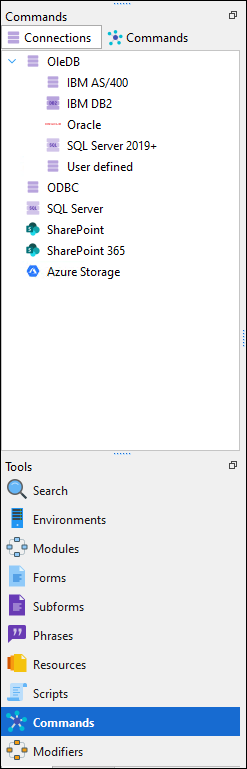
Scripts and Commands
![]()
A search tool to filter the list of scripts and SQL commands by typing a search string that matches your contents.
Environments (6)
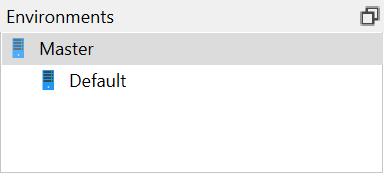
Click Tools > Environments to see a list of environments and select one to configure. Select Master to assign and set your objects to be inherited by all the environments in the list, or select a specific environment to assign your objects for that environment only.
Modules (7)
The contents of the list vary depending on which tools you have in focus.
.png)
The list contains all available object types you can configure in the workflow. Double-click or drag them into the main window in diagram or list view mode.
In module mode you can add script, command and modifier objects to your workflow by dragging them to a module in the main window.
Tools Button Pane (8) and the Main Application Area (9)
Use the buttons in the Tools pane to select which configuration objects you want to work with.
Lasernet Developer displays objects of the selected type in the main Lasernet Developer area (9), along with relevant tool buttons at the top of the main area.
The Tools pane has two tabs:
The Tools tab contains buttons such as Modules, Forms and Resources.
The Profiles tab contains buttons such as Regional Profiles and Printer Profiles.
Config Server Name (10)
The lower-right corner of the application window displays the name of the Config Server that Lasernet Developer is currently connected to.