- Print
- PDF
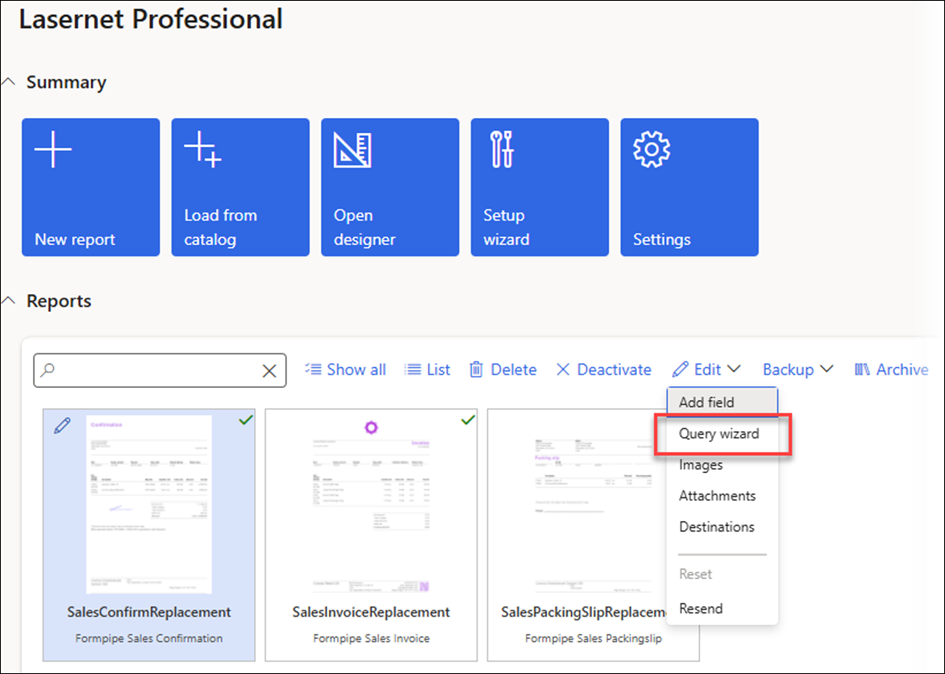
The following section describes the options available within the Edit dropdown menu, which is available in both the Preview and the workspace.
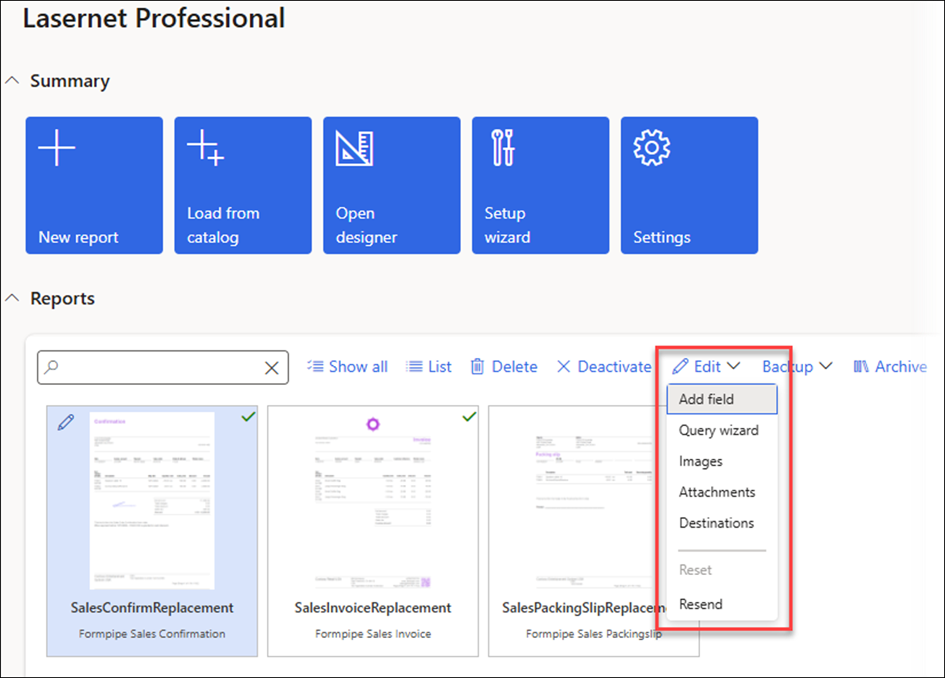
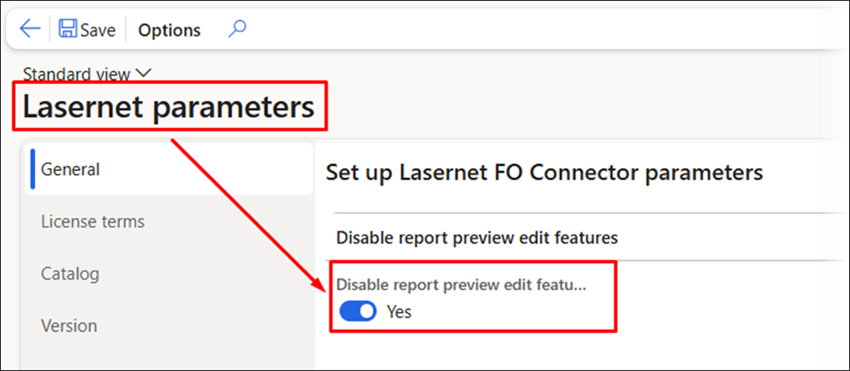
The Edit dropdown menu can be disabled from the Lasernet parameters page.
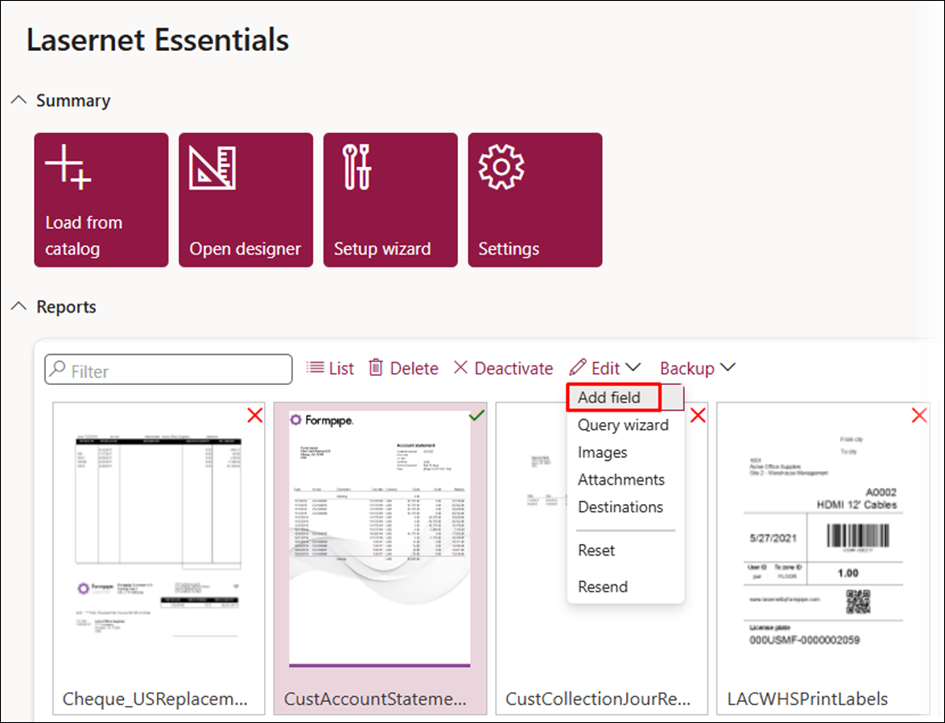
Add Field
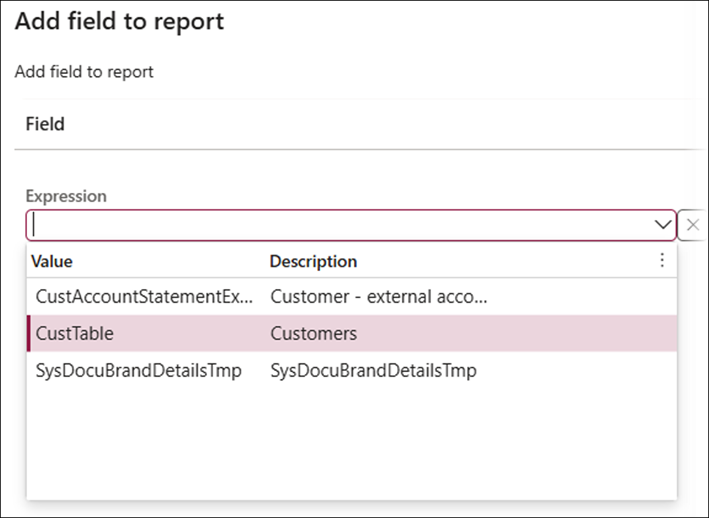
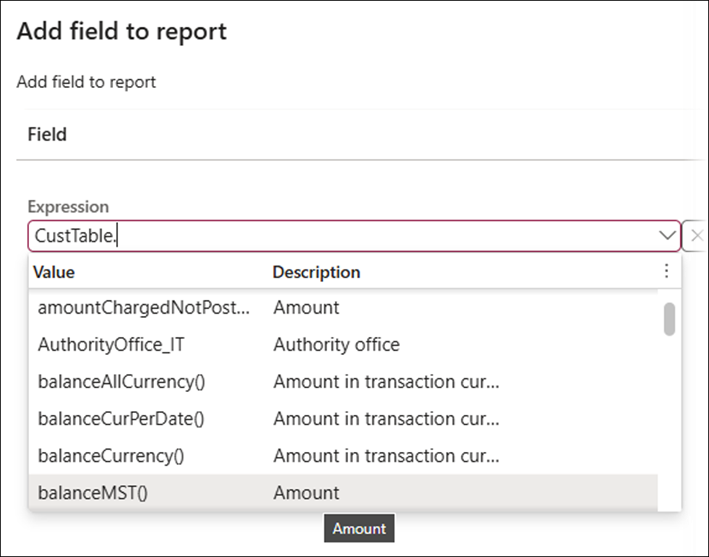
The Add field option opens a dialog in which you must first select the required table and then the field.
Choose the desired table.
Choose the desired field.
Query Wizard
Selecting Query Wizard will open a wizard for the Query, where you can add the required tables and fields.
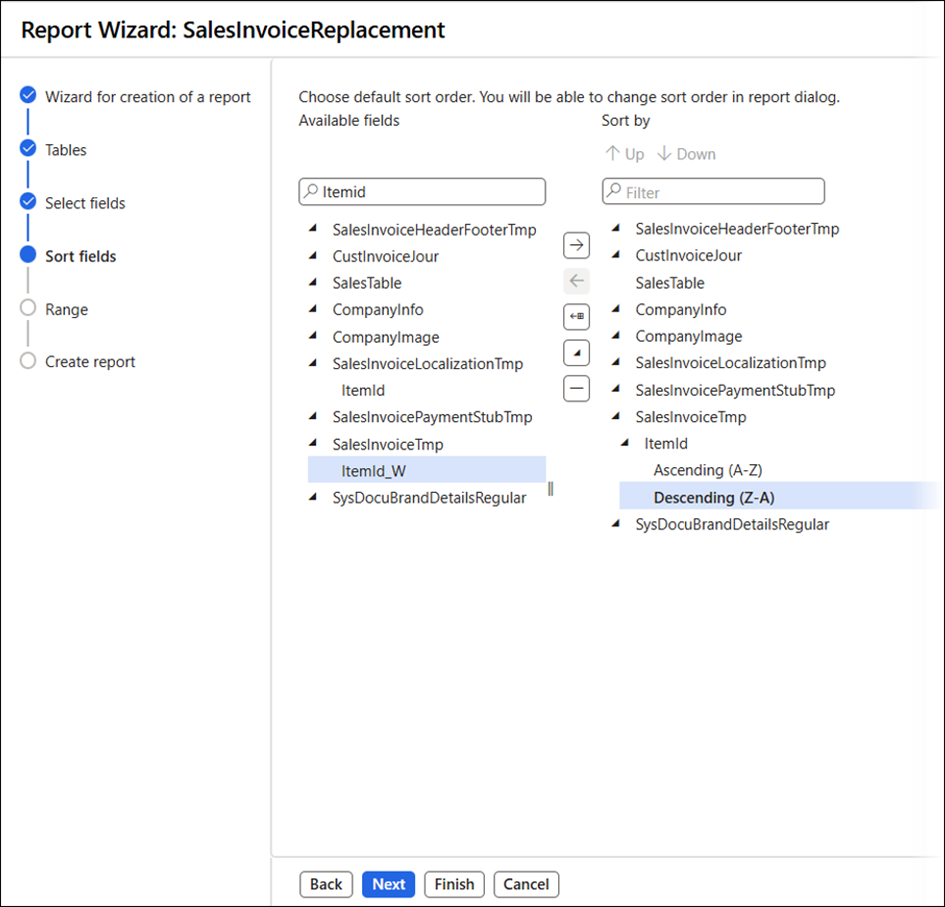
You can also sort the fields and add the necessary ranges.
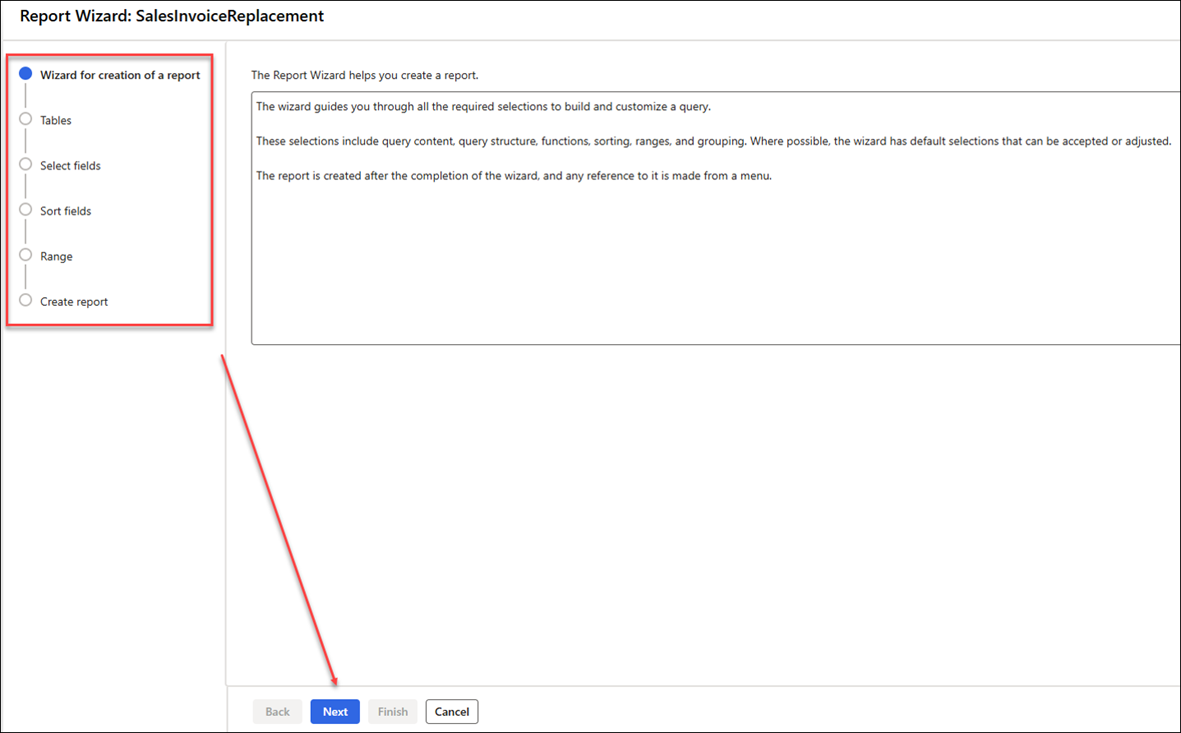
The Query Wizard is simplified in Lasernet Professional (it is not possible to create an AOT Query, a Query from class, or group data into files) and contains the following steps (click Next to continue):
Tables
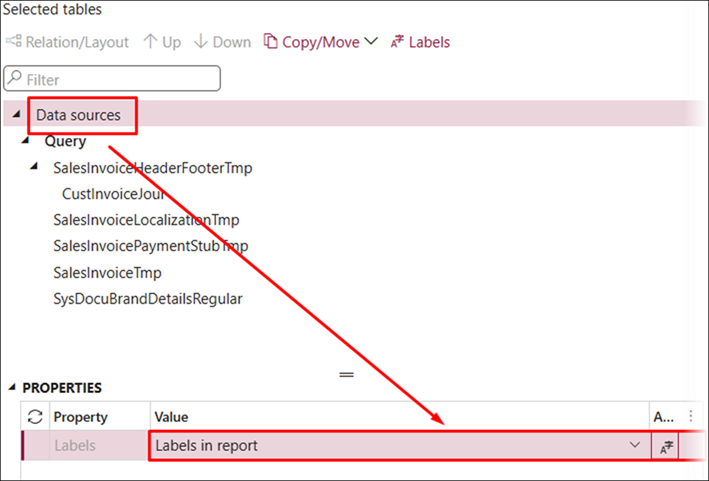
It is possible to link related tables or establish relationships between them by clicking Add related tables.
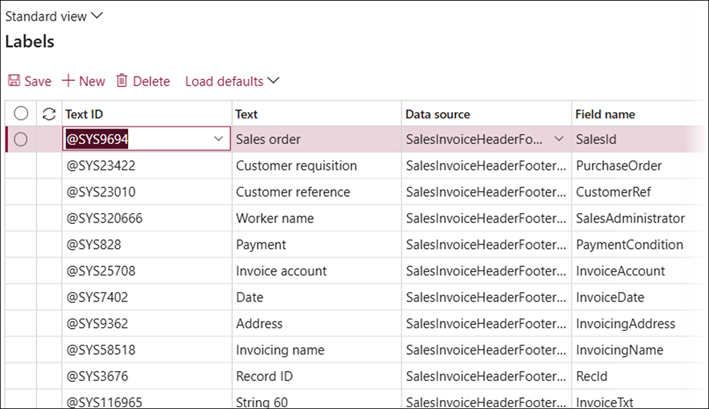
Language labels can be defined at the data sources level, incorporating existing language texts for the report. For a detailed breakdown of the process, refer to this guide.
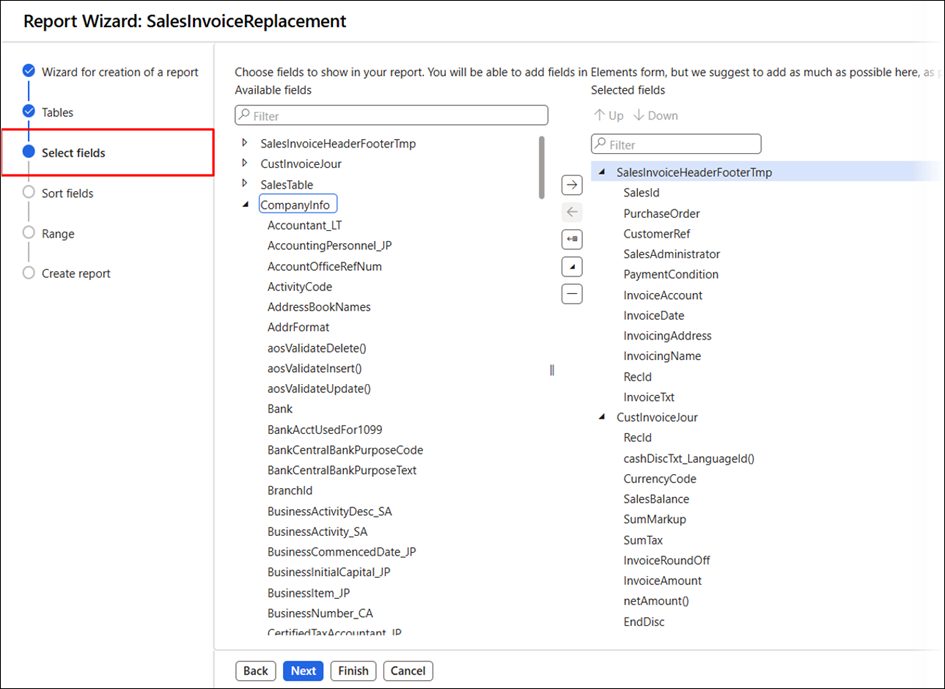
Select fields
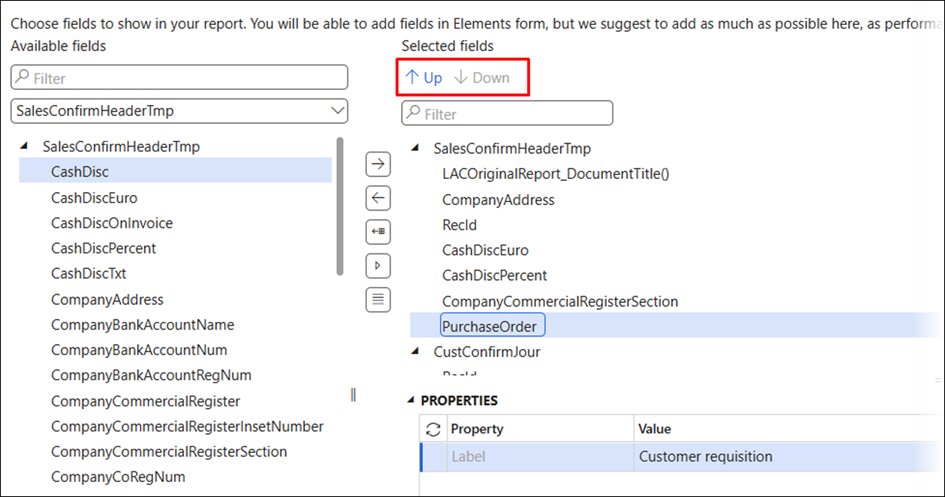
After selecting the required fields, it is possible to move them Up and Down within the Query Wizard.
Sort fields
Range
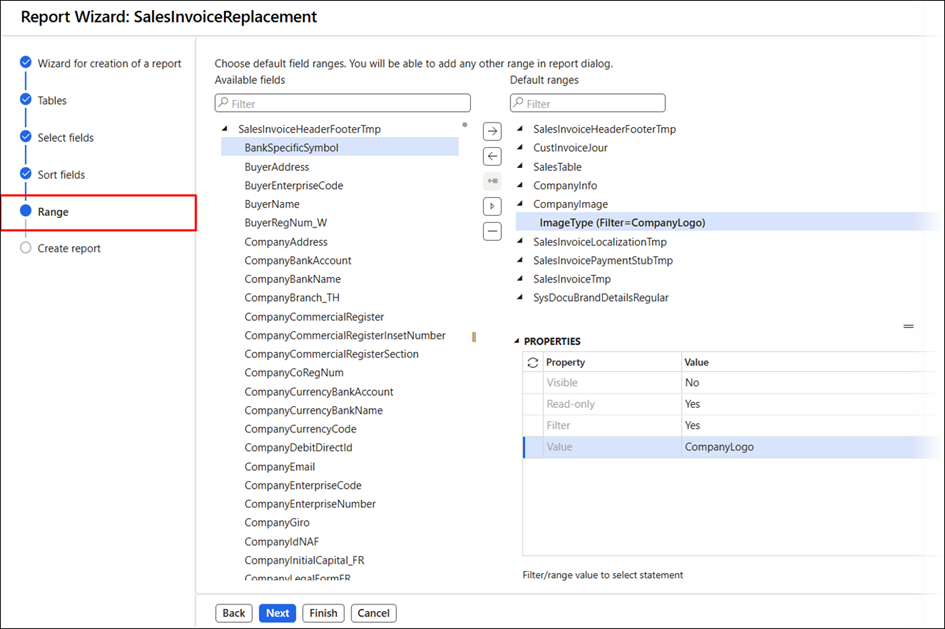
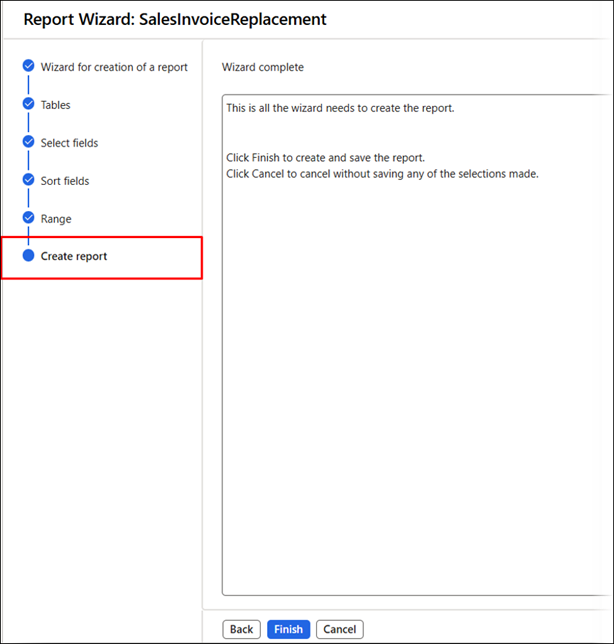
Create report
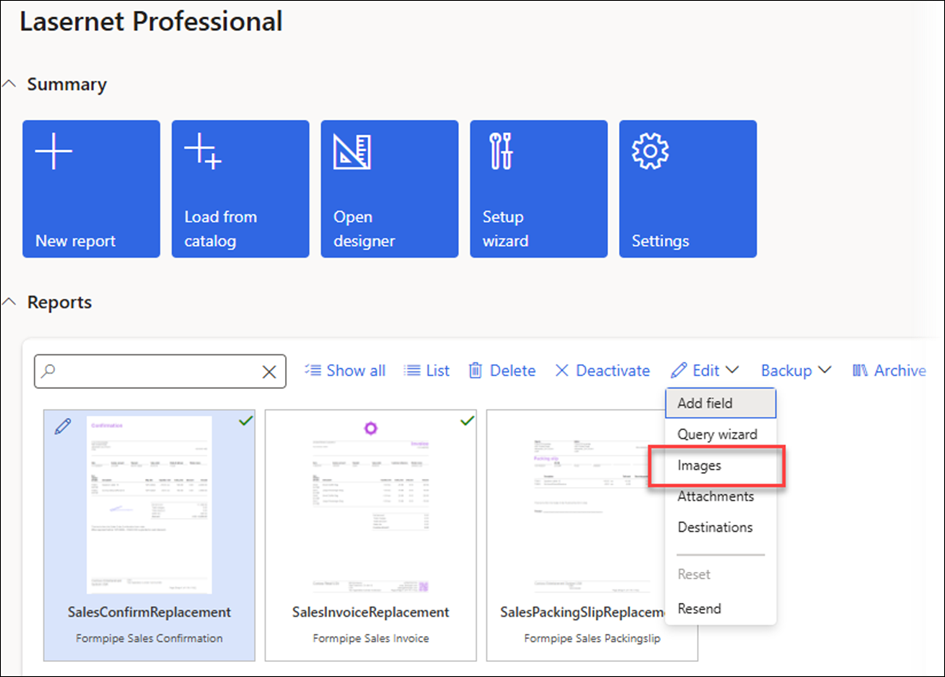
Images
Choose the Images option from the Edit dropdown menu to add images to your reports.
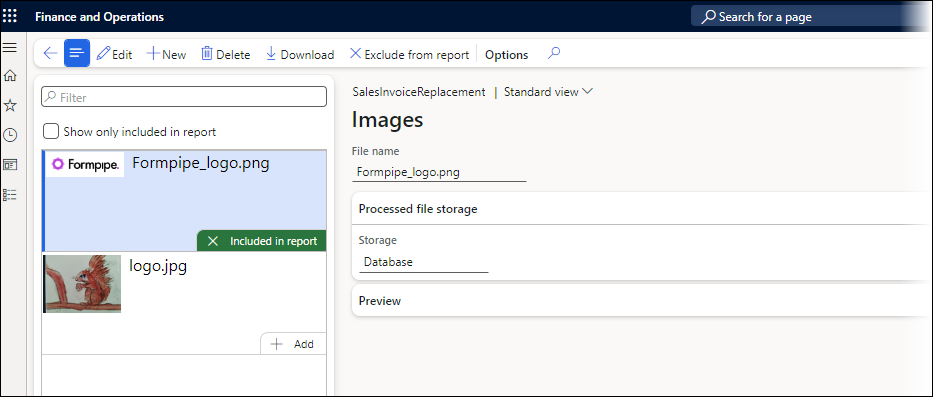
The Image gallery within Lasernet Professional has been enhanced with some visual improvements. The aim is to increase intuitiveness and to ensure all components function correctly within the existing Lasernet FO Connector.
The Image gallery can be used in Lasernet Essentials, Professional, Advanced, and Enterprise, as the same engine is used in the back end.
Images can be added from the workspace as well as through a report’s Preview.
Only users with Lasernet Administrator or System Administrator roles can add images via Preview and the workspace. Users lacking these roles will not be able to view any of the extra options.
You will need to upload files to the Finance and Operations database to add a logo or Overlay to your reports. Each image upload will be added to the report that you have picked, as well as to the Image gallery for all reports. Follow these steps:
Highlight your report.
Click Images.
Browse to the image you wish to use with your report.
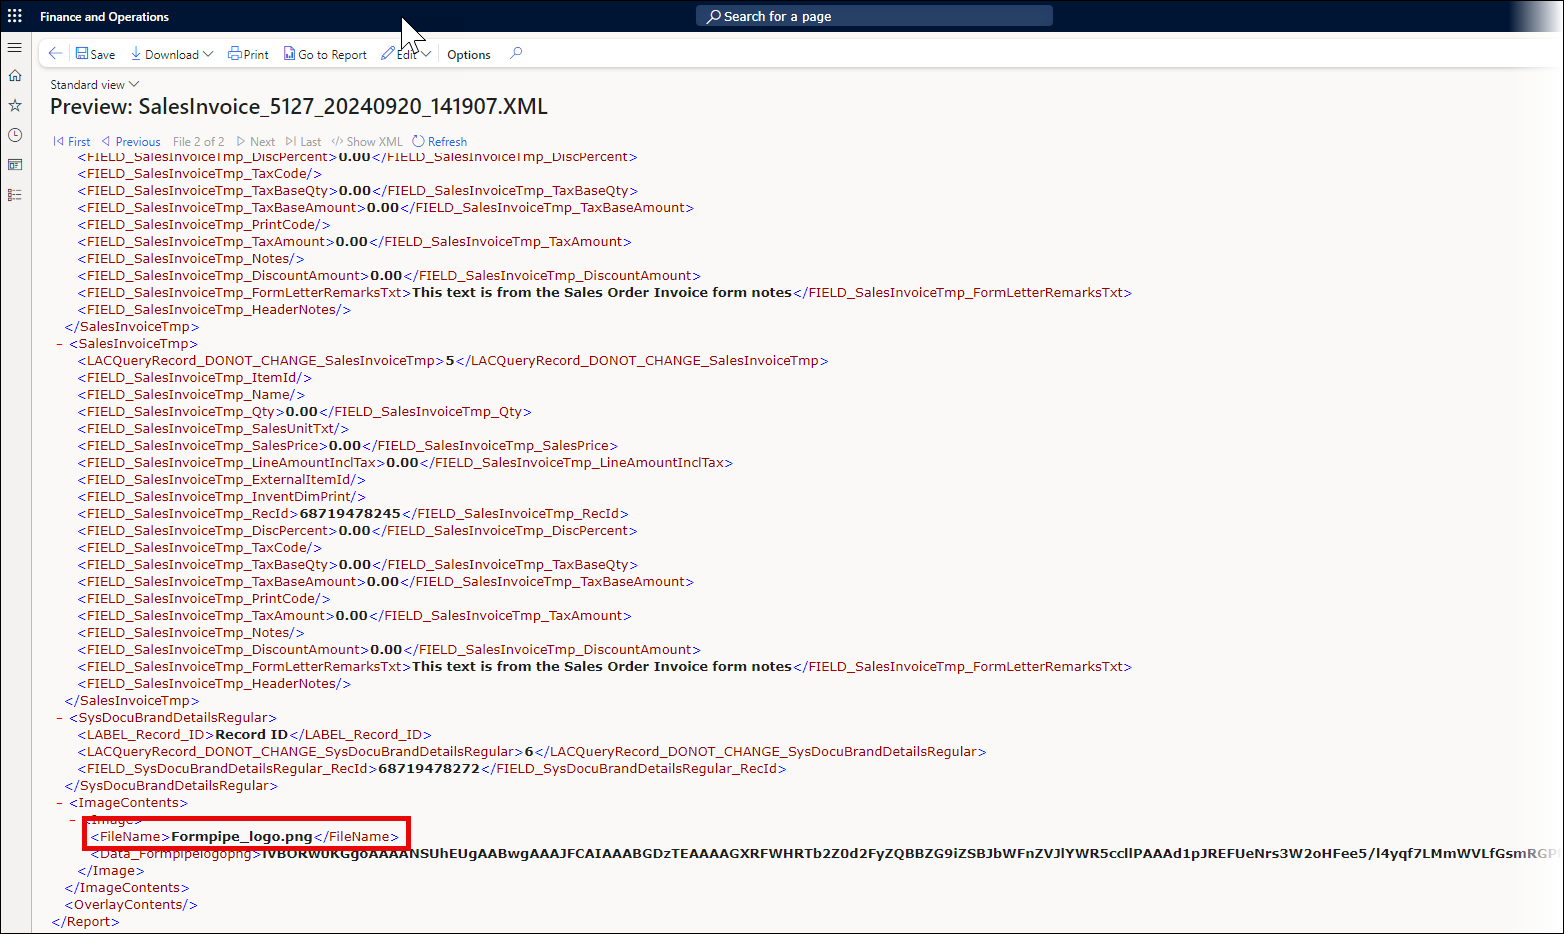
The next time you print the report, you will see the reference to the image in the XML (placed at the bottom of the XML).
Open Lasernet Form Editor and add the image to your design.
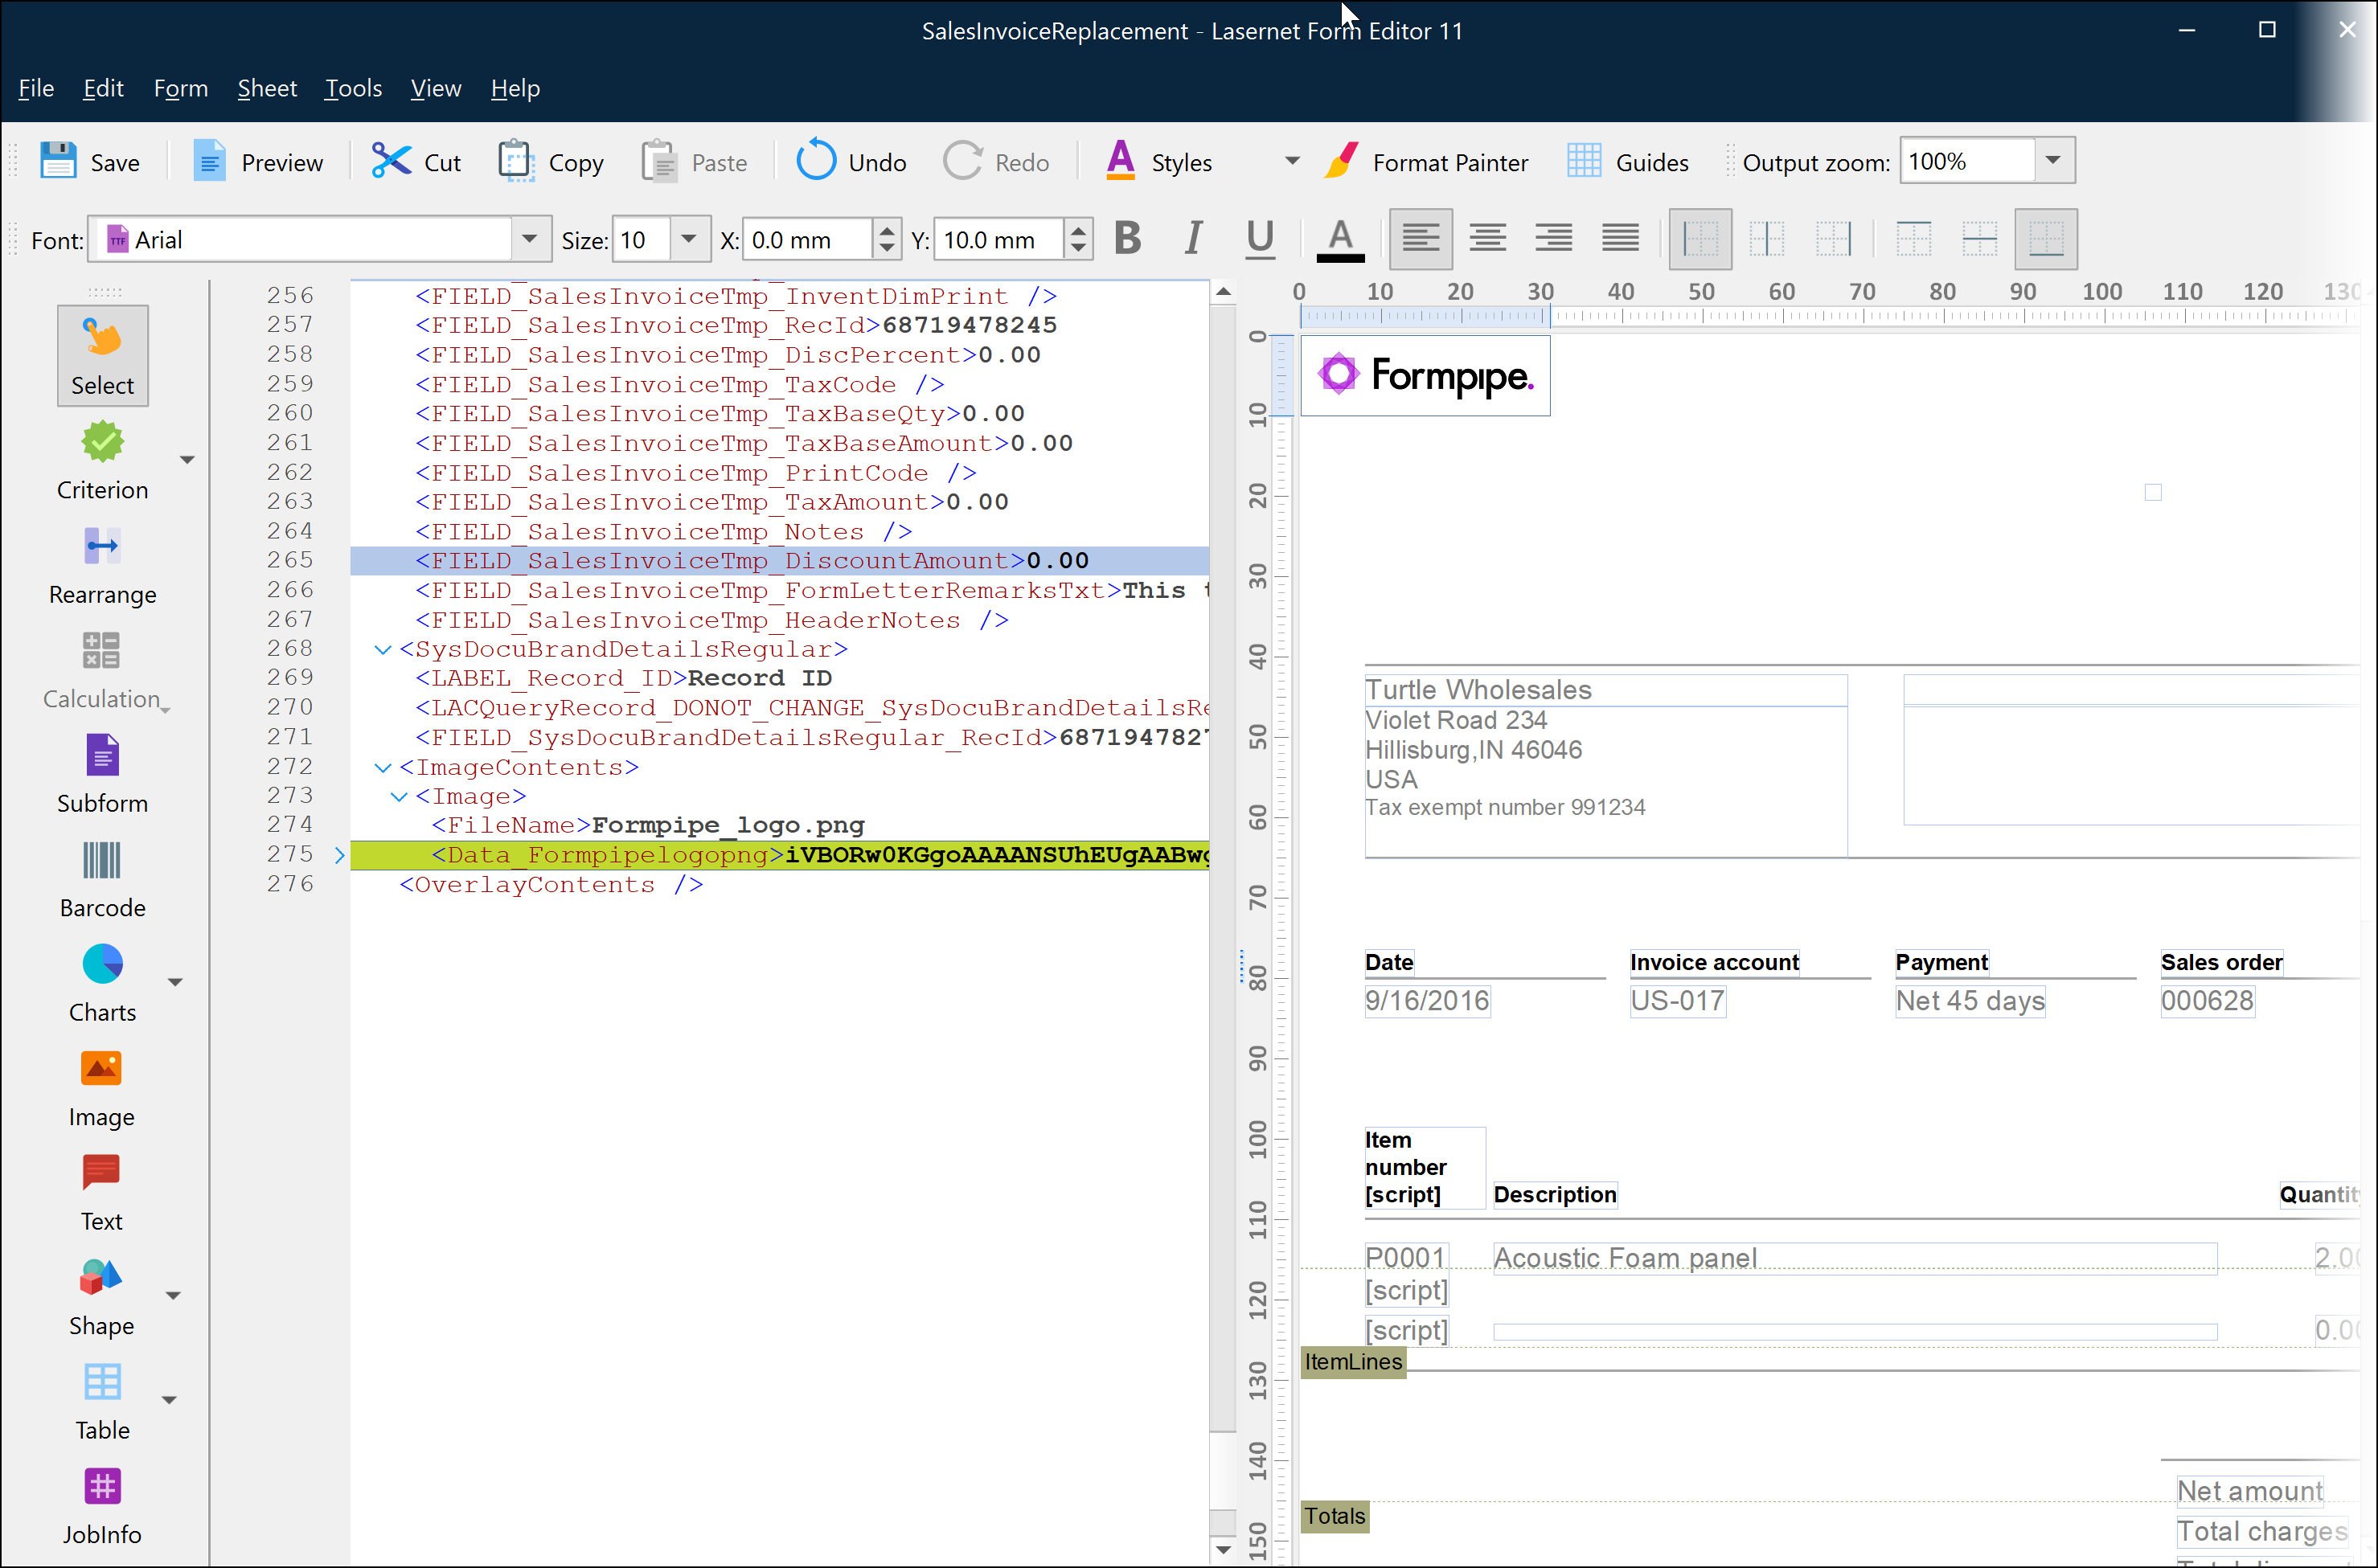
Click Save, and your new design will be ready to use. You will also see the updated design in the Reports section of the Lasernet Professional workspace.
If you have already uploaded an image for a report, you can add that same image to the other reports by clicking +Add.
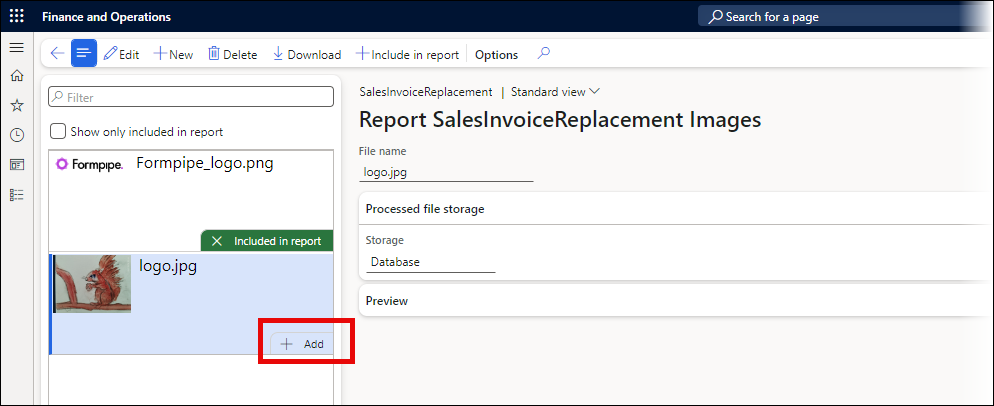
Or by clicking the +Include in report option on the top menu bar.

You can also remove an image from a report by clicking the X symbol on the green Included in report banner.
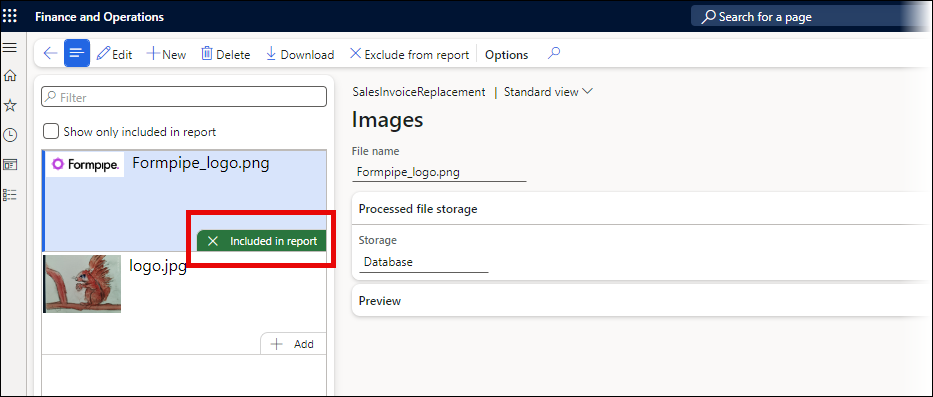
Or by clicking the Exclude from report option on the top menu bar.

If you wish to download or delete an image, highlight it and click the Download or Delete buttons on the top menu bar.

Attachments
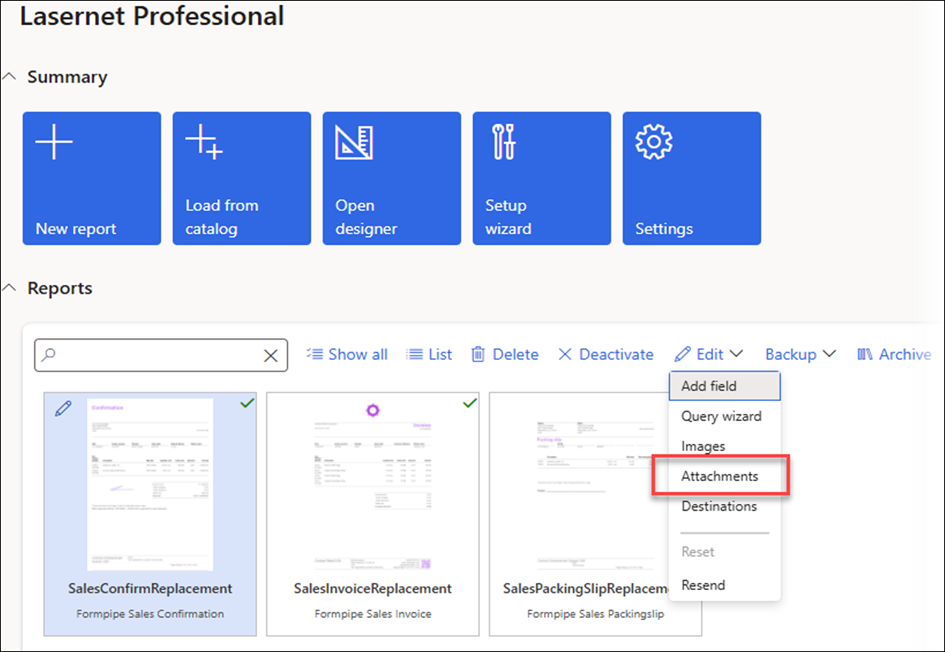
Configuring attachments directly from the attachment form in standard Dynamics 365 FO is possible by using the Attachments button within the report Preview or within the Lasernet Professional workspace.
To do so, select the desired report and click Edit > Attachments.
The Attachments feature can be used to add directly to the report the tables for which the attachment is needed and to define Restriction, Type, and Document type.
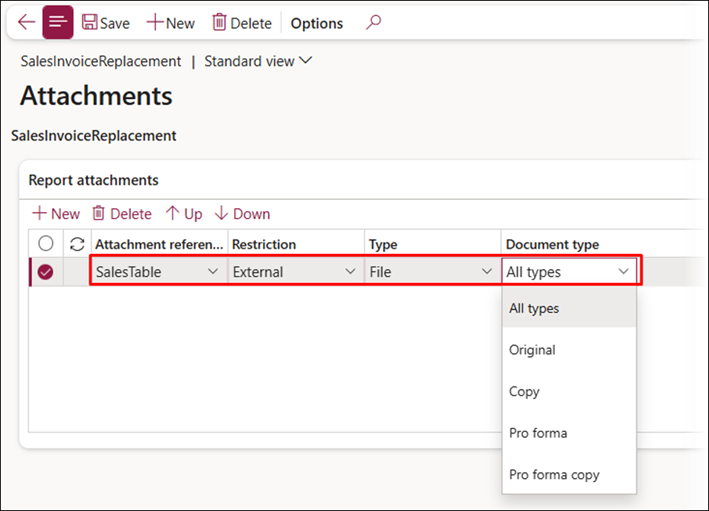
Restriction
When adding attachments to a report, you can choose between Internal and External restrictions. Internal restrictions are meant to hide company information from customers, while External restrictions hide customer information.
Type
When choosing the Type of attachment to add to a report, you can choose from File, Image, Note, or URL.
Document Type
When adding an attachment, you can choose from All Types, Original, Copy, Pro Forma, or Pro Forma Copy, to determine to which type of document you will attach your extra document(s).
Note
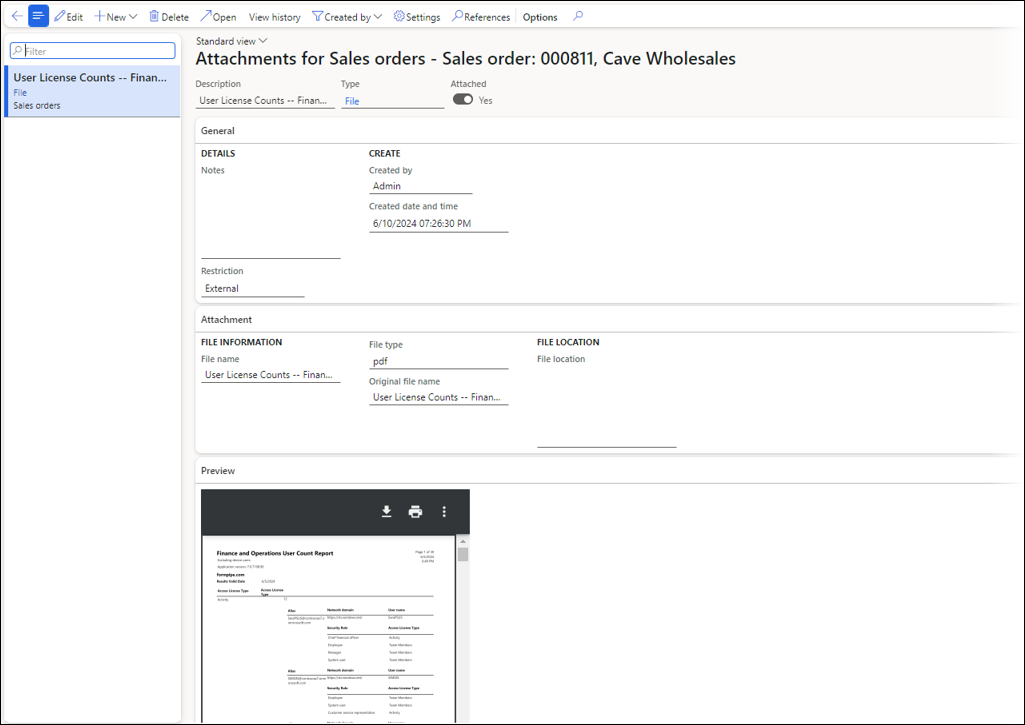
You will need to upload the document you wish to go along with your report printout.
Navigate to the customer or vendor report and attach the documents using the little clip icon in Finance and Operations.

Upload your document.
Attachments can also be configured directly and automatically from the Attachment form.
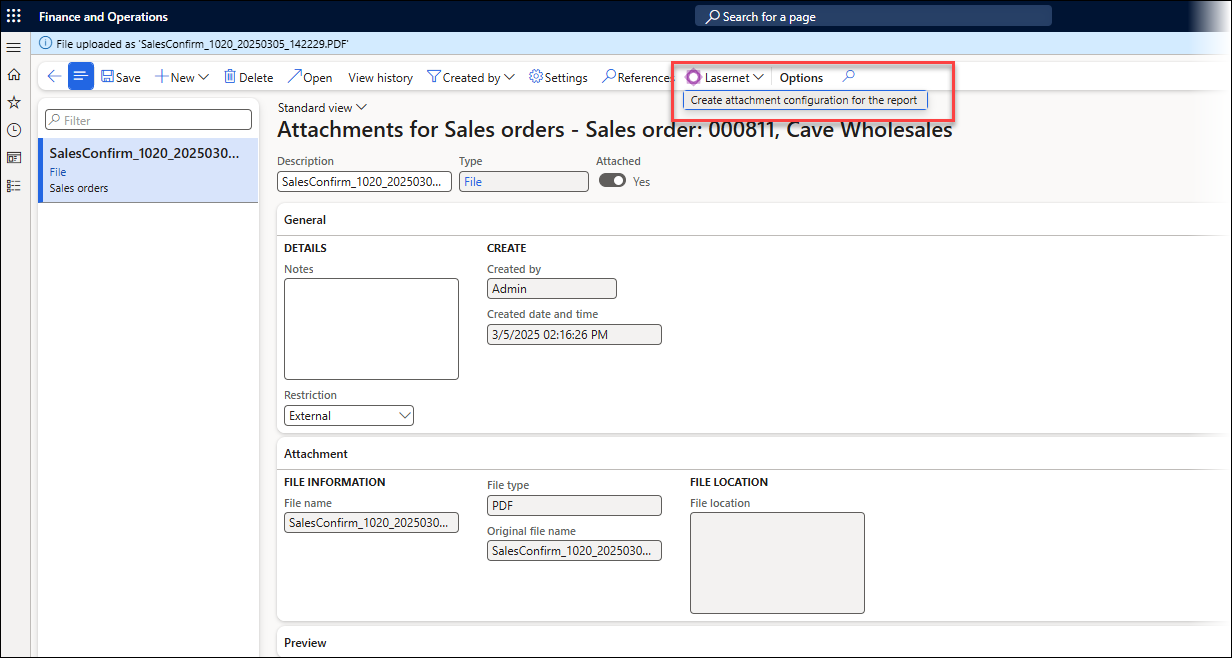
The following screen appears:
(1).png)
Choose the required report and ensure the table used for the attachment is included in the report from the Query Wizard. Then click OK.
(1).png)
The configured settings will be displayed in the following form:
(1).png)
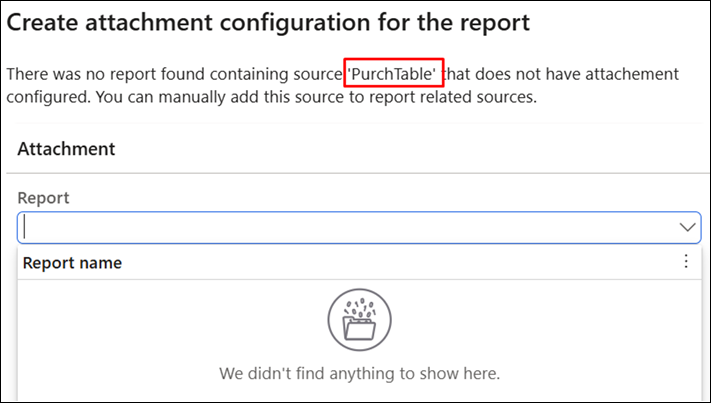
The following message appears if no additional report can be configured for the attachment(s), such as if all reports that include the required table have already been configured.
Pay attention to the source (table) mentioned in the message. The Query Wizard requires this for the report to be part of the lookup.
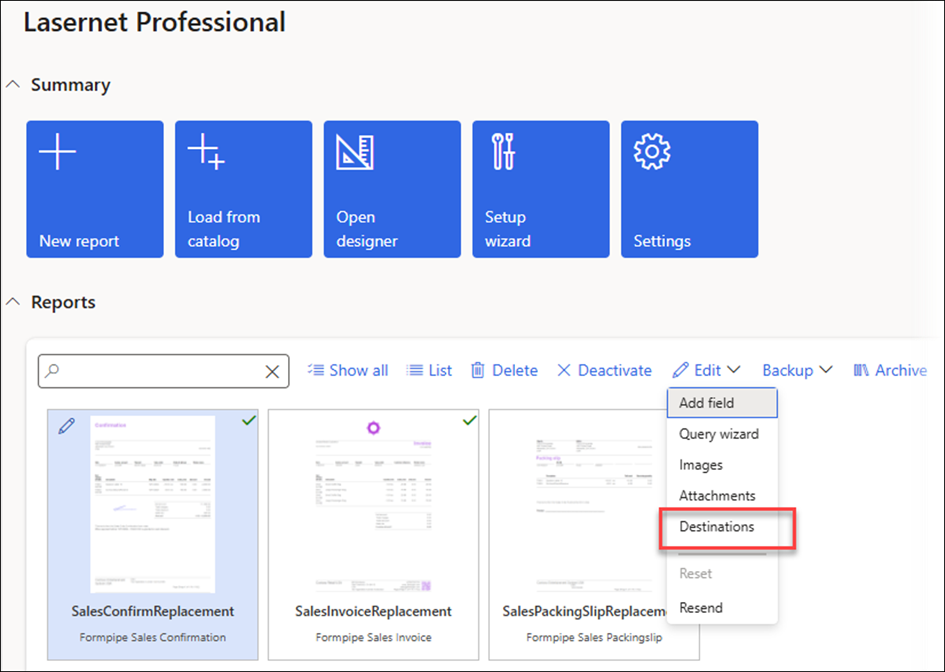
Destinations
In Lasernet Professional, Destinations are only available from the workspace and not from the Preview. This feature provides the option to configure predefined destinations for a report.
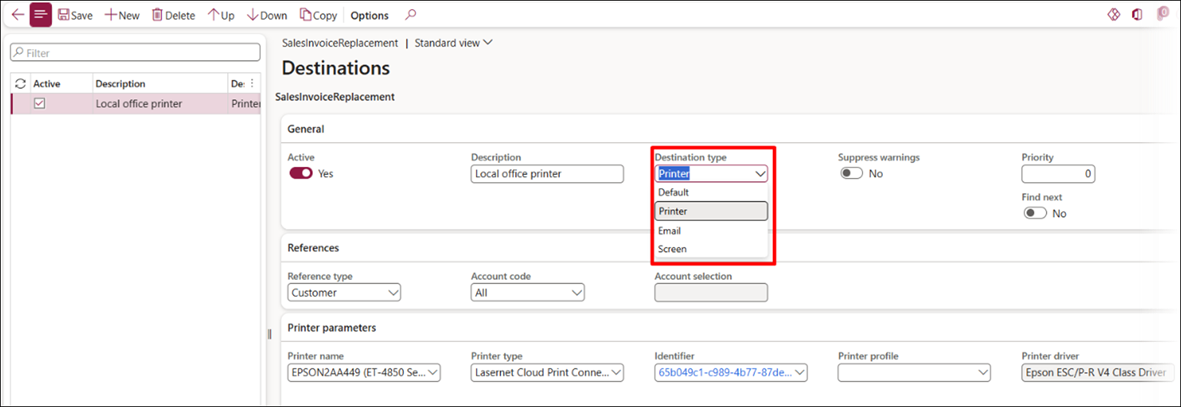
Destinations can be defined for Printer, Email, and Screen.
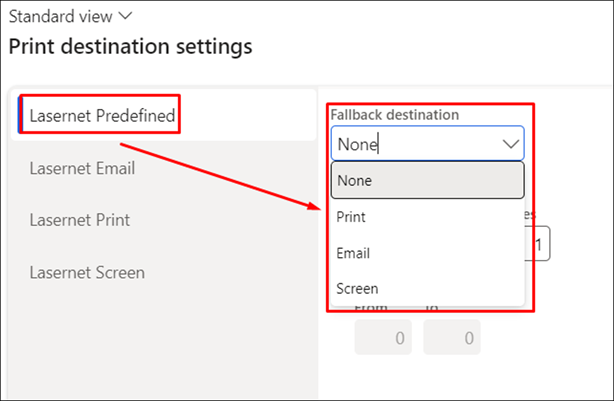
Then, the predefined destinations are used via the Lasernet Predefined option within the printer dialog. It is also possible to define a Fallback destination, which is used if no destinations are found via the predefined destinations.
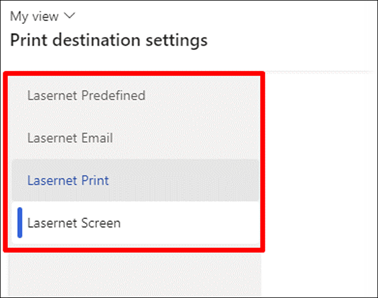
Both Lasernet and standard destinations are shown if a user has one of the following roles:
System Administrator
Lasernet Administrator
Lasernet Advanced User
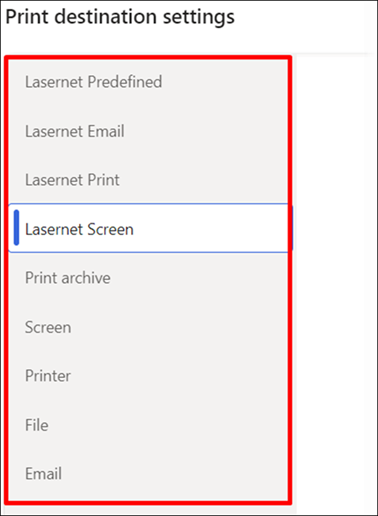
Destinations configured for Lasernet are only shown if a user has the Lasernet User role.
Note
To learn more about the Destinations feature, read this guide.
Resend
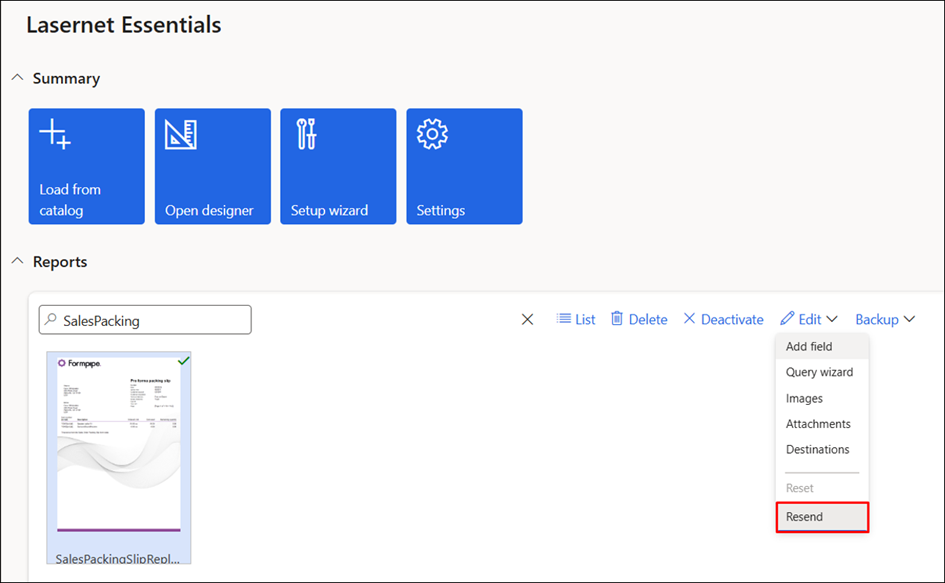
The Resend option from the Edit dropdown menu is useful for regenerating the output, such as if additional data has been added. The system will always use a single entry within the Lasernet Archive as the source for the resend.
The Resend feature is available both in the workspace and in the report Preview.
Workspace
Preview
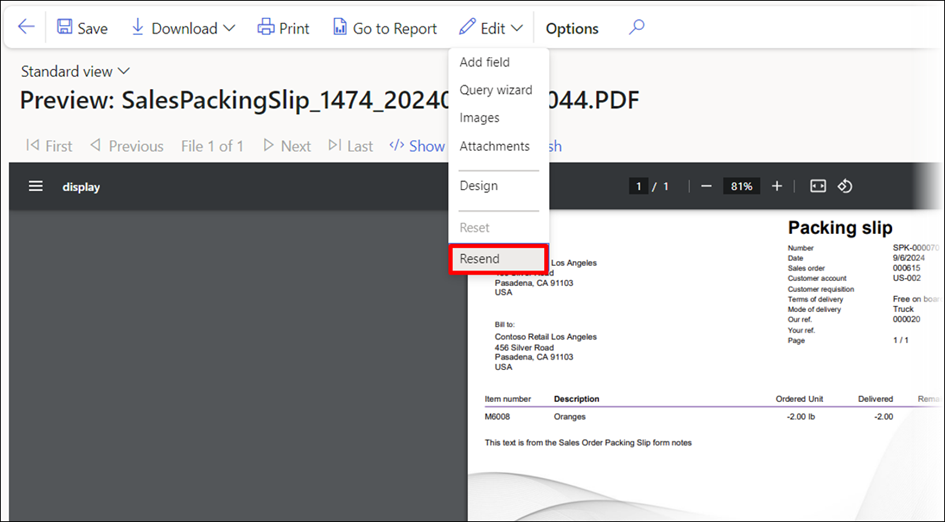
The option to Resend is not available for Proforma reports, even within the workspace, if no single entry exists for the report within the Lasernet Archive.
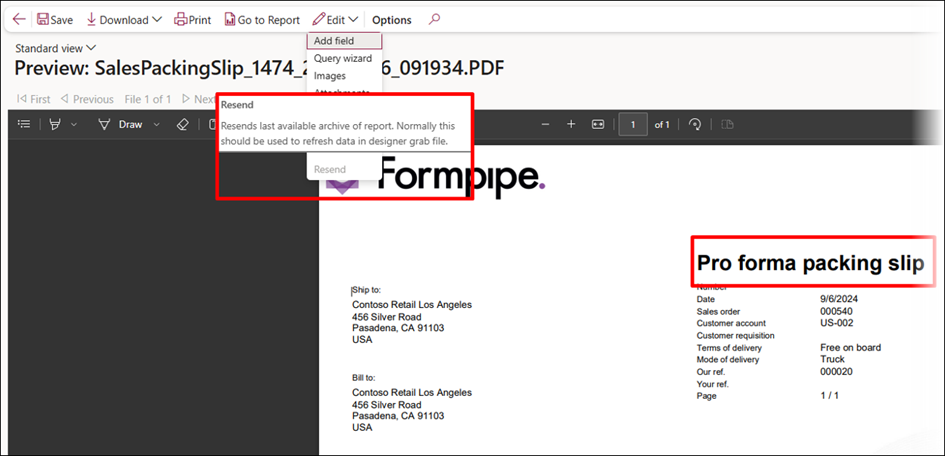
Additionally, the Print option is disabled for Proforma reports. This feature is available only for non-Proforma versions.
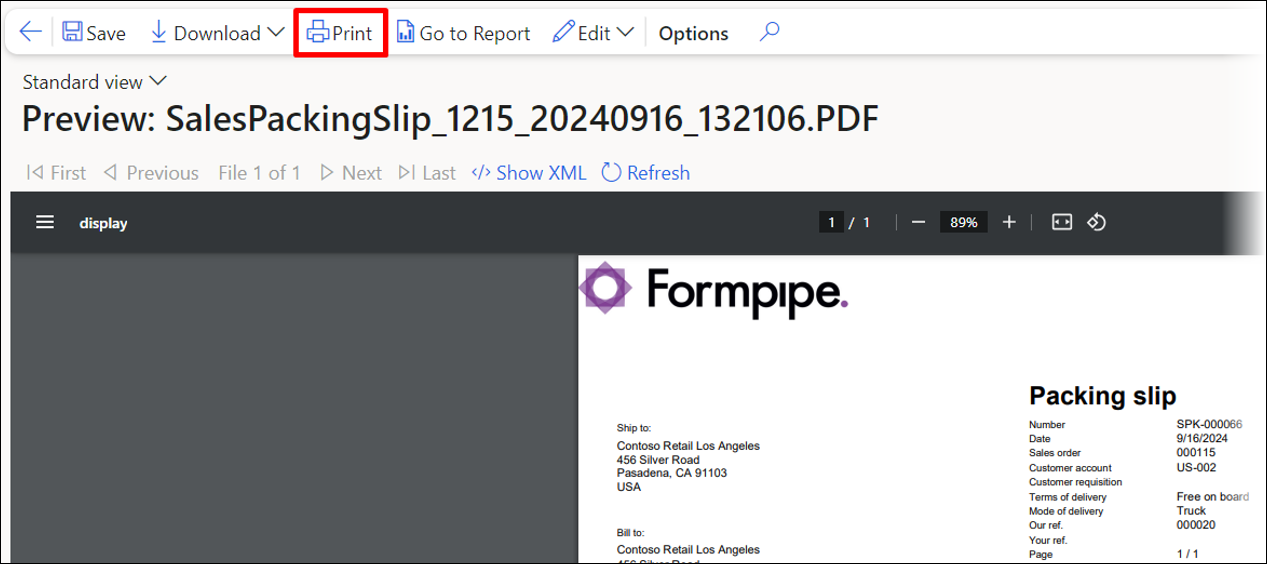
All Edit options, apart from Destinations, are located in both the Preview and within the workspace.
Destinations are only accessible from the workspace in the Edit dropdown menu.
You can access these options from the Preview unless they have been disabled within the Lasernet parameters.

