DOCX Output (Phrases)
- 06 Mar 2026
- 4 Minutes to read
- Contributors


- Print
- PDF
DOCX Output (Phrases)
- Updated on 06 Mar 2026
- 4 Minutes to read
- Contributors
- Print
- PDF
Article summary
Did you find this summary helpful?
Thank you for your feedback
Applies to: Lasernet 9
Introduction
The Phrase tool is designed to add definite content as a stand-alone entity to a document or a report. For example, you need to create several reports for different departments; with that, all reports are to contain the same fragment. So, to avoid adding the fragment to each report separately, you can only create a global phrase, add this fragment to this phrase, and then insert it into each report. It could be, for example, a company's legal information fragment, etc. For this purpose, global phrases are recommended to use.
On the other hand, you would like to show one fragment and hide another one in your output based on certain criteria, or vice versa. To this end, it is recommended that the required number of inline phrases be created and that certain criteria for each of them be specified based on the DataSet input or JobInfos.
In this exercise, you are proposed to update the available auto vacation reply template with a signature added as a phrase. Specify a criterion for this phrase based on which two different versions of signature texts can be shown: a short one for internal use and a full one for external use.
Note
This article describes a software version that is no longer supported. Although the software will no longer receive updates or technical support, existing documentation, such as this article, will be retained for reference purposes but will no longer be updated. If you have any questions, contact Lasernet Support.
Exercise
Start by downloading and importing the attached configuration, 07. DOCX Output (Phrases) in Lasernet Developer 9. Afterward, navigate to the Forms section and open the Sample form.
Once you are done, follow the steps listed below.
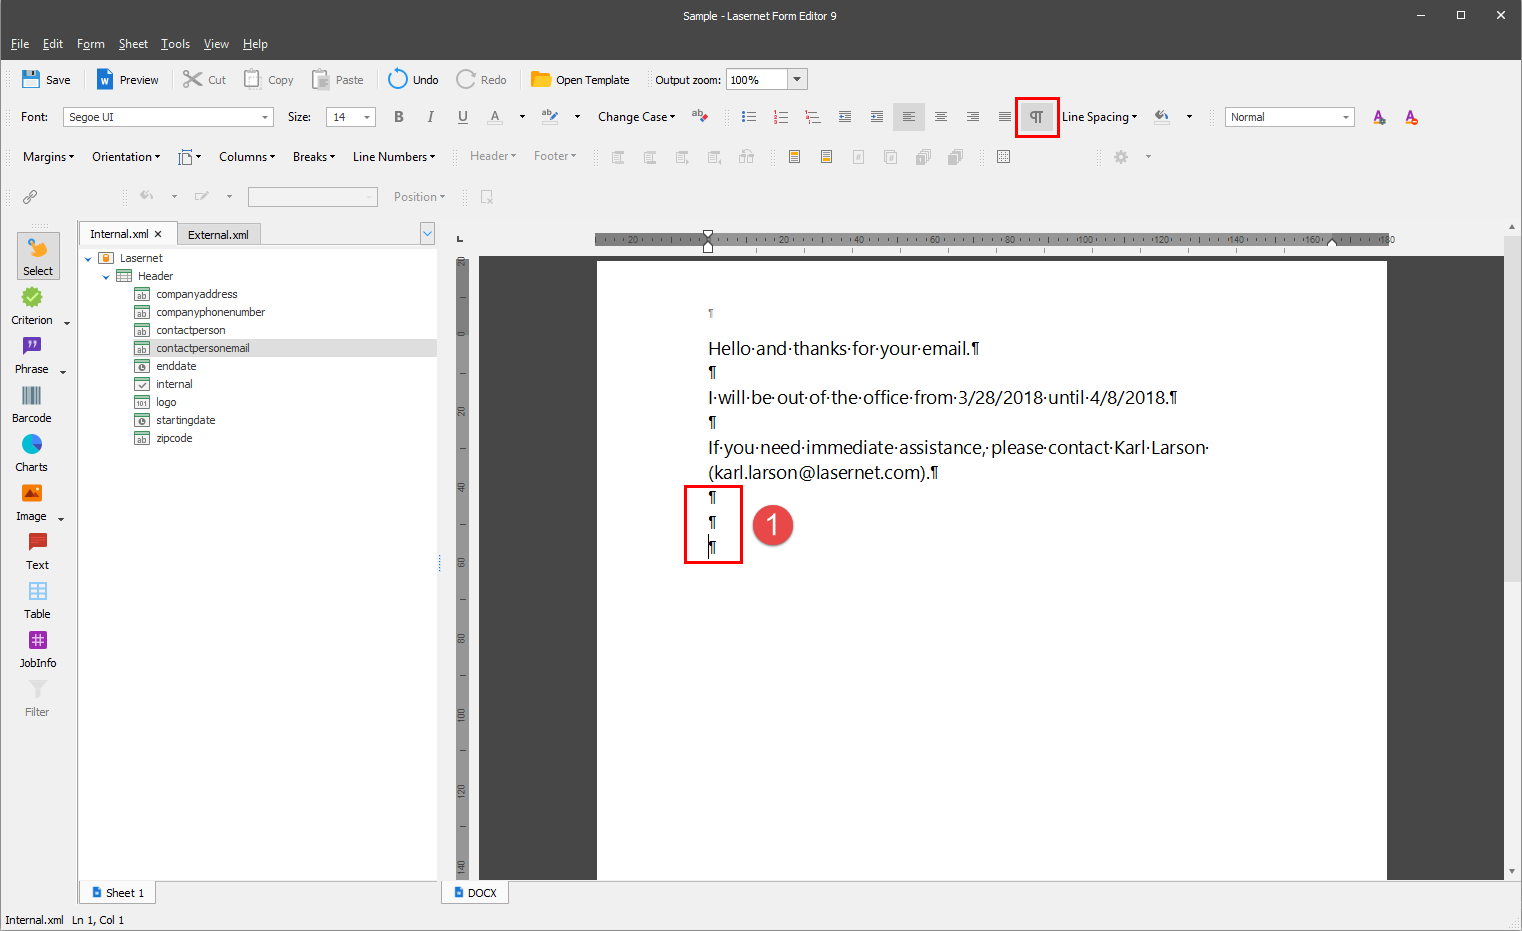
Place the cursor at the end of the last line, and then click the ENTER key three times to move it down. So, you have created three blank lines between the last paragraph and a signature you are to add.
Note:
To be precise in modifying your layout, you can enable showing paragraph marks and other hidden formatting symbols. To this end, click the Show/Hide button on the Property bar.
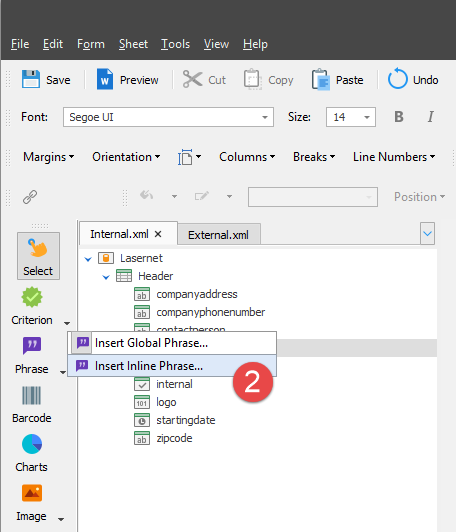
On the Developer toolbar, click Phrase, and then Insert Inline Phrase....
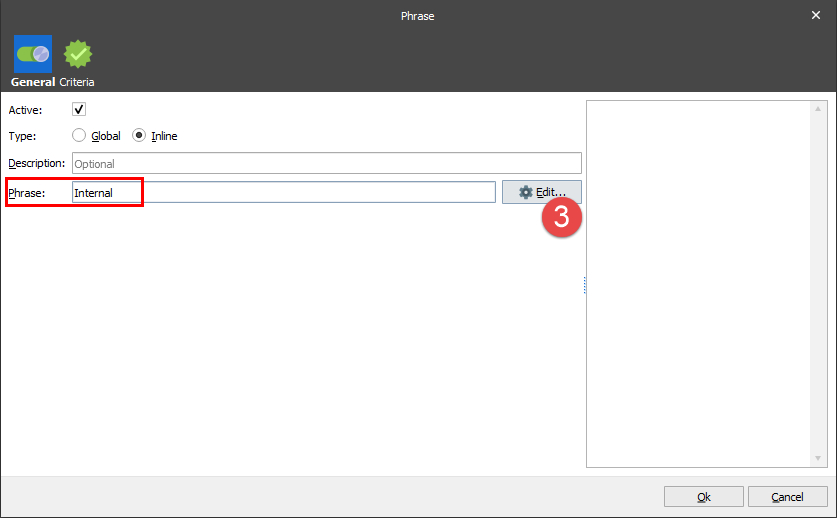
In the Phrase dialog displayed, type a phrase name (Internal), and then click the Edit button.
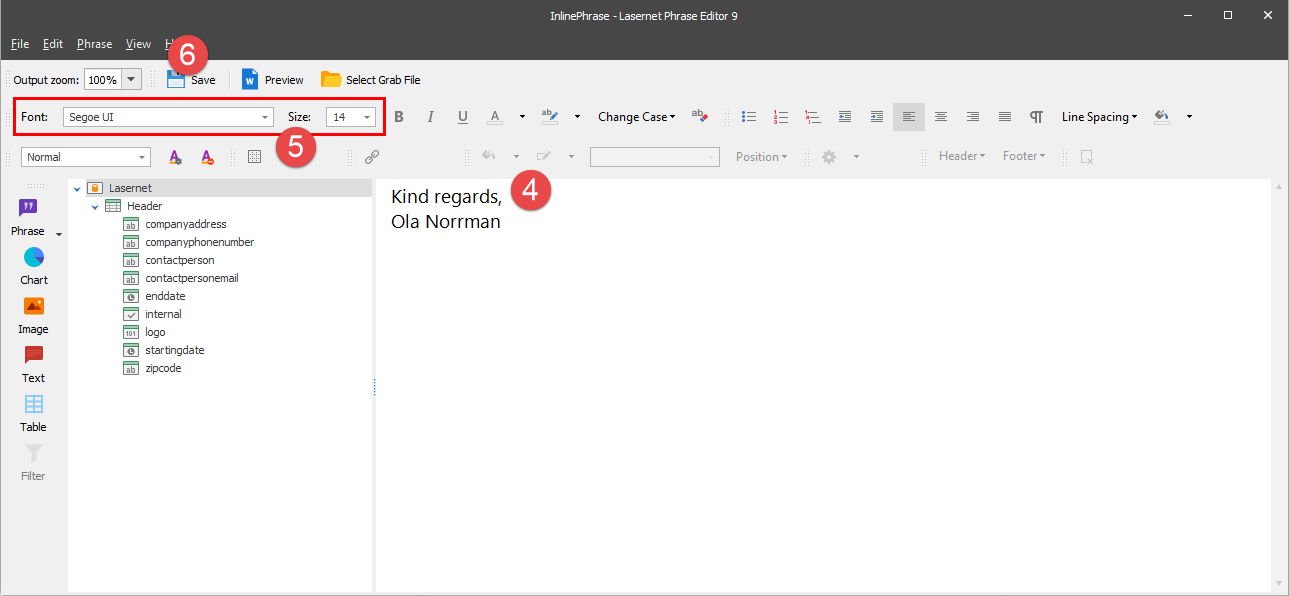
In the Inline Phrase dialog displayed, type a phrase text as it is shown in the following image.
For the text, specify the following font style values: Segoe UI, 14 pt.
Click the Save button, and then click a little cross to close the dialog.
Once you are done, click Ok in the Phrase dialog to save changes.
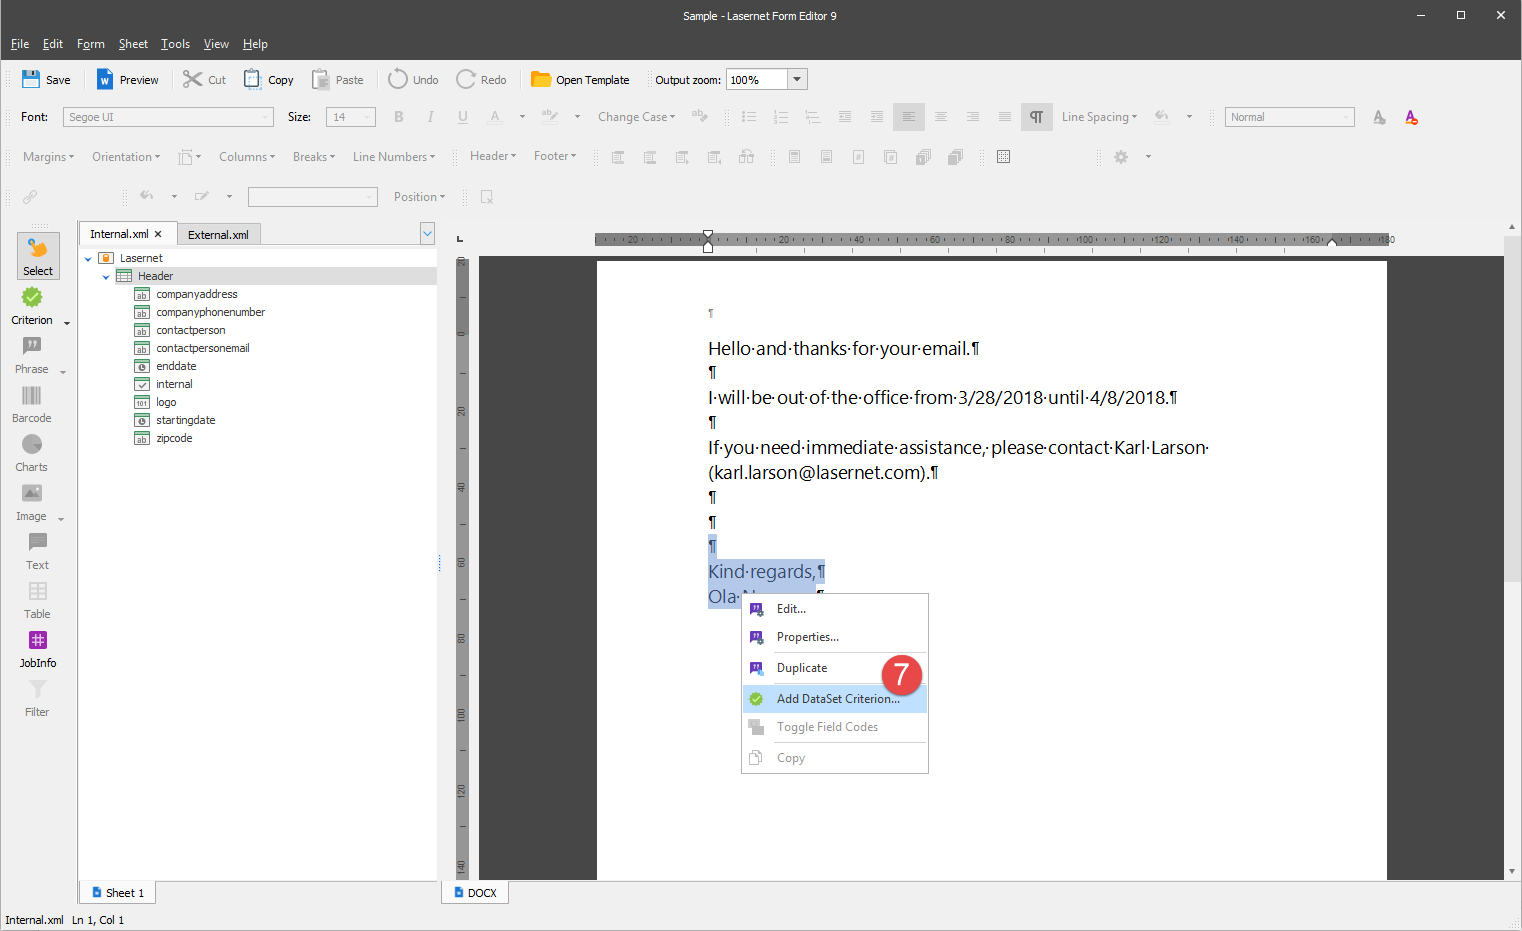
In the output, right-click the phrase you have just added, and then click Add DataSet Criterion... on the context menu that appears.
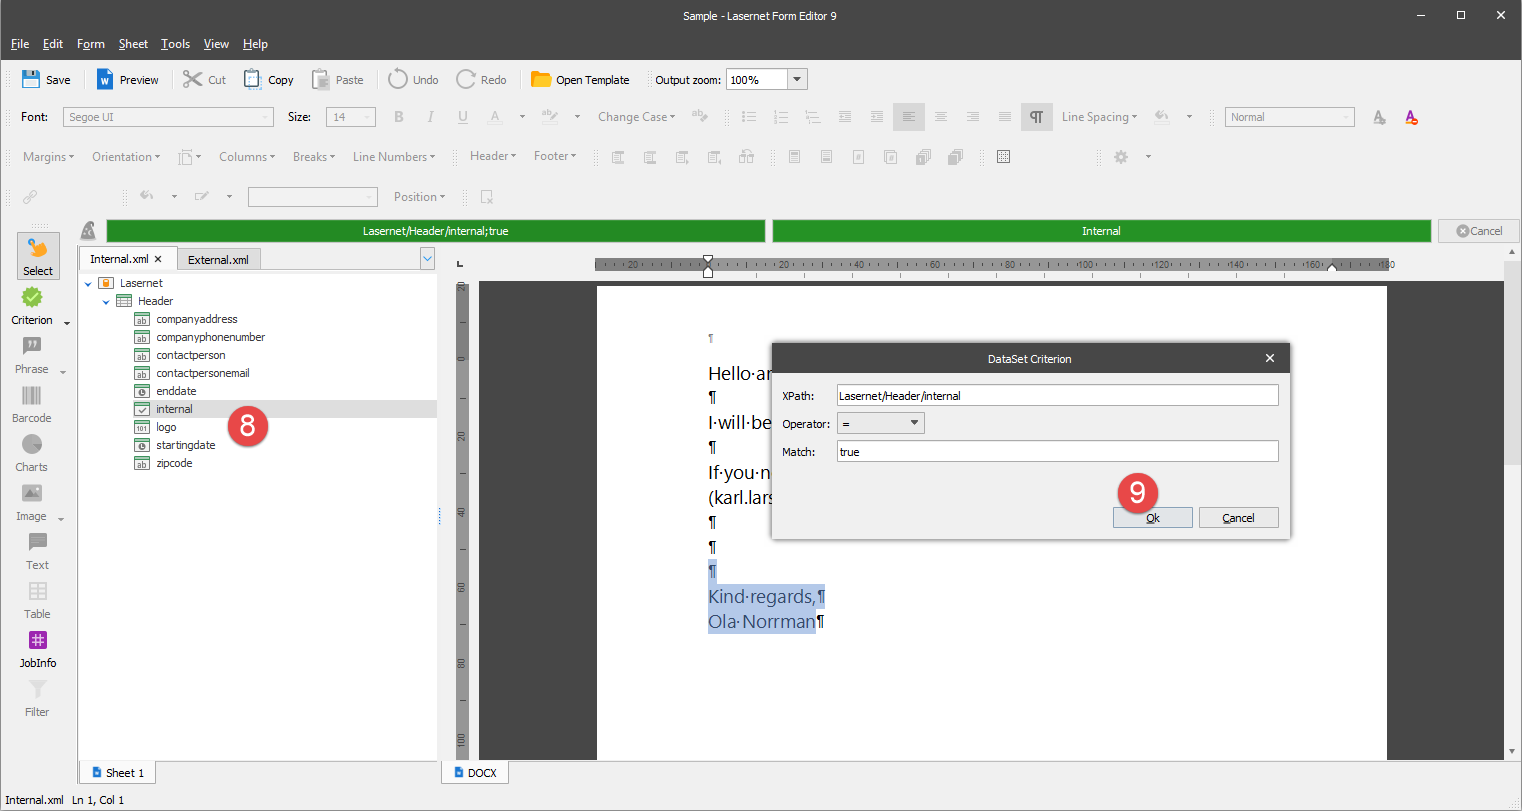
Click the internal node in the dataset.
In the dialog displayed, click Ok to confirm changes.
Afterward, click Ok once again in the Phrase dialog displayed.
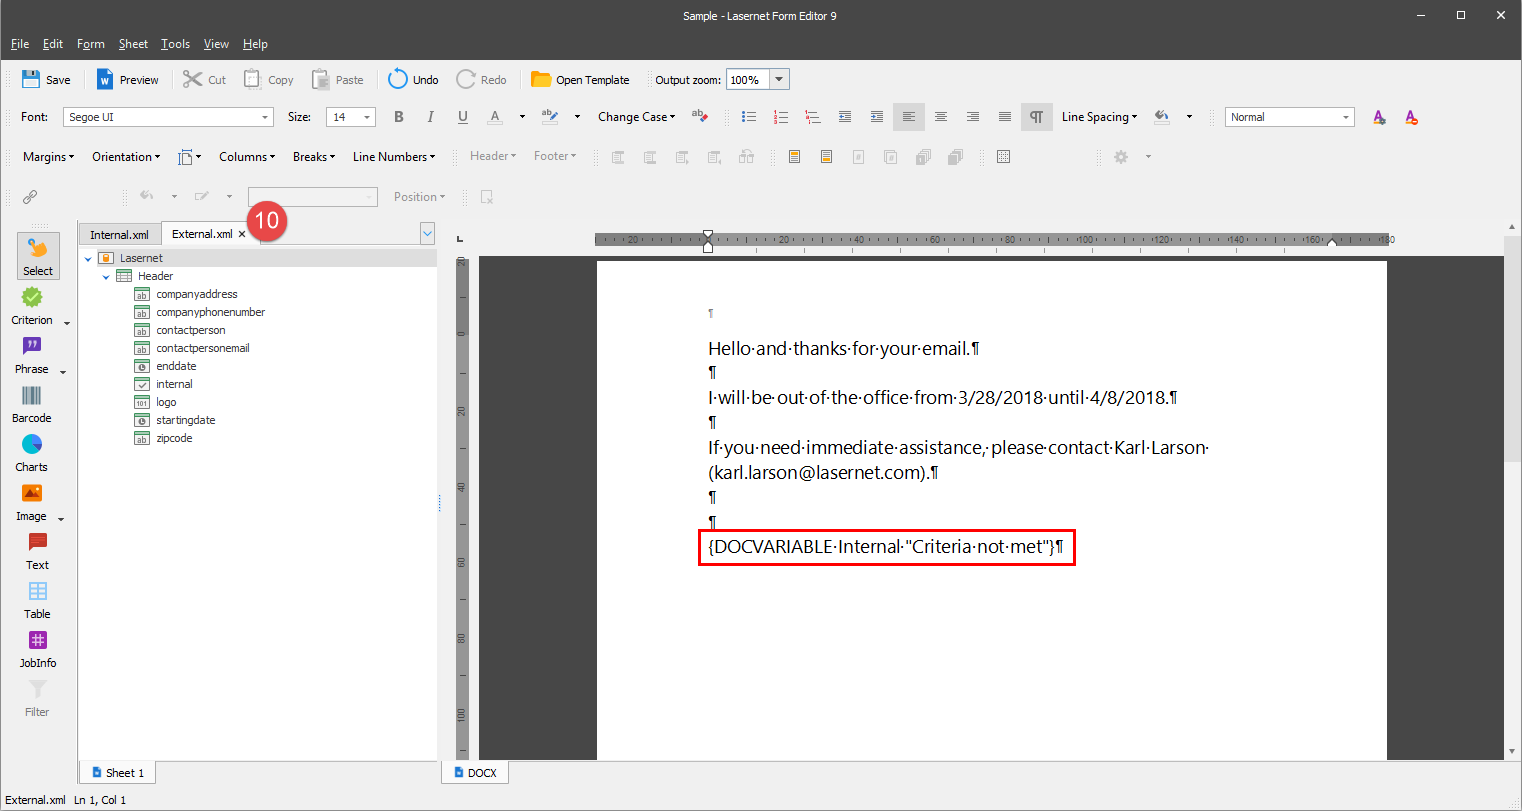
Switch to the External.xml grab file tab in the input. Instead of the phrase text you have just added based on the Internal.xml grab file, you can see a notification that criteria are not met. It is so because the internal field value for the External.xml grab file is set to false.
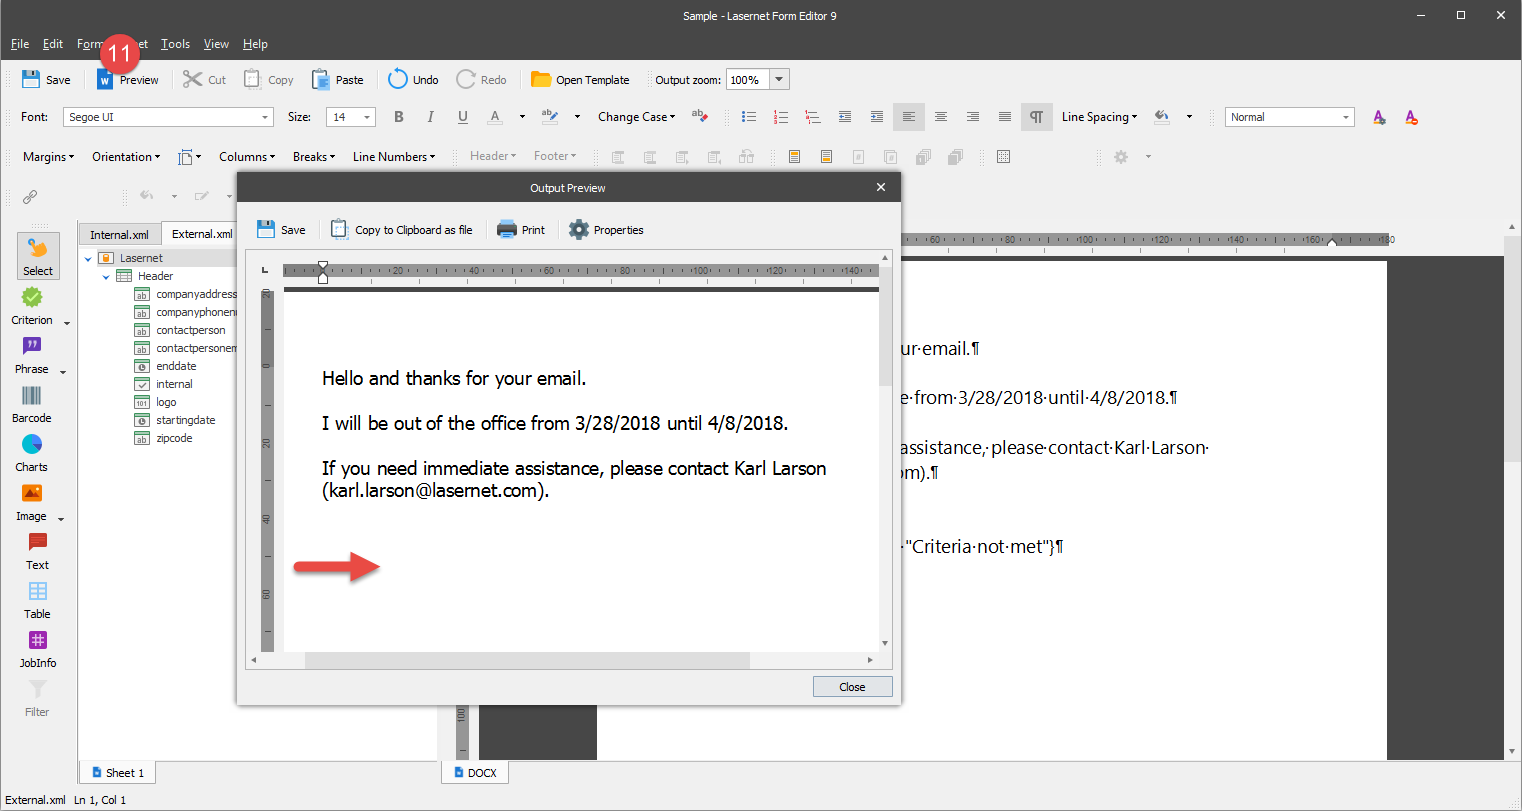
Click the Preview button, and you can see that no text is shown in the External.xml output as a signature you have added based on the Internal.xml input.
You are now proposed to add a phrase based on the External.xml grab file and specify a criterion for it (internal field value = false). To this end, follow the steps listed below:
Place the cursor at the end of the notification text in the output.
On the Developer toolbar, click Phrase, and then click Insert Inline Phrase....
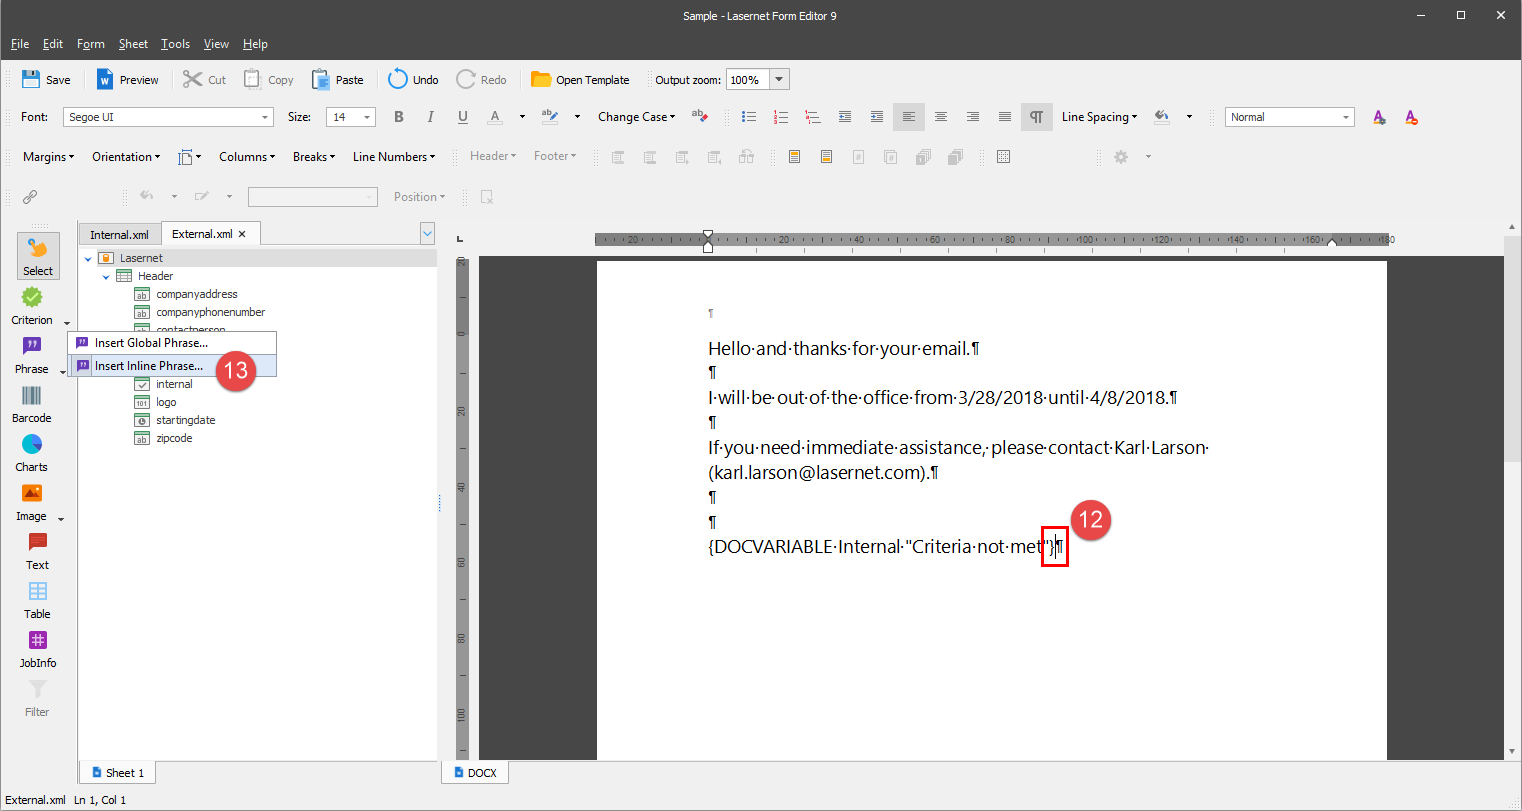
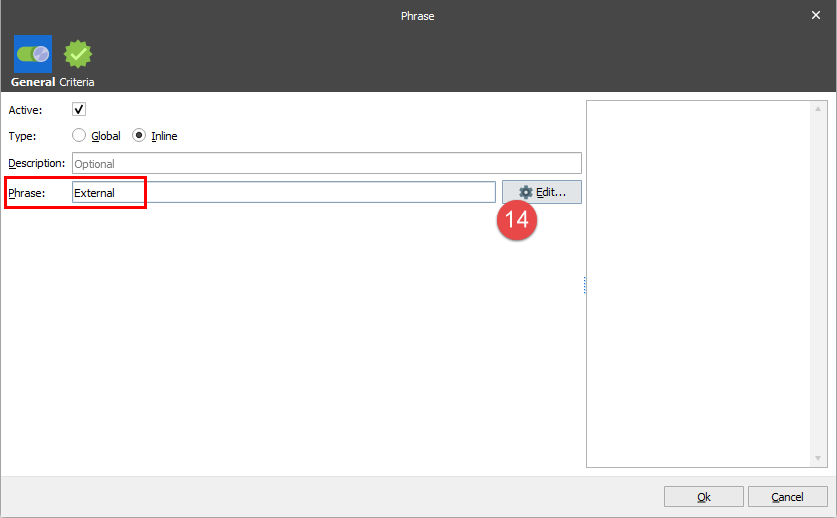
In the Phrase dialog displayed, type a phrase name (External), and then click the Edit button.
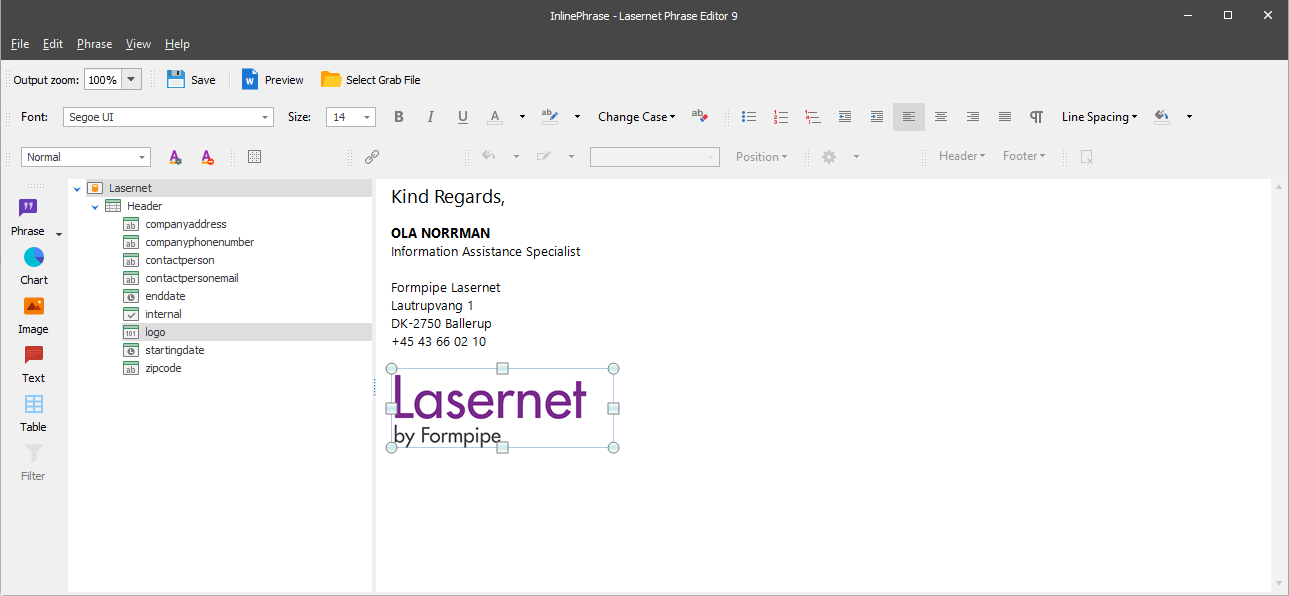
In the Inline Phrase dialog displayed, enter a text of the signature for the external use.
First, type the following text:
Kind regards, (specify the following font style values: Segoe UI, 14 pt)
OLA NORRMAN (specify the following font style values: Segoe UI, 10 pt, Bold)
Information Assistance Specialist (specify the following font style values: Segoe UI, 10 pt)
Formpipe Lasernet (specify the following font style values: Segoe UI, 10 pt)
Afterwards, drag fields from the dataset in the following order:
companyaddress
zipcode
companyphonenumber
logo (the field has a base64 string as a value, that is why an image is inserted. Note that the image is inserted in its original size. To resize it, drag one of the control points on the sides or corners of the selection box)
For the text fields you have dragged, specify the following font style values: Segoe UI, 10 pt.
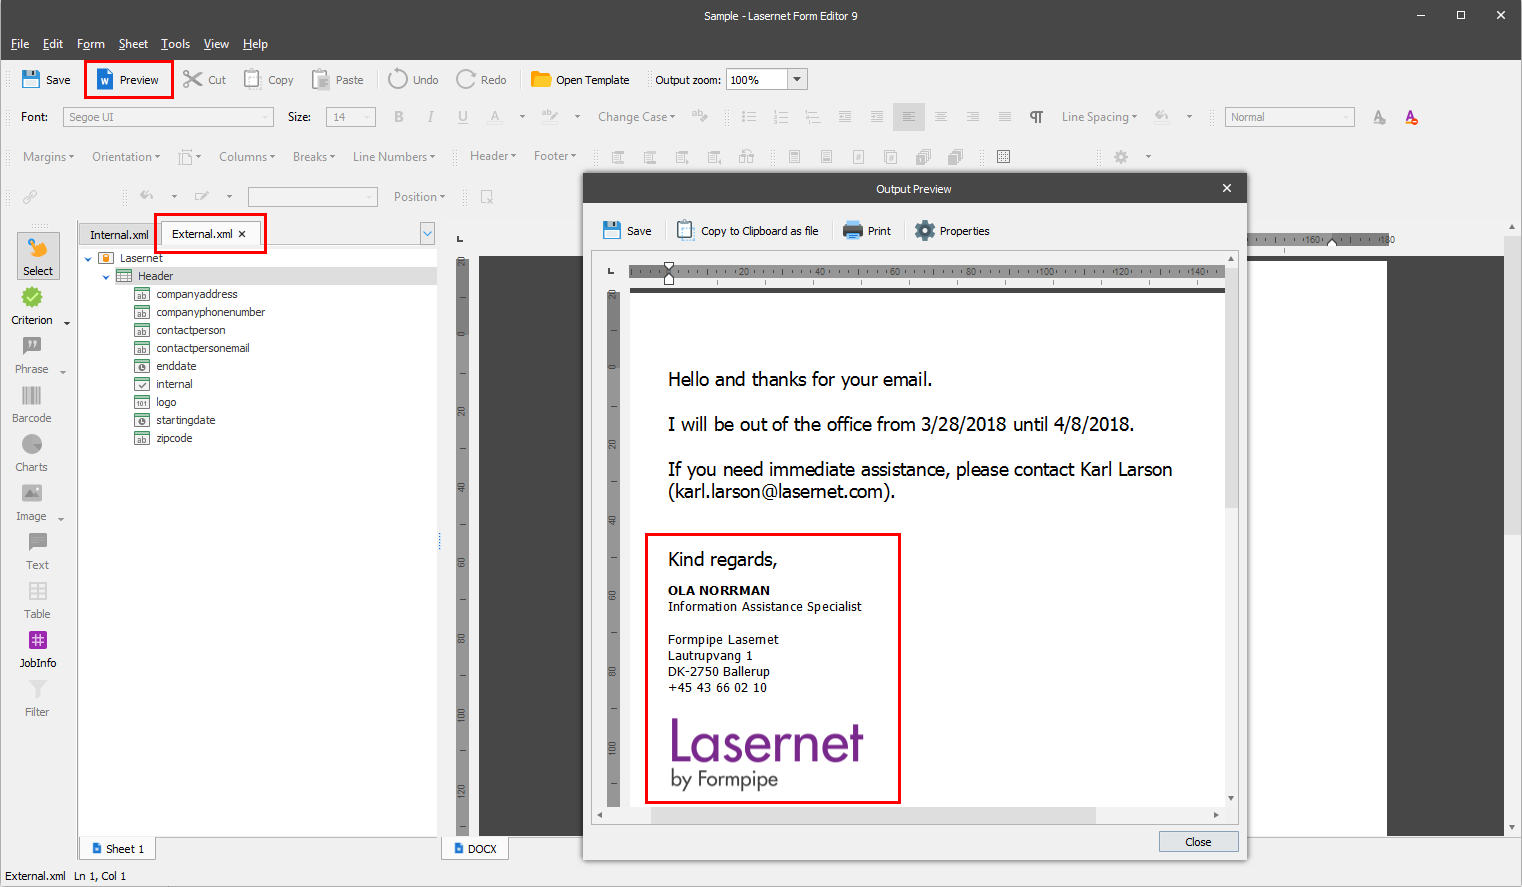
As a result, the signature looks as follows:
Once you are done, click the Save button to save all changes, and then click a little cross to close the dialog. Afterwards, click Ok once again in the Phrase dialog.
Let's now add a criterion for the phrase you have just added. To this end, repeat steps 7-9.
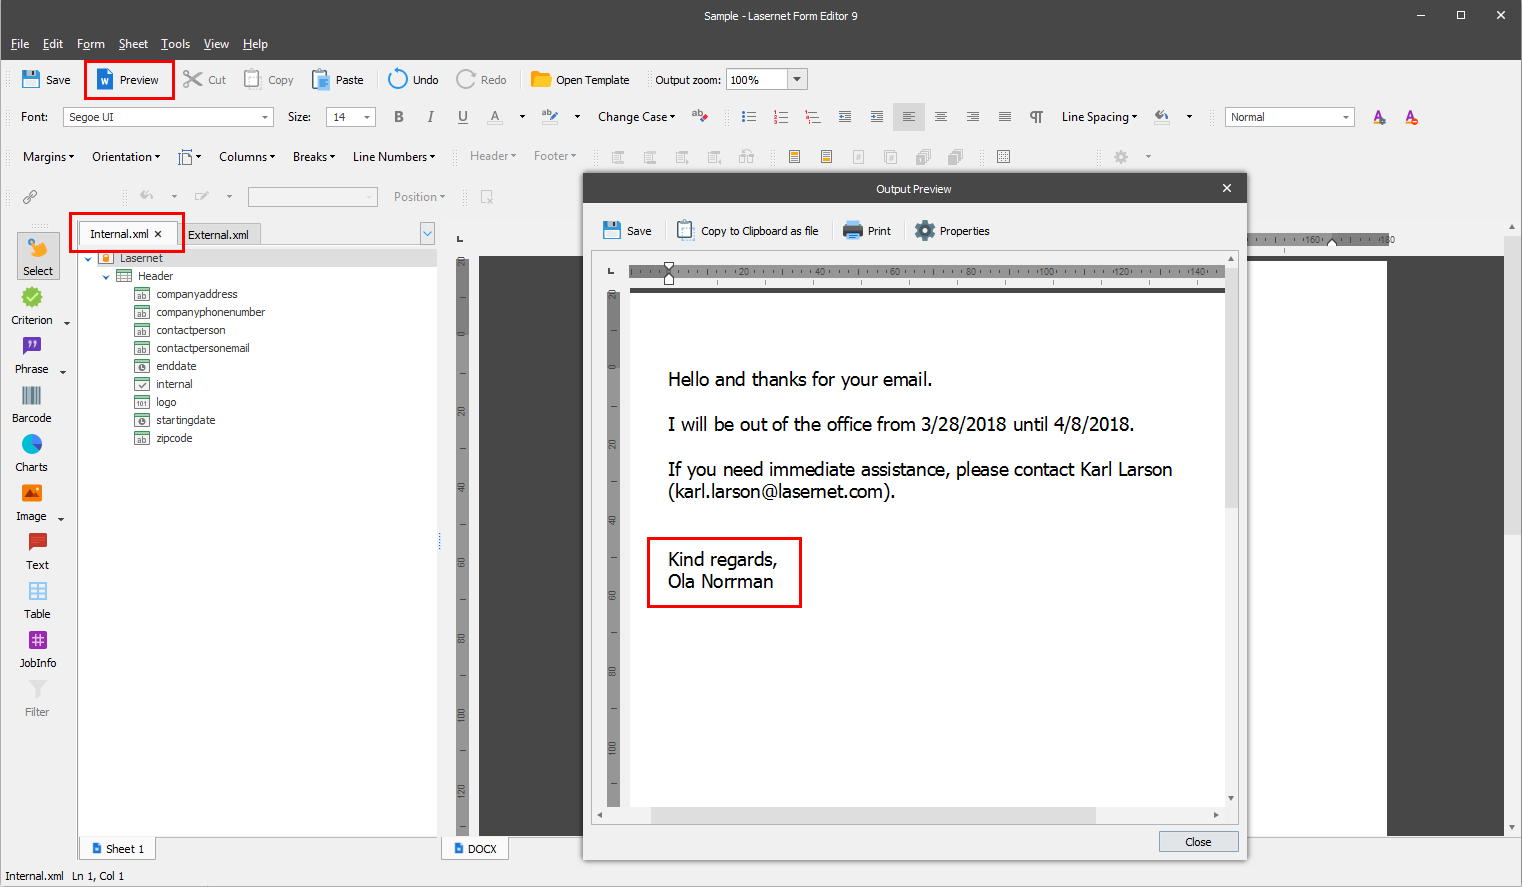
As a result, you have now two versions of the signature, each of which is shown in the document according to the specified criterion. To view the required version of the document, click the Preview being switched to the required tab.
Preview of the internal signature version:
Preview of the external signature version:
Important:
Phrases are not a part of the standard Lasernet Rich Text license. Phrases requires an additional Lasernet license. If no valid license is found the areas that contains the phrases will be left empty.