Deploy Configurations to Environments
- 19 Mar 2026
- 2 Minutes to read
- Contributors


- Print
- PDF
Deploy Configurations to Environments
- Updated on 19 Mar 2026
- 2 Minutes to read
- Contributors
- Print
- PDF
Article summary
Did you find this summary helpful?
Thank you for your feedback
After you have created and configured a Lasernet environment, you must deploy a Lasernet configuration to it. A Lasernet configuration specifies the workflow that a Lasernet environment will run.
See a List of Configurations
You can list the configurations that this Lasernet Config Server manages and see more details about them.
Manage
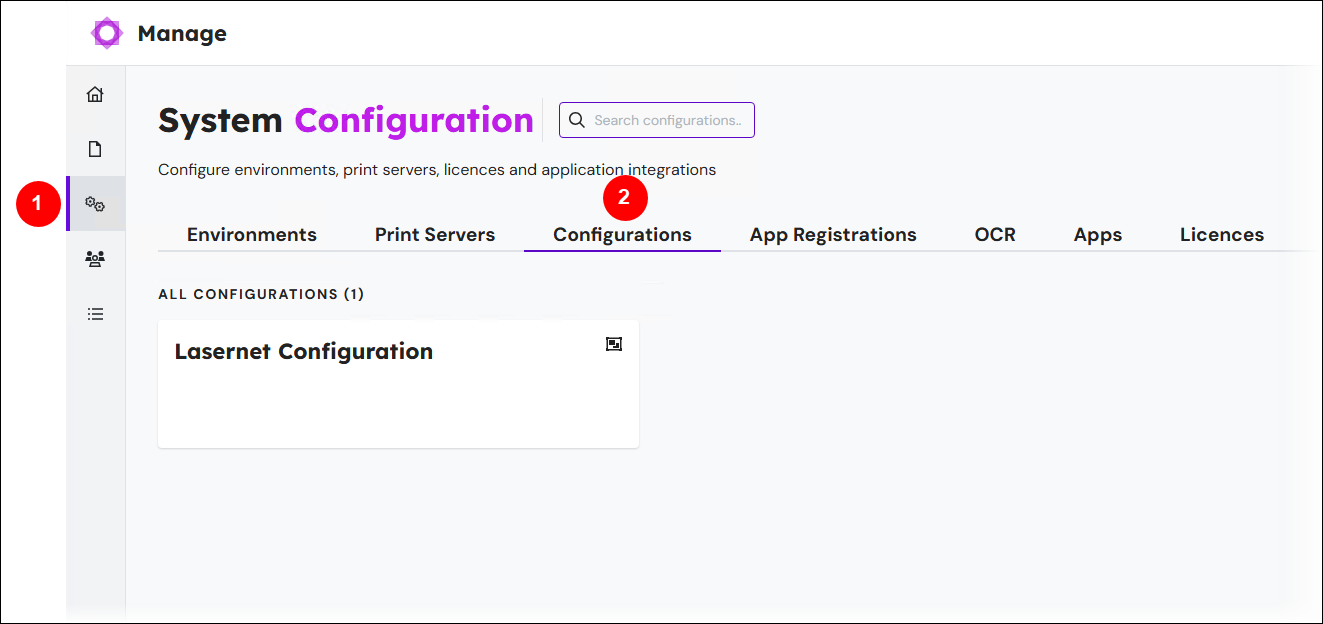
In the side menu, click System Configuration (see 1 in the image below).
Click the Configurations tab (2). The page contains a tile for each configuration.
Lasernet Config Web App
Note
The Lasernet Config web app was provided with earlier versions of Lasernet. It is a legacy web app and will be deprecated in a future version of Lasernet Core.
Expand for information
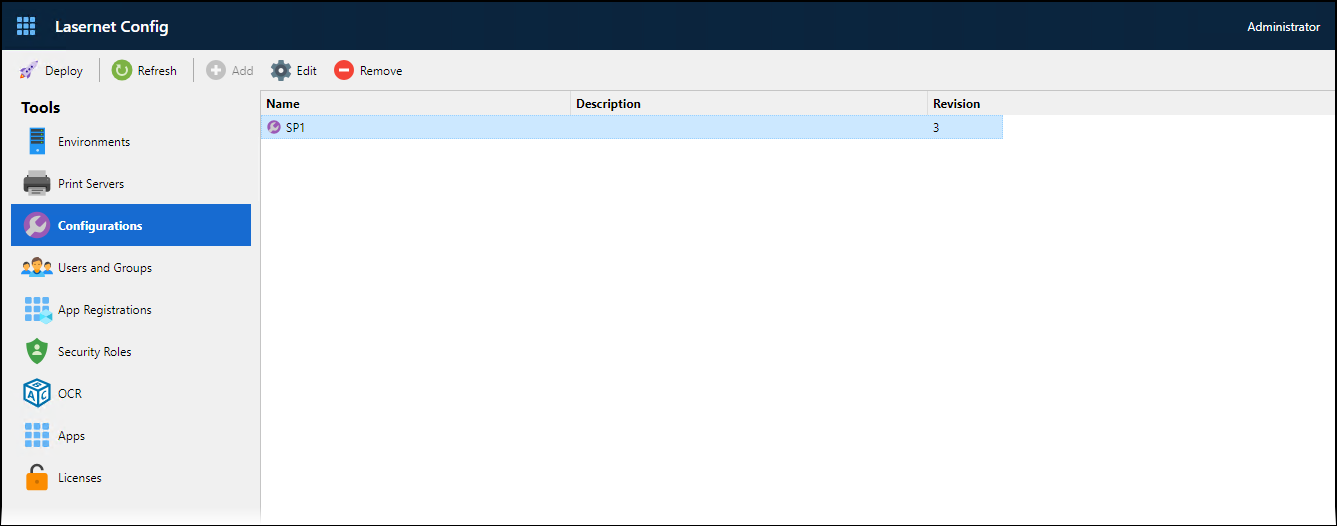
To display a list of the configurations that this Lasernet Config Server manages, click Configurations in the Tools menu. Alongside each configuration’s name, the page displays the configuration’s description and latest revision number.
Import or Create a Configuration
Although the Lasernet Config Server manages Lasernet configurations and deploys them to environments, they are imported, created, and modified through Lasernet Developer.
For information about importing a Lasernet 10 configuration into Lasernet 11 (including important migration information), see the Lasernet 11 Migration Guide.
For information about using Lasernet Developer to create a Lasernet configuration, see Create, Import, or Open a Configuration (in the Lasernet Configuration Management and Deployment Guide).
After you have used Lasernet Developer to import or create a configuration, it will be listed on the Configurations page of the Lasernet Config app (as shown in the image above).
Rename a Configuration, Change a Configuration’s Description, and View a Configuration’s Revision History
The steps differ depending on the tool you are using.
Manage
In the side menu, click System Configuration (see 1 in the image below).
Click the Configurations tab (2). The page contains a tile for each configuration.
To view details of a configuration, click its tile (3).
In the configuration properties pane (4), change the configuration’s Name and Description.
Note
The pane also displays the configuration’s revision history.
Click Confirm.
.png)
Lasernet Config Web App
Note
The Lasernet Config web app was provided with earlier versions of Lasernet. It is a legacy web app and will be deprecated in a future version of Lasernet Core.
Expand for information
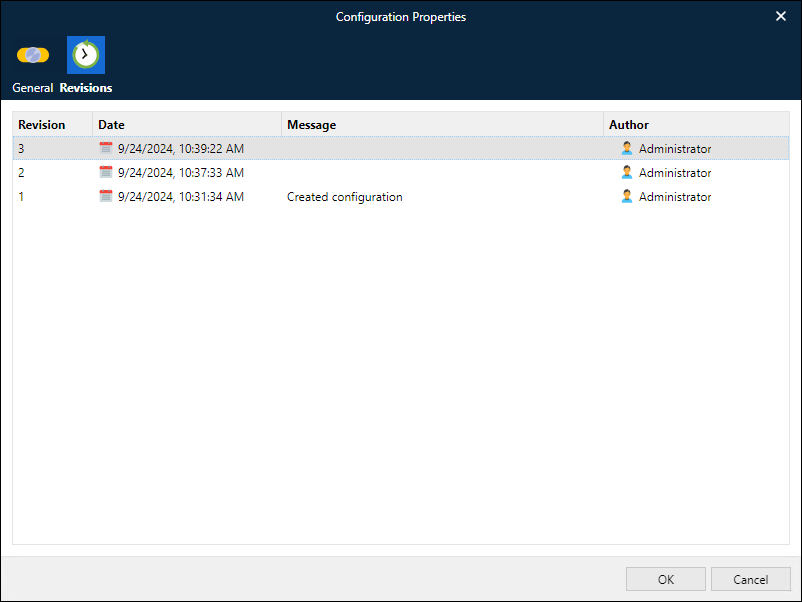
To open the Configuration Properties window for a particular configuration, click the configuration and then click Edit in the toolbar.
On the General tab of the Configuration Properties window, you can rename the configuration and change its description.
The Revisions tab enables you to view the configuration’s revision history.
Deploy a Configuration to a Lasernet Environment
After you have added a configuration to the Config Server, you can use Manage, the Lasernet Config web app, or Lasernet Developer to deploy it to a Lasernet environment.
For instructions, see Deploy a Configuration to a Production Environment (in the Lasernet Configuration Management and Deployment Guide).
Note
Deploying a configuration revision to a production Lasernet environment is only one part of the overall Lasernet configuration management process. For comprehensive information on this subject, see the Lasernet Configuration Management and Deployment Guide.
Next Steps
Your next steps depend on whether you are following the quick start process or the full installation and setup process.
Quick Start Installation
You have completed the quick start installation process and your Lasernet system is ready to use.
Full Installation and Setup Process
The following steps of the Lasernet 11 installation and setup process are required only if the Lasernet system that you are setting up will use these features:
Set up app-registration-based access for external applications, so that they can authenticate with web services that Lasernet environments host.