Create DOCX Output
- 06 Mar 2026
- 2 Minutes to read
- Contributors


- Print
- PDF
Create DOCX Output
- Updated on 06 Mar 2026
- 2 Minutes to read
- Contributors
- Print
- PDF
Article summary
Did you find this summary helpful?
Thank you for your feedback
Applies to: Lasernet 9
The DOCX format is an output format used for creating an output. The Form Engine retrieves data from the input file, processes it and adds defined fields to the output along with static elements and text added by a user while modifying the output in the Editor.
As an input, the DataSet format is always used.
Dealing with an output of the DOCX format, you can use a Microsoft Word type interface.
In this exercise, you are proposed to create an output in the DOCX format.
Note
This article describes a software version that is no longer supported. Although the software will no longer receive updates or technical support, existing documentation, such as this article, will be retained for reference purposes but will no longer be updated. If you have any questions, contact Lasernet Support.
Exercise
Download and import the attached configuration called 02. Create DOCX Output in Lasernet Developer 9. Afterward, navigate to the Forms section and open the Sample form.
To create an output of the DOCX format, follow these steps:
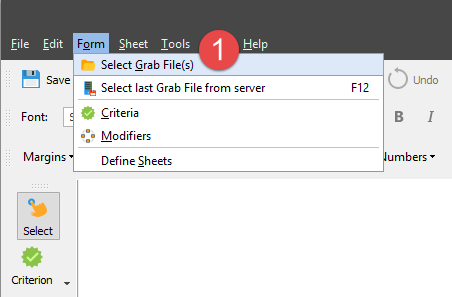
Open a grab file named Sample. To this end, first, on the Form menu, click Select Grab File(s).
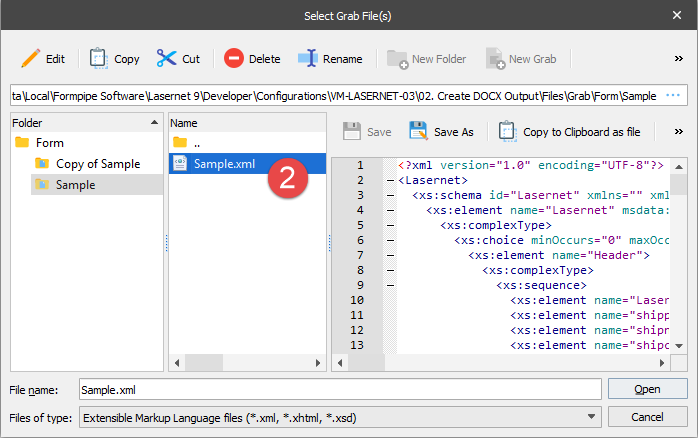
In the Select Grab File(s) dialog that opens, select the Sample file, and then click Open.
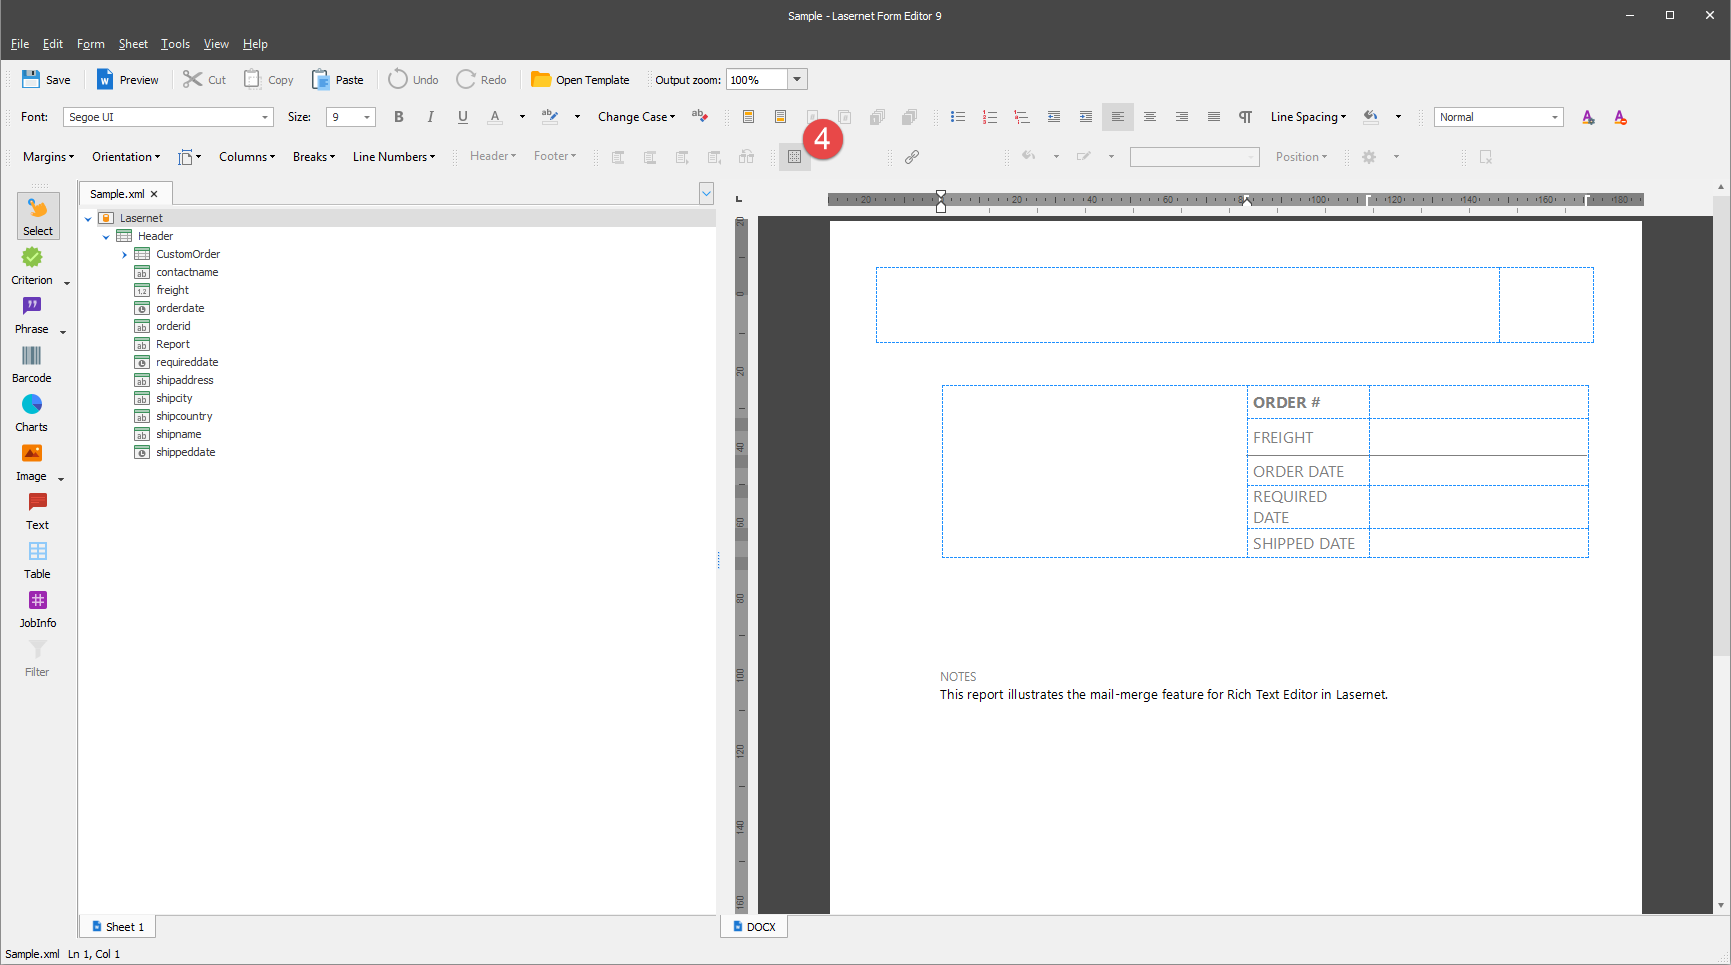
Open a template based on which you want to create the output. To this end, click Open Template, select the one from the list, and then click Open.
.png)
Start creating your output document. First, click the View Gridlines button to show lines of all grids available in the output. It could make formatting the document easier.
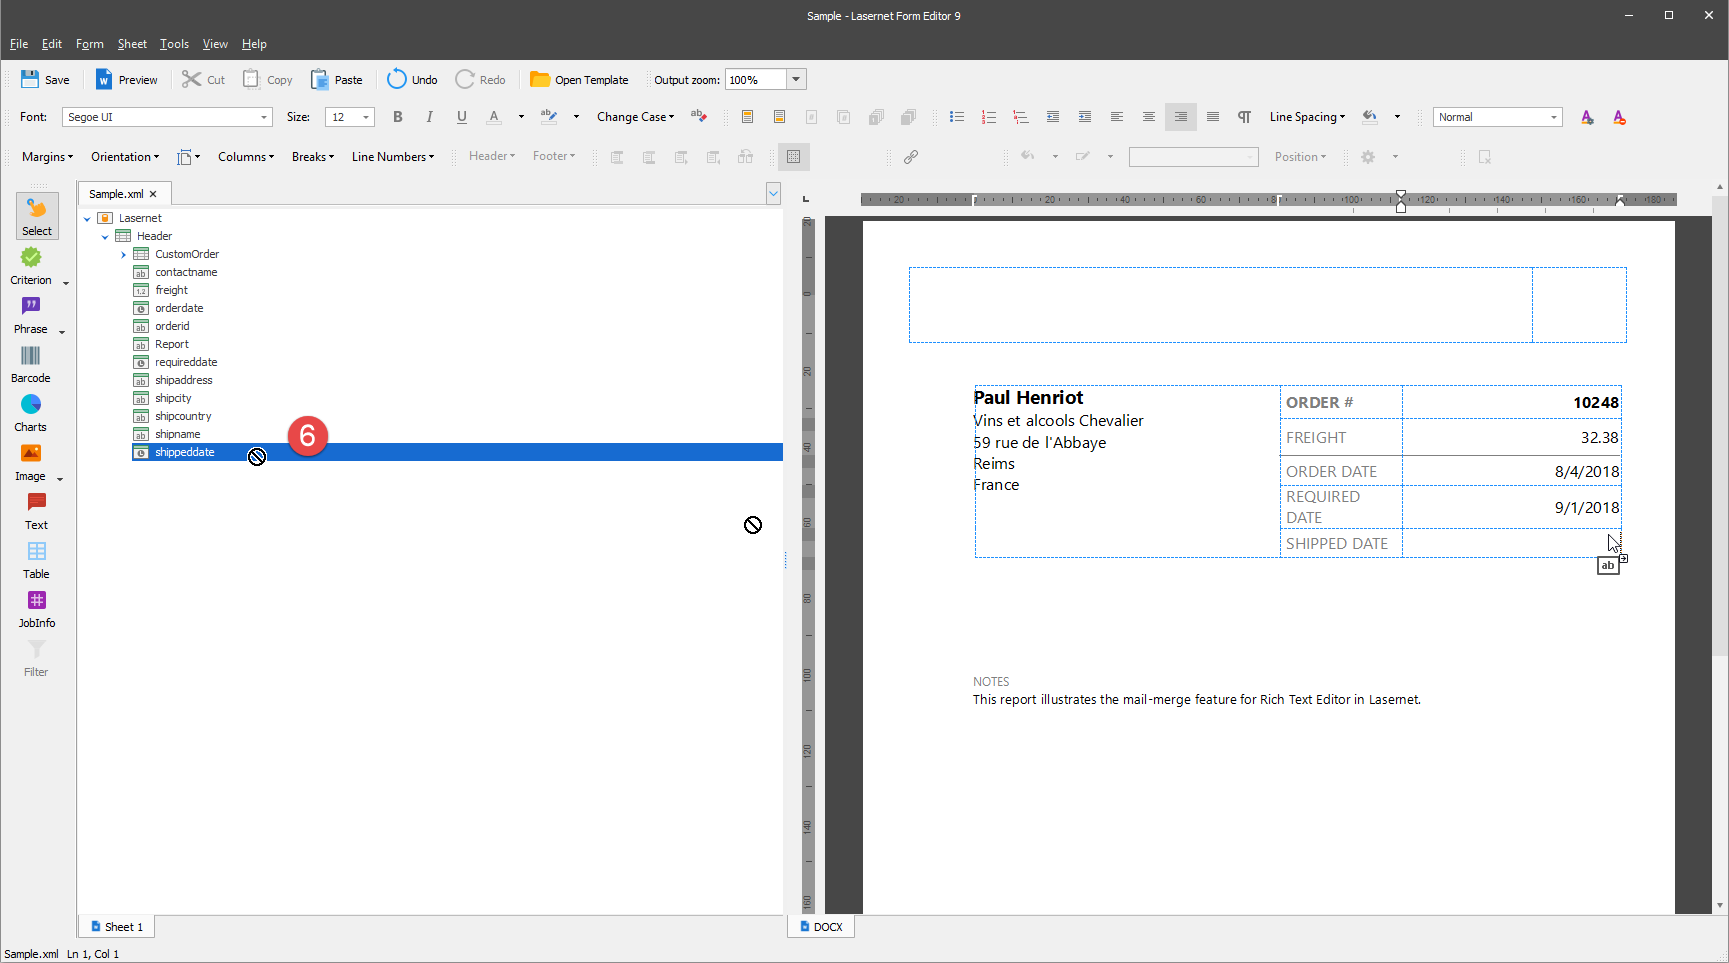
Add fields from the input to the output by dragging them. Add the following fields in the order specified below:
contactname
shipname
shipaddress
shipcity
shipcountry
Once done, make sure that the following font styles are specified for the added lines:
The contactname line: Segoe UI, 14 pt, Bold;
The rest lines: Segoe UI, 12 pt.

Add data for such fields as ORDER #, FREIGHT, ORDER DATE, REQUIRED DATE, and SHIPPED DATE. Once done, make sure that the following font styles are specified for the added lines:
The ORDER line: Segoe UI, 12 pt, Bold;
The rest lines: Segoe UI, 12 pt.
You can then drag fields belonging to the nested table. To this end, select the required fields on the nested table by holding down the CTRL key while clicking your mouse button on each field you want to add in the required order. The following order is proposed:
quantity
productname
unitprice
discount
netprice
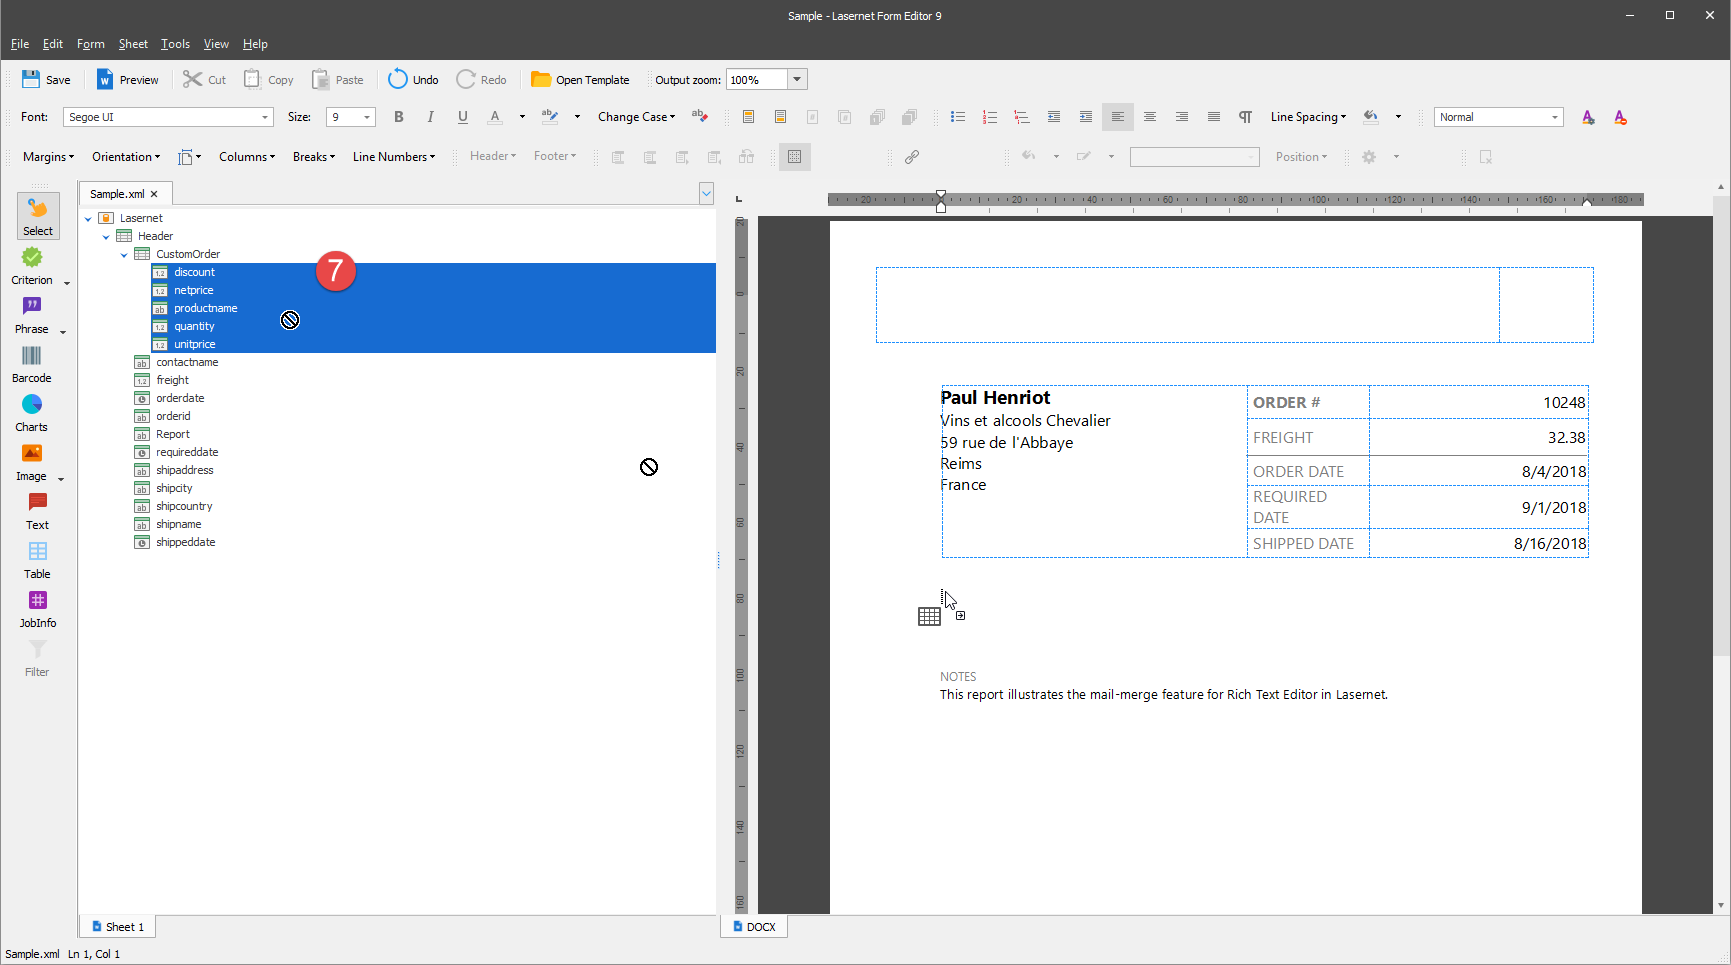
Those fields are then added to the output in the order you have selected them.
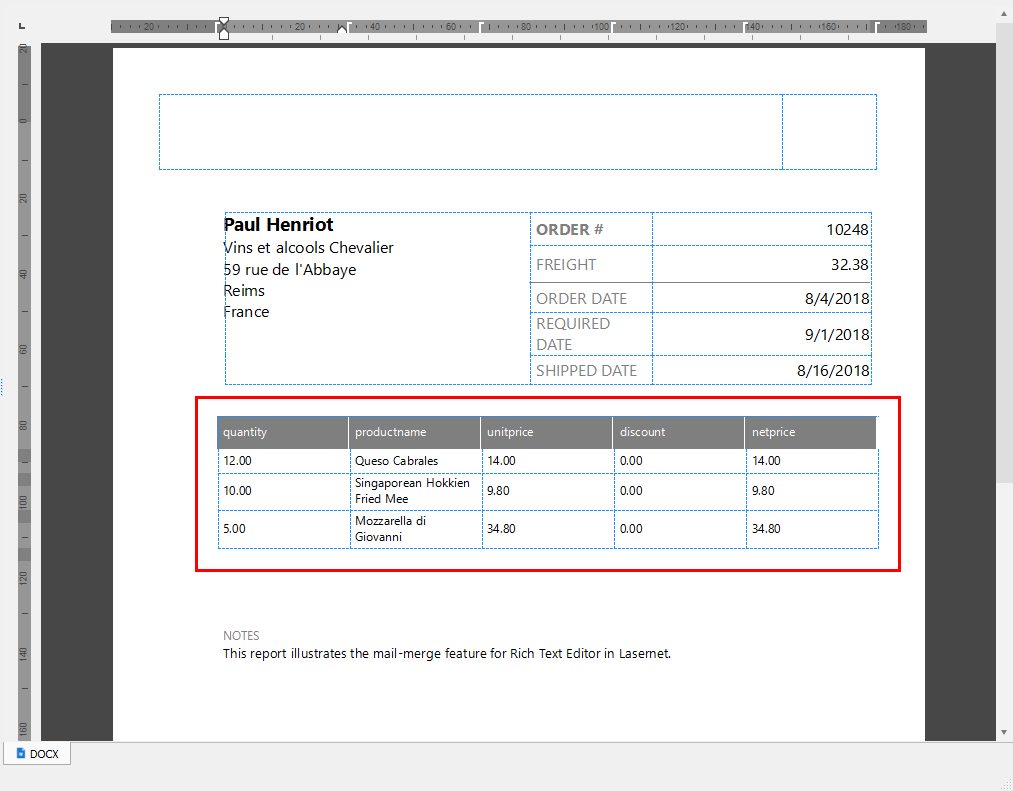
You are now proposed to format the table using the required tools on the toolbar as well as commands of the context menu which appears by right-clicking the table, so the table looks like it is shown in the following image:
Right click > Table Properties > Borders and Shading to set the colors and styles for Border and Shading.
Right click > Font to set the colors and styles for Font and Styles.
.png)
As stated above, some data from the output is based on the input fields. Making all code fields visible in your output allows you to learn which data in the output is based on the input data. It can make creating and editing a report easier. To activate this mode, click ALT+F9. Your output can look then as follows:
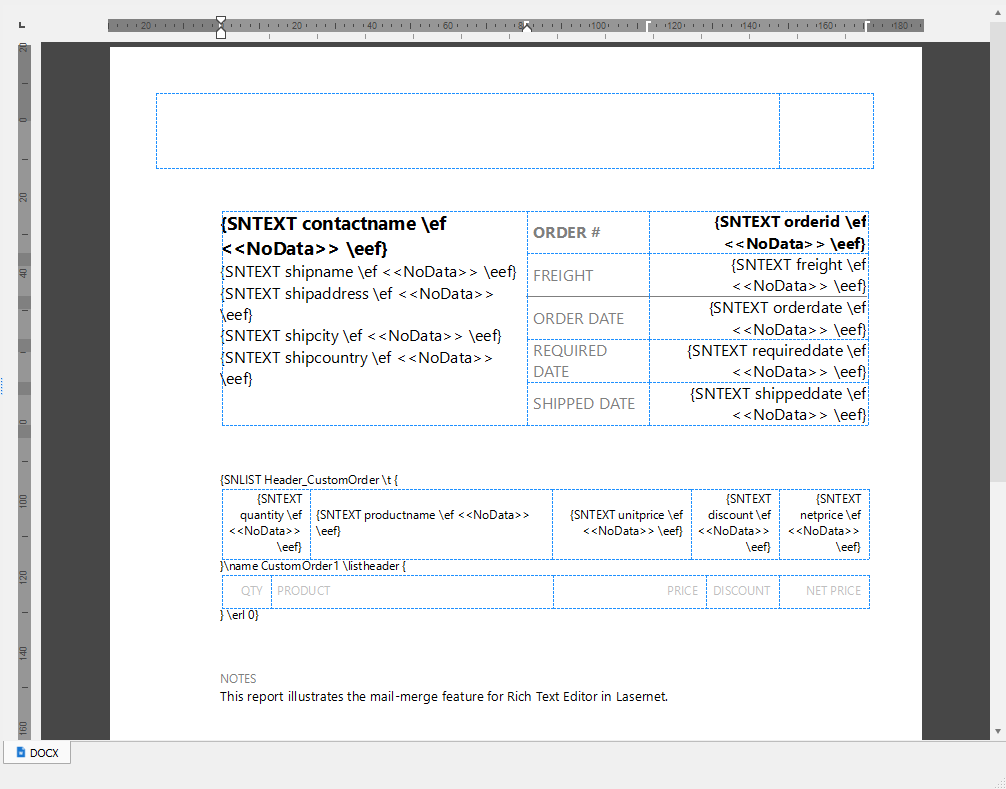
If you want to show the field code for a definite item, right-click the item and then click Toggle Field Codes on the context menu that appears. The rest of the code fields available in the output are not shown, but the selected one.