Create DataSet Output
- 06 Mar 2026
- 2 Minutes to read
- Contributors


- Print
- PDF
Create DataSet Output
- Updated on 06 Mar 2026
- 2 Minutes to read
- Contributors
- Print
- PDF
Article summary
Did you find this summary helpful?
Thank you for your feedback
Applies to: Lasernet 9
The DataSet format is used to create an output in XML with embedded XML Schema Definition (XSD). The Form Engine retrieves data from the input grab file, processes it, and maps it to fields in the output.
A DataSet output file is to be used as an input for the Rich Text and Spreadsheet output formats.
In this exercise, you are proposed to create a structure of the output in the DataSet format.
Note
This article describes a software version that is no longer supported. Although the software will no longer receive updates or technical support, existing documentation, such as this article, will be retained for reference purposes but will no longer be updated. If you have any questions, contact Lasernet Support.
Exercise
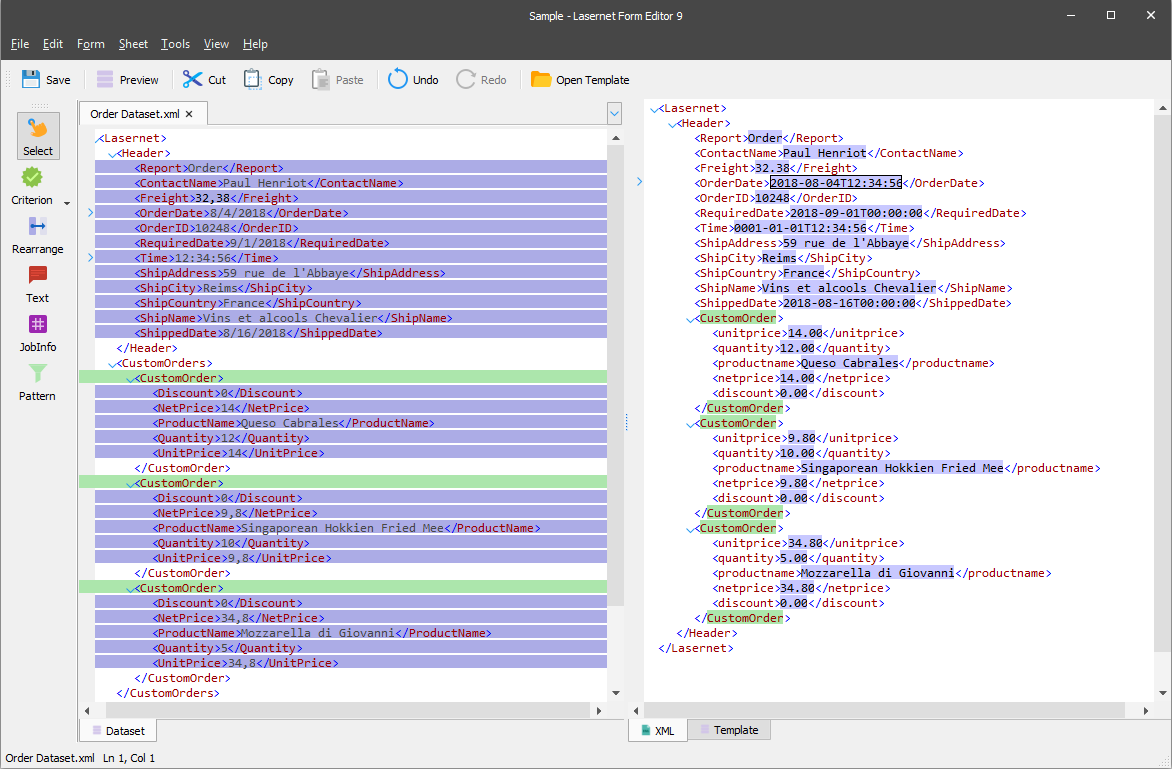
Download and import the attached configuration called 01. Create DataSet Output in Lasernet Developer 9. Afterwards, go to the Forms section and open the Sample form.
Before creating an output structure, add a rearrange to each element belonging to the <Header> node. To this end, proceed with the following steps:
On the Developer toolbar, click Rearrange.
Once a pointer becomes a cross, click the <Report> element.
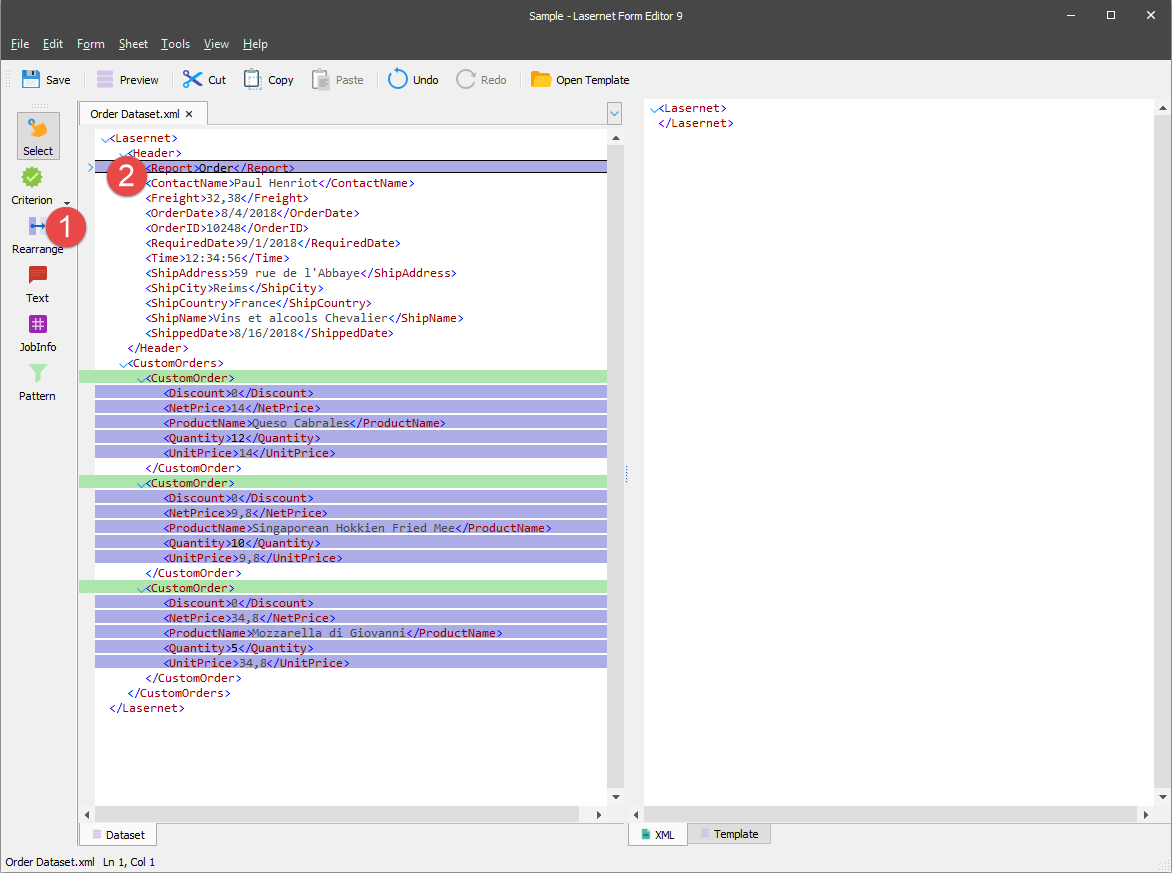
Do the same for every element of the <Header> node.
Once you are done adding rearranges, on the Formats tab of the Edit XML Rearrange dialog, select Number from the Format category drop-down box for the Freight element, Time for the Time element as well as Date for the OrderDate, RequiredDate and ShippedDate elements.
To create an output structure, follow the steps listed below:
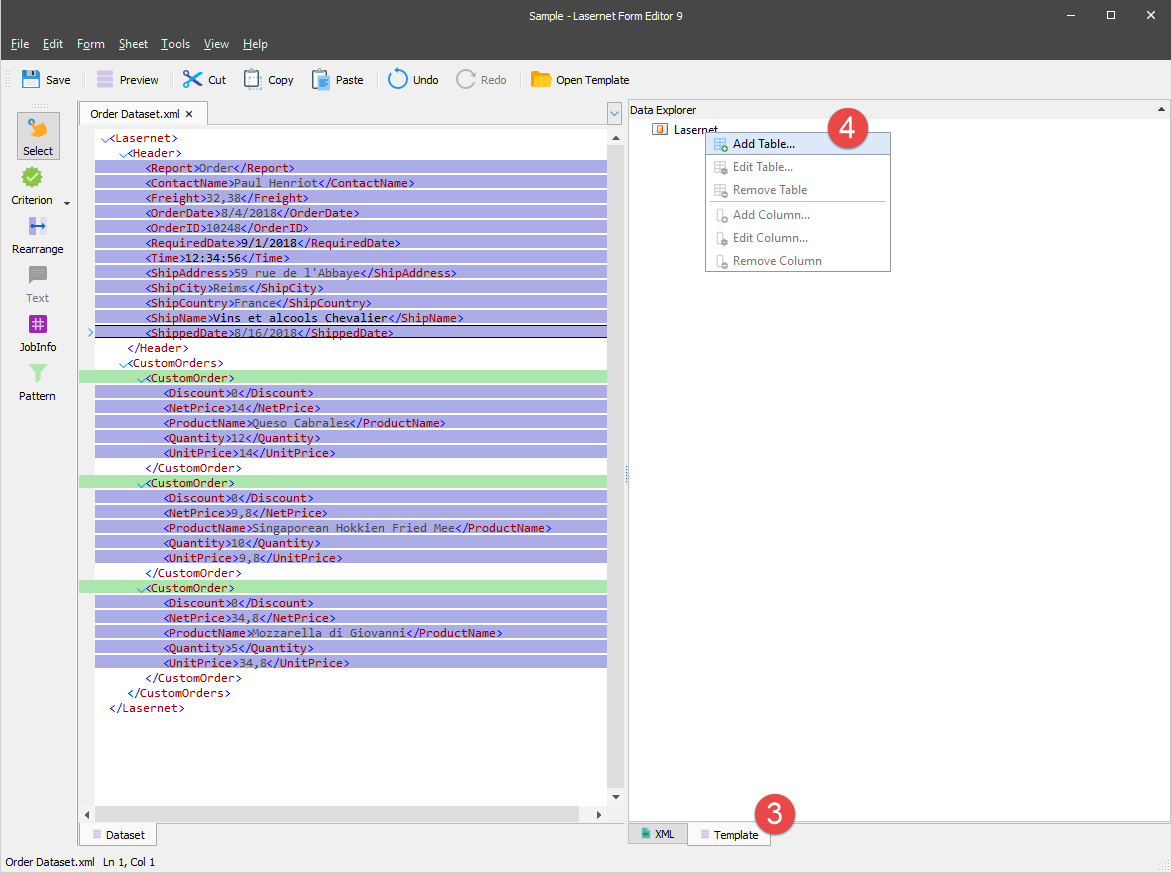
In the output, switch to the Template tab.
Right-click the Lasernet element, and then click Add Table... in the context menu that appears.
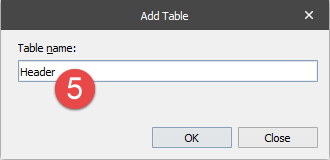
In the Add Table dialog, type a table name (Header), and then click OK.
In the input, select all the elements belonging to the Header node. To this end, hold down CTRL and click every required element. Afterward, drag the selection to the Header element available on the output Template tab.

In the input, click the CustomOrder element and drag it to the Header element, which is now available on the output Template tab. When you release the button, a context menu appears. On the context menu, click Add pattern as nested table.
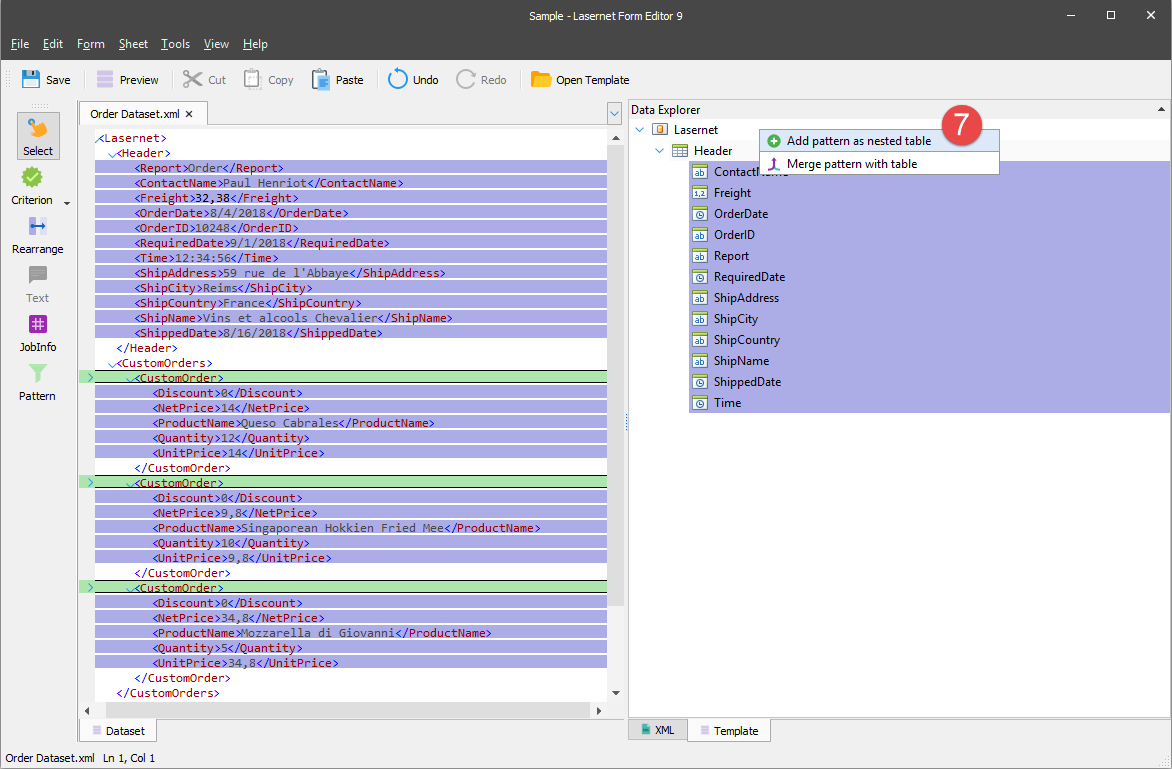
As a result, the structure is added and displayed on the Template tab.

In the input, add one more rearrange to the <Time> element and double-click it to edit its properties.
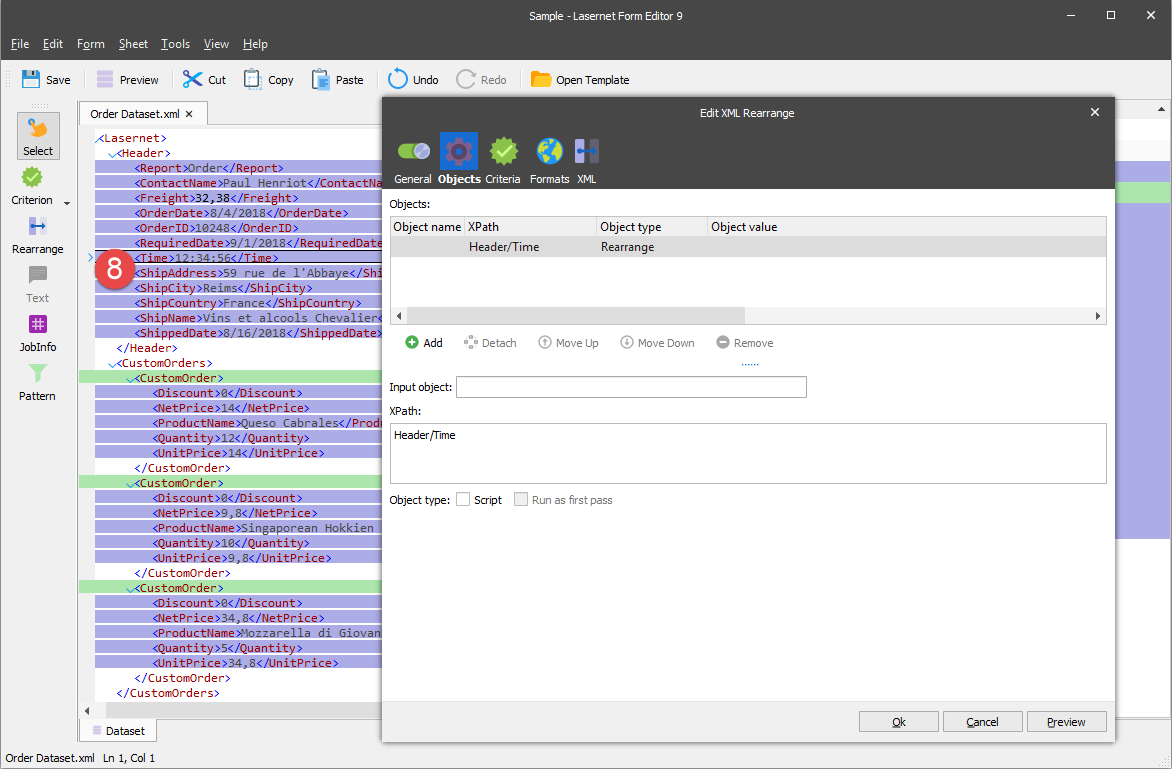
On the Formats tab of the Edit XML Rearrange dialog, select Time from the Format category drop-down box.
On the Input format tab, select the Override form input format check box. Click the Add button to add an input format.

In the Edit Regional Profile Mapping dialog displayed, select the MMddyyyy regional profile from the list, and then click Ok.
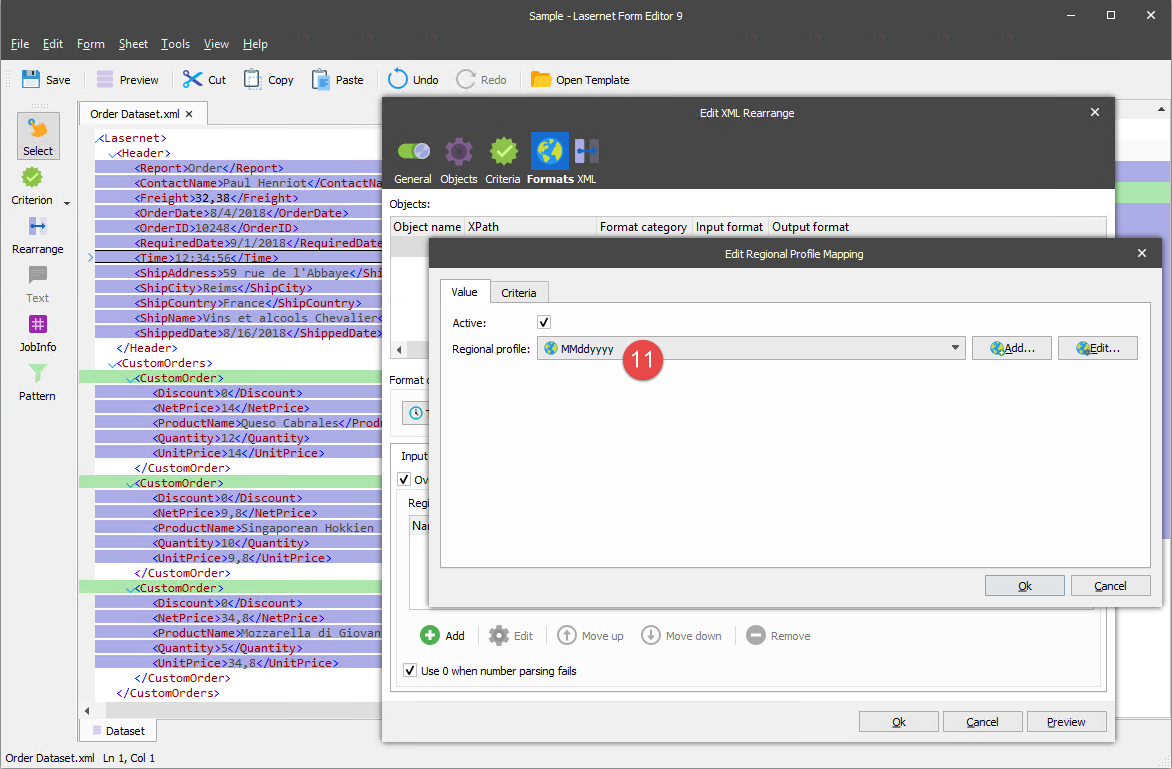
Afterward, click Ok in the Edit XML Rearrange dialog to confirm all changes.
In the output, switch to the XML tab.
In the input, click the rearrange and drag it to the element in the output. When you release the mouse, a context menu appears. On the context menu, click Merge.
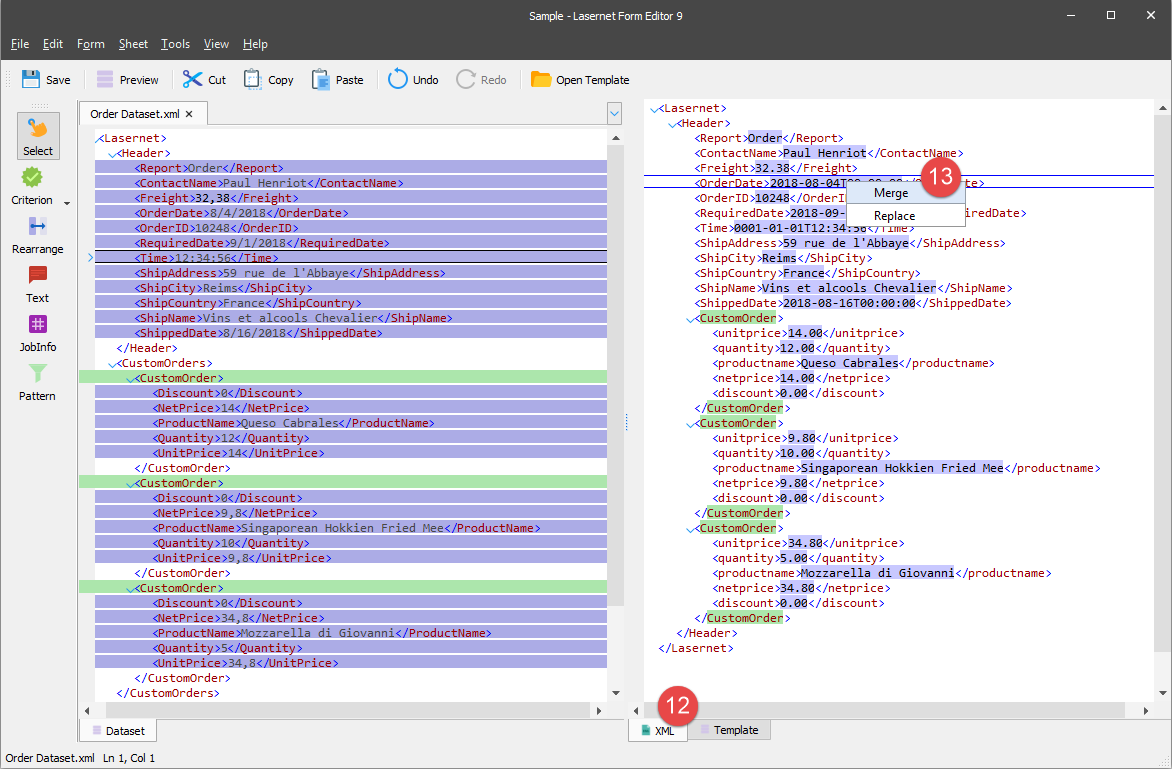
As a result, the element shows not only the date of the order but also its time.
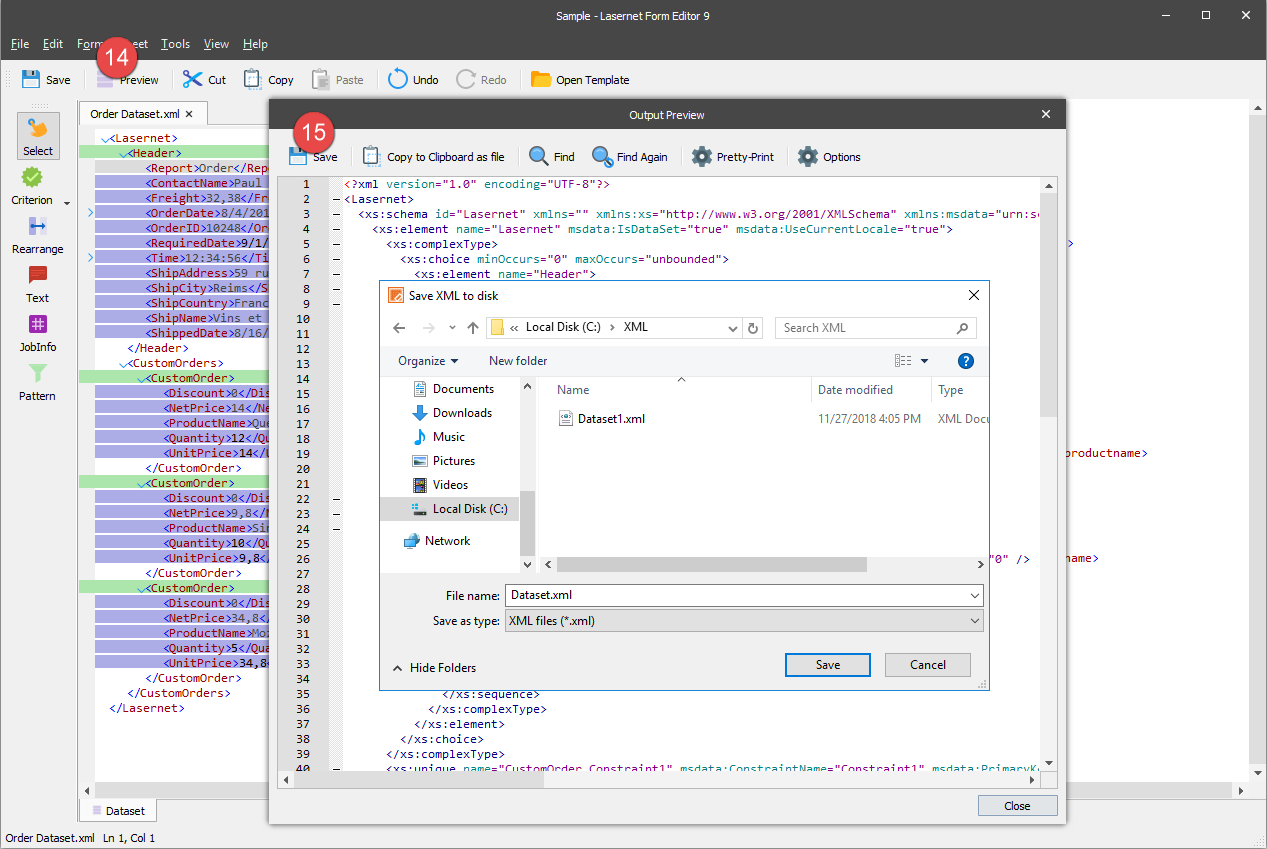
You can save the DataSet Output for further reference. To this end, click the Preview button. As a result, the Output Preview window opens.
Click the Save button. In the dialog displayed, choose a file location to store your file. If needed, you can change a file name. Once you are done, click Ok.