Create an OData Dialog
- 12 May 2026
- 3 Minutes to read
- Contributors

- Print
- PDF
Create an OData Dialog
- Updated on 12 May 2026
- 3 Minutes to read
- Contributors
- Print
- PDF
Article summary
Did you find this summary helpful?
Thank you for your feedback
This article provides step-by-step instructions on how to create a new OData Dialog record as a part of the Lasernet Connector configuration within Dynamics 365 Customer Engagement.
Note
OData Dialogs is an action that allows executing a report in Finance and Operations. Clicking the OData Dialogs button in Customer Engagement opens a print dialog. There, you can choose a printer, a number of copies, etc. Data is received from the Customer Engagement entities. The button is used when CE is not connected to FO, or if you want to use a logic app.
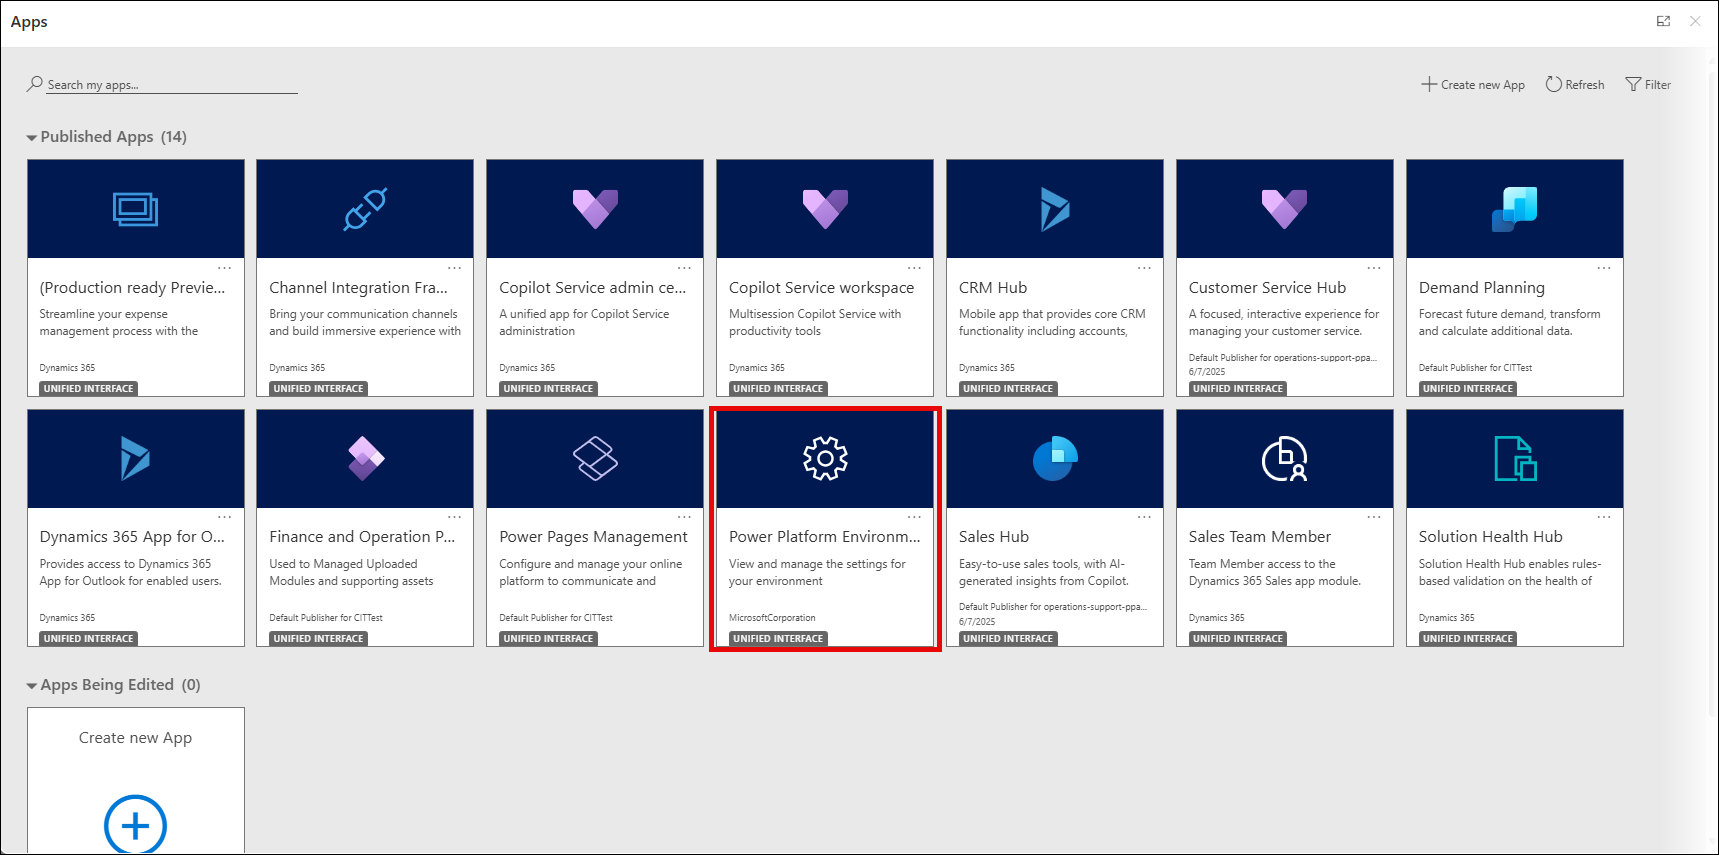
Sign in to your CE system. From the Published Apps menu, open the Power Platform Environment Settings app.
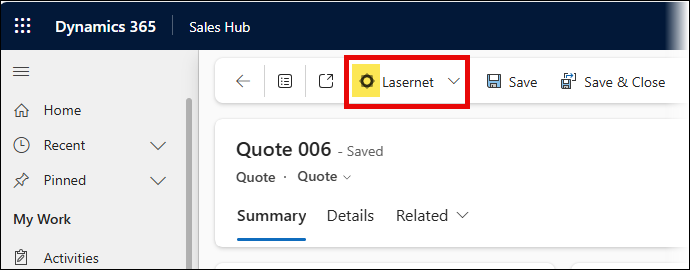
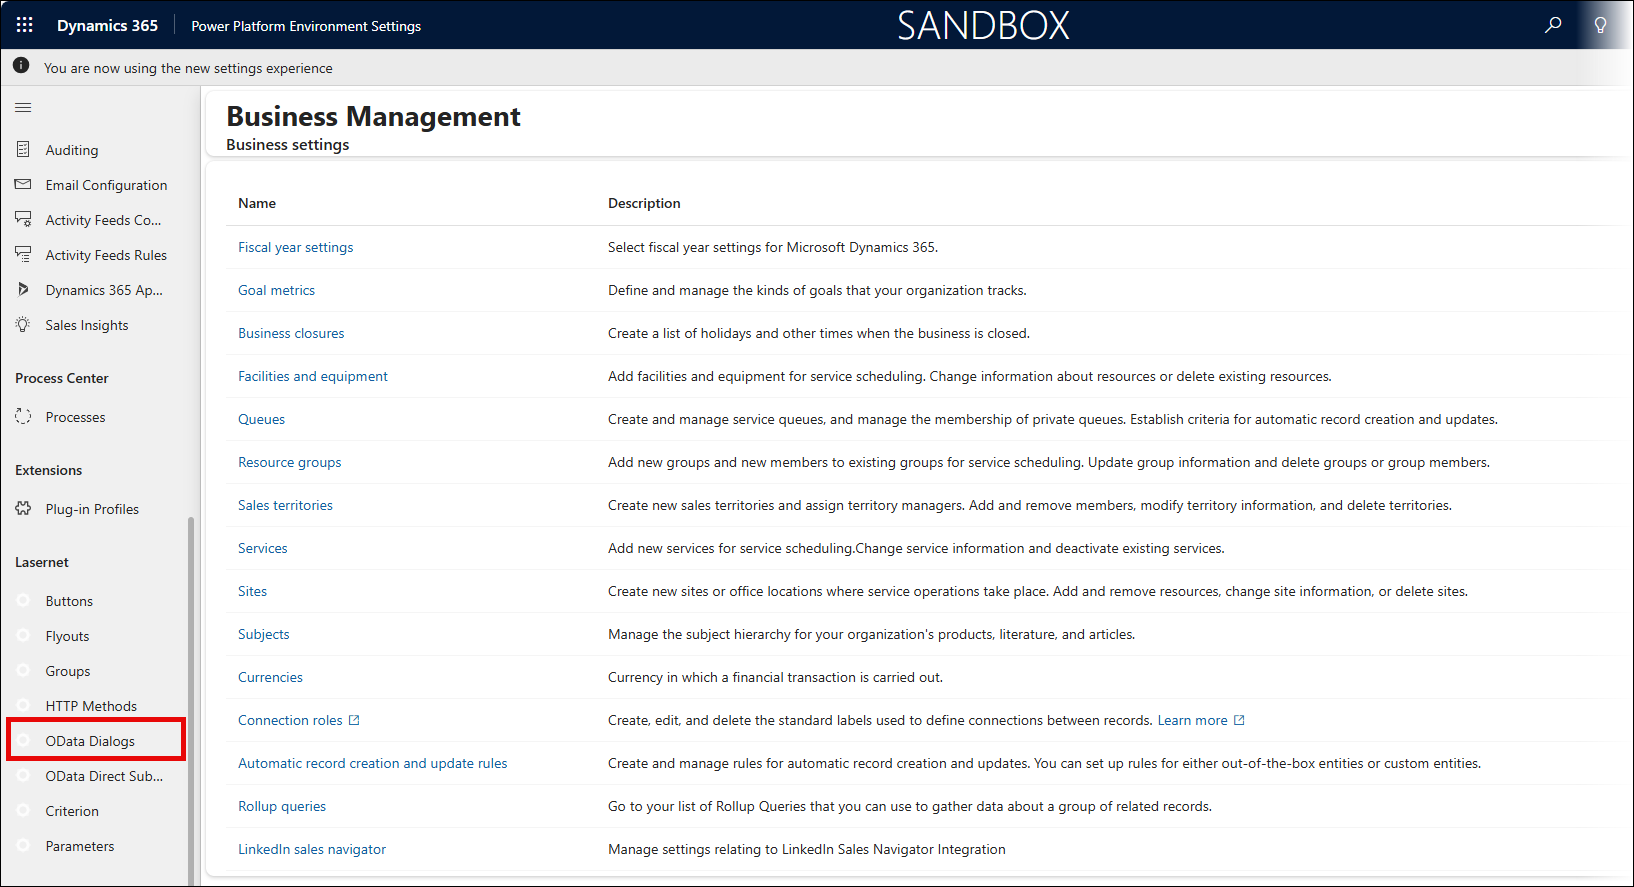
Select OData Dialogs from the Lasernet menu.
The Active Lasernet OData Dialogs page is displayed.
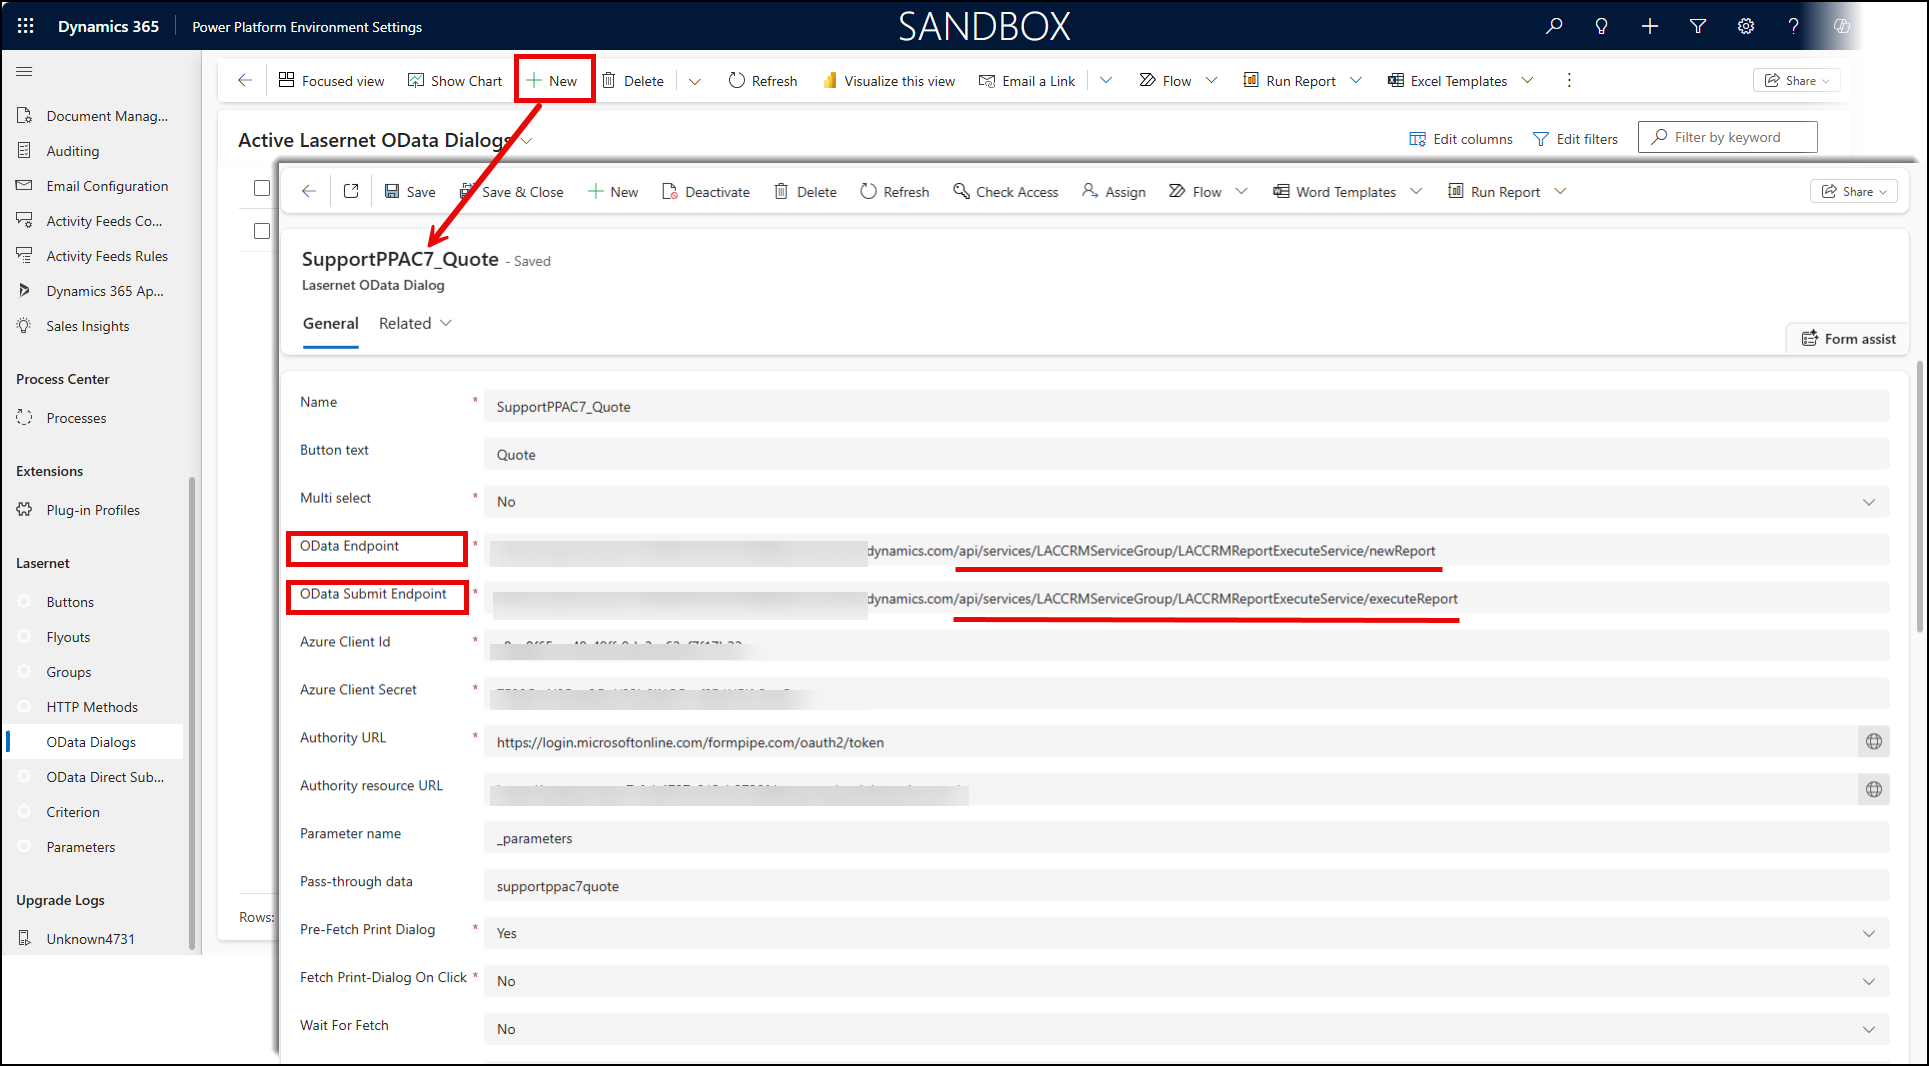
On the Active Lasernet OData Dialogs page, click the New button.
Fill in all the required fields and then click Save.
Note
In the OData Endpoint as well as OData Submit Endpoint text fields, enter the URL composed of the Finance and Operations environment URL and the API interface to your Lasernet service. The latter is a fixed part. Here is an example of this fixed part for the OData Endpoint text box value:
.../api/services/LACCRMServiceGroup/LACCRMReportExecuteService/newReportThe following is an example of this fixed part for the OData Submit Endpoint text box value:
.../api/services/LACCRMServiceGroup/LACCRMReportExecuteService/executeReport
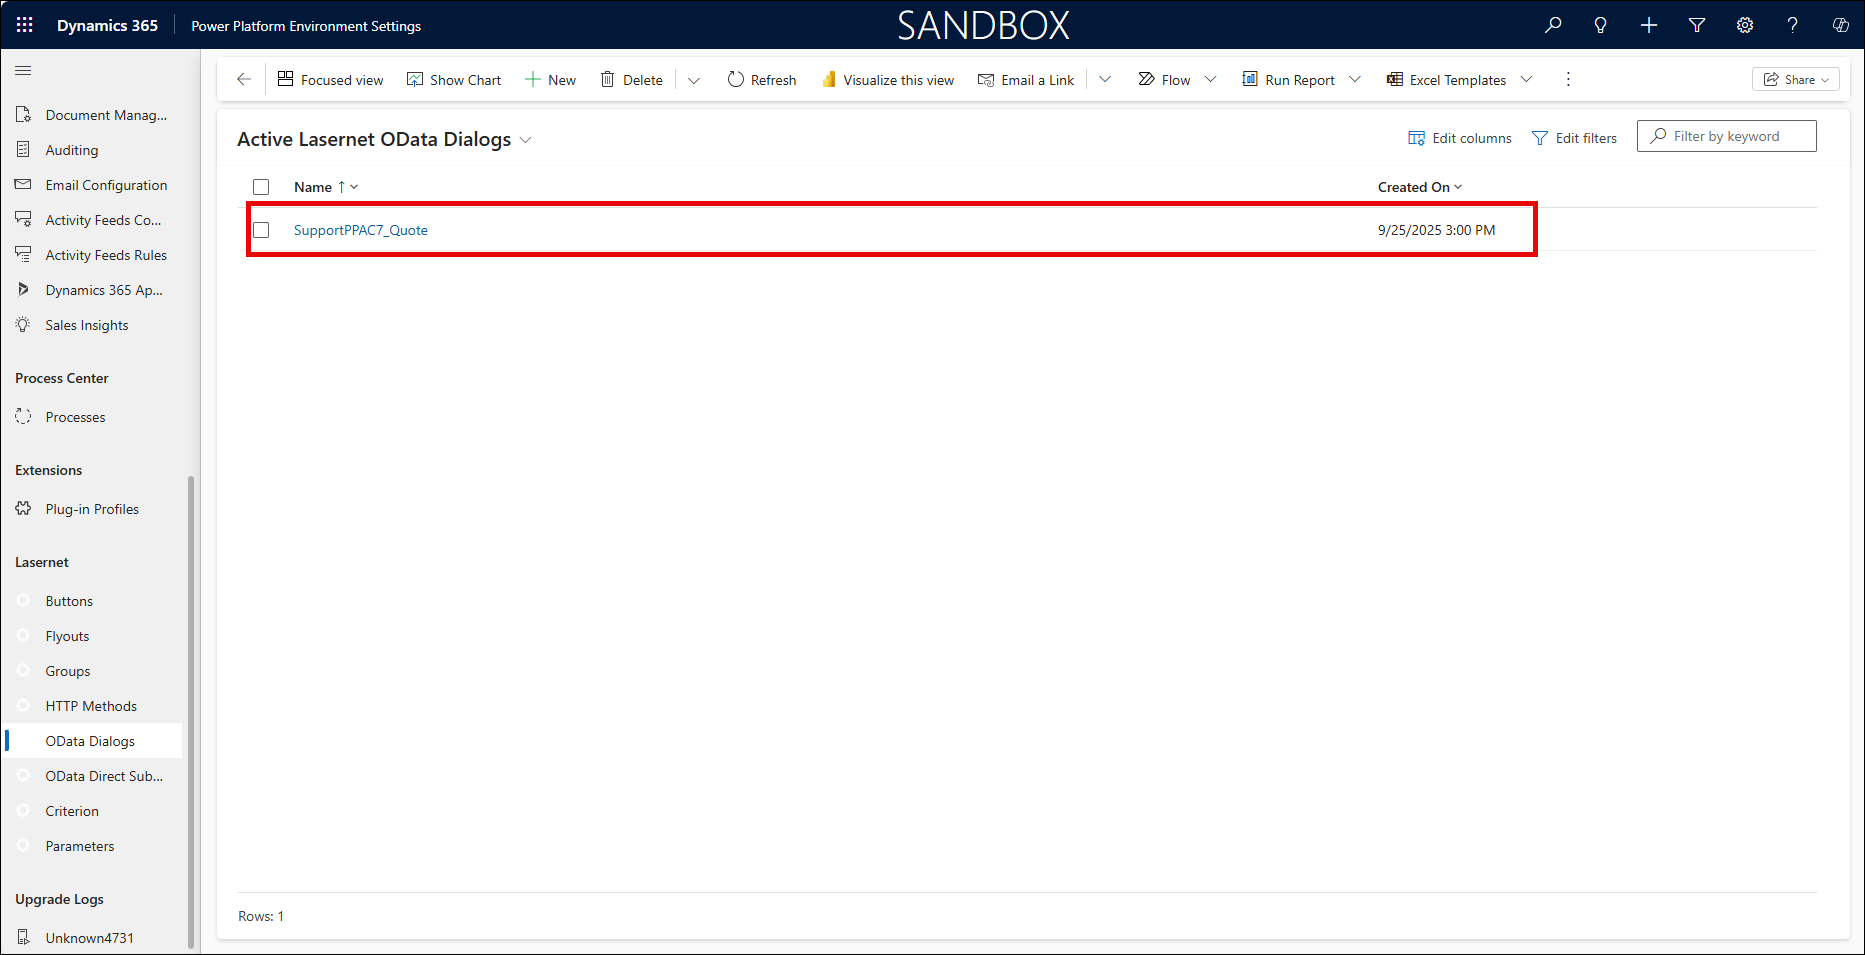
As a result, a new OData Dialog record is listed on the Active Lasernet OData Dialogs page.
From the Active Lasernet OData Dialogs list, select the OData Dialog record you have just added. The OData Dialog page opens for editing.
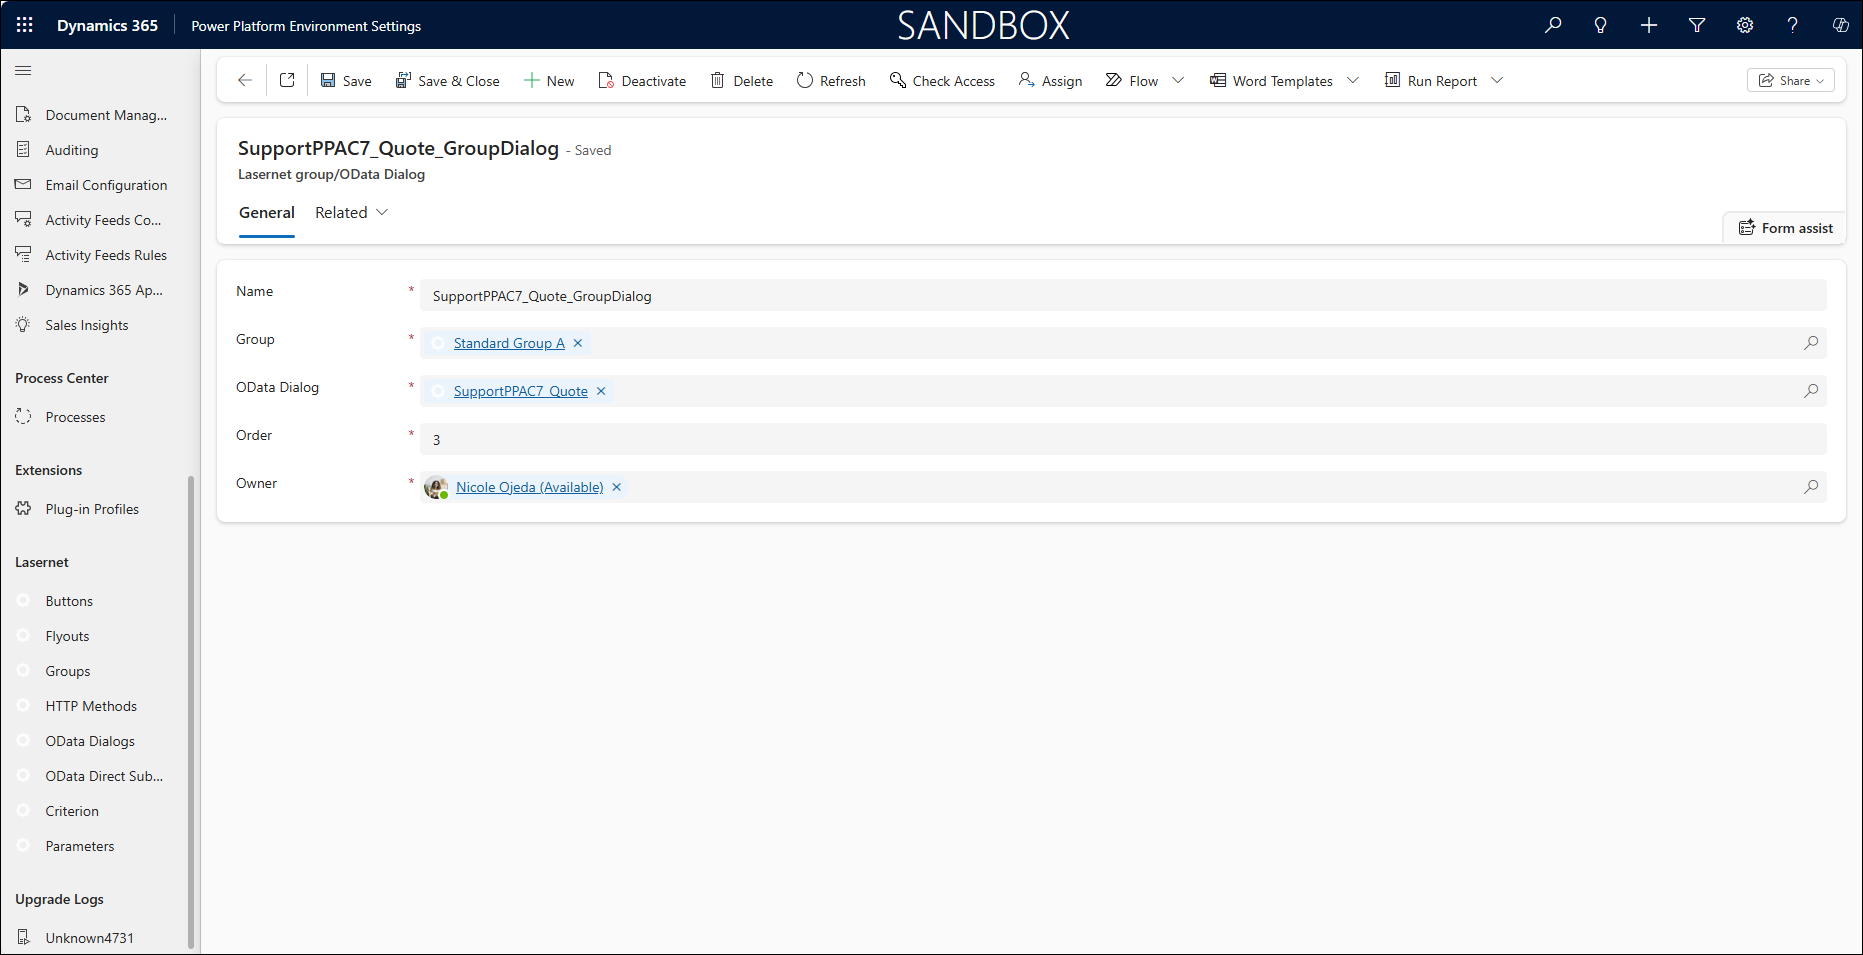
In the Lasernet Groups/OData Dialogs (OData Dialog) section, click the New Lasernet group/OData Dialog record button.
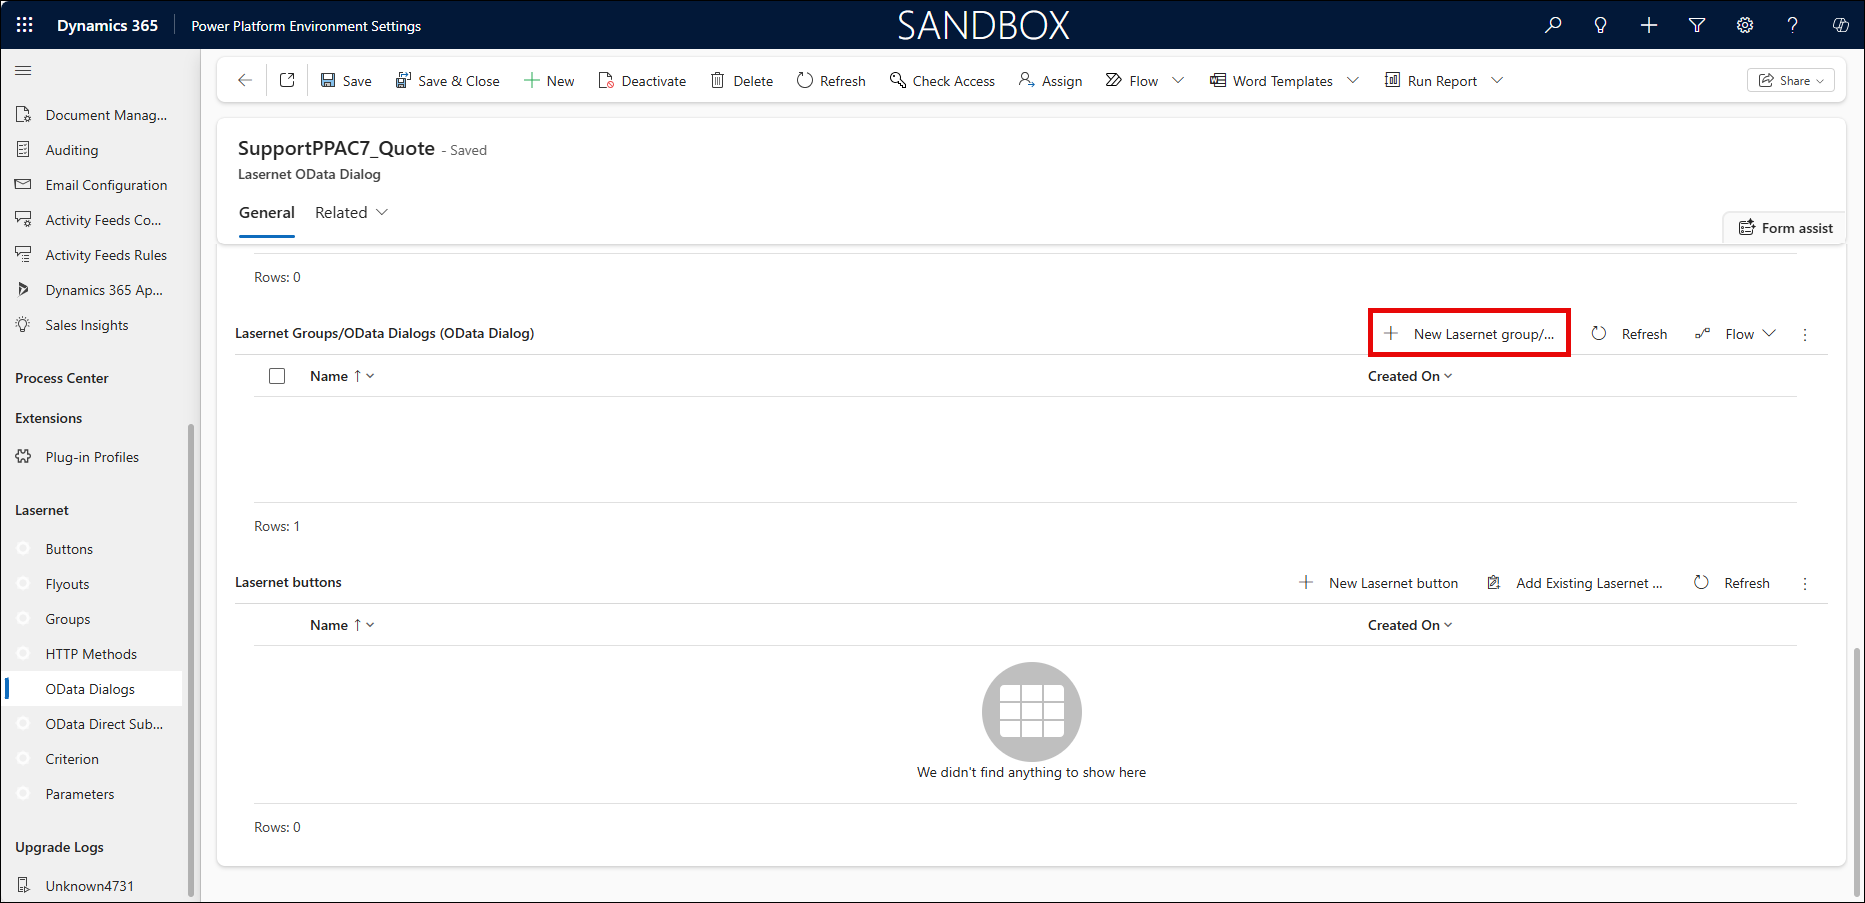
In the dialog displayed, enter a Name, select a Group, and then click Save to save changes.
In addition, you can add a new OData Dialog record when adding a new group or editing the existing one.
ODATA Dialog Fields
The following table defines some of the fields that are displayed when creating a new ODATA Dialog record:
Field | Descritpion |
|---|---|
Pre-Fetch Print Dialog | When the information is needed to populate the print dialog, it is fetched from FO ahead of time and stored in the browser's local storage (cache) when a form is opened. It will not run if a match is found in the cache. This command can remove the “Loading” message that is displayed the first time a user opens the print dialog for a given form in a cleared browser. If multiple buttons are applied to the same form/entity, performance may be negatively impacted. |
Fetch Print-Dialog On Click | This command works similarly to the one above when the user clicks the OData dialog button. It does not have a negative impact on performance, as this function only works when the user clicks the button. The time saved ranges from 50 to 400 ms. |
Wait For Fetch | This command is useful when the print dialog needs to wait for any running pre-fetches (the two above) or start its own fetch as soon as it opens. The print dialog will only wait if a pre-fetch is signalled to be running. The print dialog will start its own fetch if the pre-fetch fails. It is quicker to wait for an existing pre-fetch than to start a new fetch; however, a pre-fetch will not be able to display an error message from FO. Any failed pre-fetch will require a fresh fetch and will result in extra time. |
Wait For Fetch Timeout | This command sets the number of seconds that the print dialog should wait for a running pre-fetch to finish (option above), before starting its own fetch. |
Storage Timeout | This command sets the number of seconds that the information for the print dialog should be stored in the browser's local storage (cache) before being removed (expiring). This value should be low if the customer is frequently changing report mapping in FO and wants to avoid clicking CLEAR CACHE FOR ALL on the Lasernet Parameters page in Dynamics 365. |
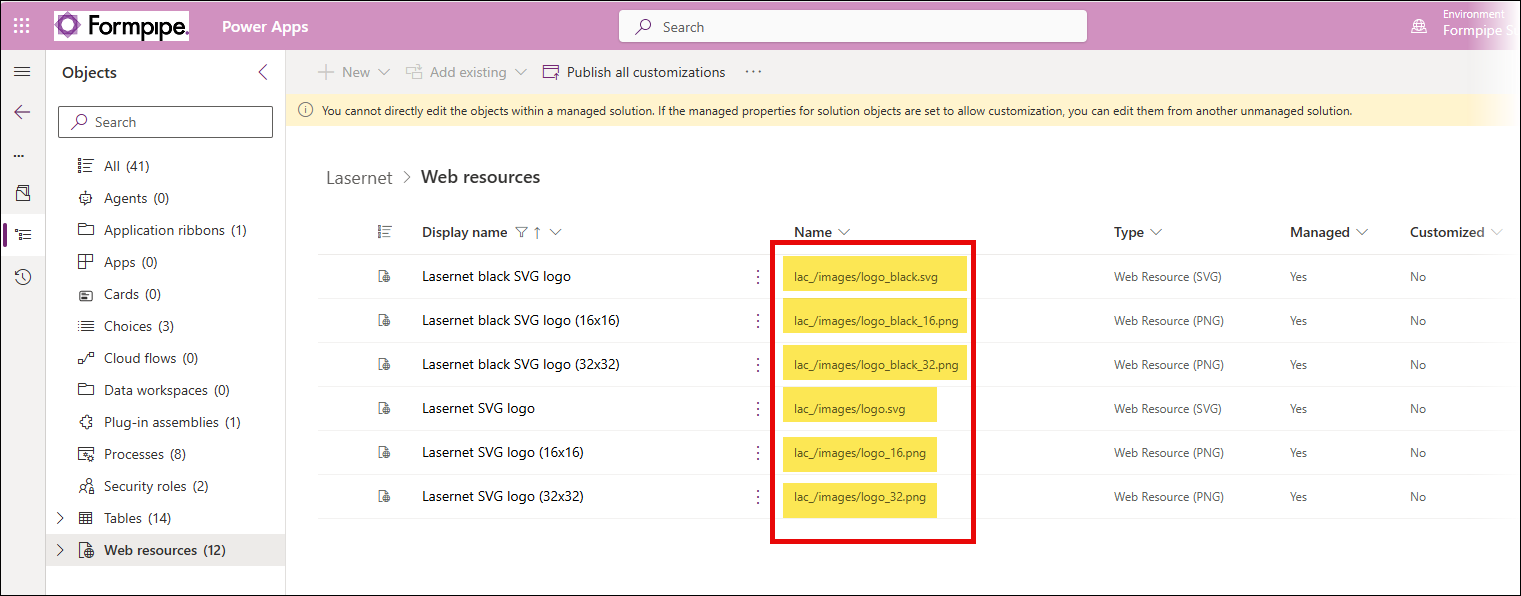
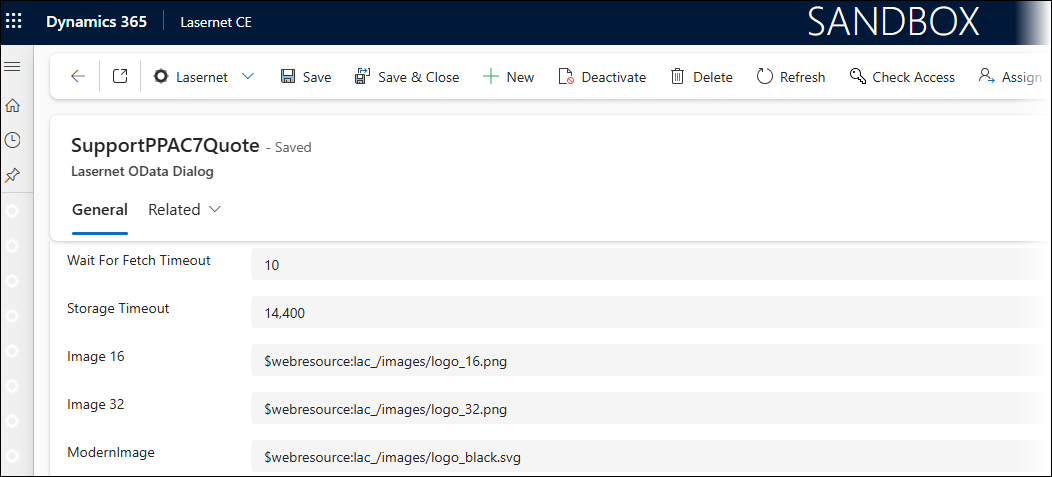
Image 16 and ModernImage | Image 16 is an image made of 16x16 pixels, while Image 32 is made of 32x32 pixels. ModernImage is for SVG (Vector) images. Example: the images for the standard Direct Print and Lasernet flyout.
They use the following Lasernet Connector web resources:
Which are applied using Image16, Image32, and ModernImage:
The same values could also be applied to buttons:
The difference between Image 16/32 and ModernImage is that the latter is vector-based, enabling it to scale up without becoming pixilated. Furthermore, the unified interface only supports ModernImage. |