Create an HTTP Method
- 17 Nov 2025
- 2 Minutes to read
- Contributors

- Print
- PDF
Create an HTTP Method
- Updated on 17 Nov 2025
- 2 Minutes to read
- Contributors
- Print
- PDF
Article summary
Did you find this summary helpful?
Thank you for your feedback
This article provides step-by-step instructions on how to create a new HTTP Method as a part of the Lasernet Connector configuration within Dynamics 365 Customer Engagement.
Note
The HTTP Method is a link between Customer Engagement and either Finance and Operations or a Logic App. This link is needed to activate a report generation within FO or a Logic App.
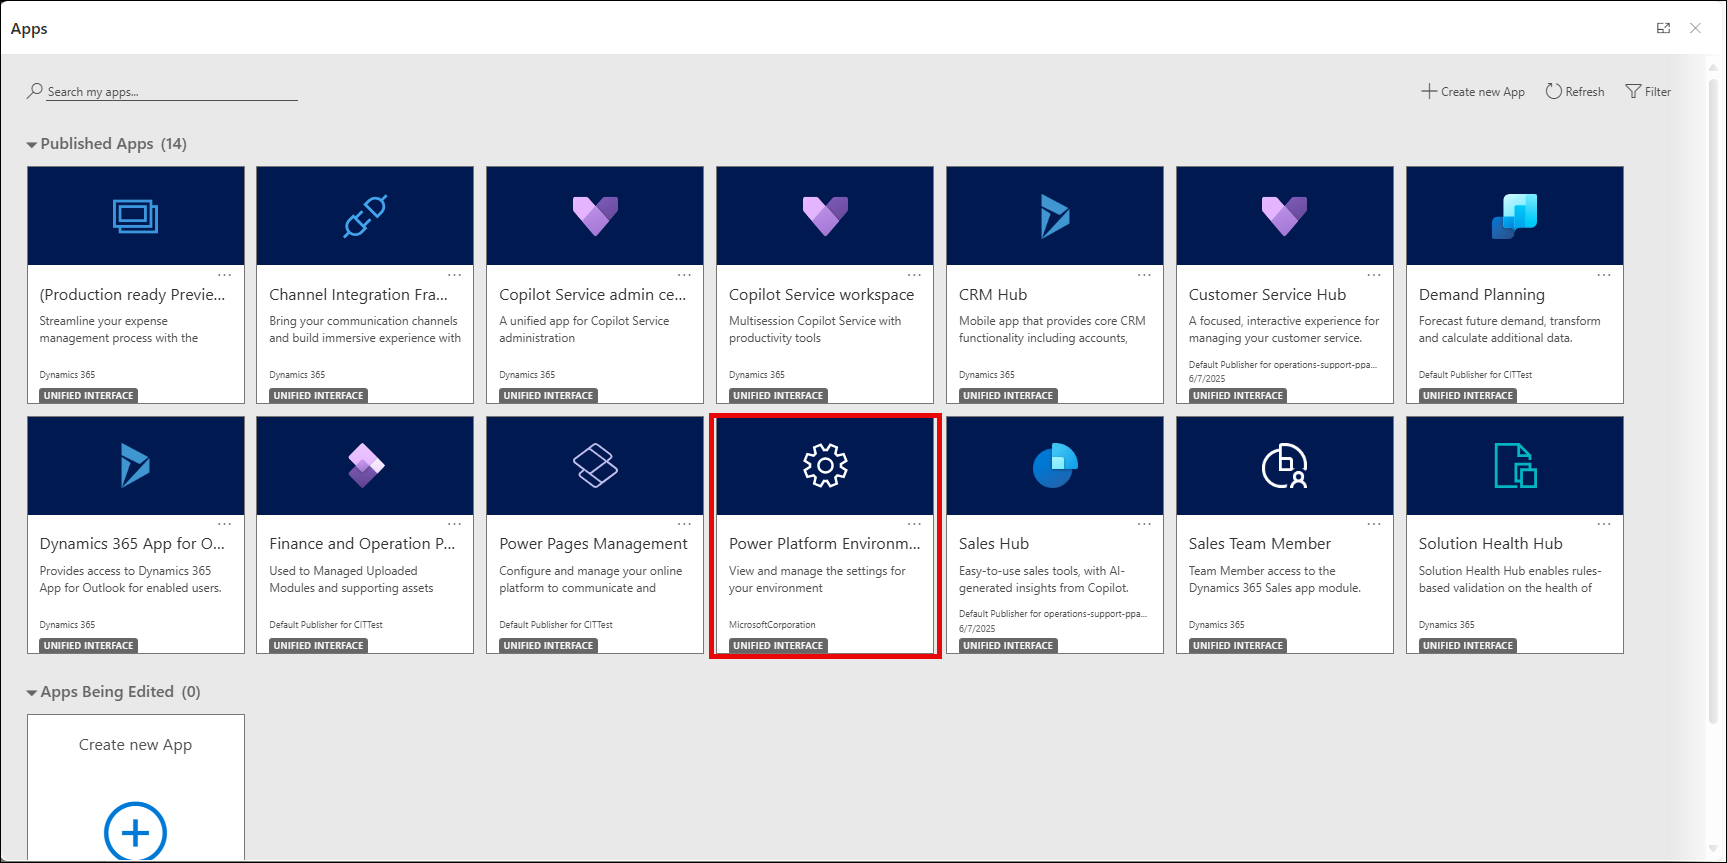
Sign in to your Customer Engagement system. From the Published Apps menu, open the Power Platform Environment Settings app.
Select HTTP Methods from the Lasernet menu.
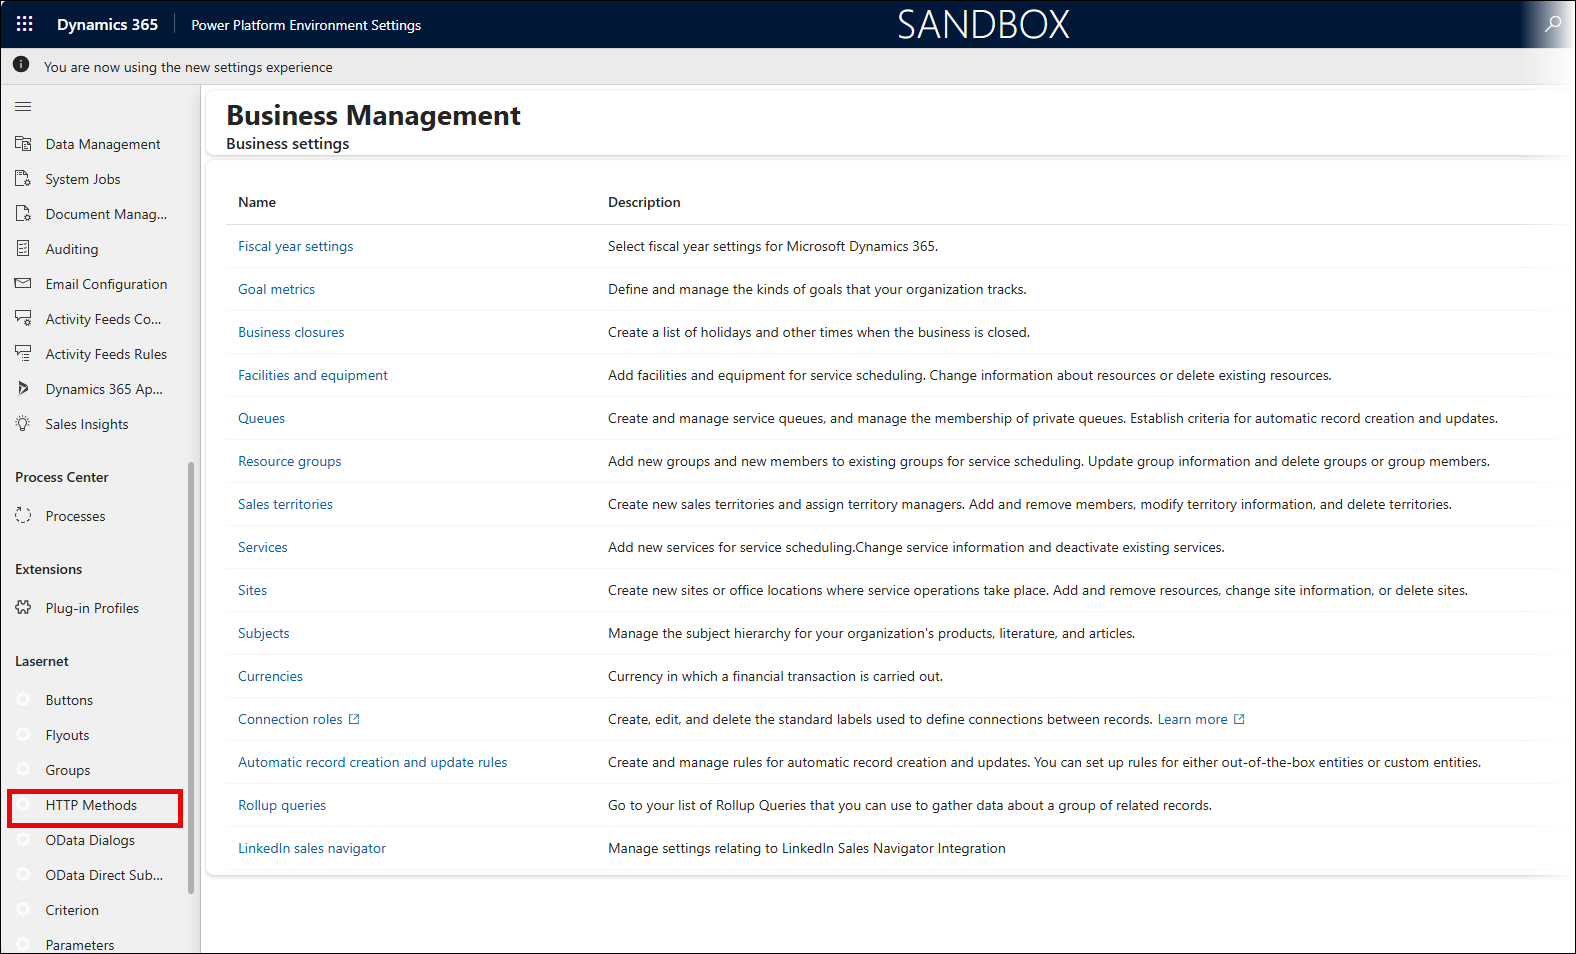
The Active Lasernet HTTP Methods page is displayed.
On the Active Lasernet HTTP Methods page, click New.
Fill in all the required fields, and then click Save.
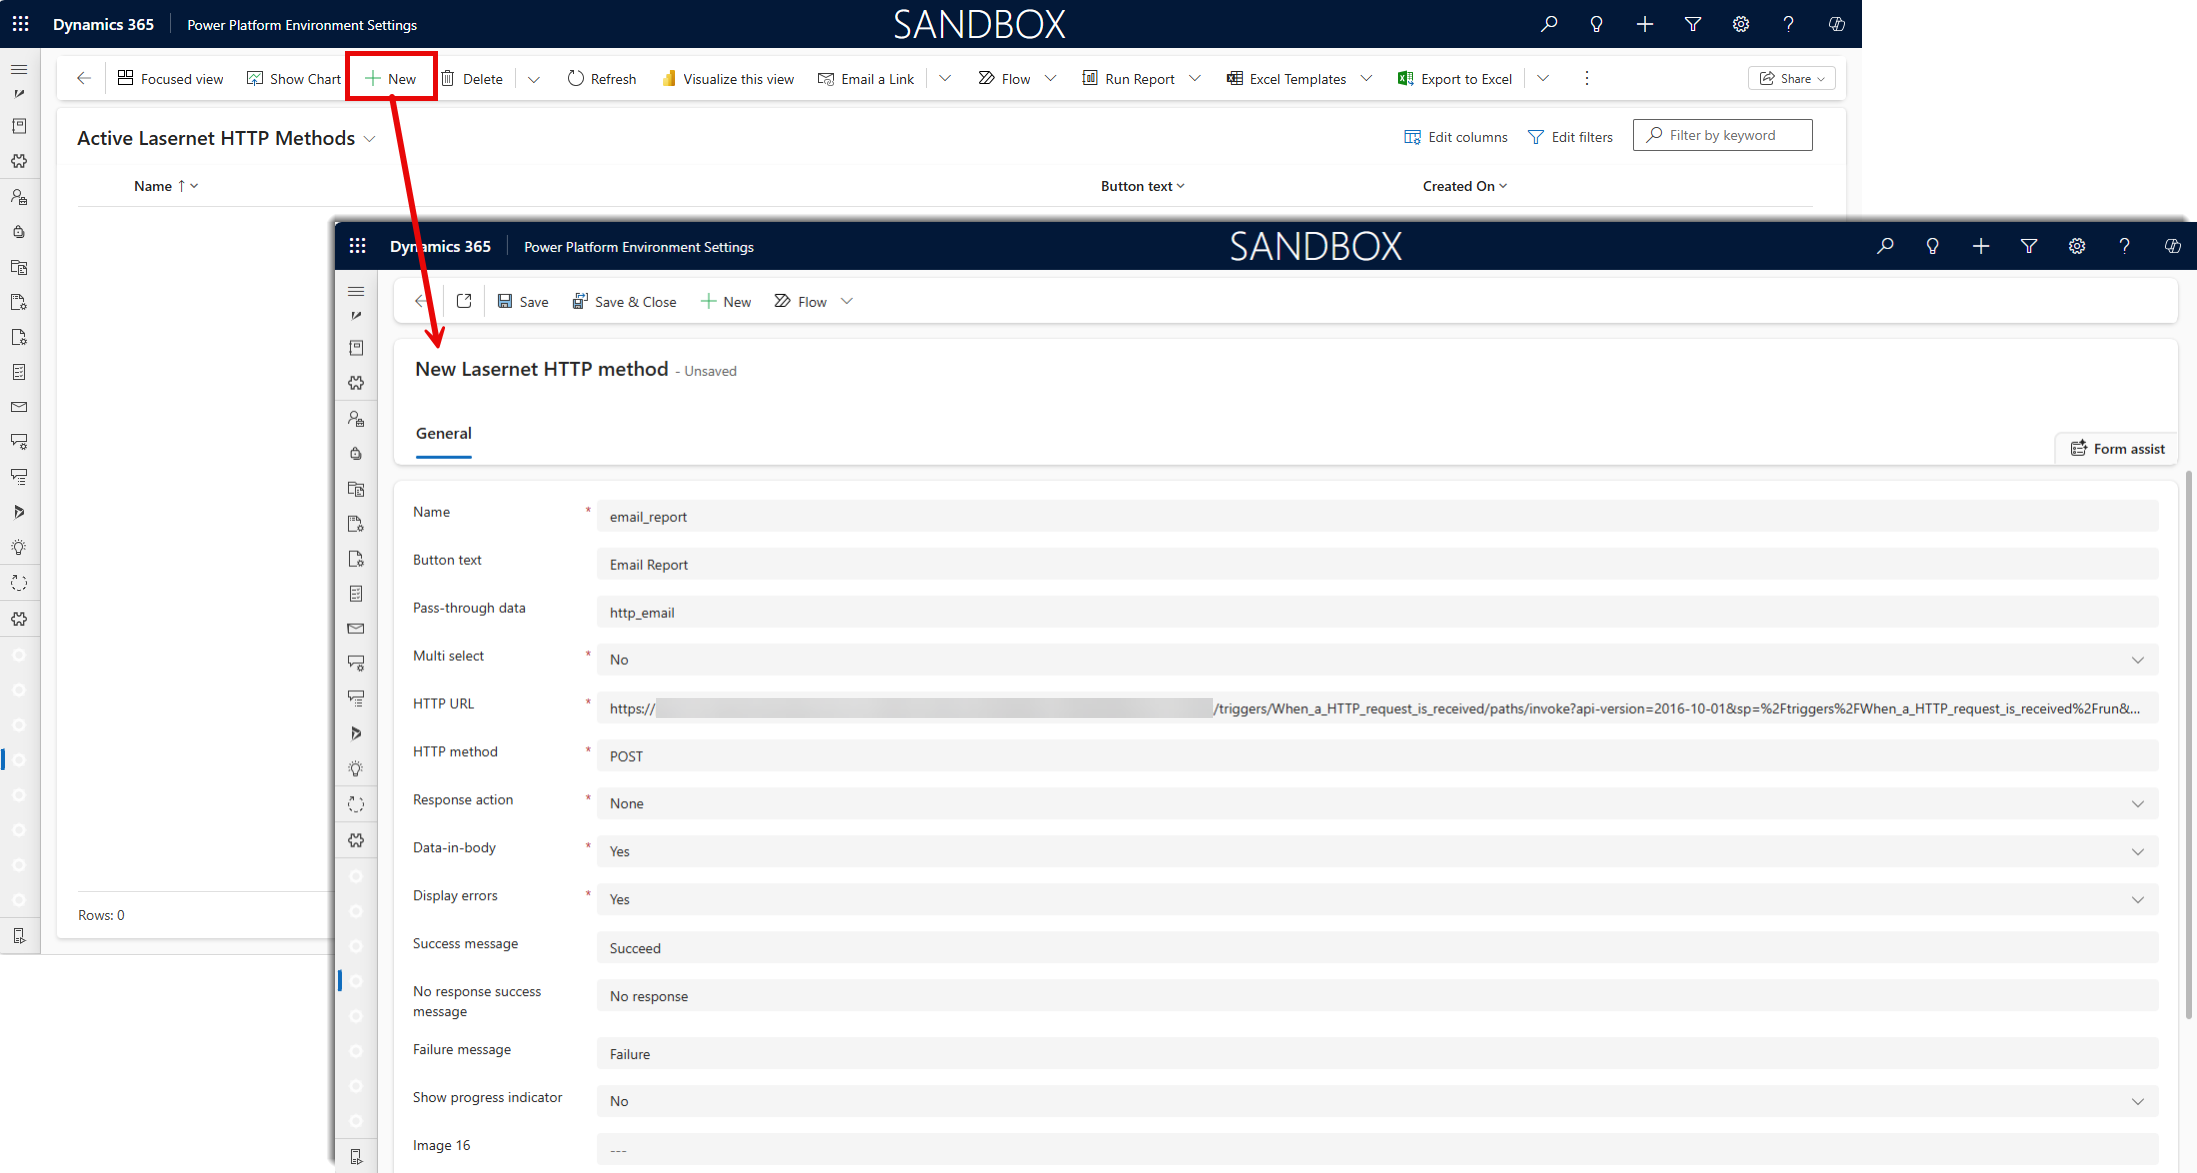
The following table outlines details about fields and possible values to be entered on the General section of the page to create a new Lasernet HTTP Method record:
Field | Description |
|---|---|
Name (required) | A descriptive name of the HTTP Method record you create. |
Button text | The name of the button displayed on the flyout menu. |
Pass-through data | A name defined for a definite type of action. It then becomes available and is displayed as raw output data in the Logic App run history in the Azure portal when an HTTP request is received. |
Multi select (required) | Yes enables selecting multiple entities. No is selected by default. |
HTTP URL (required) | The URL of the definite Logic App. The URL must be copied from the HTTP POST URL text box of the When an HTTP request is received block available in the Logic App designer within the Azure portal. |
HTTP method (required) | It is POST, meaning that data is sent. |
Response action (required) | None enables sending data to Lasernet or a Logic App. In that case, no preview is available because the connection is closed after sending the data. Open enables getting a response (PDF or status code message). |
Data-in-body (required) | Yes enables presenting data in the response message body or as a query string (Request URL). No disables these options. |
Display errors (required) | Yes enables displaying a received error message. No disables this option. |
Success message | The text of the message displayed for use when the action succeeds. |
No response success message | The text of the message displayed for use when a Response action is specified as Open, the action itself succeeds, and the response is empty. |
Failure message | The text of the message displayed for use when the action fails. |
Show progress indicator | Yes enables showing a progress indicator. No disables this option. |
Image 16 | An image displayed for the button on the flyout menu. |
Image 32 | An image displayed for the button on the flyout menu. |
Modern image | An image displayed for the button on the flyout menu (available for a new modern UI of the Customer Engagement environment). |
Owner (required) | A user ID that owns the record being created. |
As a result, a new HTTP method is listed on the Active Lasernet HTTP Methods page:

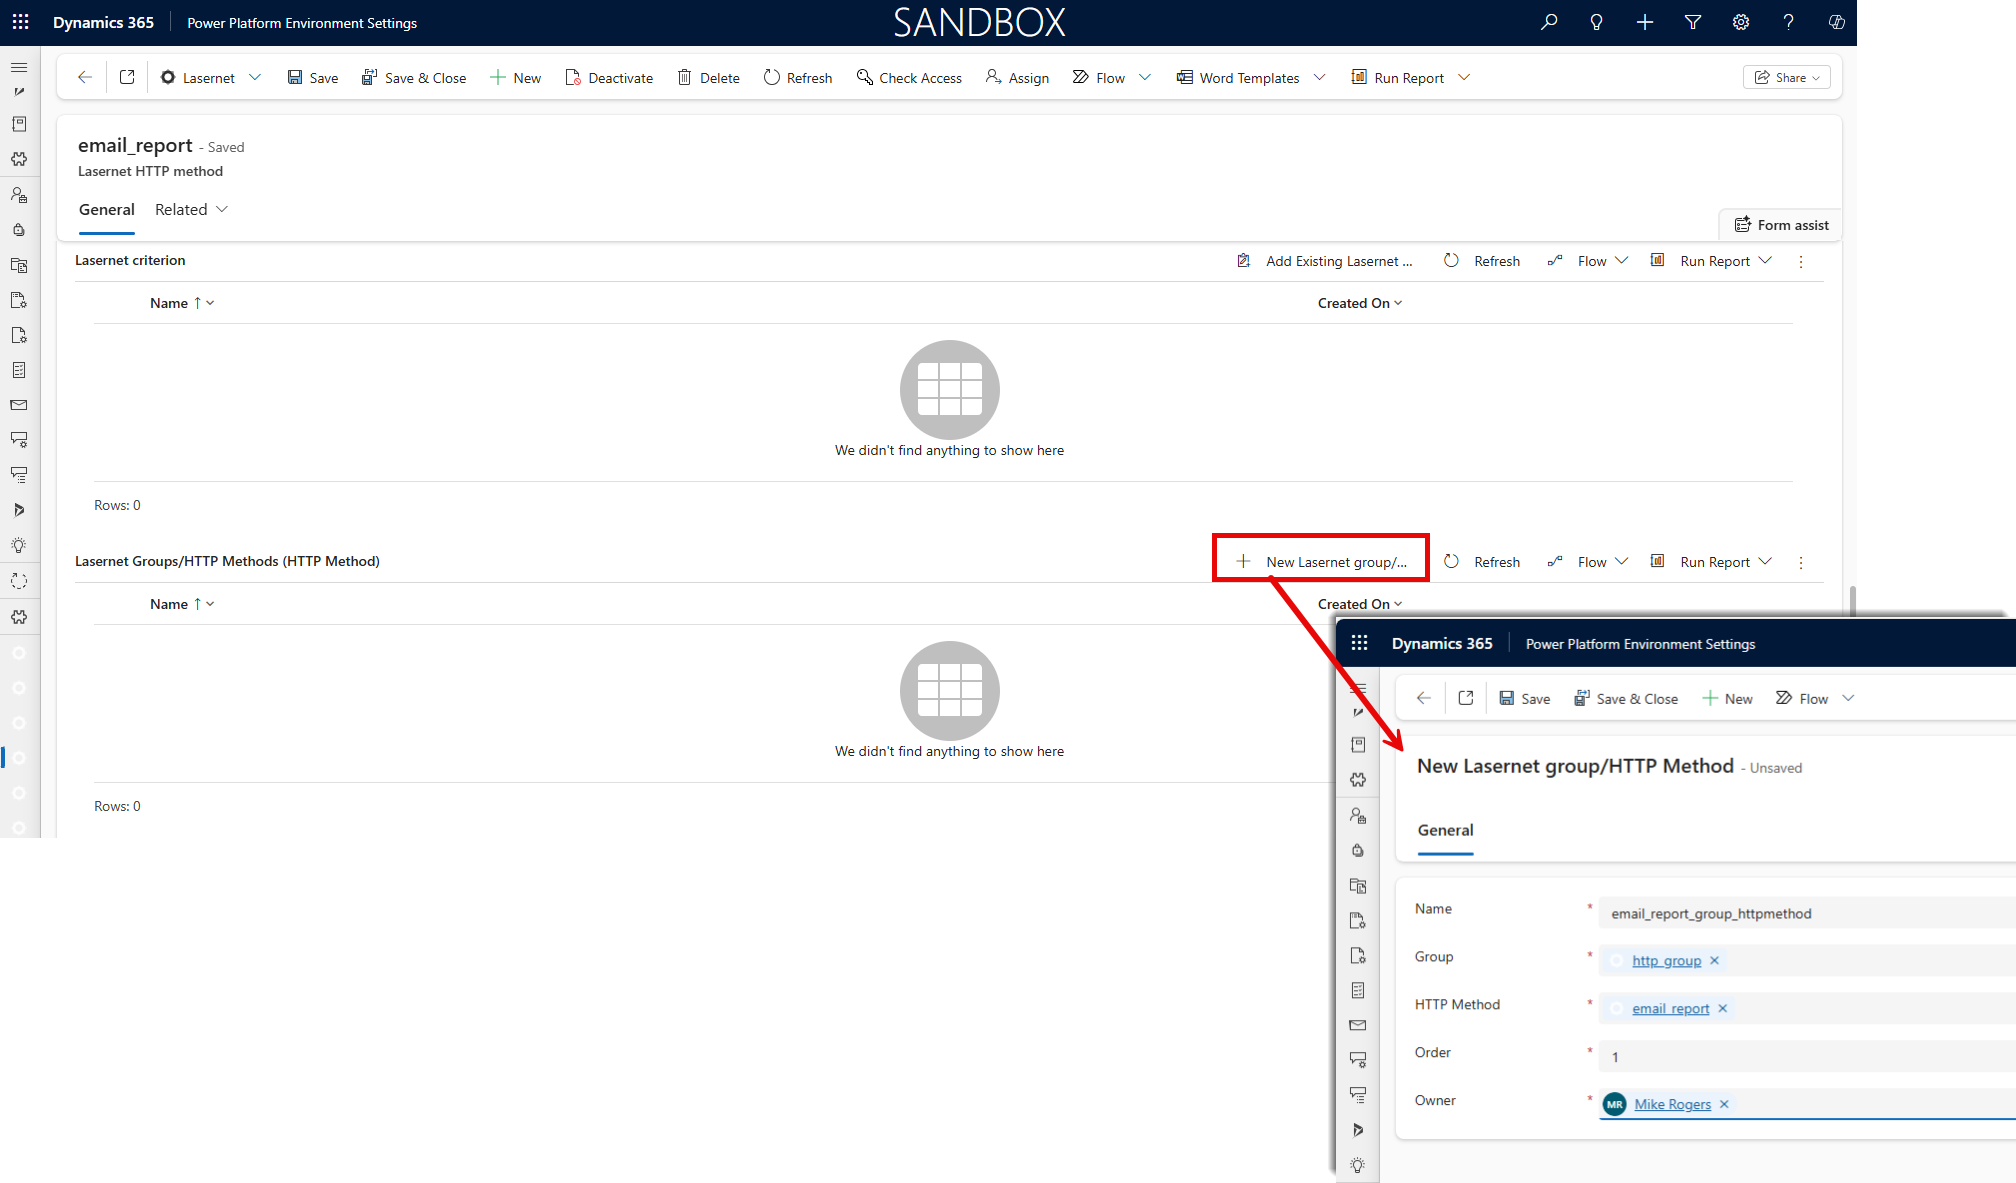
In the Active Lasernet HTTP Methods list, click a record of the HTTP method you have just added.
The HTTP Method page opens for editing.
In the Lasernet Groups/HTTP Methods (HTTP Method) section, click the plus icon to add a group/HTTP Method record.
In the dialog displayed, enter a name in the corresponding text box and select a group. Then, click Save to save changes.
In addition, you can add a new HTTP Method record when adding a new group or editing the existing one.