Create a JobInfo from Input Data
- 04 Apr 2025
- 1 Minute to read
- Contributors


- Print
- PDF
Create a JobInfo from Input Data
- Updated on 04 Apr 2025
- 1 Minute to read
- Contributors
- Print
- PDF
Article summary
Did you find this summary helpful?
Thank you for your feedback
Use the JobInfo button in the toolbar to create a JobInfo based on input data.

Activate the JobInfo tool and then select an area in your input data file:
Lasernet 11 and 10
For text input: Draw a box around the text.
For XML, JSON, or DataSet input: Click an element in the input data.
Lasernet Essentials / Professional / Advanced
For XML input: Click an element in the input data.
The selected area will become highlighted in red, representing a rearrange.
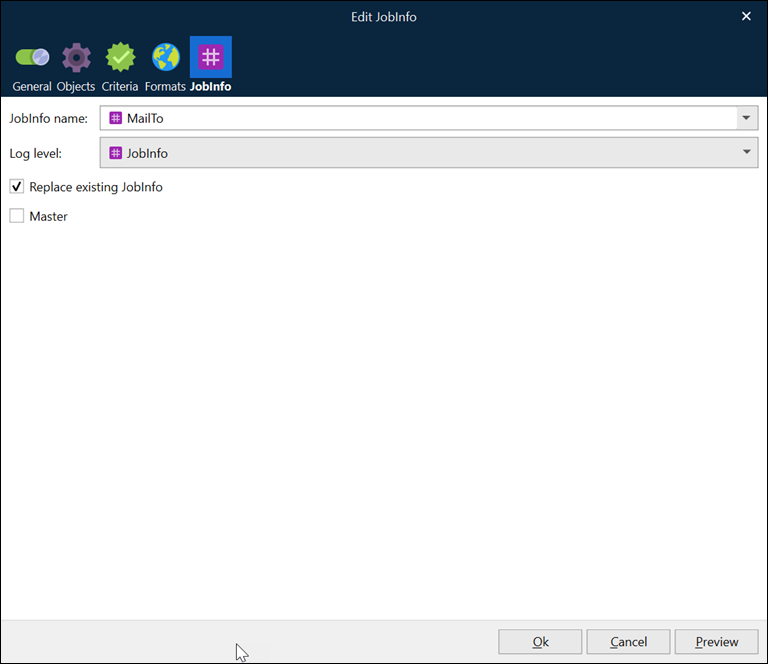
JobInfo Properties
Property | Description |
|---|---|
JobInfo name | The name of the JobInfo when using it in scripts and in rearranges with the ‘insert text’ JobInfo type. |
Log level | The category that events related to the JobInfo should be logged under. JobInfo: The events related to the JobInfo are logged under the JobInfo category. Debug: The events related to the JobInfo are logged under the Debug category. NoLog: The events related to the JobInfo are not logged. |
Replace existing JobInfo | If selected, any other JobInfo with the same name is replaced. |
Master | If selected, a JobInfo becomes available for the next sheets. The setting works the same way as the following script function does: The value of a Master JobInfo will not be present in the final output of a sheet, created by the Form Engine, if the JobInfo is included as an Insert Text object in the same sheet that the Master JobInfo is created in. |