Configure Microsoft Entra ID
- 15 Nov 2024
- 4 Minutes to read
- Contributors


- Print
- PDF
Configure Microsoft Entra ID
- Updated on 15 Nov 2024
- 4 Minutes to read
- Contributors
- Print
- PDF
Article summary
Did you find this summary helpful?
Thank you for your feedback
As a Formpipe Cloud customer using Microsoft Entra ID as the IdP, you must follow this process to set up Microsoft Entra ID for Autoform DM SSO:
Create an enterprise app and connect it to the Formpipe app registration. This will allow users from your Microsoft Entra ID directory to access the Formpipe Autoform DM application.
Create a collection of groups to control access to Autoform DM, and then assign these groups to the enterprise app.
Provide the OID (Object ID) and names of those assigned groups to Formpipe, so that Formpipe can create the required mappings. For more information about group mapping, see Security Model.
Test access to Autoform DM.
The following sections describe each of these tasks.
Your Formpipe consultant can guide you through these tasks if needed, and is available to assist you with any questions or issues that you have.
Create an Enterprise App and Connect It to Formpipe
During the preliminary stages of SSO setup, Formpipe will create (within the Formpipe Azure tenant) the app registration that forms the authentication connection to Azure. After this is done, Formpipe will provide you the application ID of the app registration so that an enterprise app can be provisioned within your tenant.
The provisioned enterprise app must grant permissions for Formpipe to obtain basic details about a user, which are needed to complete the login process. This access will be restricted to only users granted access to Formpipe applications.
When instructed by Formpipe, use either the PowerShell script method or the URL method to provision the enterprise app. Both methods are described below.
After you have provisioned the enterprise app, follow these steps to navigate to it:
In the Azure portal, navigate to the Entra ID view, then click Enterprise Applications.
To locate the newly provisioned enterprise app, search for Formpipe.
Click the link to the application in the search results.
PowerShell Script Method
Run a PowerShell script (which Formpipe can provide). This script takes the application ID provided to you by Formpipe as a parameter.
URL Method
Go to the following URL:
https://login.microsoftonline.com/<tenant-id>/adminconsent?client_id=<app-id>
Appropriately substitute <tenant-id> and <app-id> with your tenant-id and the application-id Formpipe has provided.
Require User and Group Assignment
If you used the URL method, follow these additional steps:
In the Azure portal, navigate to the enterprise app (as described in the steps above).
On the Properties page, set Assignment Required? to Yes.
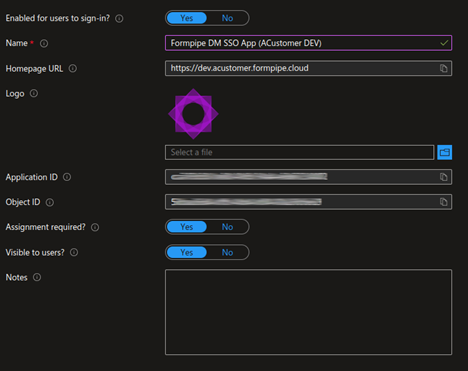
Doing this ensures that only the users and groups that are explicitly assigned to the application are granted the ability to access the Formpipe applications.
It also helps avoid issues that arise when a user is assigned to a very large number of groups. If this is the case and Assignment Required is set to No, it is possible that group claims will not be passed through correctly, which can prevent the user from accessing the application.
Assign Groups to the Application
To enable a user to access the Formpipe application, you must assign them to the provisioned enterprise app. You should not directly assign users to the enterprise app. Instead, add users to the groups created for access control, and assign those groups to the enterprise app.
For guidance on group structure and naming, see Security Model.
To assign groups to the enterprise app, follow these steps:
In the Azure portal, navigate to the enterprise app (as described above).
On the Users and groups page, add the groups that you want to have access to the application.
Note
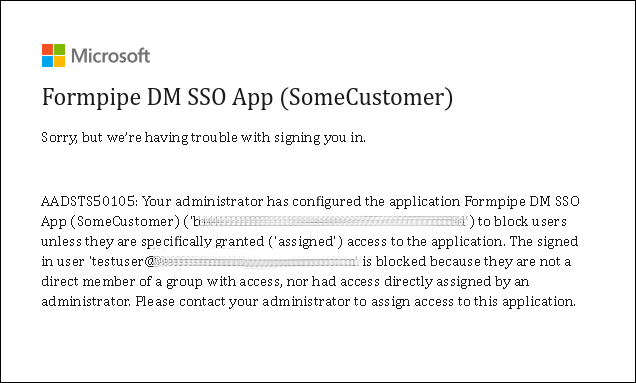
If a user that is not assigned to the enterprise app attempts to access Autoform DM, they will see the following message.
Grant Admin Consent
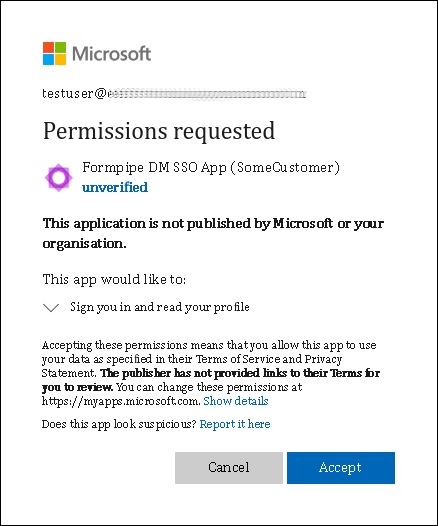
Depending on the Entra ID configuration, it is possible that when users attempt to access Autoform DM via SSO for the first time, their web browser will display a page asking them to approve Autoform DM’s access to their Entra ID profile, or asking them to request the permissions that will allow them to access Autoform DM.
.png)
If this happens, the user must approve the request. Or, they must submit an approval request for an administrator to grant these permissions, which will delay the user’s access to the application until their request is approved.
To avoid users having to go through this consent or approval stage, you can grant tenant-wide admin consent. This will apply only to users in groups that are assigned to the application. To do this, follow these steps:
In the Azure portal, navigate to the enterprise app (as described above).
On the Permissions page, click Grant admin consent.
Note
If you used the URL method to provision the enterprise app, this will already be done.
Provide the OID (Object ID) and Names of Assigned Groups to Formpipe
After you have assigned groups to the enterprise app, you must send Formpipe a list of the groups. This should include the group name (that you want to appear in Autoform DM) and the OID of the Azure group.
For example, if two Microsoft Entra ID groups were created, you would provide their OIDs, along with the Formpipe group name that corresponds to them.
Microsoft Entra ID group name | OID | Formpipe group name |
|---|---|---|
Formpipe DM Dev Users | af54bea3-5123-4086-b945-4b6c7512c795 | Dev-Users |
Formpipe DM Admin Users | bac62e1f-2152-6891-c36d-52cd18fce721 | Dev-Admins |
Test Access via SSO
You will be notified when Formpipe has mapped these groups to the application. At this stage, perform tests to ensure that Autoform DM can be accessed via SSO.