Configuration
- 06 Mar 2026
- 8 Minutes to read
- Contributors

- Print
- PDF
Configuration
- Updated on 06 Mar 2026
- 8 Minutes to read
- Contributors
- Print
- PDF
Article summary
Did you find this summary helpful?
Thank you for your feedback
Create a Class Report
It is now necessary to create a report that can be run from within CE.
In this scenario, a quote report will be used.
The system must be configured so that a user in CE, with security privileges and access limited to CE, can click a button on the Sales Quotation form in CE and view a report delivered to their screen.
Create the Query in FO
To create the query in FO, the process is exactly the same as creating the test report when we validated the connection in the previous step. Follow these steps:
Navigate to the Lasernet > Common > Reports.
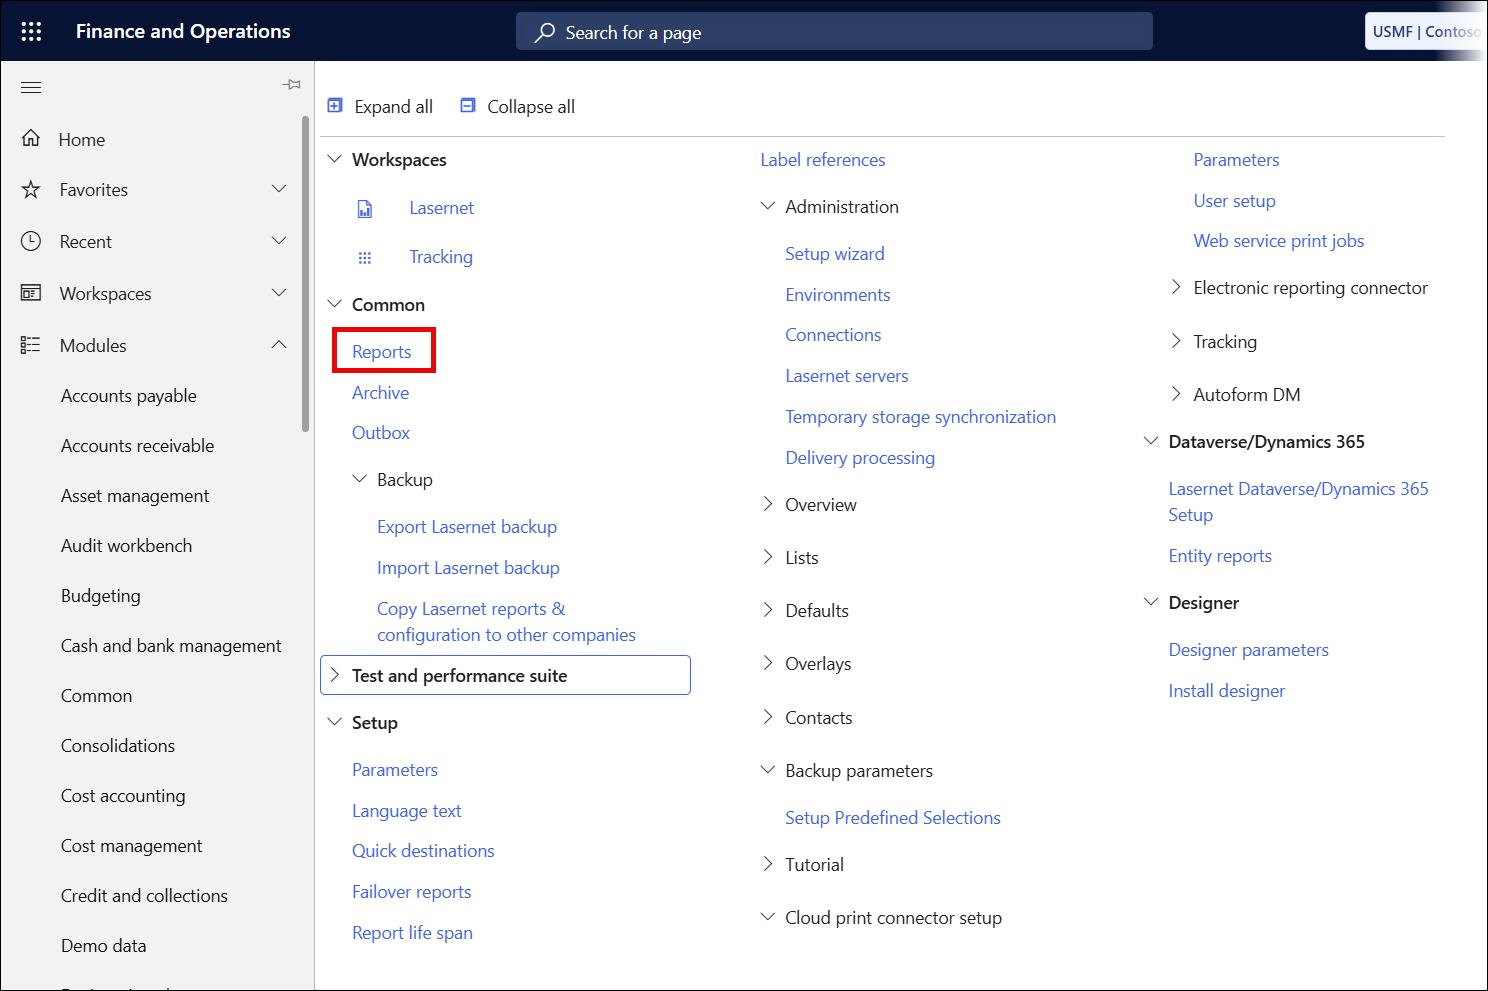
Click New.
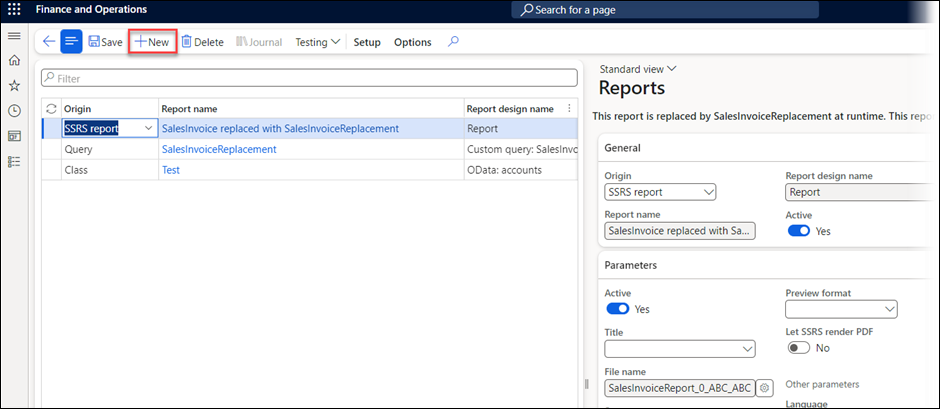
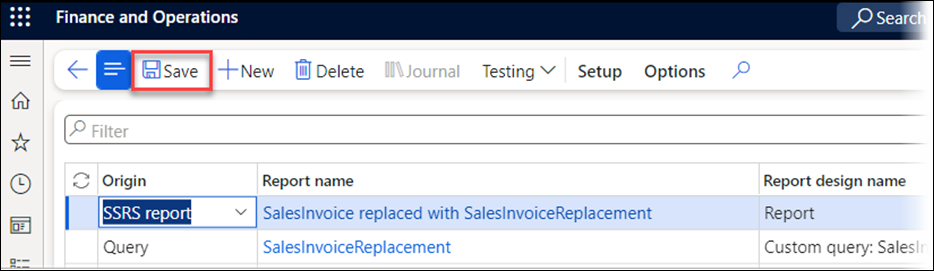
On the newly created query, define the following:
Origin should be Class.
Report design name should be CESalesQuotation.
Active checkbox should be selected.
Save the query.
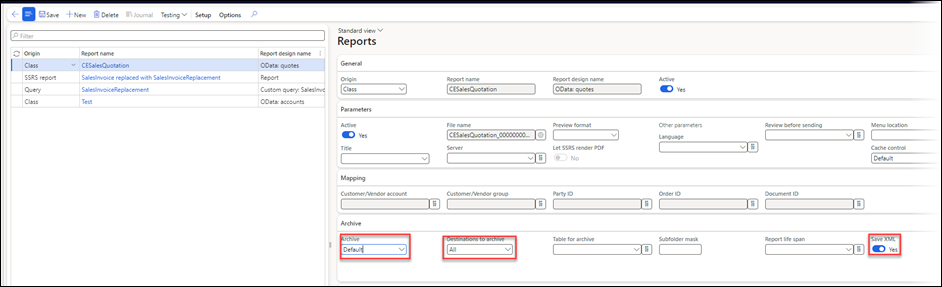
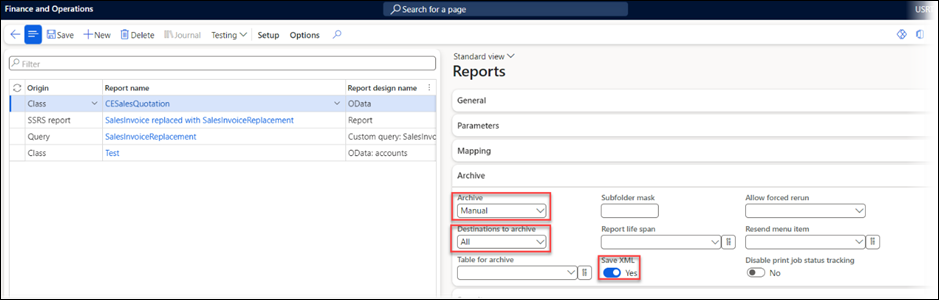
On the Archive tab of the report, define the following:
Archive to Default.
Destinations to archive to All.
Save XML button should be selected.
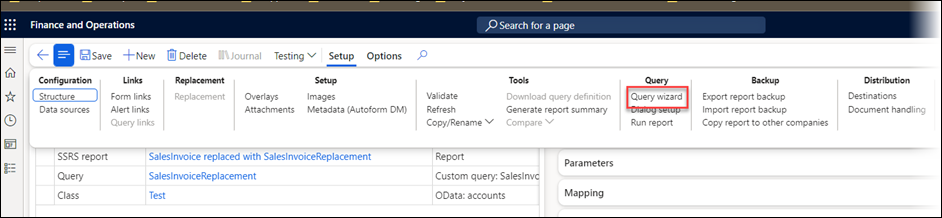
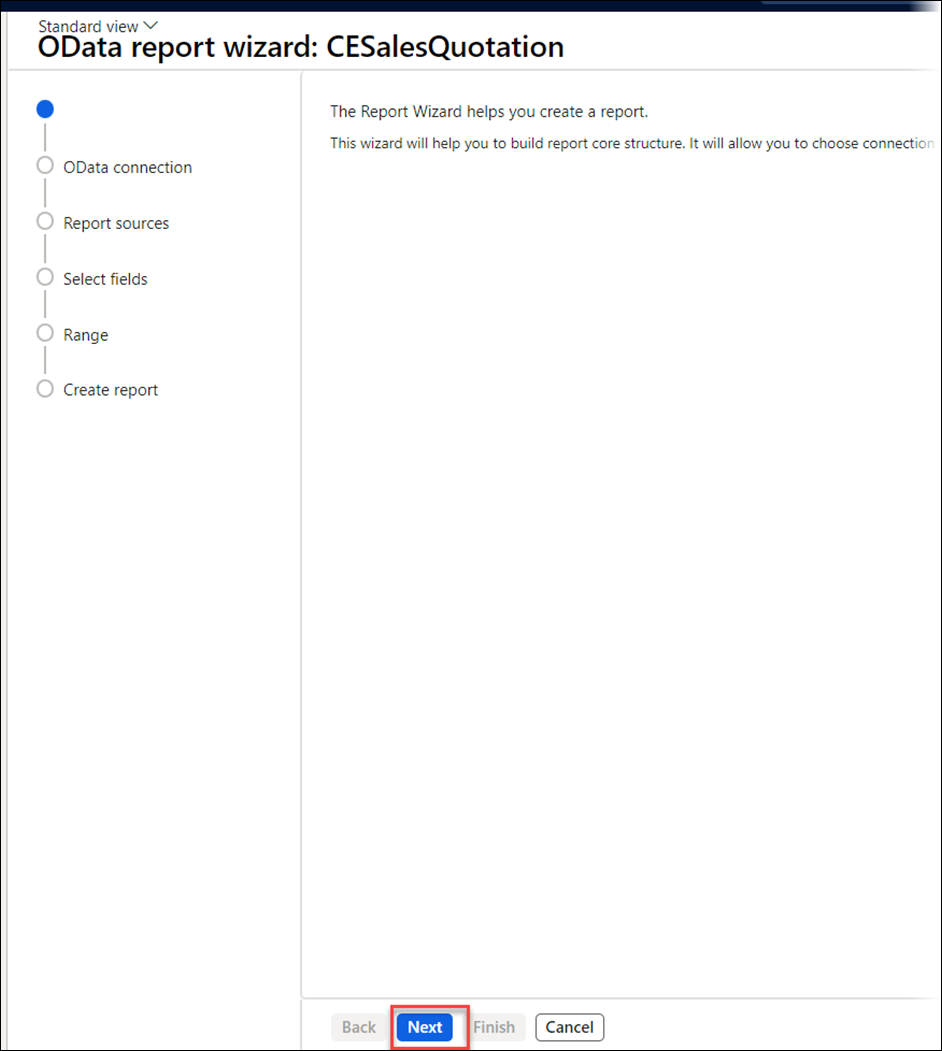
Save the query again, then navigate to the Query Wizard.
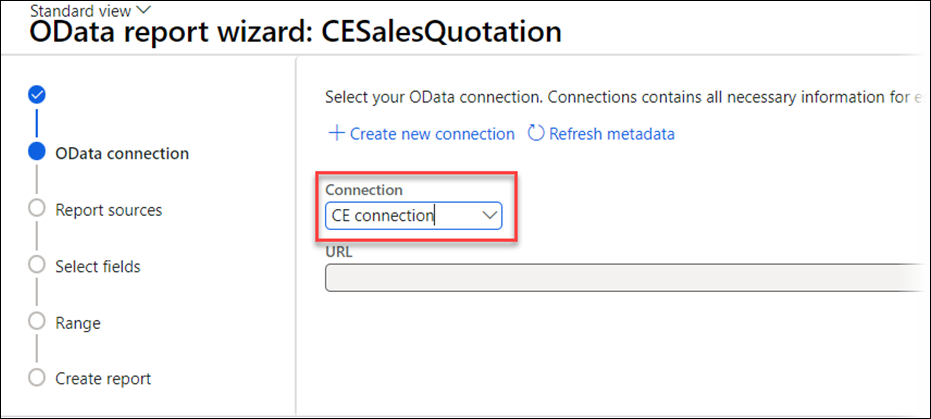
Click Next.
In the Connection drop-down, select the CE connection that was configured in the previous steps, then click Next.
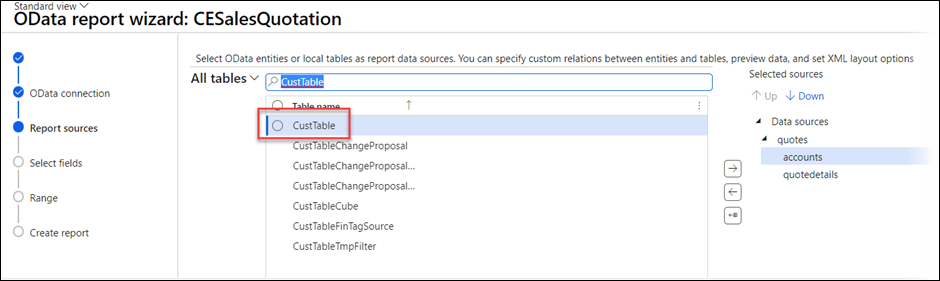
From the Report sources tab, select the data sources that will be needed for the Sales Quotation report. To select an entity, search for it in the search bar, highlight the row, and then use the right arrow in the centre of the screen to send the data source into the query.
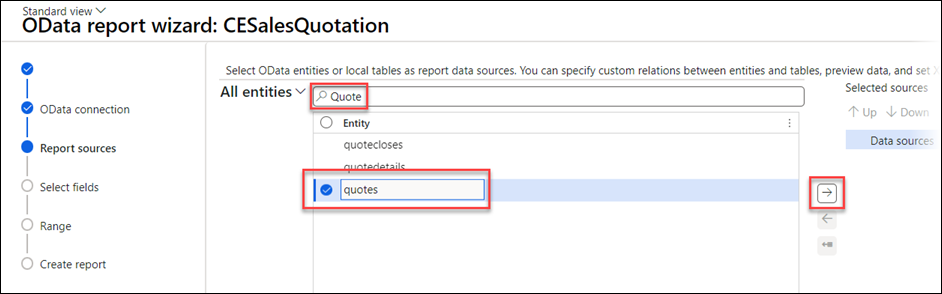
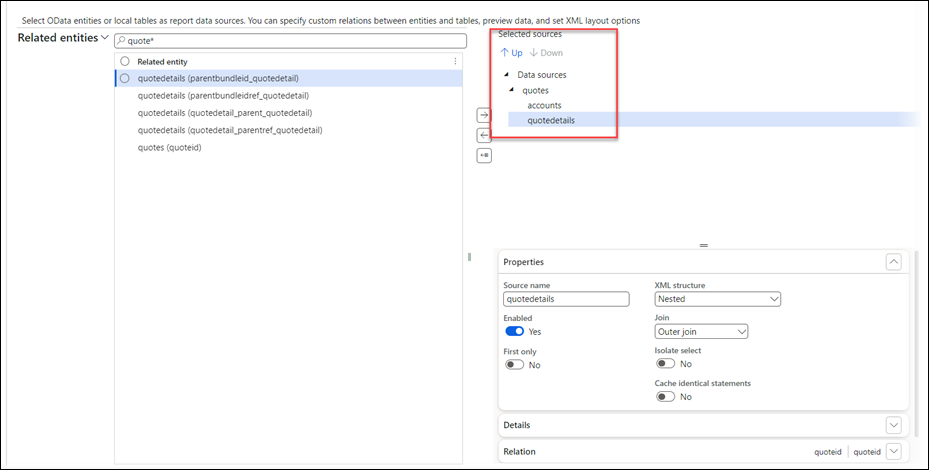
Continue adding data sources based on the requirements for your report. In this example, quotes, quote details, and accounts have been added as data sources.
In this example, we are also going to add a data source from FO. Select All tables from the Related entities drop-down.
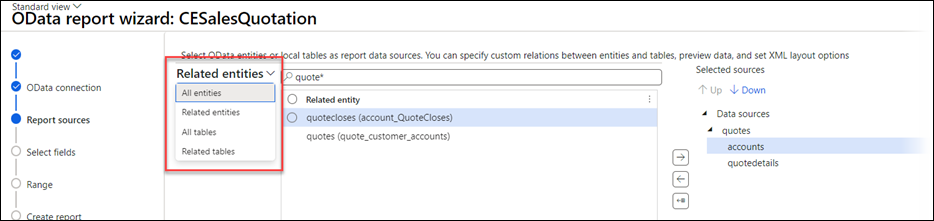
Search for the CustTable and add it to the query under the accounts entity.
Define the Relation Using the Query Wizard
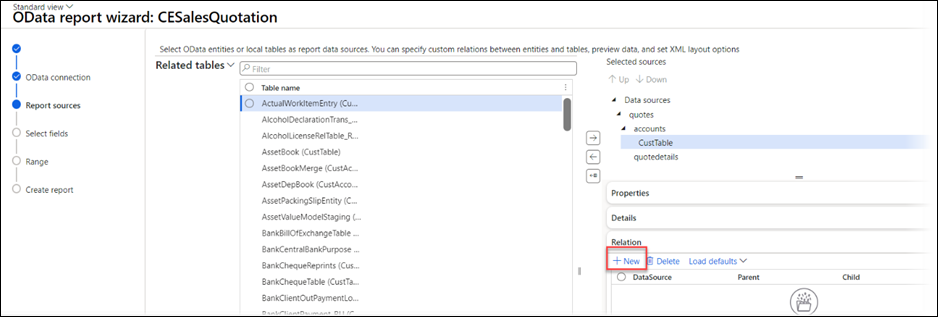
Now there are data sources in the query from both CE and FO. However, because these data sources are from different systems, they do not have a native relation to each other, so the relation needs to be defined in the Query Wizard.
Select the CustTable data source, and, on the Relation tab, select New.
Now, we need to define the relation between the two tables. In this instance, it is going to be the account number fields. In CE, this is accountnumber. In FO, this is AccountNum.

Select the appropriate fields from the drop-down and click Next.
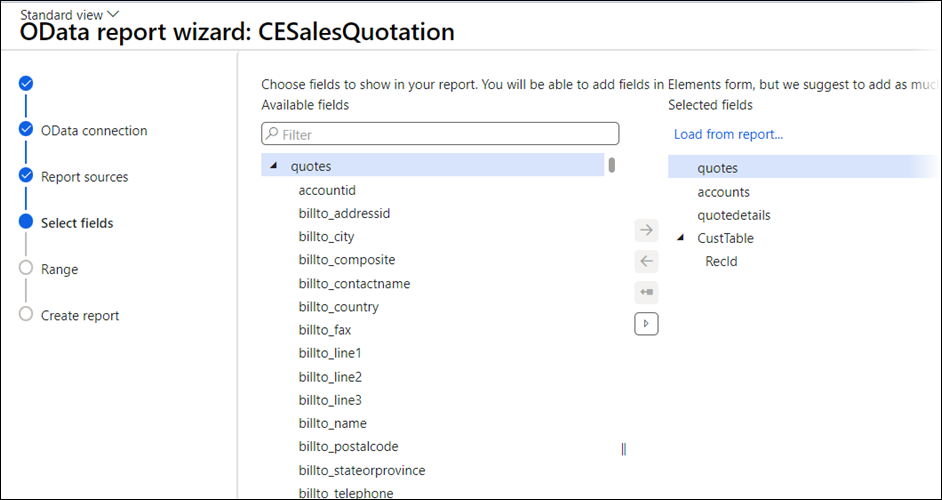
The next screen displayed is similar to the first, but rather than having all the data sources in the system on the left, and the data sources in our query on the right, this screen has all the Fields from the data sources in our query on the left, and the Fields we have selected for our query on the right. For FO tables, this will always include the Recid.
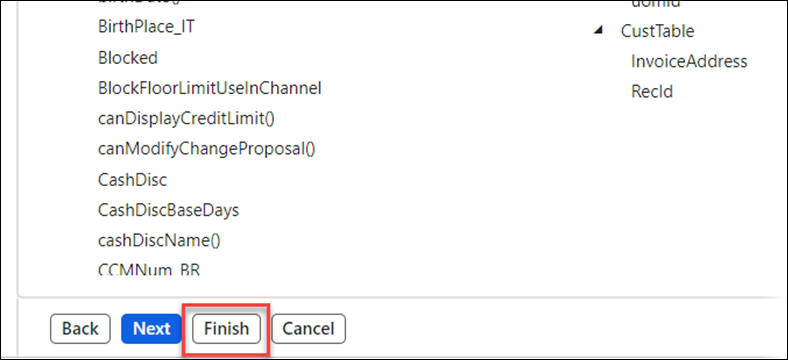
Select the fields from the left-hand side that we want to add to our query on the right. For this example, we have added some generic information about the quote and account from CE and added the address from the Customer in FO.
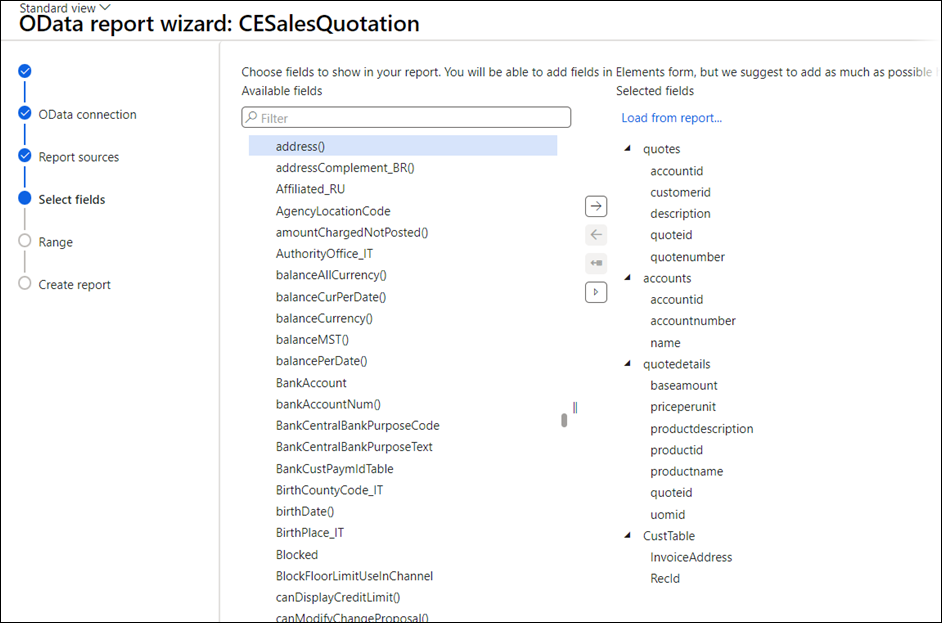
Here you can experiment by adding different data based on your individual requirements for a Sales Quotation document, then click Finish.
This class report is now created and ready to move on to the next step. If you want to check the data that your query is going to fetch and maybe add more or remove fields you do not need, then you can do this by clicking Run report.

Accept the defaults and click OK. The Report is not recognized output will be shown, which is expected because no Lasernet form has been set yet.
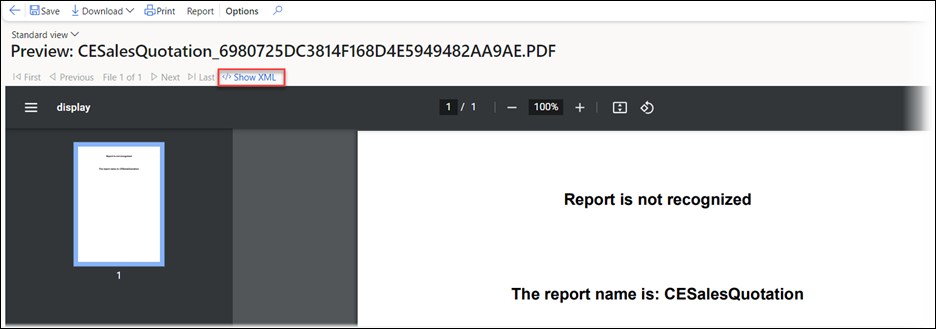
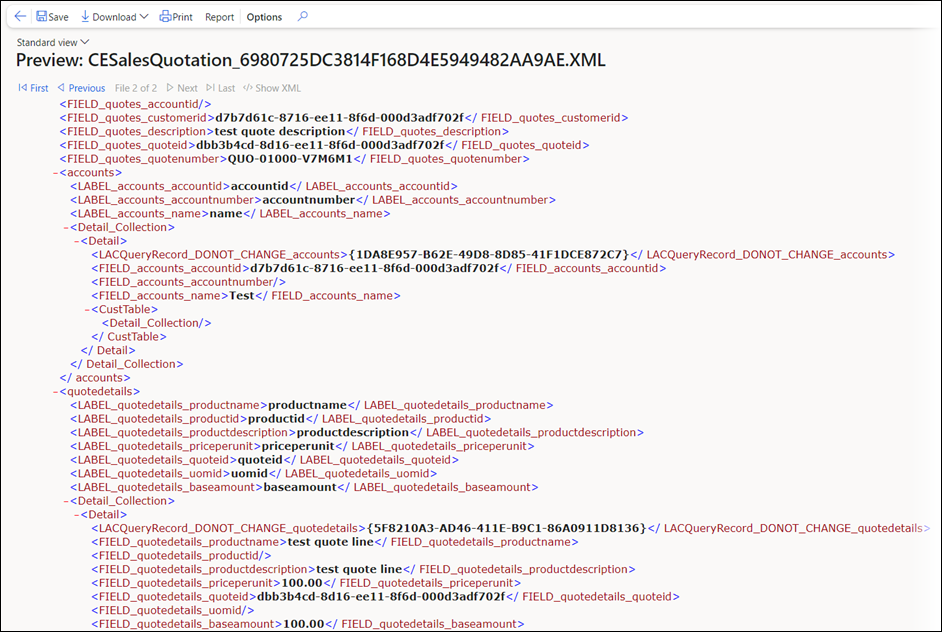
Click Show XML.
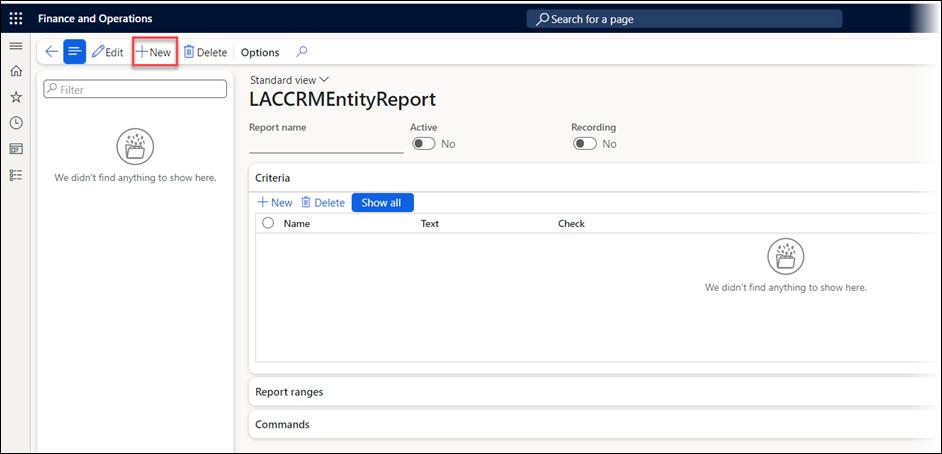
Create an Entity Report
To inform FO when to run the class report, it is necessary to set up an Entity report that listens to messages coming from CE and uses them to identify which query to run in FO.
To set this up, follow these steps:
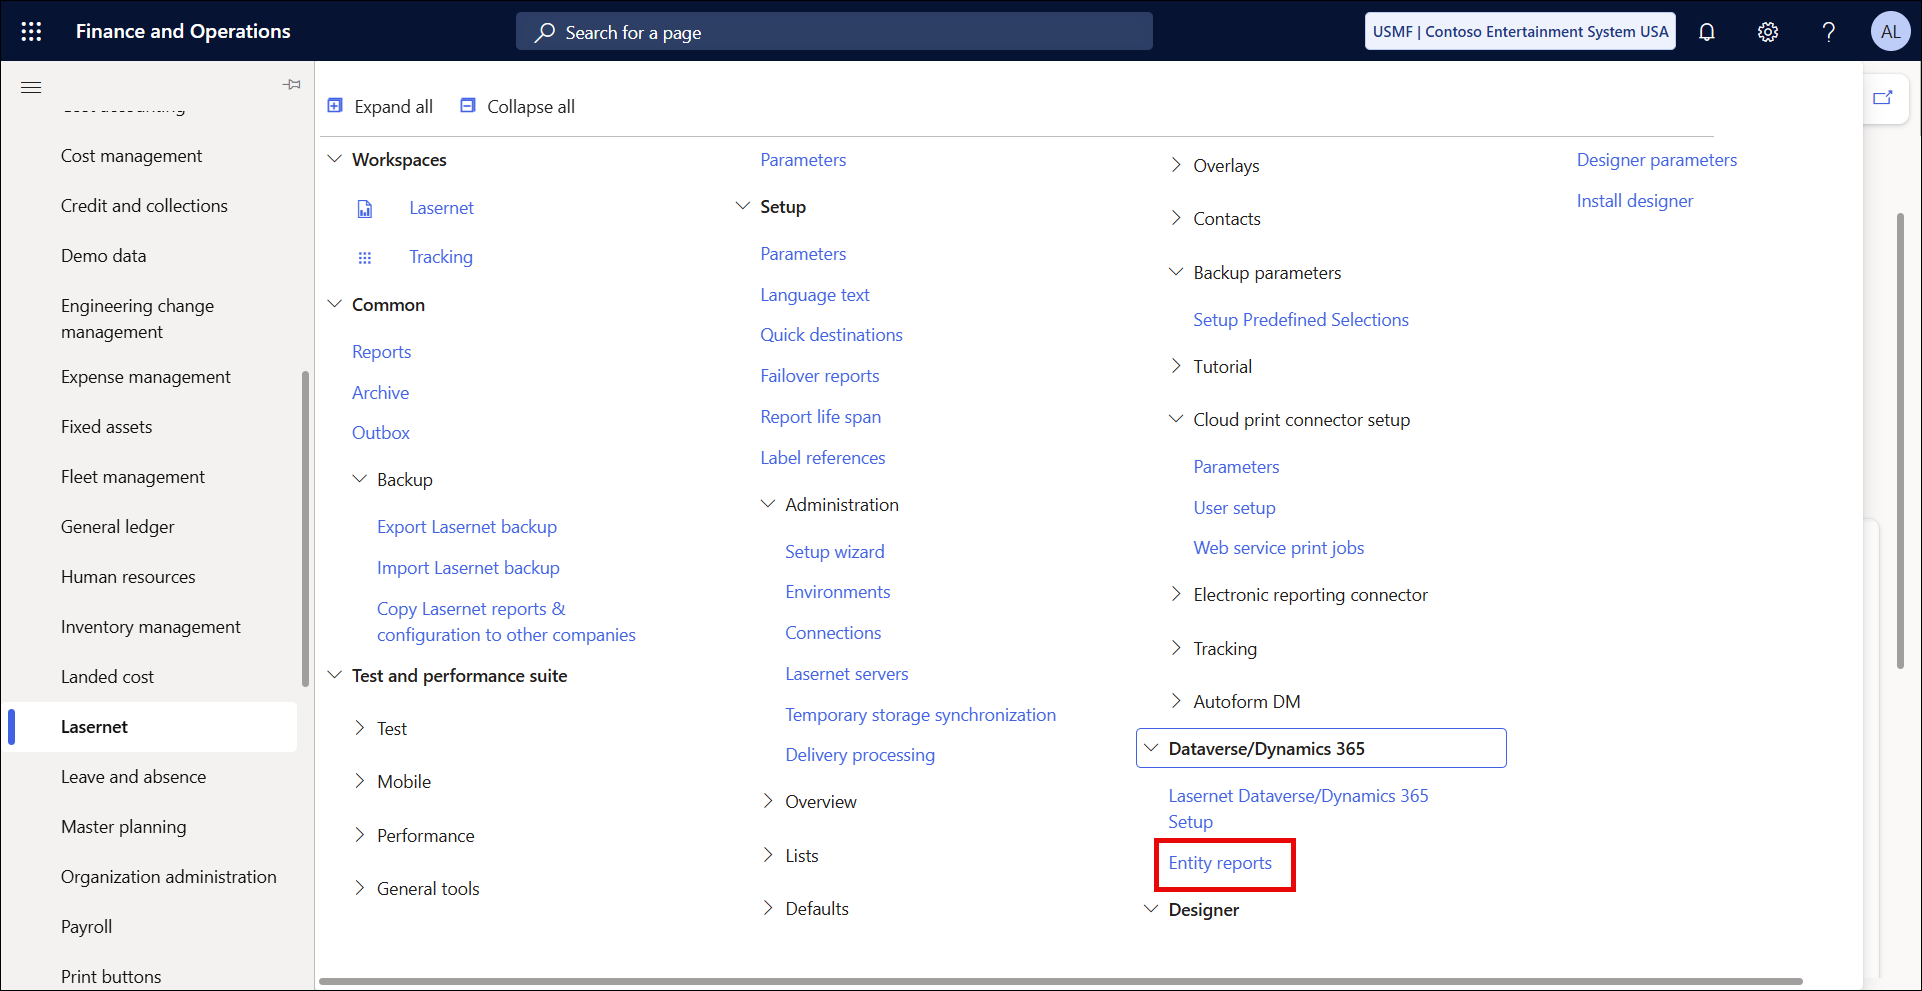
Navigate to Lasernet > Setup > Dataverse/Dynamics 365 > Entity reports.
Click New.
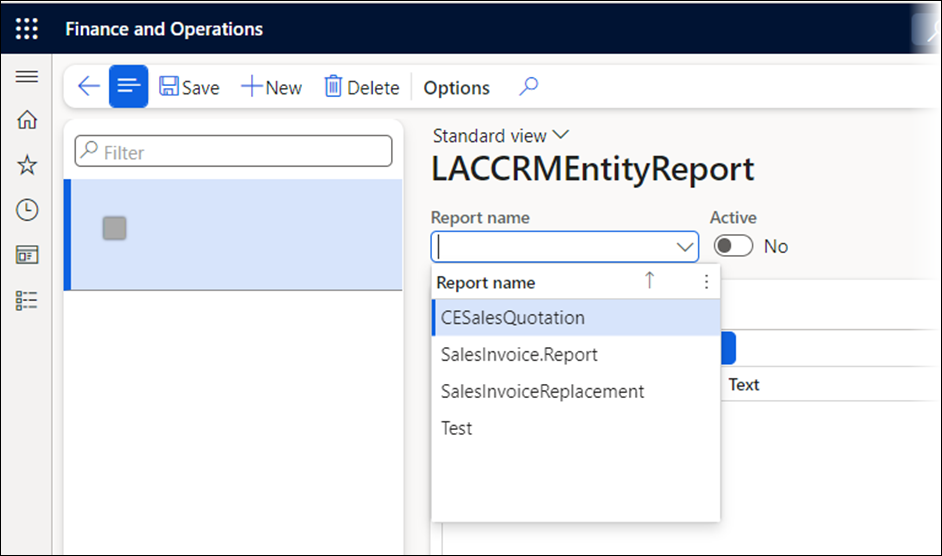
Select the test report that was created in the previous steps in the dropdown for Report name.
Set the Active and Recording buttons to Yes, and then save the changes in the form.
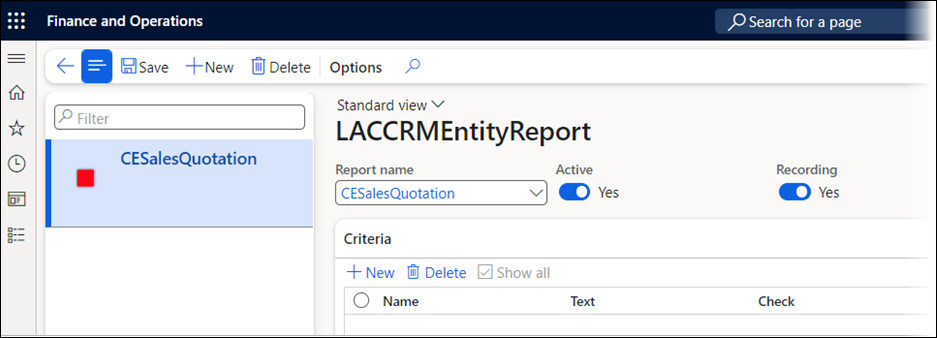
This Entity report is now ready and waiting to receive a message from CE when the user runs the report.
Create an OData Dialog
To create the OData Dialog in CE, which sends the message to the entity report, follow these steps:
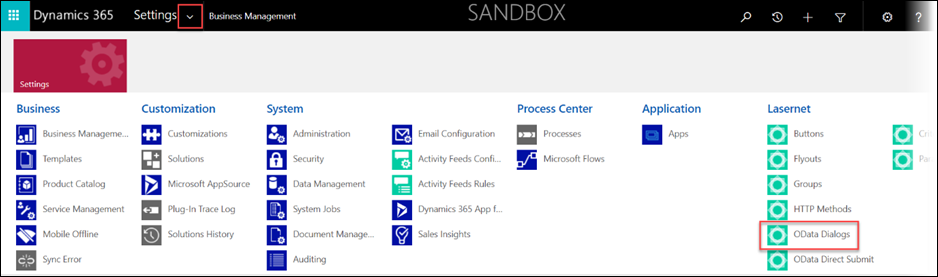
Navigate to the CE instance that is being linked to FO and navigate to Advanced Settings.

In Advanced settings, click the dropdown next to Settings and navigate to OData Dialogs.
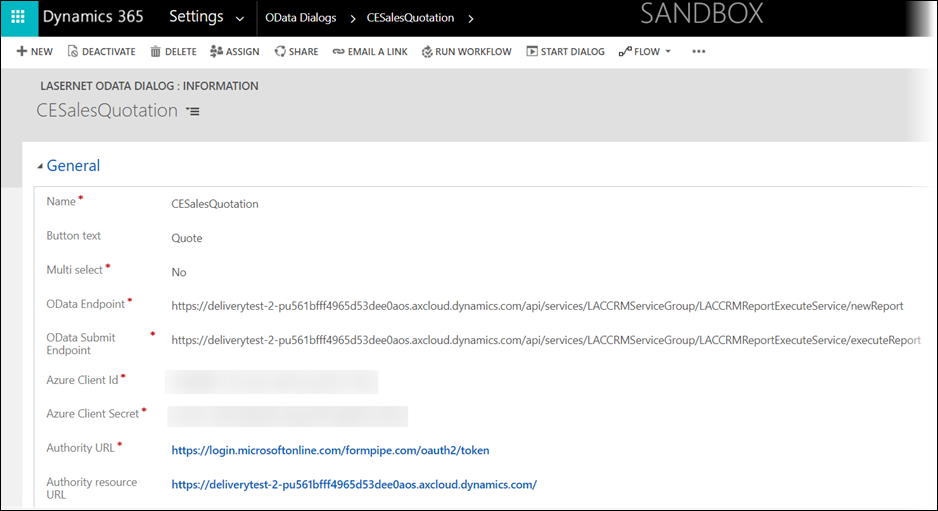
Click New. The OData Dialog form will be displayed for you to enter some details.

a. Name - This needs to be a description. Define a naming convention your organization will use for these dialogs. In this example, it will be named the same as the class report it is going to run in FO.
b. Button Text - This is the text that will show on the screen for the user to click on. In this example, it will be Quote.
c. Multi Select - Leave this as No.
d. OData Endpoint - This should be the URL of the FO environment, followed by this text: /api/services/LACCRMServiceGroup/LACCRMReportExecuteService/newReport
e. OData Submit Endpoint - This should be the URL of the FO environment, followed by this text: /api/services/LACCRMServiceGroup/LACCRMReportExecuteService/executeReport
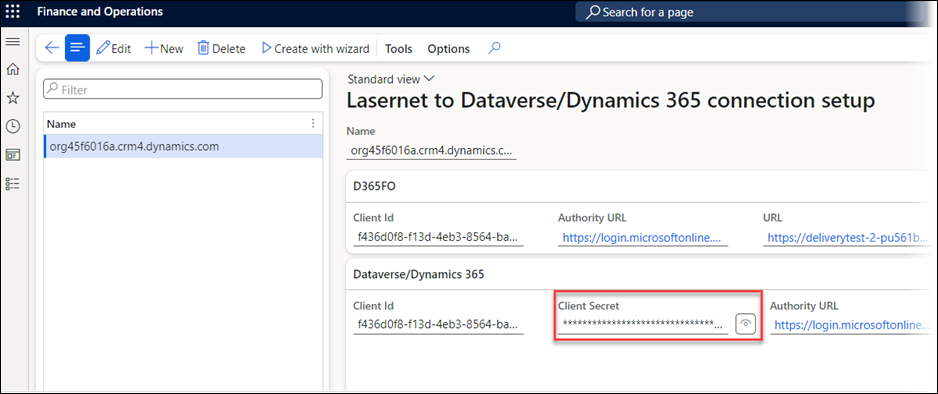
f. Azure Client id - This can be copied from FO or the app registration. In FO, it can be copied from Lasernet > Setup > Dataverse/Dynamics 365 > Lasernet Dataverse/Dynamics365 Setup.

g. Azure Client Secret - This can be copied from the same place as the client ID above, use the view button to see the secret value:
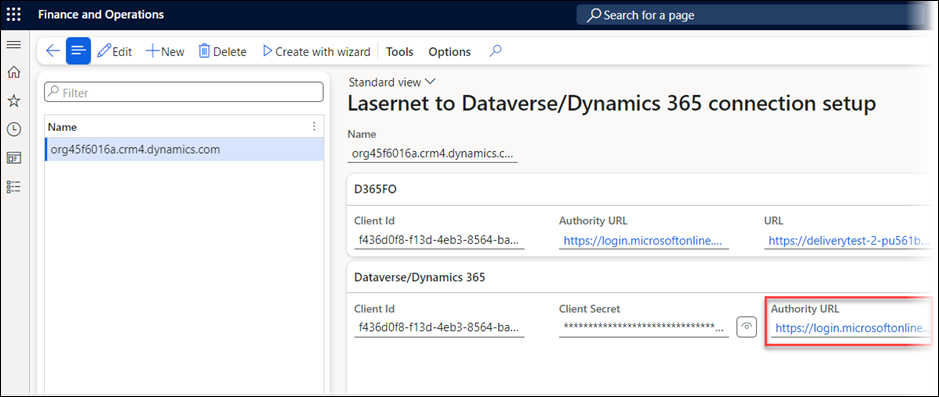
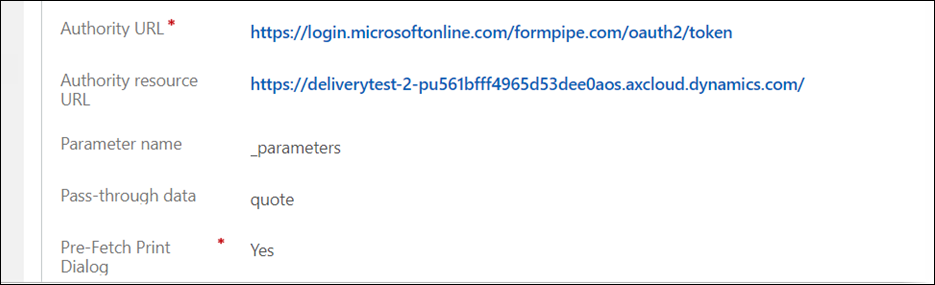
h. Authority URL- This can be found in the same place as the client ID and secret:
i. Authority Resource URL- This is the URL of the FO environment- it can just be copied from the browser.
Once these fields have all been filled in following the instructions above, click Save (in CE, the Save button is in the bottom right-hand corner of this form) and the form will look like this:
Two more settings must be configured on this form: the Pass-through data and the Pre-Fetch Print Dialog options.
5. The Pass Through Data is what will be used to match this Odata Dialog to the entity report in FO, so give it a unique value - in this instance, we will use quote.
6. The Pre-Fetch Print Dialog option should be set to Yes.
Create Menu Items in CE
For the user to be able to run the report from the user interface in CE, the following areas need to be configured:
Criterion: This is a rule that defines where a group or flyout can be displayed in the system.
Groups: A group of OData Dialogs.
Flyouts: A drop-down list containing a number of different groups.
To create the criteria, follow these steps:
Navigate to the Advanced Settings > Criterion.

Open the criteria, and on the list page, click New.

The first created criteria is DenyAll. A second criterion will be created to enable the group to be shown on specific forms.
Set the Name as DenyAll and then set the Criteria Type to Deny.
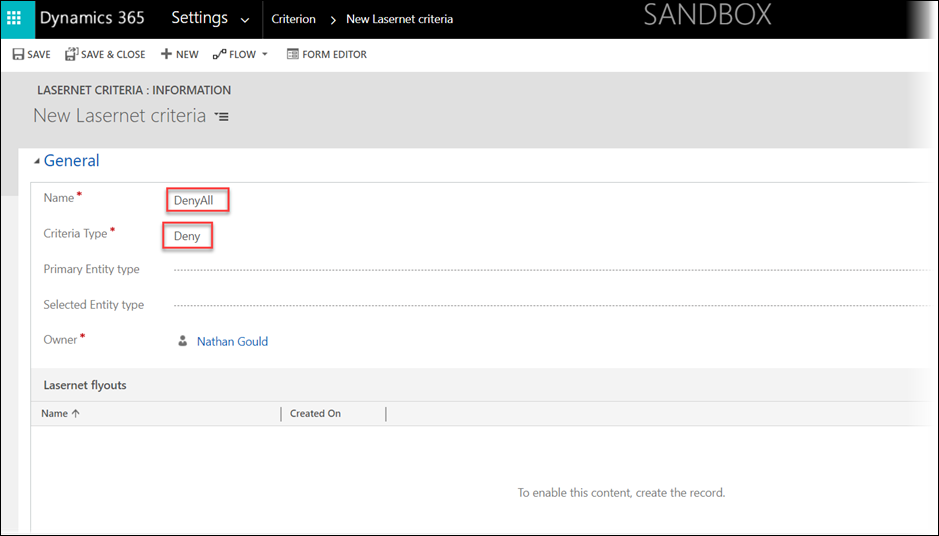
Save this criteria, then create a New criteria.
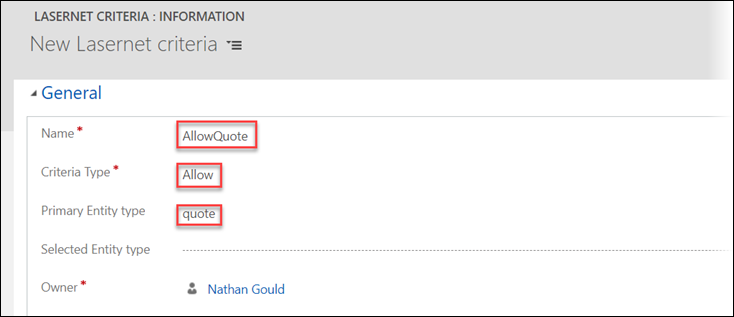
Set the Name as AllowQuote and then set the Criteria Type to Allow and the Primary Entity Type as quote, and then Save this criteria too.
Note
The Primary Entity Type is important to get right. It is case-sensitive and needs to be the Logical Name of the entity/table in CE. You can find it in the following list of tables: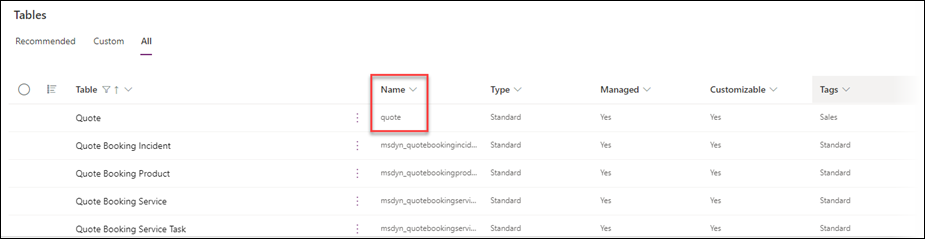
or on the Table itself as the Logical name: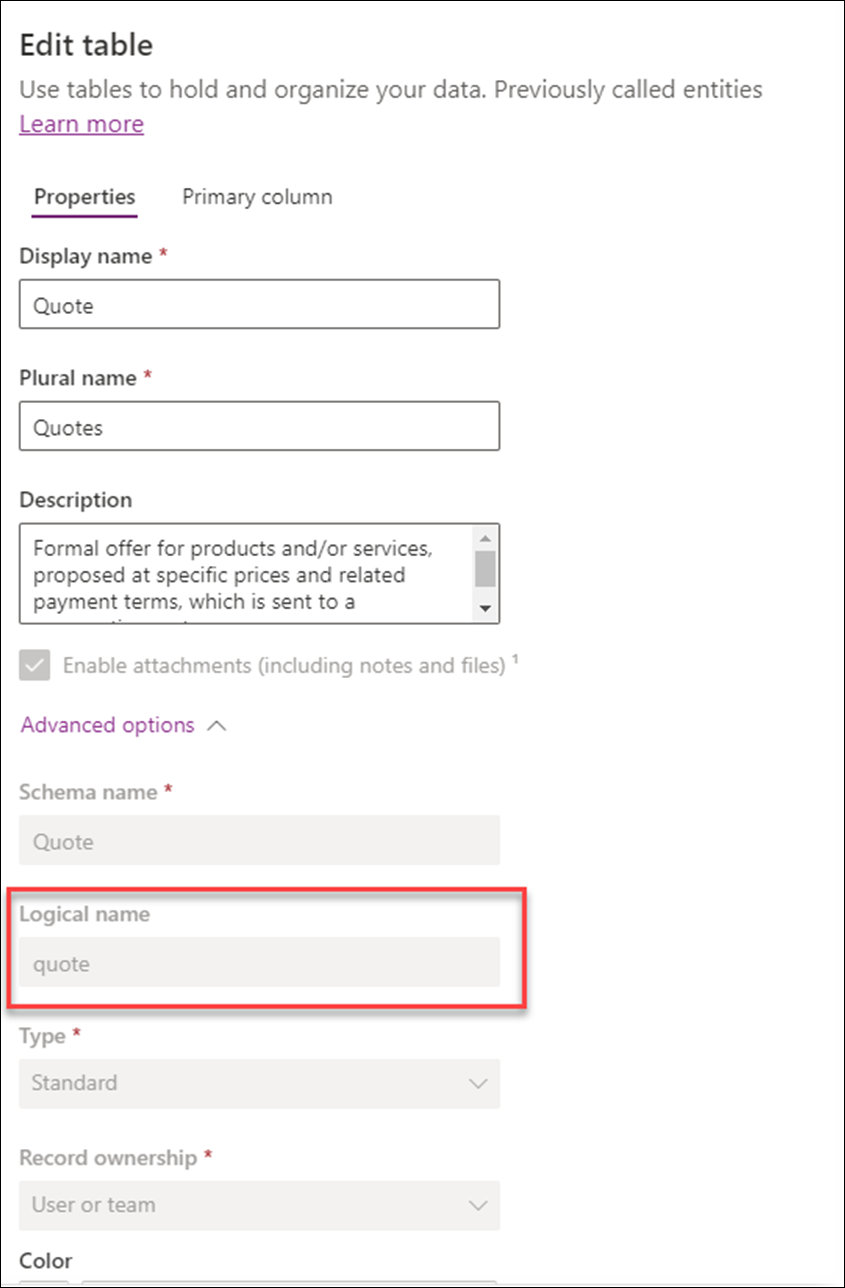
Create a Flyout
To create a flyout, follow these steps:
From the Advanced Settings menu, select Flyouts.

Open the Flyouts form and click New.
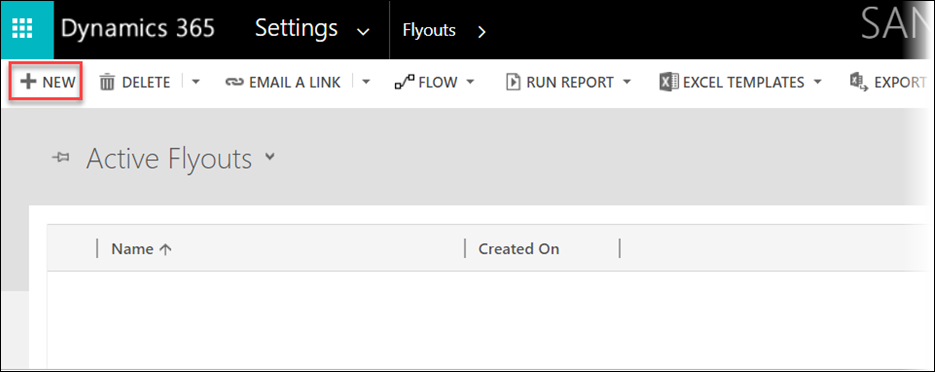
On the form that is displayed, give the flyout a sensible name.
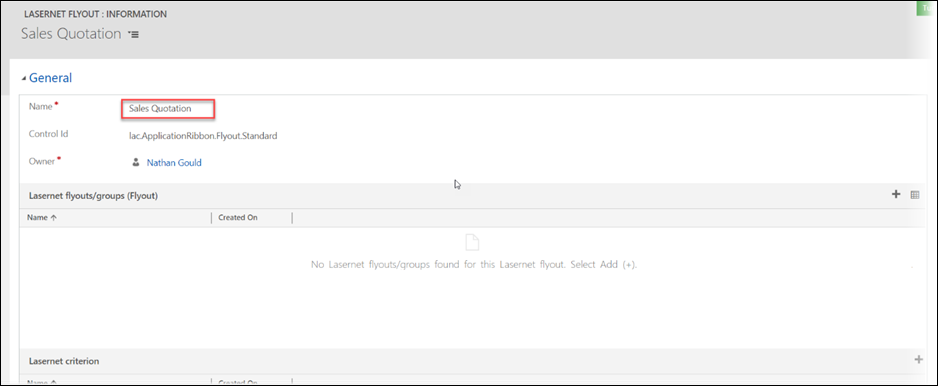
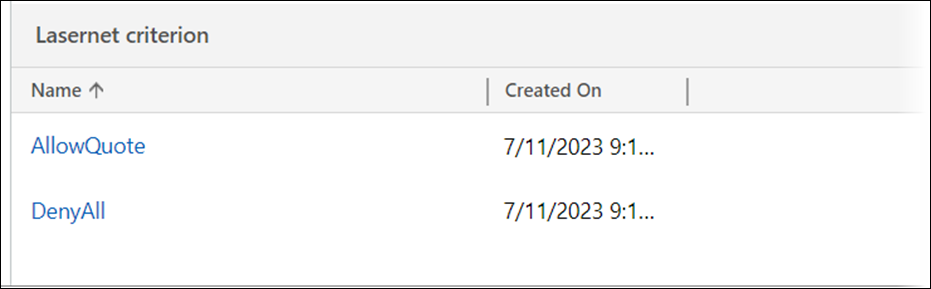
Click the + symbol on the Lasernet criterion section and add both criteria that were created in the previous step.

Once selected, the Lasernet criterion tab should appear as follows. The order is not important here:
Save the flyout.
Create the Group
To create the group and link all of the configurations together, follow these steps:
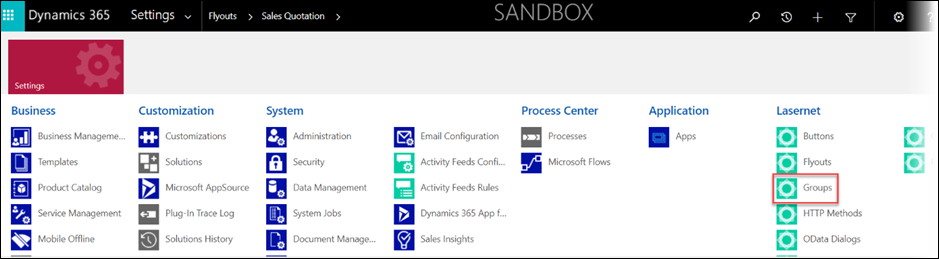
Navigate to the Advanced Settings menu and select Groups.
Open the Groups form and on the list page, click New.
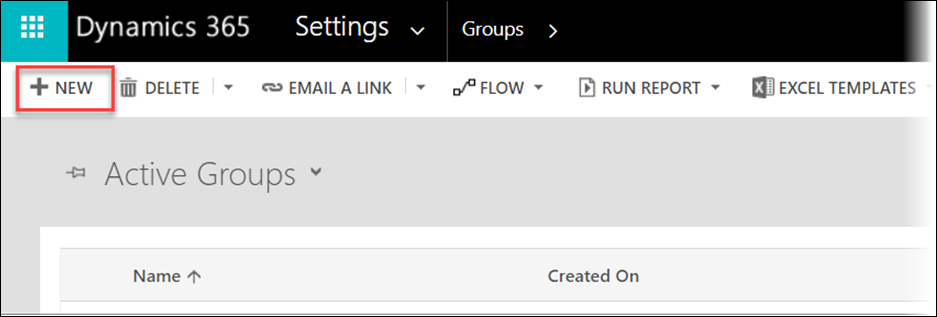
In the Name field type in Quotes Group and then click Save.
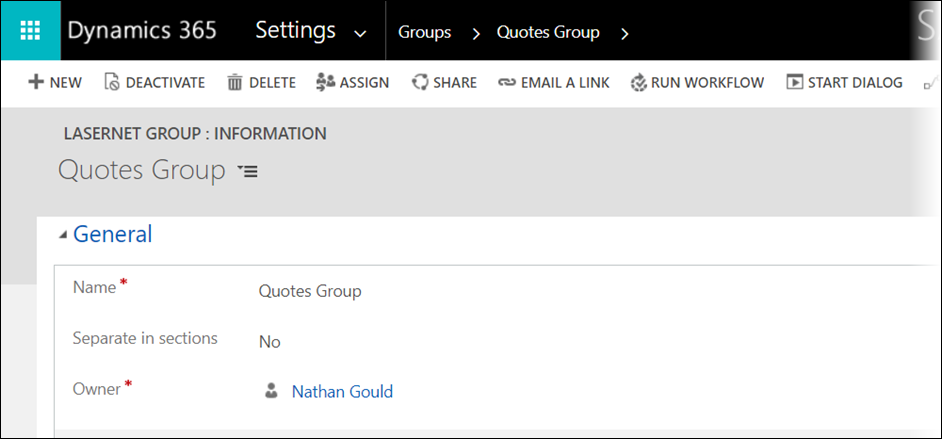
Link the new Quotes Group to the Flyout by scrolling down to Lasernet flyouts/groups(Groups) and clicking on the + symbol.

The following window will be shown:
This form defines the link between the flyout and the group:
a. Name - Give the link record a sensible name. It makes sense to establish a naming convention for your organization to use consistently across all these records.
b. Flyout - Using the magnifier in the drop-downs, select the Sales Quotation Flyout that was created in a previous step.

c. Group - In the same way as above, select the Quotes Group which has just been created.
d. Order - Set this as 1.

Save the record and close the form.
The Group also needs to be linked to the OData Dialog.
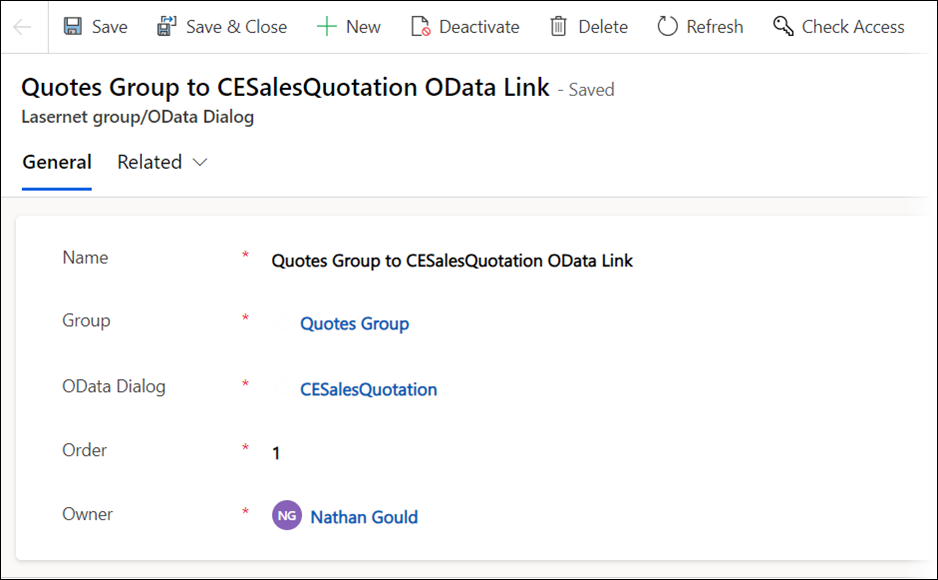
Scroll further down the page to the Lasernet groups/OData Dialogs(Group).

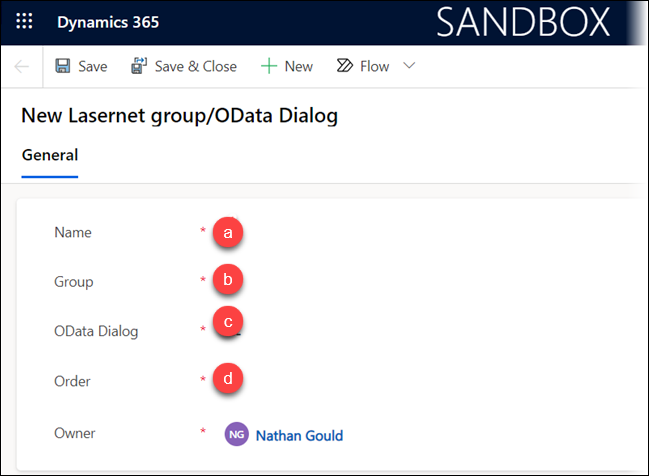
Click the + symbol, and the following screen will be displayed:
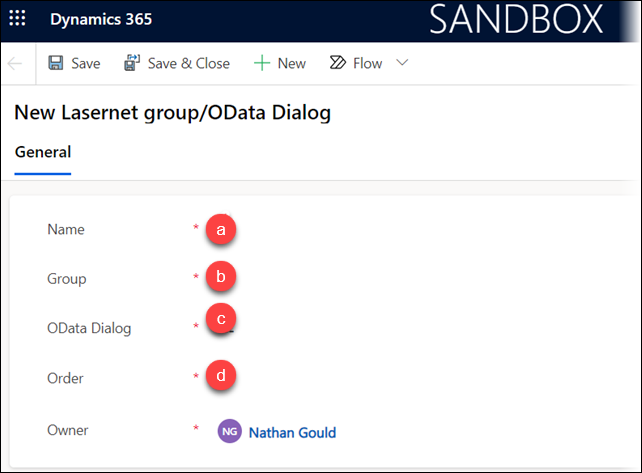
This form defines the link between the Group and the OData Dialog.
a. Name- Give the link record a sensible name. It makes sense to establish a naming convention for your organization to use consistently across all these records.
b. Group Select the Quotes Group which was previously created.
c. OData Dialog- Select the CESalesQuotation dialog, which was previously created.
d. Order- Set this as 1.
Save the record.
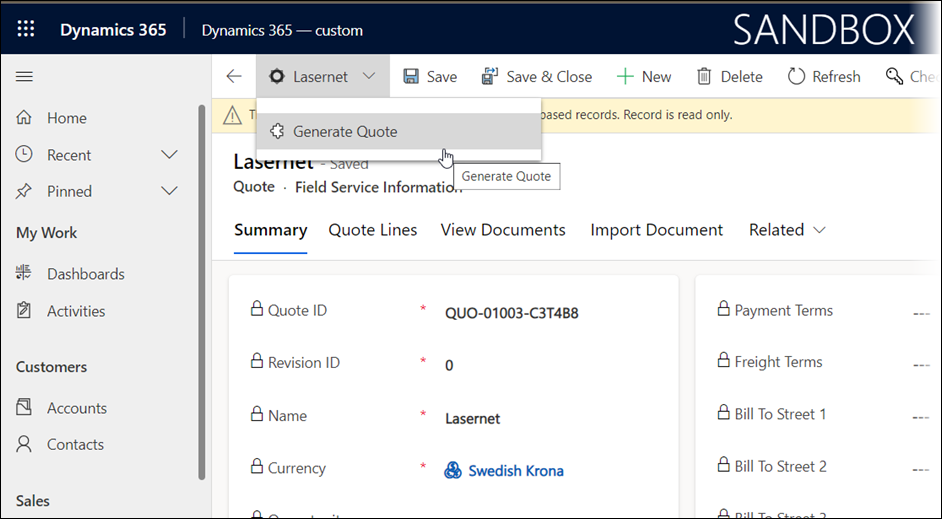
To verify this configuration, navigate to the Quotes entity in CE.
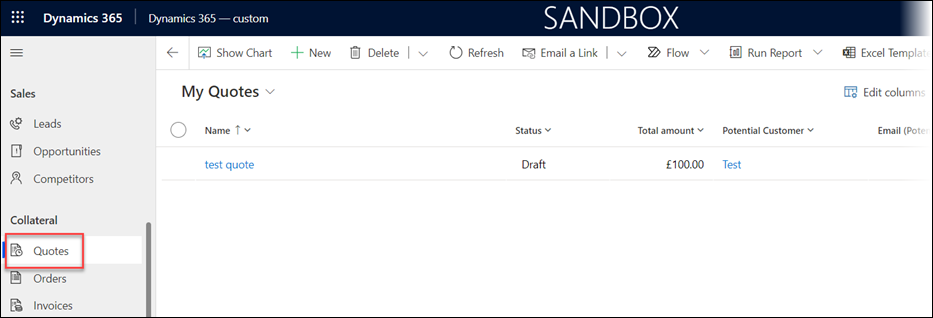
Open one of the Quotes to view the Quotes Form.
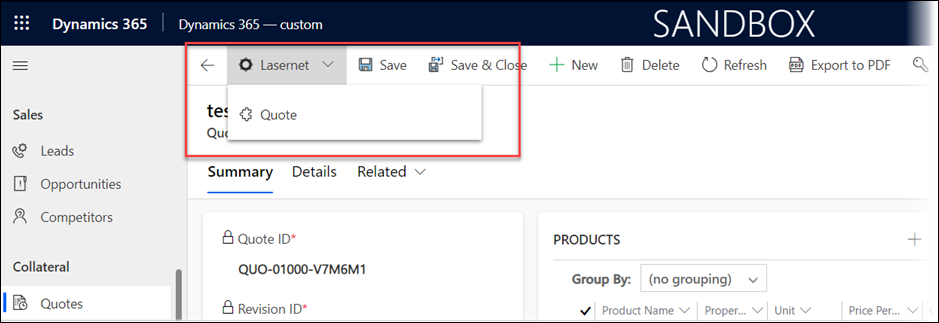
In the Quotes form, there is now a Lasernet button, with a Flyout menu that displays all the OData Dialogs that are in the linked Group.
Confirm that the criterion is working correctly by navigating to the Accounts entity in CE.
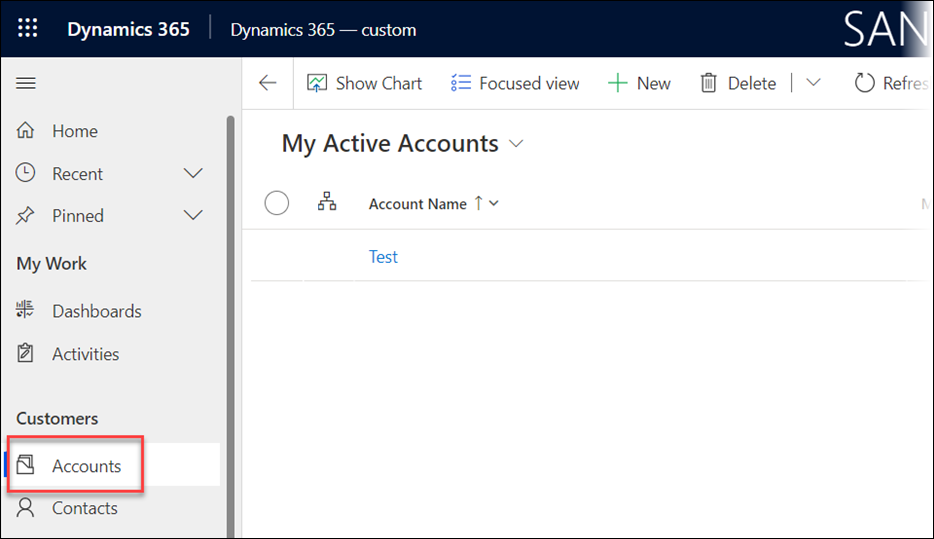
Select an Account and double-click it to open the Accounts form.
No Lasernet button is shown.
Recap - What Has Been Configured
For communication between CE and FO to work, several settings need to be configured. Assuming that the environments, licenses, and users have been properly configured, check that the following steps have been carried out before moving on:
Azure
Within Azure, we need to configure:
App Registration with the client ID and client secret generated, and other config as per the guides
Power Platform
Within the Power Platform, we need to configure:
CE Application User with correct security privileges and with the correct application linked.
Lasernet Security Privileges for the CE user.
Finance and Operations
Within FO, we need to configure:
Dataverse/Dynamics 365 connection with the correct information copied into the connection.
App Registration User with the client ID assigned to them.
Connection - add the new dataverse connection to the connections form.
Class Report to get the information from CE.
Entity Report to define what happens to the message from CE in FO.
Customer Engagement
Within CE, we need to configure:
Create an OData Dialog - This is where we define how the message will be sent between CE and FO.
Create CE Menu Items - This allows users to click a button to run the report. This requires Criterion, Groups, and Flyouts, and that all these records be linked properly.