- Print
- PDF
How Do I Configure Lasernet Cloud Print Connector to Use an External Azure Storage Connection String?
By default, in Lasernet Essentials, Professional, and Advanced, the Cloud Print Connector is configured to use the Internal Azure Storage provided by Microsoft Dynamics 365 Finance and Operations.
It is possible and straightforward to configure the Cloud Print Connector to use an external Azure Storage connection string instead.
This article is divided into three sections, each one describing this configuration respectively in Essentials, Professional, and Advanced.
Lasernet Essentials
Open the Lasernet Essentials workspace.
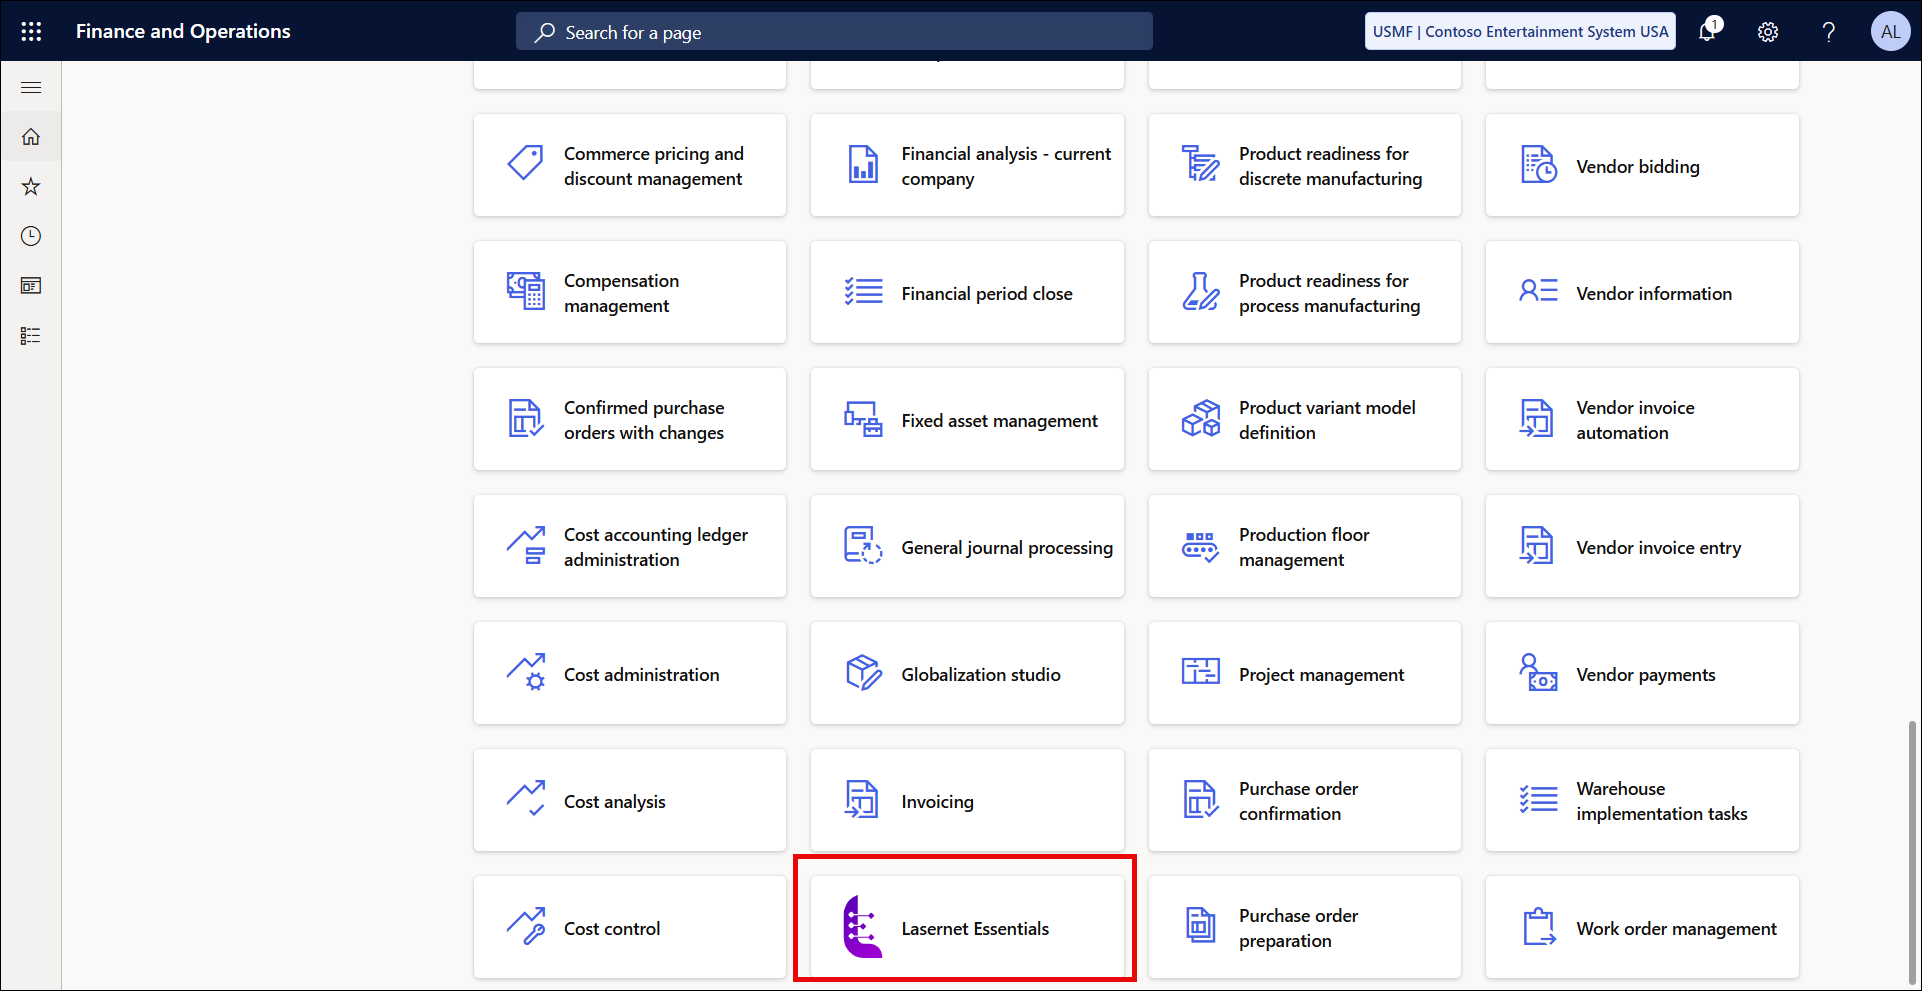
Navigate to Links > ADMINISTRATION > Connections.
Create a new connection for the External Azure Storage.

Choose Storage as the Connection type.
Choose Azure storage as the Type.
Add a connection string to the AZURE STORAGE field.
Give the connection an Instance name (in this example, cpc)
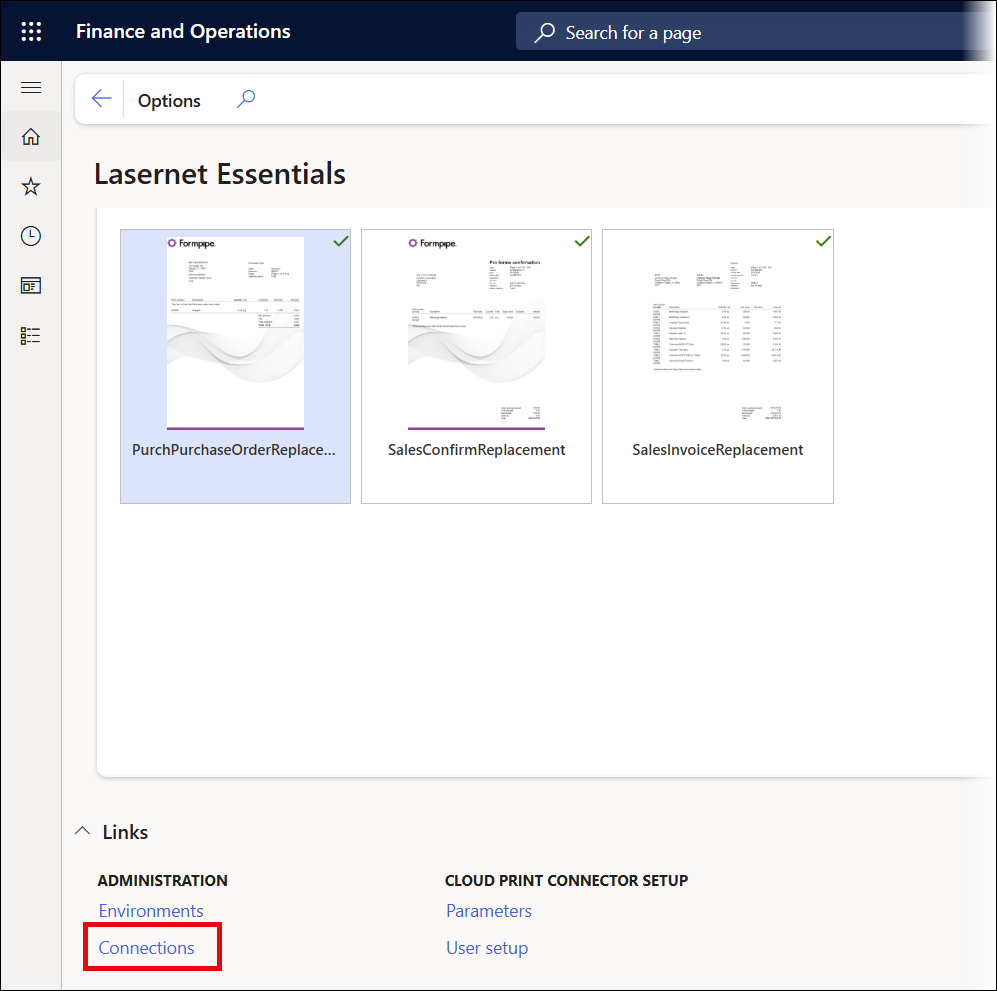
Navigate back to the Lasernet Essentials workspace and click Links > CLOUD PRINT CONNECTOR SETUP > Parameters.
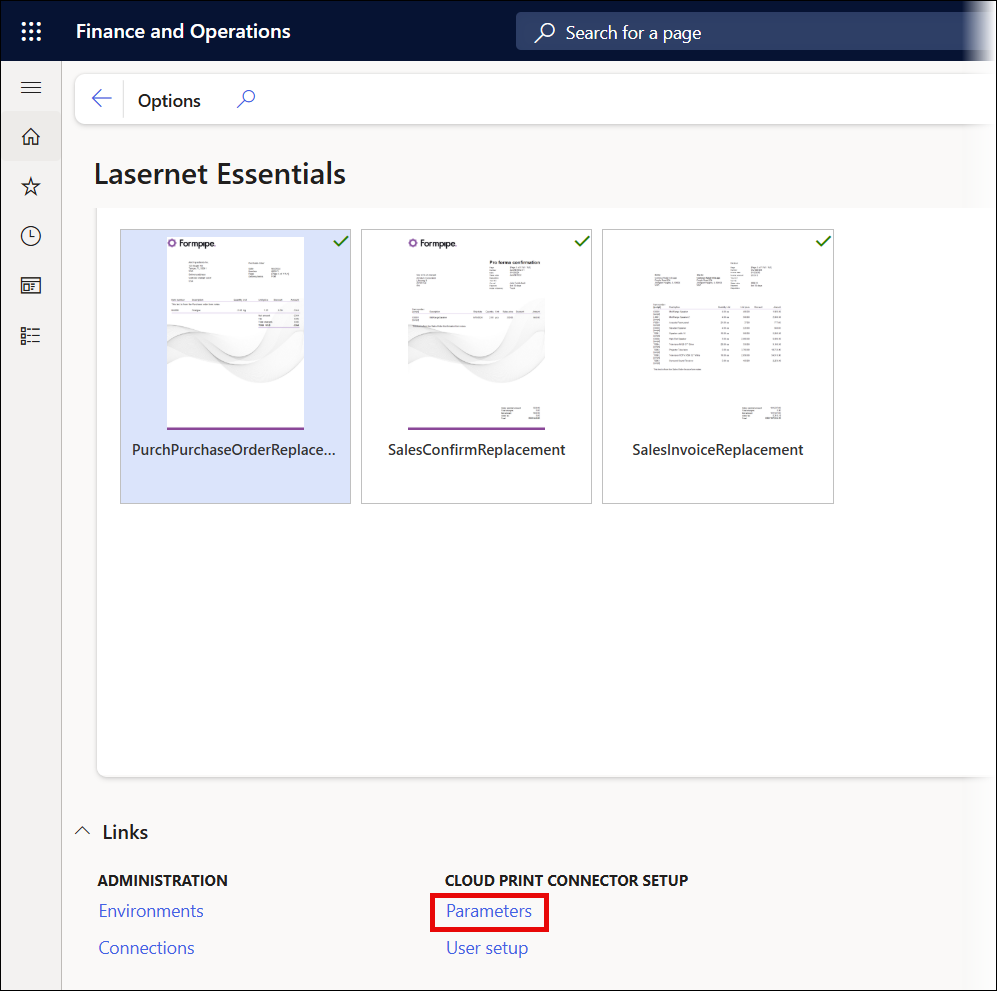
Choose your newly created connection (in this example, CPC External) from the Azure Storage Connection-string dropdown menu.

Navigate back to the Lasernet Essentials workspace and click the Setup wizard tile.
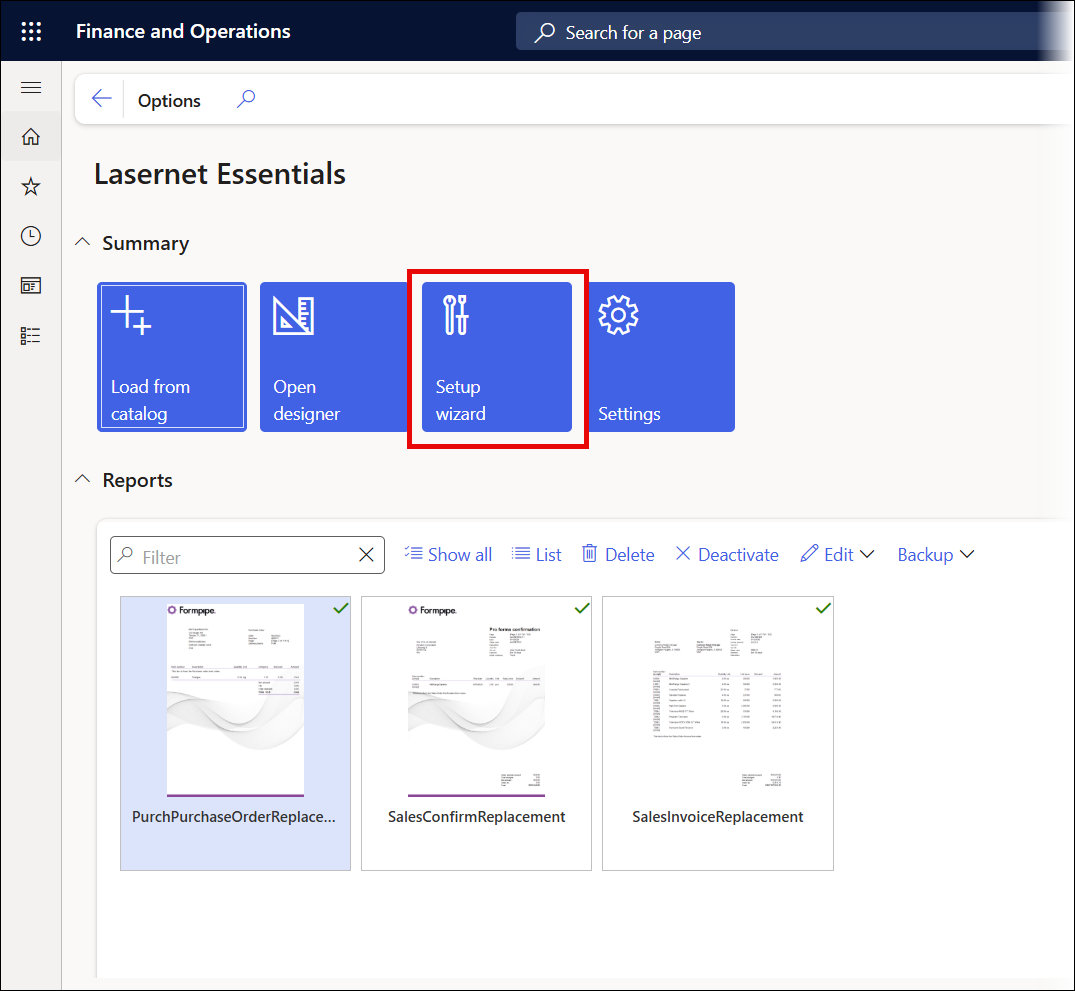
Follow steps 3, 4, and 5 of the wizard to install, configure, and refresh printers.
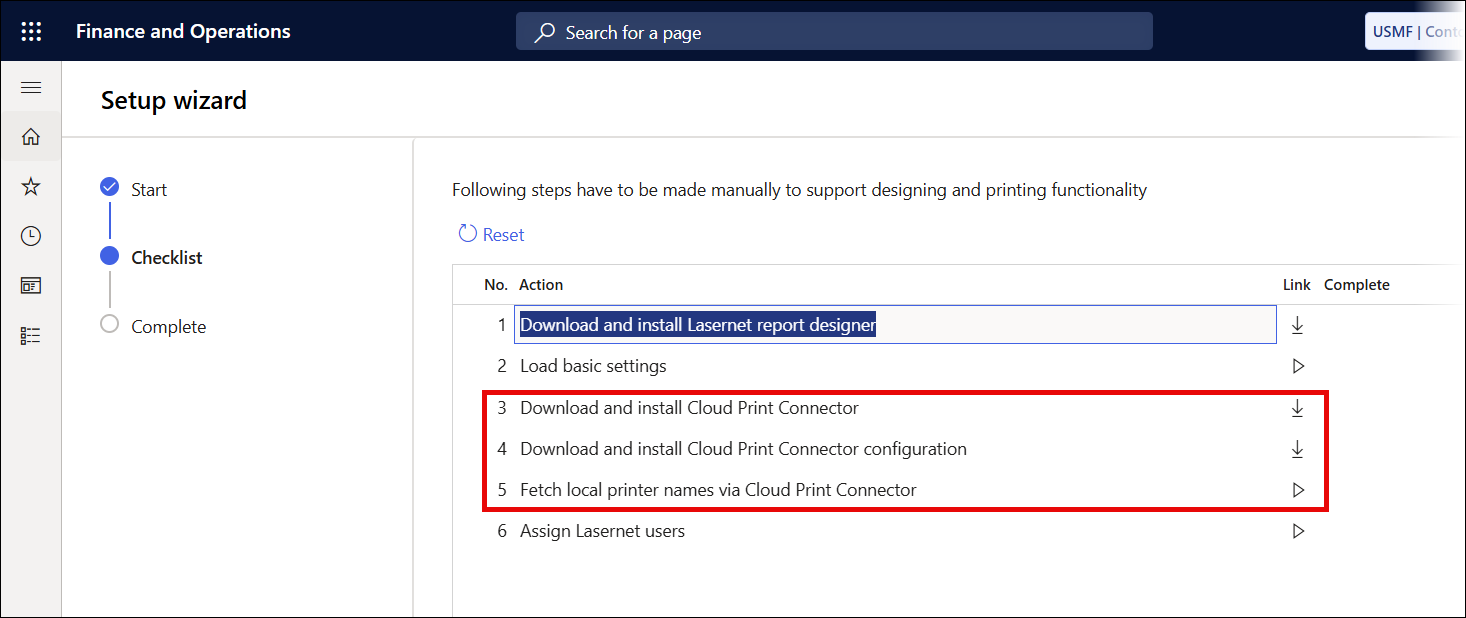
Step 3: Download and Install Cloud Print Connector. If you already have, skip this step.
Step 4: Download and install Cloud Print Connector configuration. If you already have, this message might appear:

Click Yes to update the configuration and use the External Azure Storage connection string.
Step 5: Fetch local printer names via Cloud Print Connector. This will update the list of printers using your CPC.
You are now ready to print using an External Azure Storage connection string.
Lasernet Professional
Open the Lasernet Professional workspace.
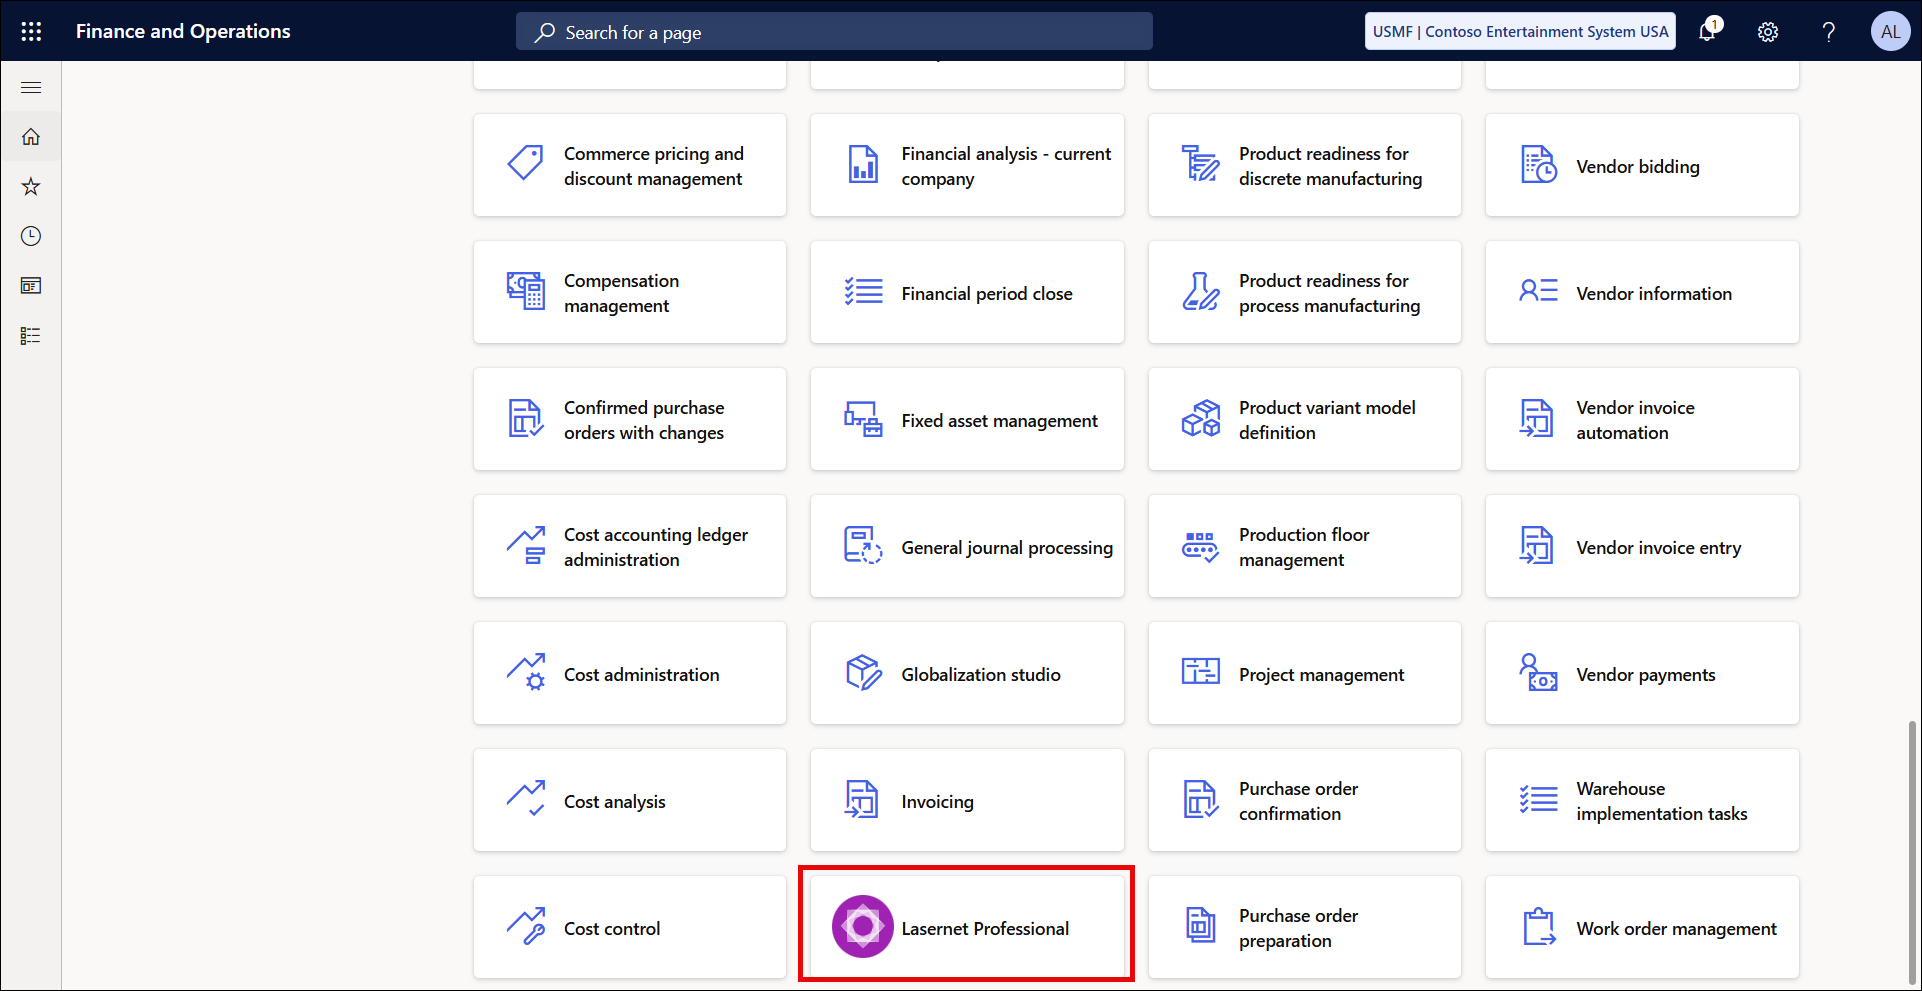
Navigate to Links > ADMINISTRATION > Connections.
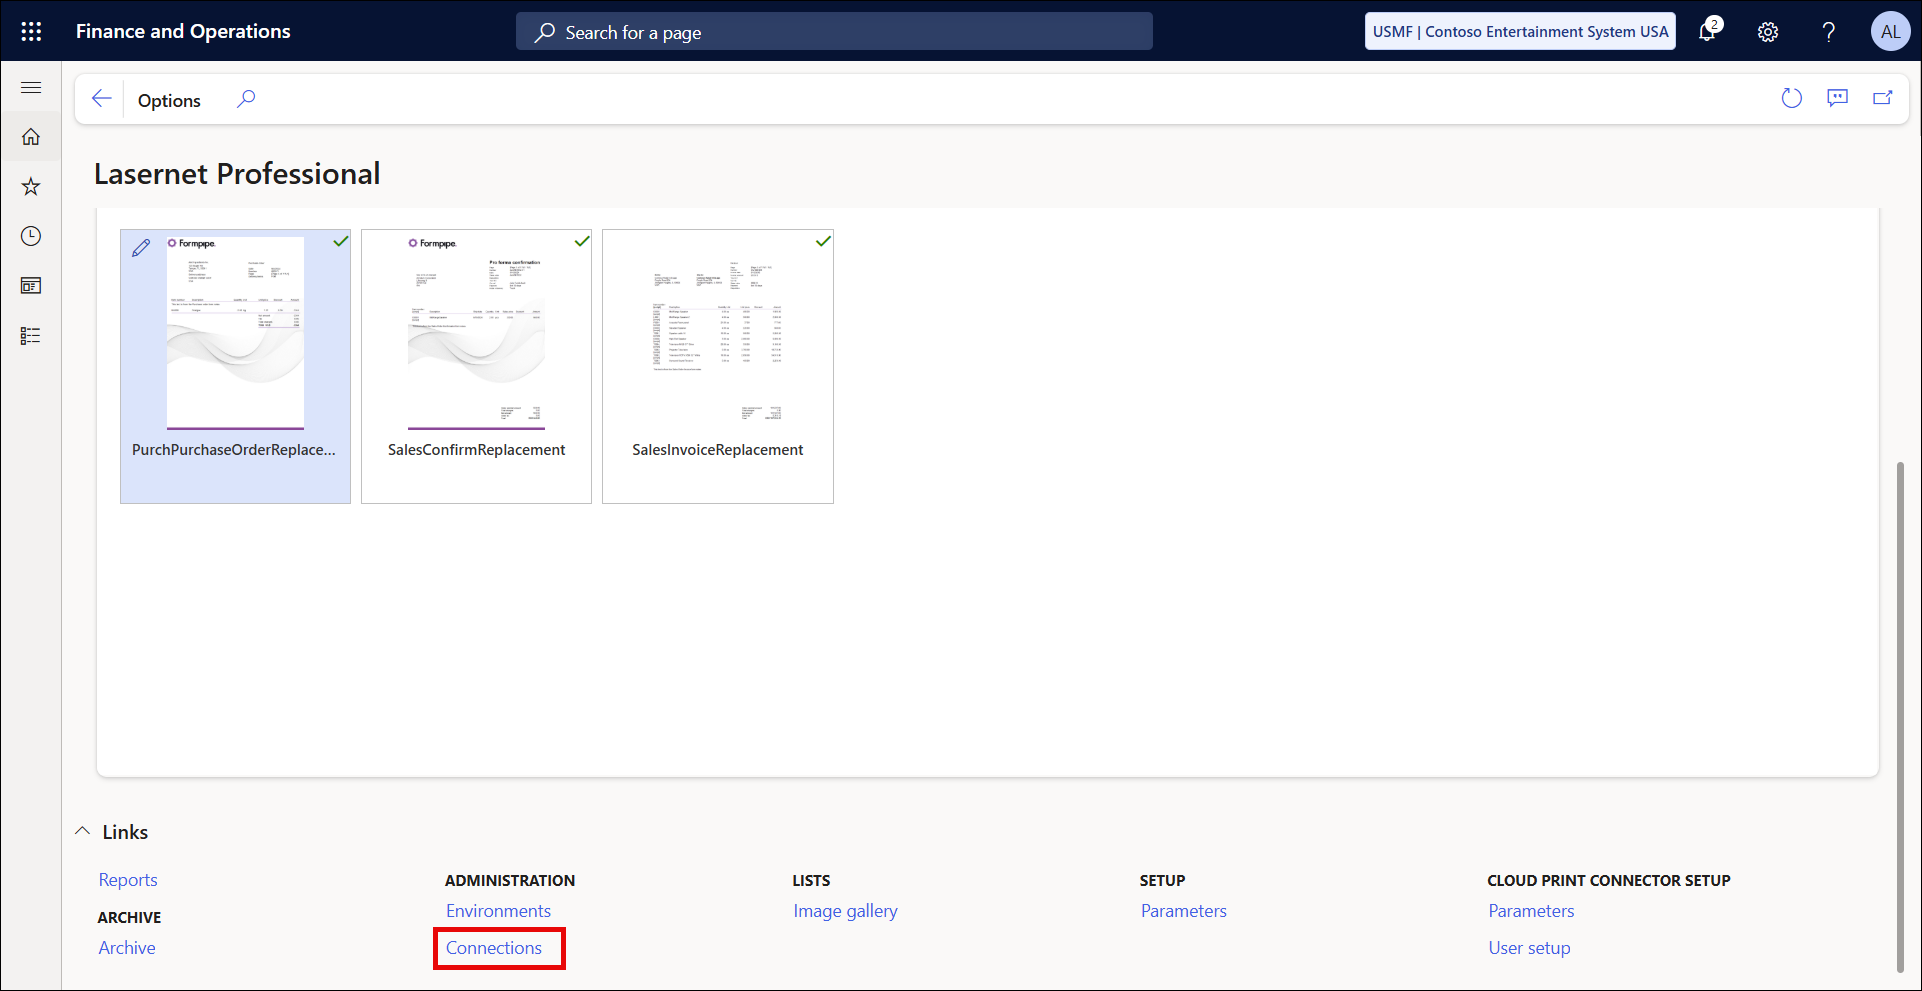
Create a new connection for the External Azure Storage.

Choose Storage as the Connection type.
Choose Azure storage as the Type.
Add a connection string to the AZURE STORAGE field.
Give the connection an Instance name (in this example, cpc)
Navigate back to the Lasernet Professional workspace and click Links > CLOUD PRINT CONNECTOR SETUP > Parameters.
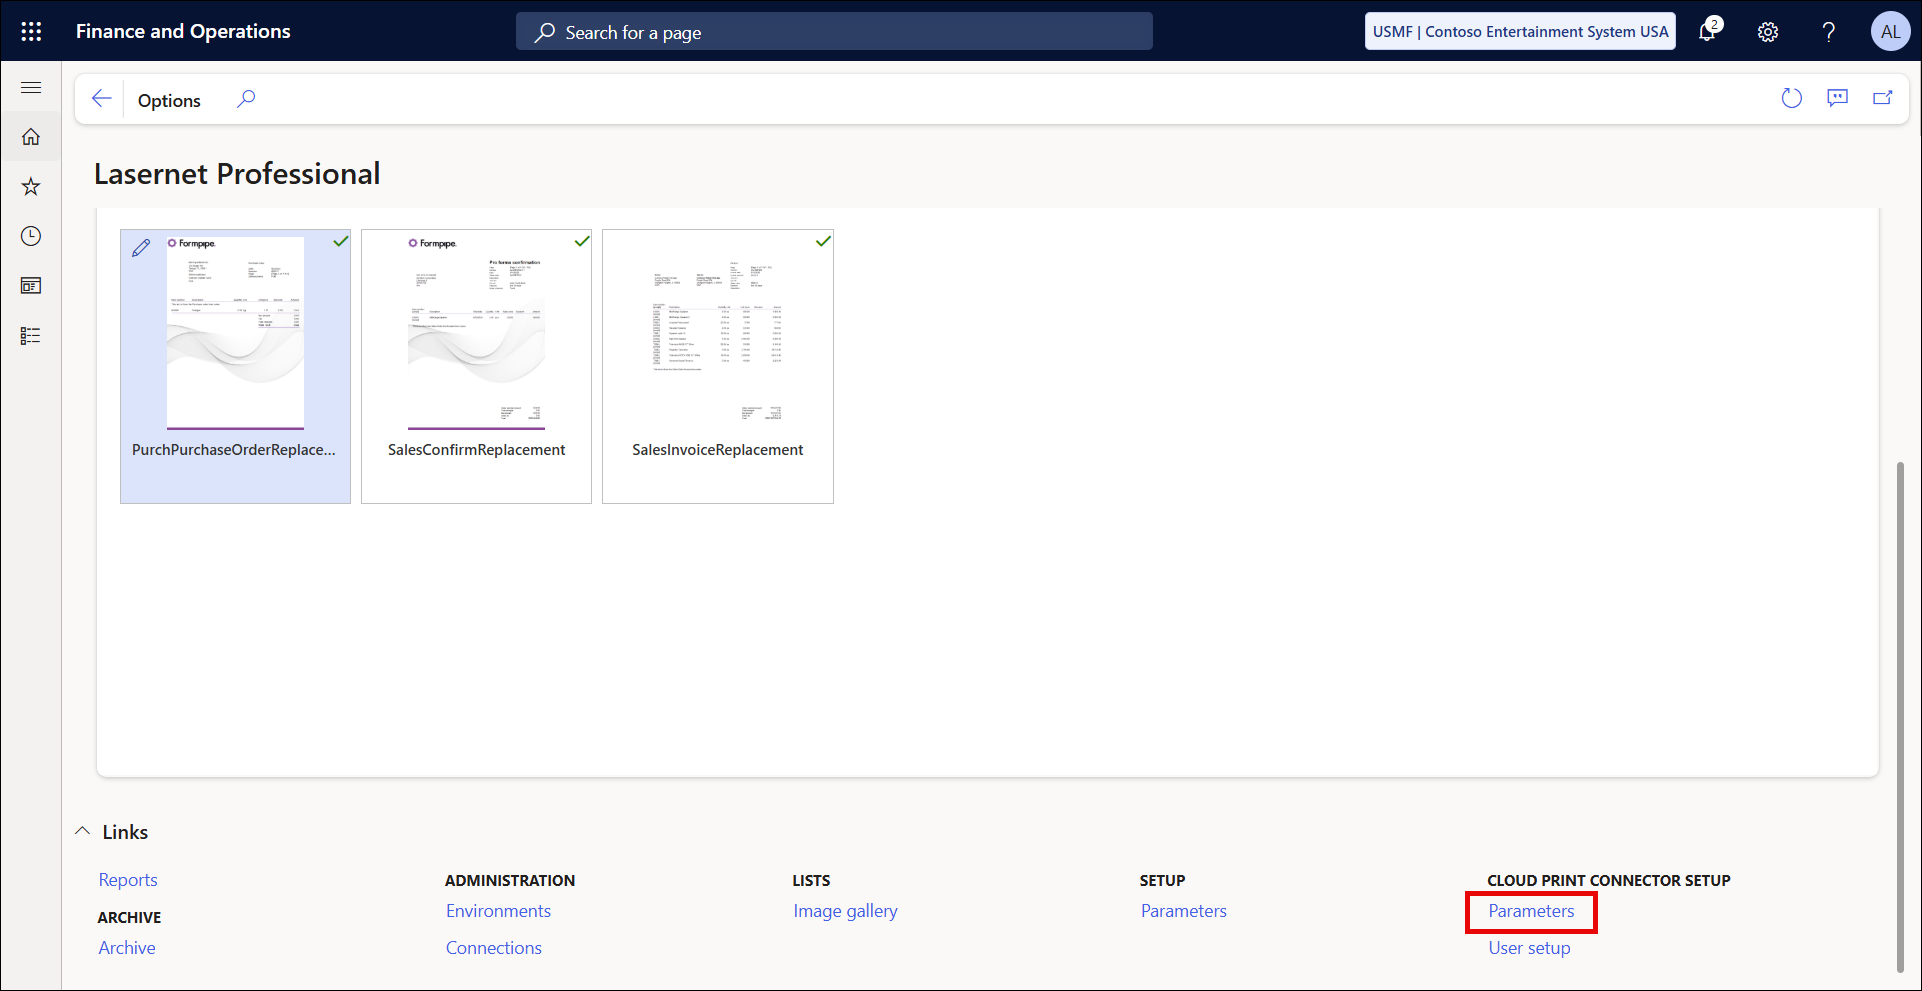
Choose your newly created connection (in this example, CPC External) from the Azure Storage Connection-string dropdown menu.

Navigate back to the Lasernet Professional workspace and click the Setup wizard tile.
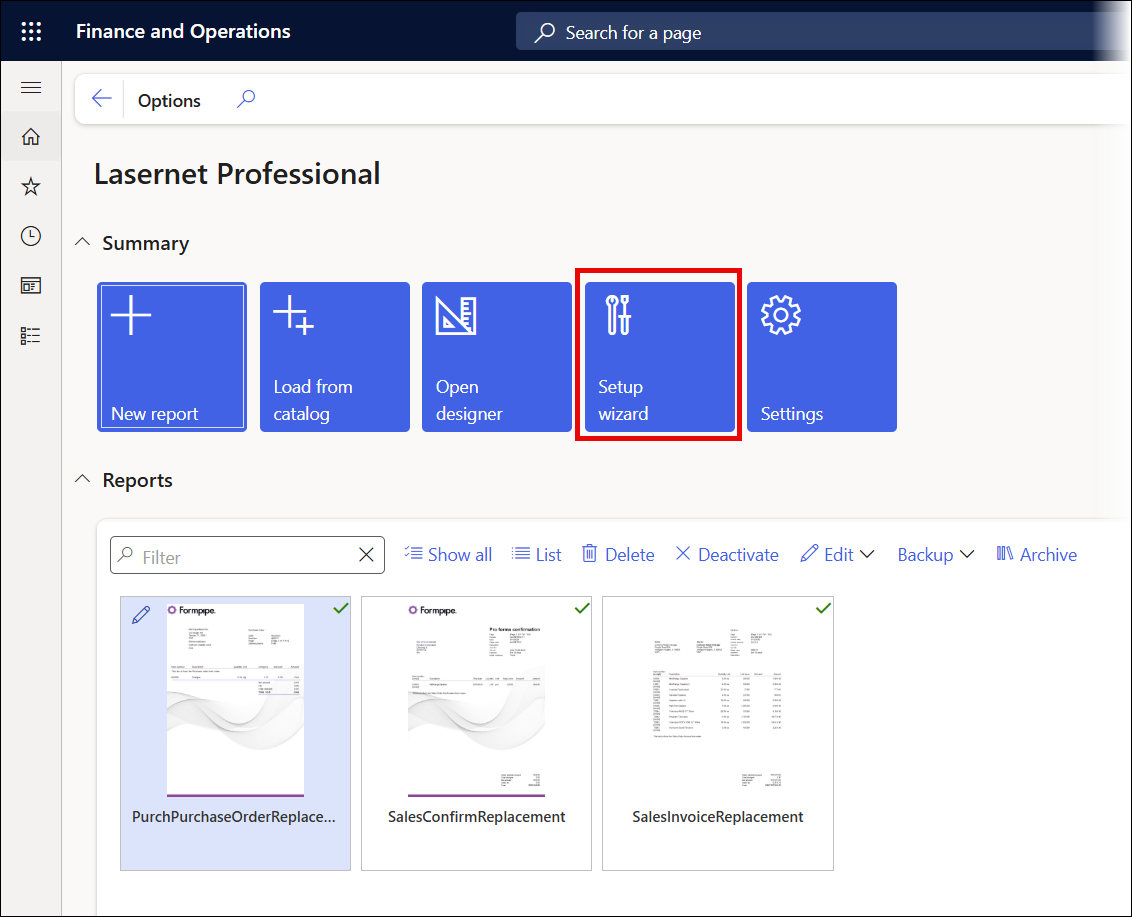
Follow steps 3, 4, and 5 of the wizard to install, configure, and refresh printers.

Step 3: Download and Install Cloud Print Connector. If you already have, skip this step.
Step 4: Download and install Cloud Print Connector configuration. If you already have, this message might appear:

Click Yes to update the configuration and use the External Azure Storage connection string.
Step 5: Fetch local printer names via Cloud Print Connector. This will update the list of printers using your CPC.
You are now ready to print using an External Azure Storage connection string.
Lasernet Advanced
Open the Lasernet Advanced workspace.
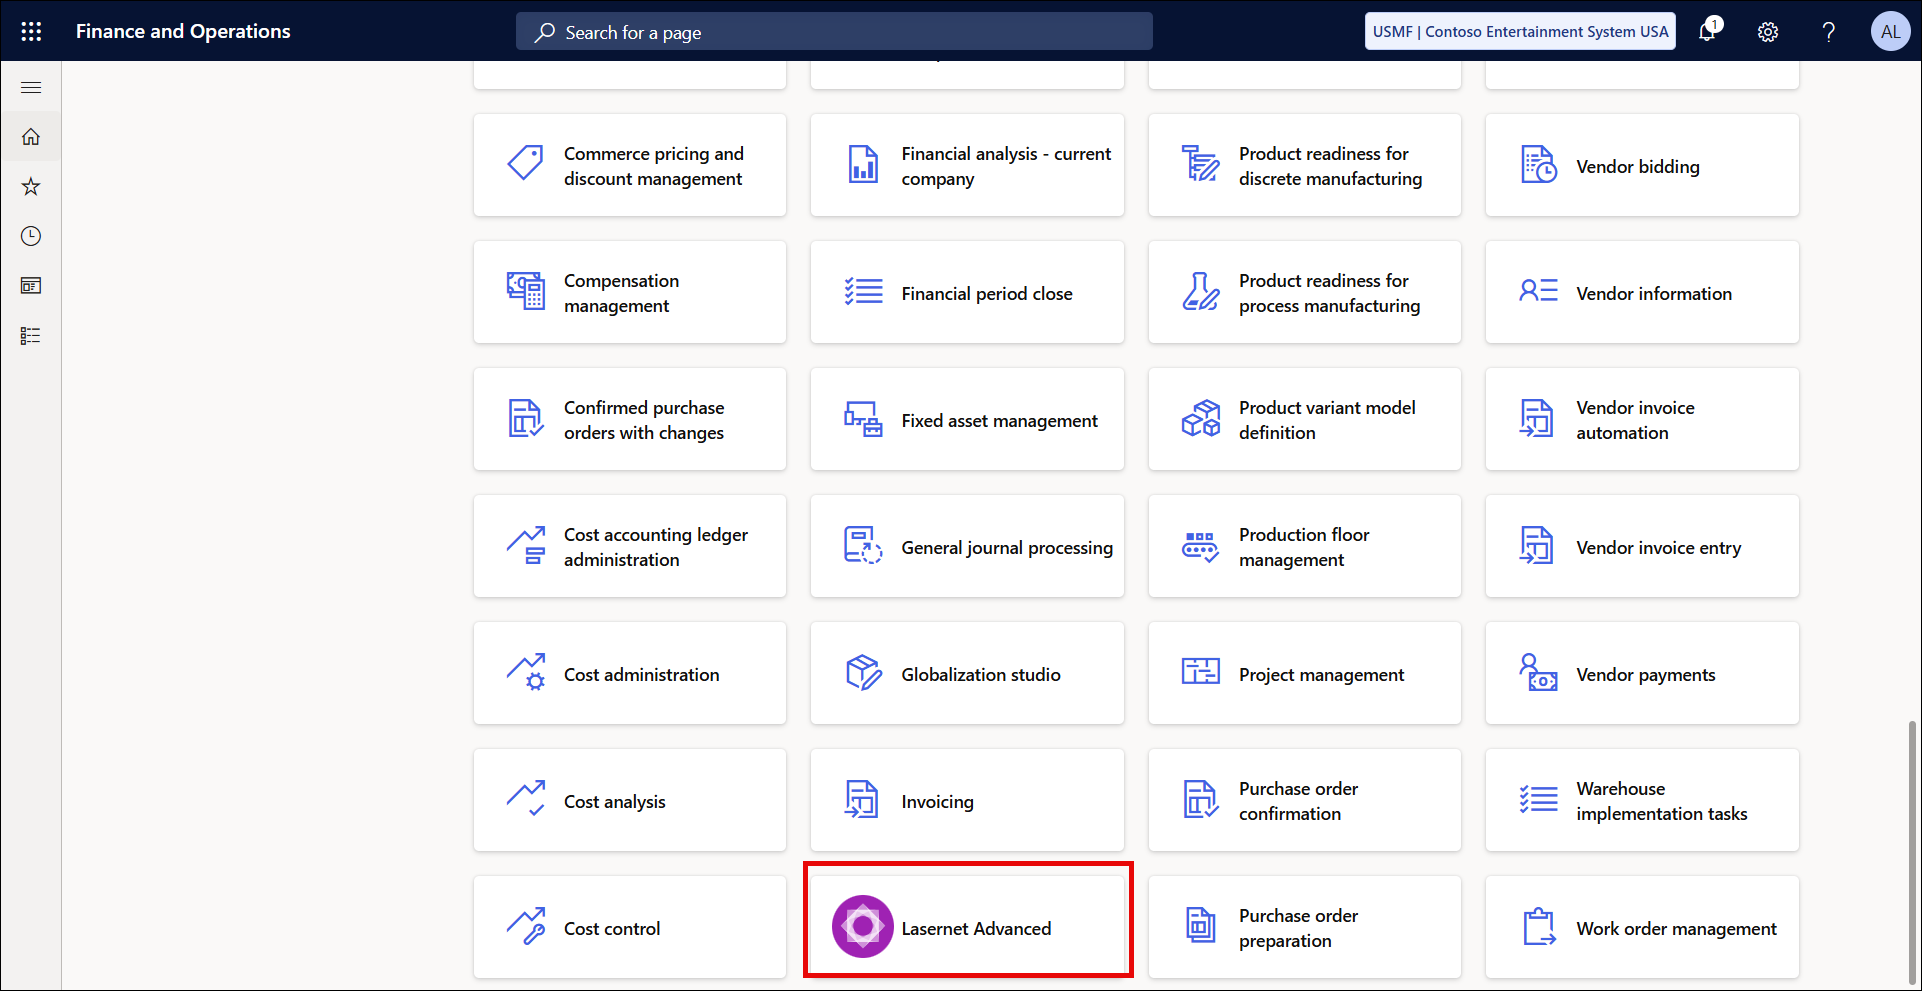
Navigate to Links > ADMINISTRATION > Connections.
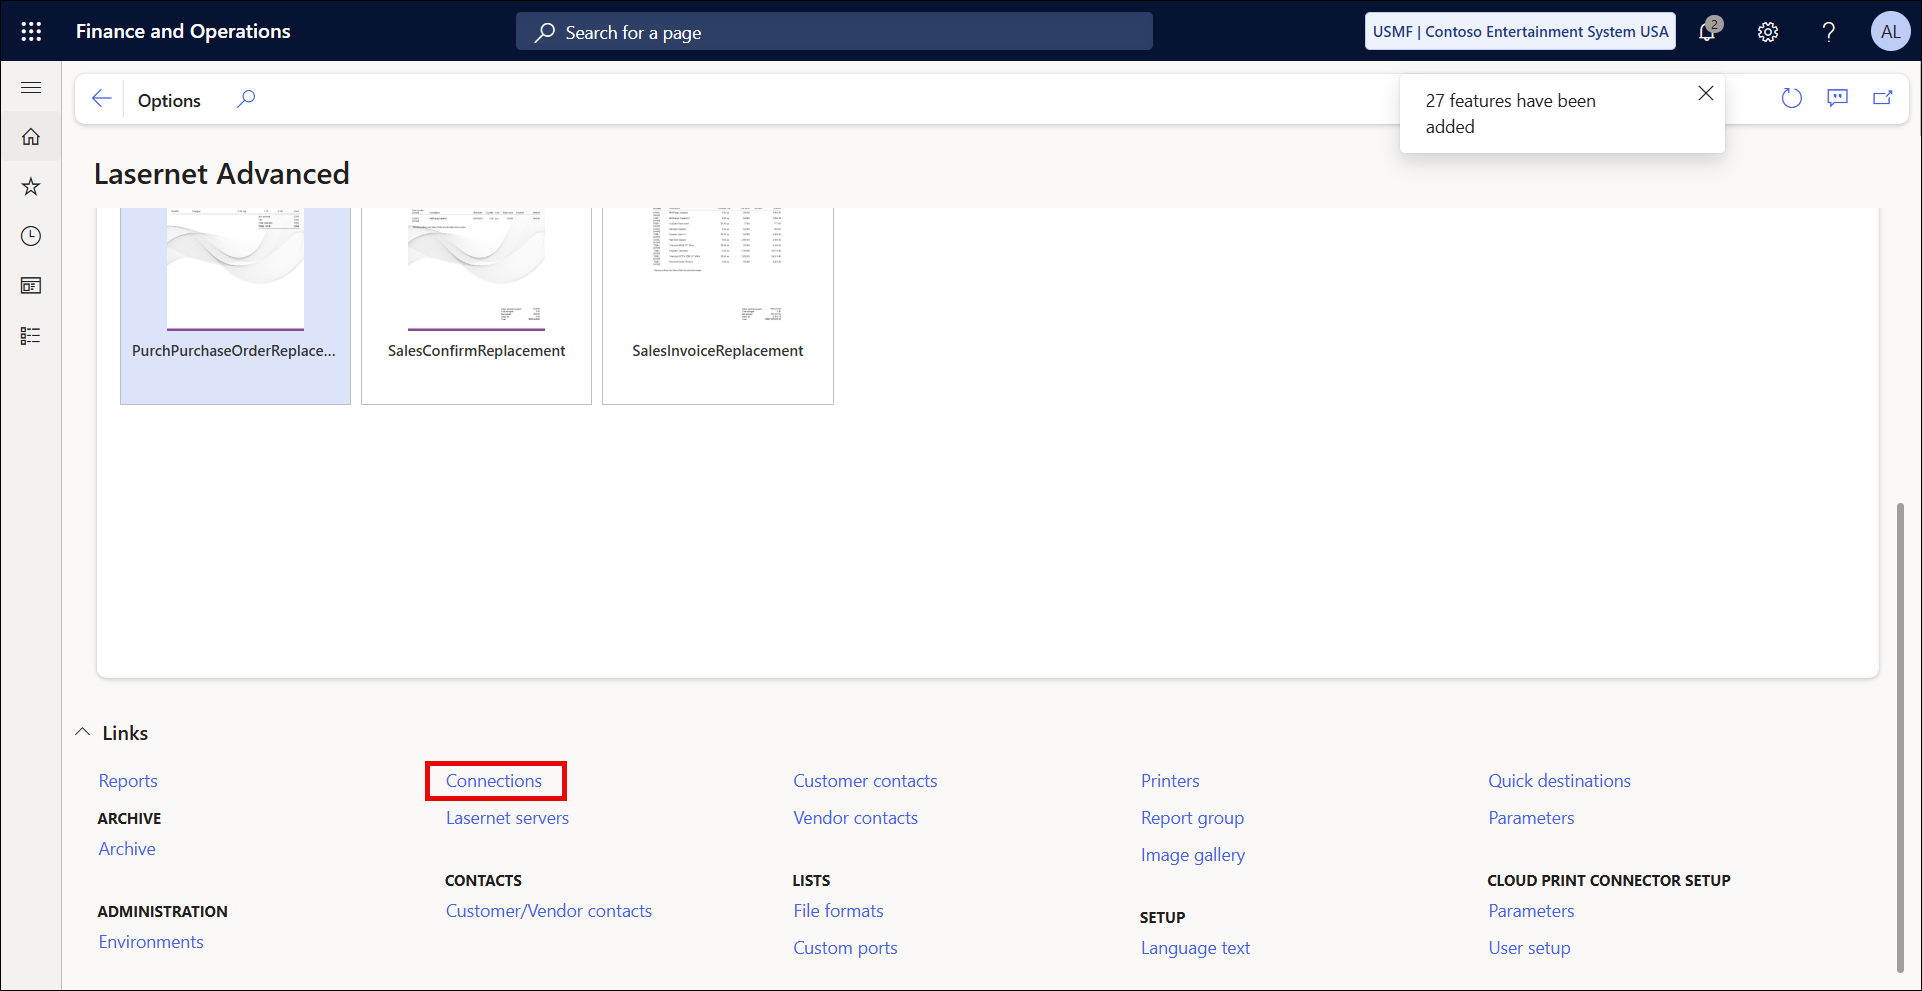
Create a new connection for the External Azure Storage.

Choose Storage as the Connection type.
Choose Azure storage as the Type.
Add a connection string to the AZURE STORAGE field.
Give the connection an Instance name (in this example, cpc)
Navigate back to the Lasernet Advanced workspace and click Links > CLOUD PRINT CONNECTOR SETUP > Parameters.
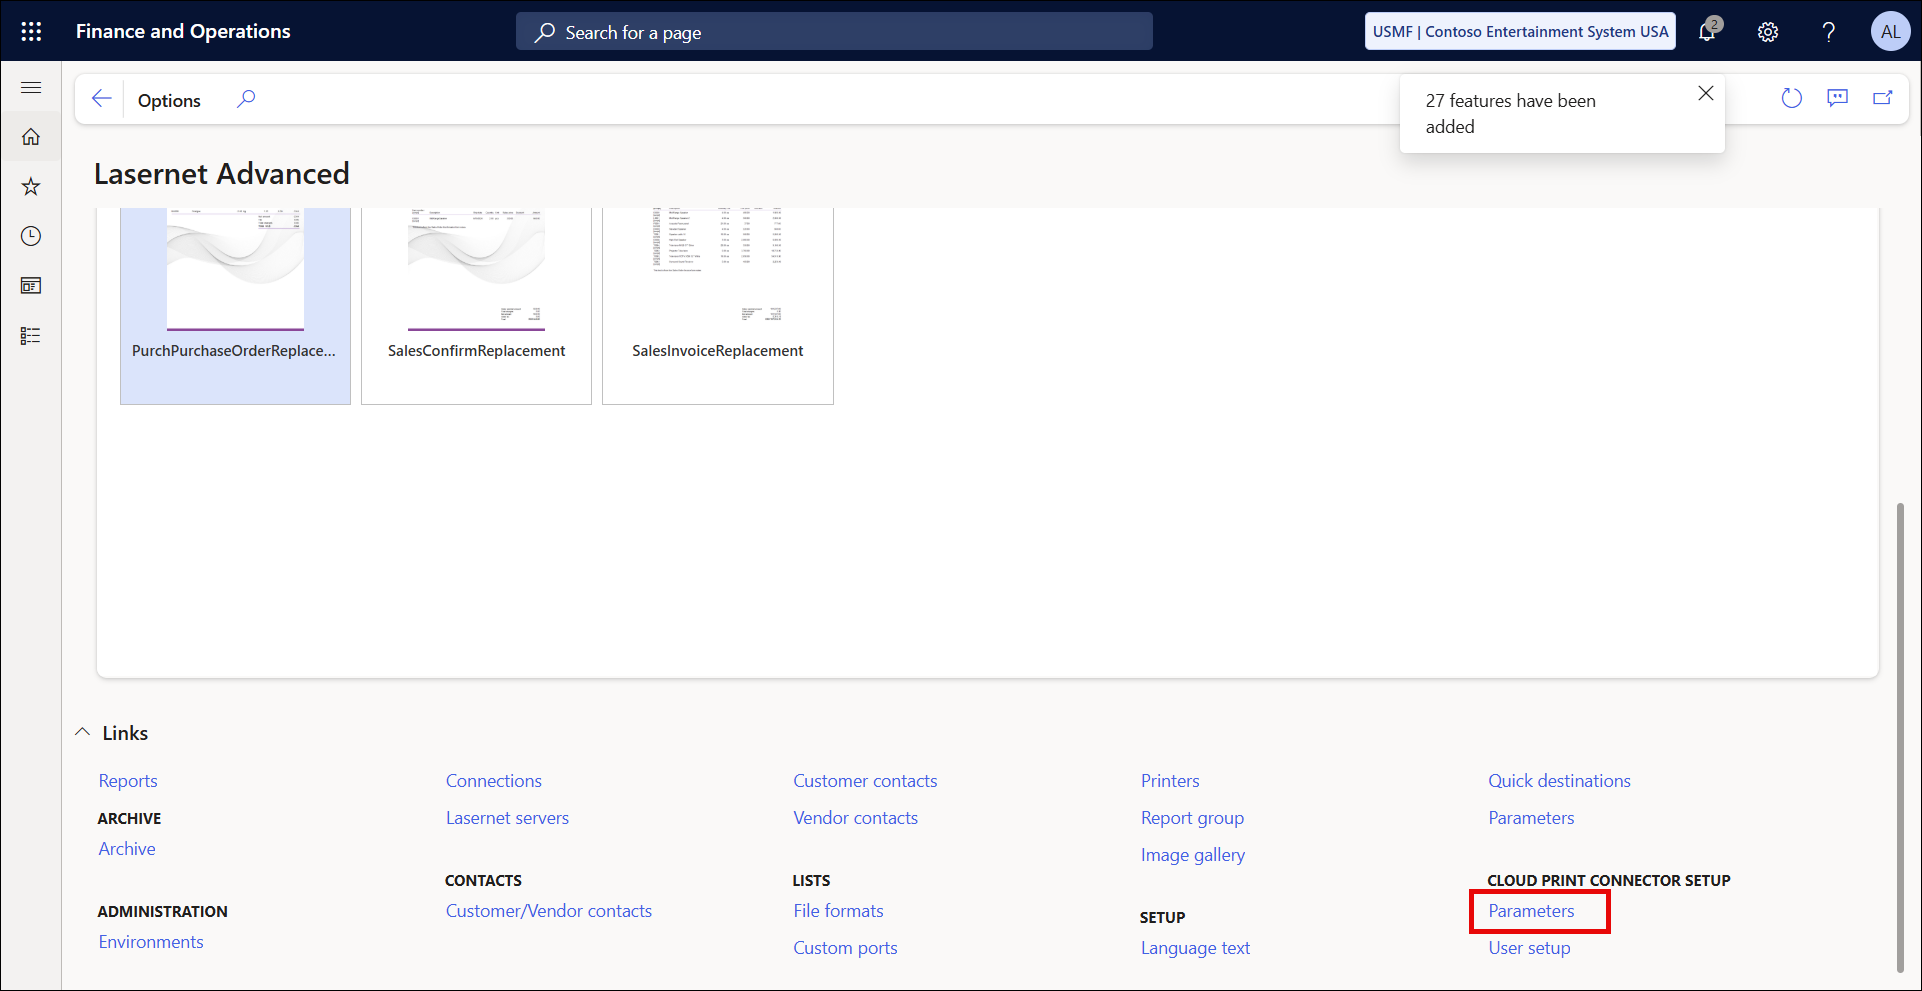
Choose your newly created connection (in this example, CPC External) from the Azure Storage Connection-string dropdown menu.

Navigate back to the Lasernet Advanced workspace and click the Setup wizard tile.
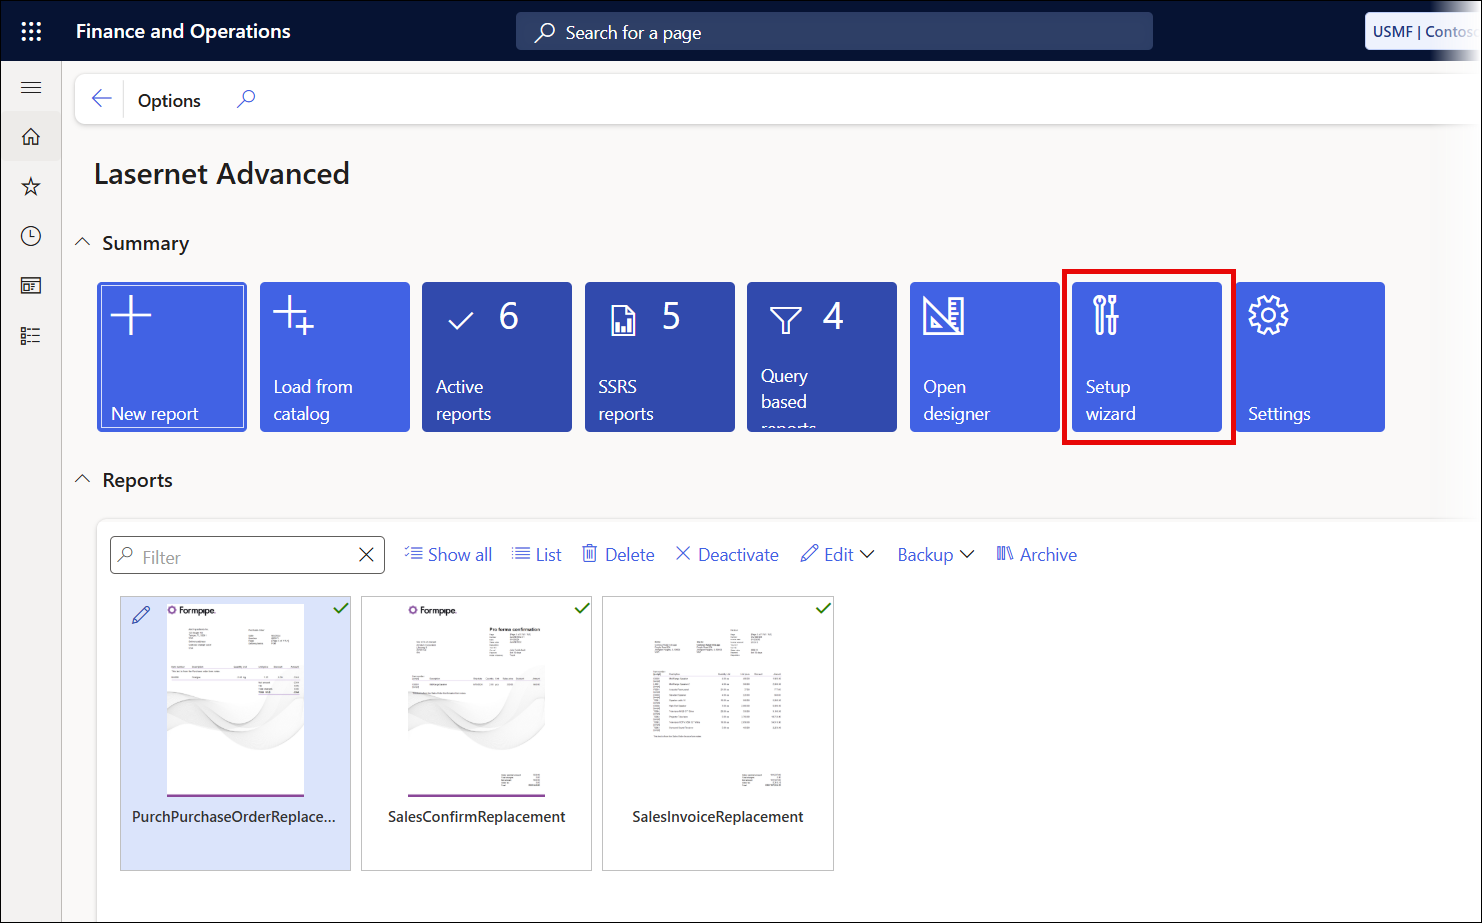
Follow steps 3, 4, and 5 of the wizard to install, configure, and refresh printers.

Step 3: Download and Install Cloud Print Connector. If you already have, skip this step.
Step 4: Download and install Cloud Print Connector configuration. If you already have, this message might appear:

Click Yes to update the configuration and use the External Azure Storage connection string.
Step 5: Fetch local printer names via Cloud Print Connector. This will update the list of printers using your CPC.
You are now ready to print using an External Azure Storage connection string.


