- Print
- PDF
To migrate the configuration from one environment to another, you must download the migration tool provided by Microsoft.
Prerequisites
Administrative access to the installation location
Steps
Navigate to https://docs.microsoft.com/en-us/dynamics365/customer-engagement/developer/download-tools-nuget.
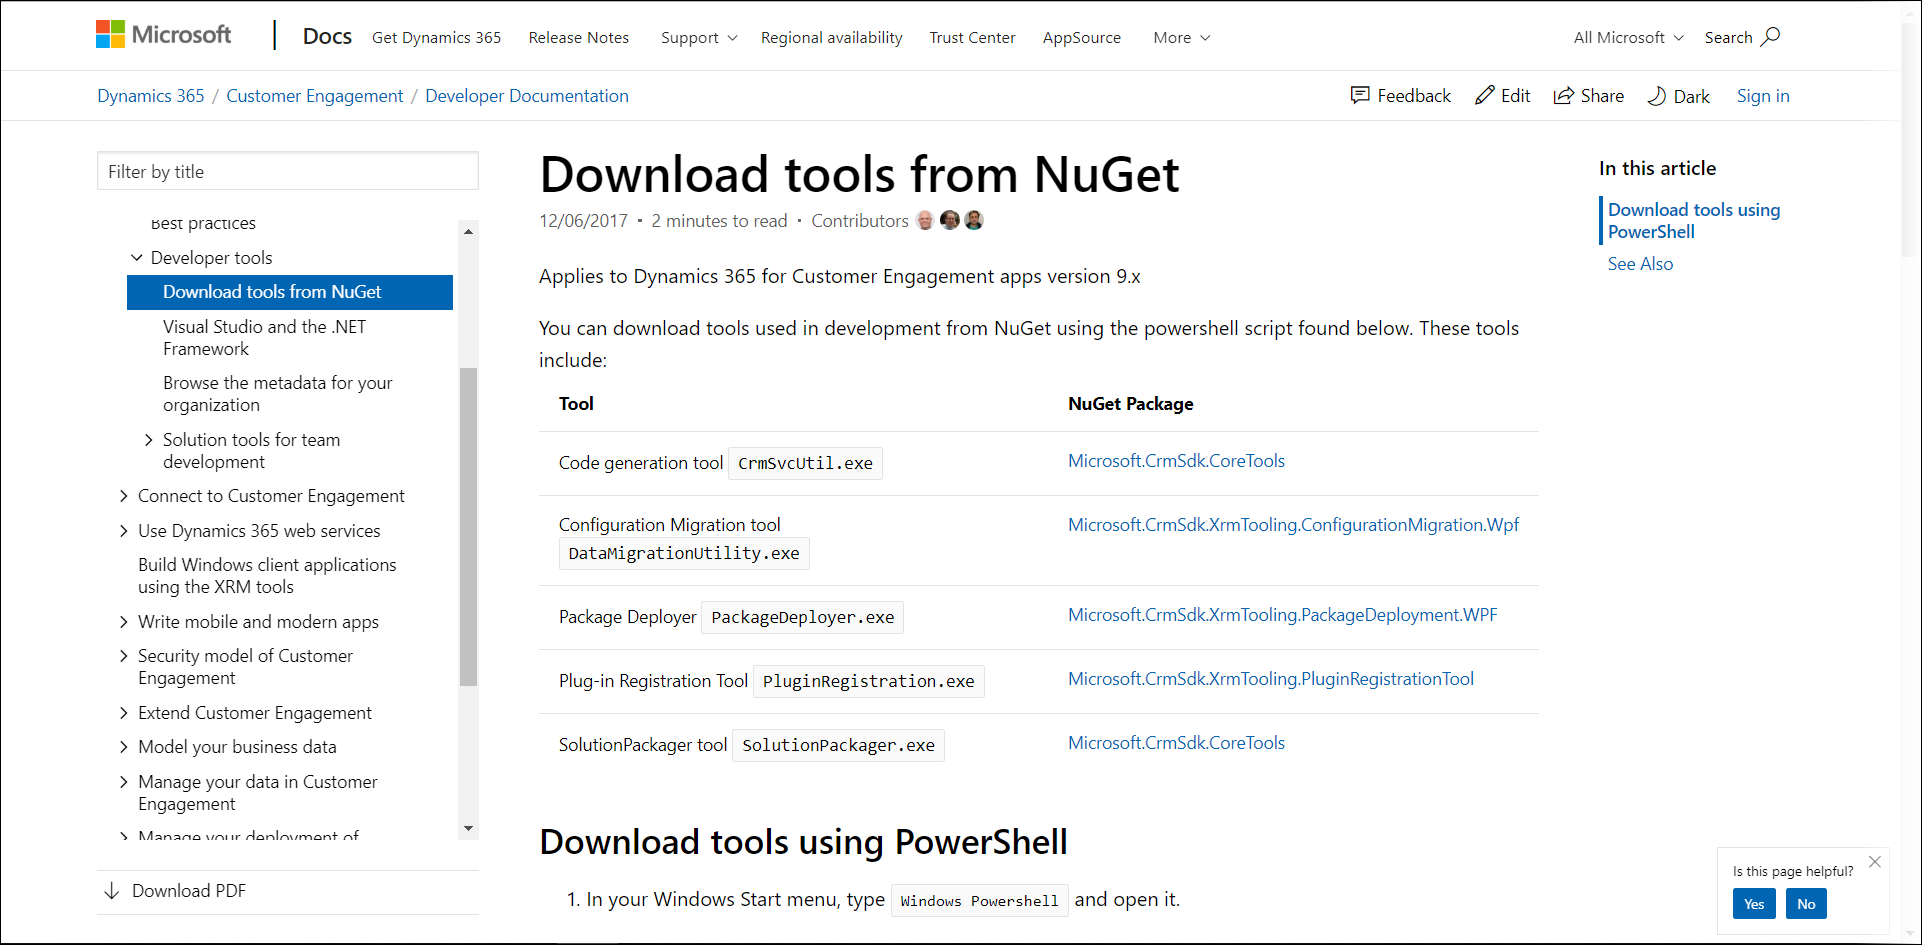
Copy the script and follow the instructions from the link above.
[Net.ServicePointManager]::SecurityProtocol = [Net.SecurityProtocolType]::Tls12
$sourceNugetExe = "https://dist.nuget.org/win-x86-commandline/latest/nuget.exe"
$targetNugetExe = ".\nuget.exe"
Remove-Item .\Tools -Force -Recurse -ErrorAction Ignore
Invoke-WebRequest $sourceNugetExe -OutFile $targetNugetExe
Set-Alias nuget $targetNugetExe -Scope Global -Verbose

##
##Download Plugin Registration Tool
##
./nuget install Microsoft.CrmSdk.XrmTooling.PluginRegistrationTool -O .\Tools
md .\Tools\PluginRegistration
$prtFolder = Get-ChildItem ./Tools | Where-Object {$_.Name -match 'Microsoft.CrmSdk.XrmTooling.PluginRegistrationTool.'}
move .\Tools\$prtFolder\tools\*.* .\Tools\PluginRegistration
Remove-Item .\Tools\$prtFolder -Force -Recurse

##
##Download CoreTools
##
./nuget install  Microsoft.CrmSdk.CoreTools -O .\Tools
md .\Tools\CoreTools
$coreToolsFolder = Get-ChildItem ./Tools | Where-Object {$_.Name -match 'Microsoft.CrmSdk.CoreTools.'}
move .\Tools\$coreToolsFolder\content\bin\coretools\*.* .\Tools\CoreTools
Remove-Item .\Tools\$coreToolsFolder -Force -Recurse

##
##Download Configuration Migration
##
./nuget install  Microsoft.CrmSdk.XrmTooling.ConfigurationMigration.Wpf -O .\Tools
md .\Tools\ConfigurationMigration
$configMigFolder = Get-ChildItem ./Tools | Where-Object {$_.Name -match 'Microsoft.CrmSdk.XrmTooling.ConfigurationMigration.Wpf.'}
move .\Tools\$configMigFolder\tools\*.* .\Tools\ConfigurationMigration
Remove-Item .\Tools\$configMigFolder -Force -Recurse

##
##Download Package Deployer
##
./nuget install  Microsoft.CrmSdk.XrmTooling.PackageDeployment.WPF -O .\Tools
md .\Tools\PackageDeployment
$pdFolder = Get-ChildItem ./Tools | Where-Object {$_.Name -match 'Microsoft.CrmSdk.XrmTooling.PackageDeployment.Wpf.'}
move .\Tools\$pdFolder\tools\*.* .\Tools\PackageDeployment
Remove-Item .\Tools\$pdFolder -Force -Recurse

##
##Download Package Deployer PowerShell module
##
./nuget install Microsoft.CrmSdk.XrmTooling.PackageDeployment.PowerShell -O .\Tools
$pdPoshFolder = Get-ChildItem ./Tools | Where-Object {$_.Name -match 'Microsoft.CrmSdk.XrmTooling.PackageDeployment.PowerShell.'}
move .\Tools\$pdPoshFolder\tools\*.* .\Tools\PackageDeployment.PowerShell
Remove-Item .\Tools\$pdPoshFolder -Force -Recurse

##
##Remove NuGet.exe
##
Remove-Item nuget.exe
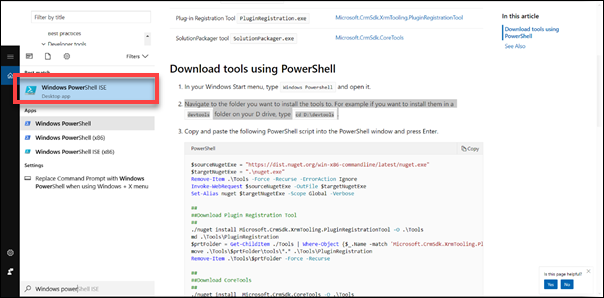
In your Windows Start menu, search for “Windows PowerShell”. Open the app.
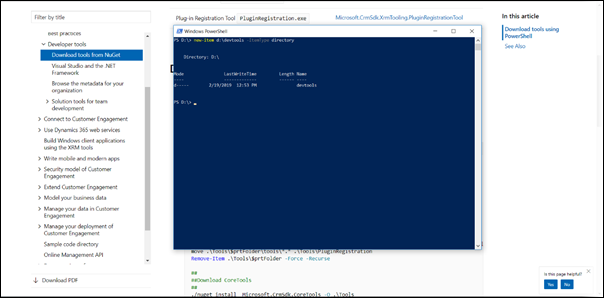
Create a new folder where the tools need to be installed. Type
new-item d:\devtools -ItemType directory.
Navigate to the folder you want to install the tools in. For example, if you want to install them in a devtools folder on your D drive, type
cd D:\devtools.Paste the script copied above into the PowerShell window and click Enter. PowerShell will finish with the following message:
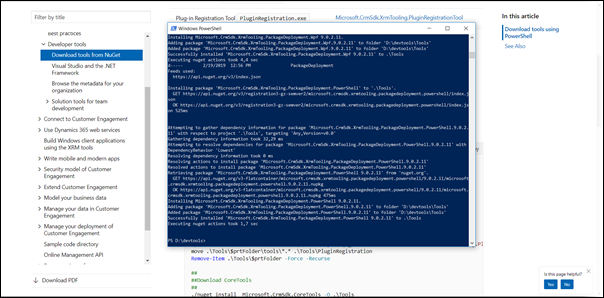
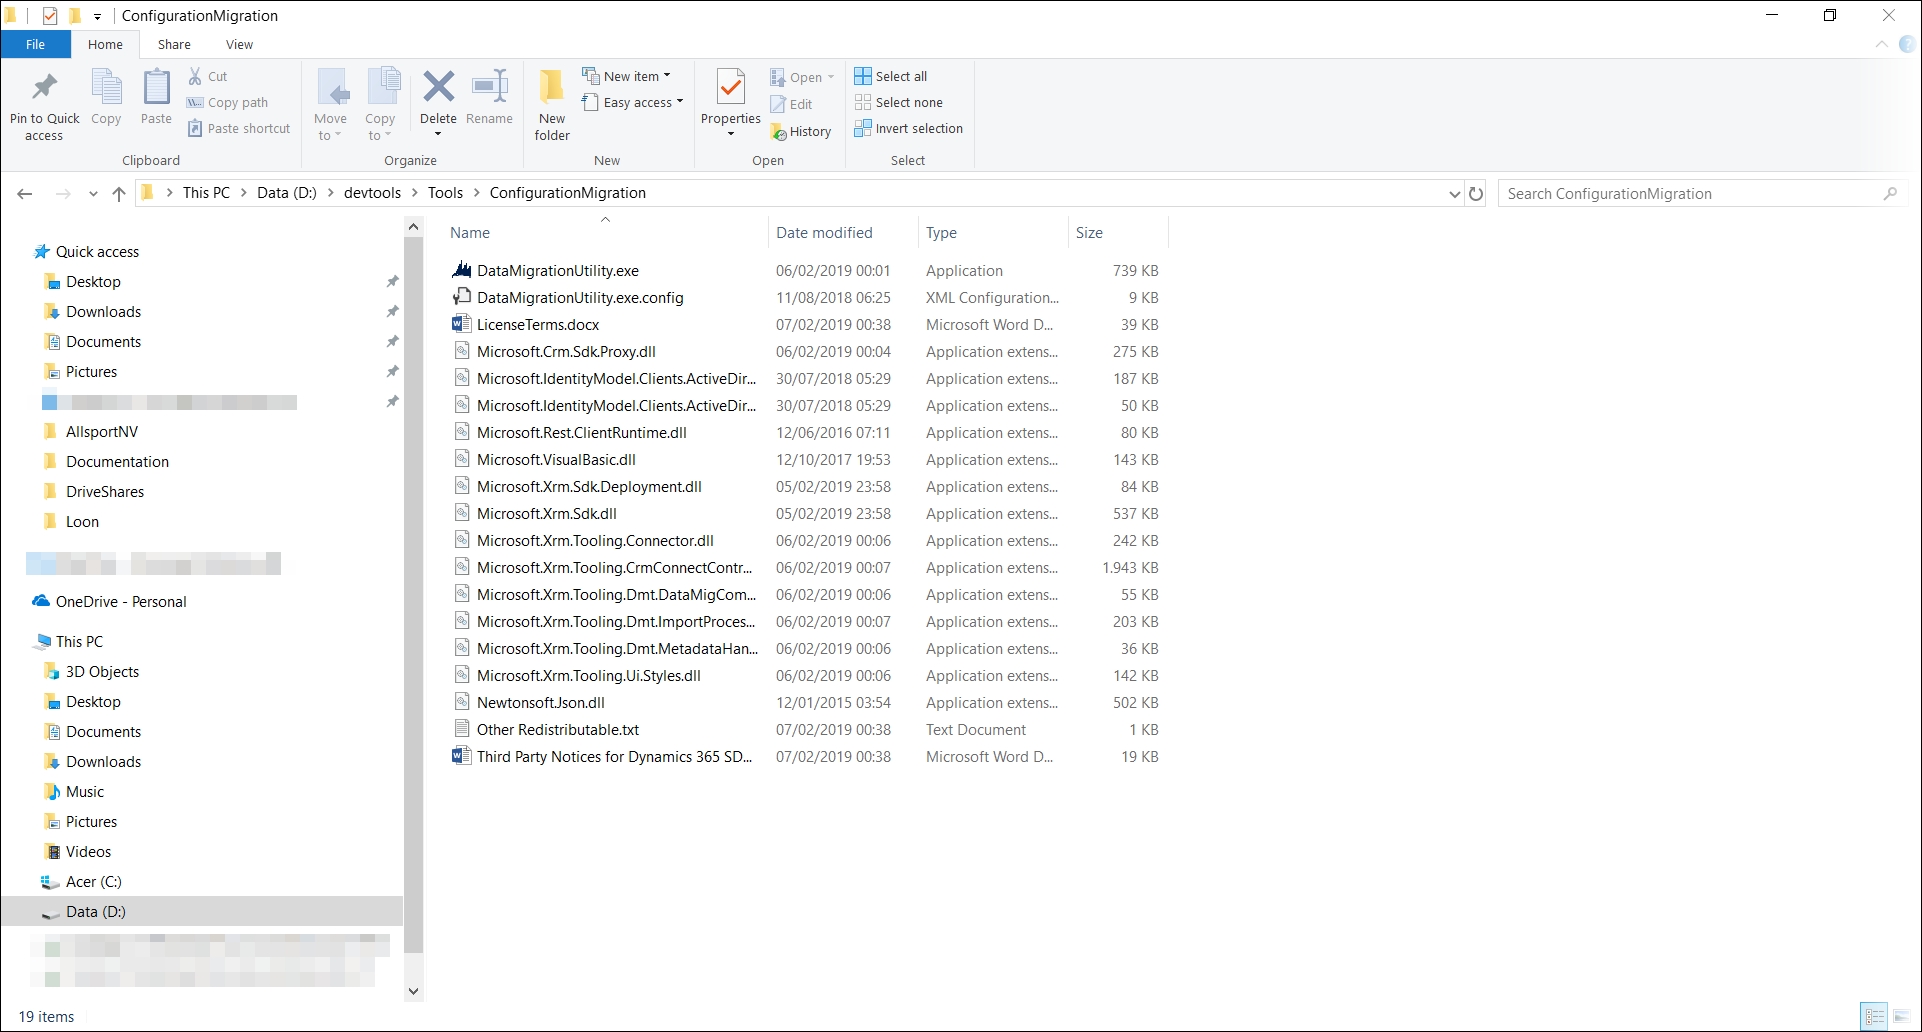
Navigate to the corresponding folder. You will now have acquired the Migration Tool.
